ASTM A802-95(2015)
(Practice)Standard Practice for Steel Castings, Surface Acceptance Standards, Visual Examination
Standard Practice for Steel Castings, Surface Acceptance Standards, Visual Examination
ABSTRACT
This practice covers the standard acceptance criteria for the determination of surface texture, surface roughness, and surface discontinuities of steel castings by visual examination. The acceptance levels utilize the Steel Castings Research and Trade Association (SCRATA) graded reference comparators described as follows: Level A for surface texture, Level B for nonmetallic inclusions, Level C for gas porosity, Level D for solidification discontinuities, Level E for sand expansion discontinuities, Level F for metal inserts, Level G for thermally cut surfaces, Level H for mechanically prepared surfaces, and Level J for welded surfaces.
SCOPE
1.1 This practice covers the acceptance criteria for the surface inspection of steel castings by visual examination. Four levels of acceptance standards are provided.
1.2 Acceptance levels utilize Steel Castings Research and Trade Association (SCRATA)2 graded reference comparators for the visual determination of surface texture, surface roughness, and surface discontinuities described as follows:
Acceptance levels
A—Surface Texture
B—Nonmetallic Inclusions
C—Gas Porosity
D—Solidification Discontinuities
E—Sand Expansion Discontinuities
F—Metal Inserts
G—Thermally Cut Surfaces
H—Mechanically Prepared Surfaces
J—Welded Surfaces
1.3 Descriptions of terms related to casting discontinuities are in Section 2.
1.4 This standard does not purport to address all of the safety concerns, if any, associated with its use. It is the responsibility of the user of this standard to establish appropriate safety and health practices and determine the applicability of regulatory limitations prior to use.
General Information
Relations
Buy Standard
Standards Content (Sample)
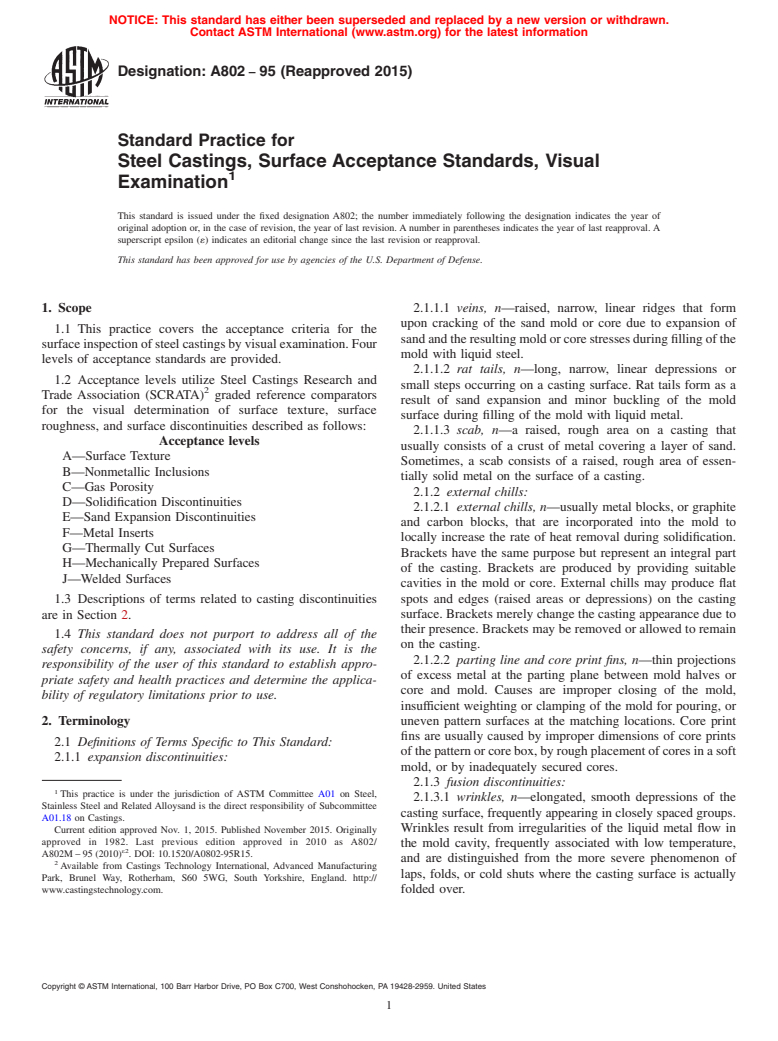
NOTICE: This standard has either been superseded and replaced by a new version or withdrawn.
Contact ASTM International (www.astm.org) for the latest information
Designation: A802 − 95 (Reapproved 2015)
Standard Practice for
Steel Castings, Surface Acceptance Standards, Visual
Examination
This standard is issued under the fixed designation A802; the number immediately following the designation indicates the year of
original adoption or, in the case of revision, the year of last revision. A number in parentheses indicates the year of last reapproval. A
superscript epsilon (´) indicates an editorial change since the last revision or reapproval.
This standard has been approved for use by agencies of the U.S. Department of Defense.
1. Scope 2.1.1.1 veins, n—raised, narrow, linear ridges that form
upon cracking of the sand mold or core due to expansion of
1.1 This practice covers the acceptance criteria for the
sandandtheresultingmoldorcorestressesduringfillingofthe
surfaceinspectionofsteelcastingsbyvisualexamination.Four
mold with liquid steel.
levels of acceptance standards are provided.
2.1.1.2 rat tails, n—long, narrow, linear depressions or
1.2 Acceptance levels utilize Steel Castings Research and
small steps occurring on a casting surface. Rat tails form as a
Trade Association (SCRATA) graded reference comparators
result of sand expansion and minor buckling of the mold
for the visual determination of surface texture, surface
surface during filling of the mold with liquid metal.
roughness, and surface discontinuities described as follows:
2.1.1.3 scab, n—a raised, rough area on a casting that
Acceptance levels
usually consists of a crust of metal covering a layer of sand.
A—Surface Texture
Sometimes, a scab consists of a raised, rough area of essen-
B—Nonmetallic Inclusions
tially solid metal on the surface of a casting.
C—Gas Porosity
2.1.2 external chills:
D—Solidification Discontinuities
2.1.2.1 external chills, n—usually metal blocks, or graphite
E—Sand Expansion Discontinuities
and carbon blocks, that are incorporated into the mold to
F—Metal Inserts
locally increase the rate of heat removal during solidification.
G—Thermally Cut Surfaces
Brackets have the same purpose but represent an integral part
H—Mechanically Prepared Surfaces
of the casting. Brackets are produced by providing suitable
J—Welded Surfaces
cavities in the mold or core. External chills may produce flat
1.3 Descriptions of terms related to casting discontinuities spots and edges (raised areas or depressions) on the casting
surface. Brackets merely change the casting appearance due to
are in Section 2.
their presence. Brackets may be removed or allowed to remain
1.4 This standard does not purport to address all of the
on the casting.
safety concerns, if any, associated with its use. It is the
2.1.2.2 parting line and core print fins, n—thin projections
responsibility of the user of this standard to establish appro-
of excess metal at the parting plane between mold halves or
priate safety and health practices and determine the applica-
core and mold. Causes are improper closing of the mold,
bility of regulatory limitations prior to use.
insufficient weighting or clamping of the mold for pouring, or
2. Terminology uneven pattern surfaces at the matching locations. Core print
fins are usually caused by improper dimensions of core prints
2.1 Definitions of Terms Specific to This Standard:
ofthepatternorcorebox,byroughplacementofcoresinasoft
2.1.1 expansion discontinuities:
mold, or by inadequately secured cores.
2.1.3 fusion discontinuities:
This practice is under the jurisdiction of ASTM Committee A01 on Steel,
2.1.3.1 wrinkles, n—elongated, smooth depressions of the
Stainless Steel and Related Alloysand is the direct responsibility of Subcommittee
casting surface, frequently appearing in closely spaced groups.
A01.18 on Castings.
Wrinkles result from irregularities of the liquid metal flow in
Current edition approved Nov. 1, 2015. Published November 2015. Originally
approved in 1982. Last previous edition approved in 2010 as A802/
the mold cavity, frequently associated with low temperature,
ε2
A802M – 95 (2010) . DOI: 10.1520/A0802-95R15.
and are distinguished from the more severe phenomenon of
Available from Castings Technology International, Advanced Manufacturing
laps, folds, or cold shuts where the casting surface is actually
Park, Brunel Way, Rotherham, S60 5WG, South Yorkshire, England. http://
www.castingstechnology.com. folded over.
Copyright © ASTM International, 100 Barr Harbor Drive, PO Box C700, West Conshohocken, PA 19428-2959. United States
A802 − 95 (2015)
2.1.3.2 laps, folds, and cold shuts, n—interchangeable removed during the cleaning process of pressure blasting.
terms to describe the appearance of the casting surface that is Surface discontinuities left by these inclusions are referred to
actually folded over. They develop due to low temperature, by the inclusion type that caused their formation:
unfavorable flow conditions caused by oxide films, or combi- 2.1.8.1 Ceroxides cause depressions on the surface of the
nations thereof. casting by displacement of molten metal. Ceroxides consist of
2.1.3.3 misrun, n—an incompletely formed casting, due to a mixture of low-melting oxides and partially fused sand. The
only partial filling of the mold cavity when the liquid metal crater-like appearance of the casting surface depression is
solidifies prematurely. The resulting casting appearance is typical.
characterized by rounded edges, for a mild degree of misrun. 2.1.8.2 Depressions on the casting surface caused by slag
Irregular, malformed edges of more severe mis
...
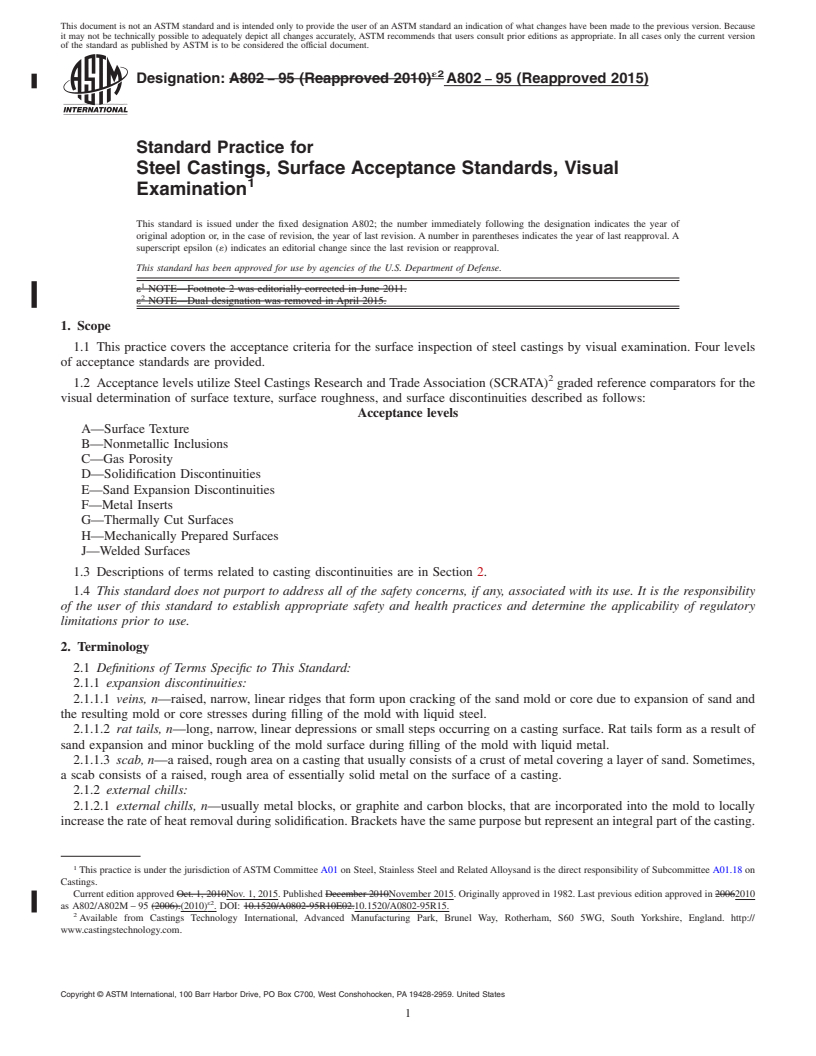
This document is not an ASTM standard and is intended only to provide the user of an ASTM standard an indication of what changes have been made to the previous version. Because
it may not be technically possible to adequately depict all changes accurately, ASTM recommends that users consult prior editions as appropriate. In all cases only the current version
of the standard as published by ASTM is to be considered the official document.
´2
Designation: A802 − 95 (Reapproved 2010) A802 − 95 (Reapproved 2015)
Standard Practice for
Steel Castings, Surface Acceptance Standards, Visual
Examination
This standard is issued under the fixed designation A802; the number immediately following the designation indicates the year of
original adoption or, in the case of revision, the year of last revision. A number in parentheses indicates the year of last reapproval. A
superscript epsilon (´) indicates an editorial change since the last revision or reapproval.
This standard has been approved for use by agencies of the U.S. Department of Defense.
ε NOTE—Footnote 2 was editorially corrected in June 2011.
ε NOTE—Dual designation was removed in April 2015.
1. Scope
1.1 This practice covers the acceptance criteria for the surface inspection of steel castings by visual examination. Four levels
of acceptance standards are provided.
1.2 Acceptance levels utilize Steel Castings Research and Trade Association (SCRATA) graded reference comparators for the
visual determination of surface texture, surface roughness, and surface discontinuities described as follows:
Acceptance levels
A—Surface Texture
B—Nonmetallic Inclusions
C—Gas Porosity
D—Solidification Discontinuities
E—Sand Expansion Discontinuities
F—Metal Inserts
G—Thermally Cut Surfaces
H—Mechanically Prepared Surfaces
J—Welded Surfaces
1.3 Descriptions of terms related to casting discontinuities are in Section 2.
1.4 This standard does not purport to address all of the safety concerns, if any, associated with its use. It is the responsibility
of the user of this standard to establish appropriate safety and health practices and determine the applicability of regulatory
limitations prior to use.
2. Terminology
2.1 Definitions of Terms Specific to This Standard:
2.1.1 expansion discontinuities:
2.1.1.1 veins, n—raised, narrow, linear ridges that form upon cracking of the sand mold or core due to expansion of sand and
the resulting mold or core stresses during filling of the mold with liquid steel.
2.1.1.2 rat tails, n—long, narrow, linear depressions or small steps occurring on a casting surface. Rat tails form as a result of
sand expansion and minor buckling of the mold surface during filling of the mold with liquid metal.
2.1.1.3 scab, n—a raised, rough area on a casting that usually consists of a crust of metal covering a layer of sand. Sometimes,
a scab consists of a raised, rough area of essentially solid metal on the surface of a casting.
2.1.2 external chills:
2.1.2.1 external chills, n—usually metal blocks, or graphite and carbon blocks, that are incorporated into the mold to locally
increase the rate of heat removal during solidification. Brackets have the same purpose but represent an integral part of the casting.
This practice is under the jurisdiction of ASTM Committee A01 on Steel, Stainless Steel and Related Alloysand is the direct responsibility of Subcommittee A01.18 on
Castings.
Current edition approved Oct. 1, 2010Nov. 1, 2015. Published December 2010November 2015. Originally approved in 1982. Last previous edition approved in 20062010
ε2
as A802/A802M – 95 (2006).(2010) . DOI: 10.1520/A0802-95R10E02.10.1520/A0802-95R15.
Available from Castings Technology International, Advanced Manufacturing Park, Brunel Way, Rotherham, S60 5WG, South Yorkshire, England. http://
www.castingstechnology.com.
Copyright © ASTM International, 100 Barr Harbor Drive, PO Box C700, West Conshohocken, PA 19428-2959. United States
A802 − 95 (2015)
Brackets are produced by providing suitable cavities in the mold or core. External chills may produce flat spots and edges (raised
areas or depressions) on the casting surface. Brackets merely change the casting appearance due to their presence. Brackets may
be removed or allowed to remain on the casting.
2.1.2.2 parting line and core print fins, n—thin projections of excess metal at the parting plane between mold halves or core
and mold. Causes are improper closing of the mold, insufficient weighting or clamping of the mold for pouring, or uneven pattern
surfaces at the matching locations. Core print fins are usually caused by improper dimensions of core prints of the pattern or core
box, by rough placement of cores in a soft mold, or by inadequately secured cores.
2.1.3 fusion discontinuities:
2.1.3.1 wrinkles, n—elongated, smooth depressions of the casting surface, frequently appearing in closely spaced groups.
Wrinkles result from irregularities of the liquid metal flow in the mold cavity, frequently associated with low temperature, and are
distinguished from the more severe phenomenon of laps, folds, or cold shuts where the casting surface is actually folded over.
2.1.3.2 laps, folds, and cold shuts, n—interchangeable terms to describe the appearance of the casting surface that is actually
folded over. They develop due to low temperature, unfavorable flow conditions caused by oxide films, or combinations thereof.
2.1.3.3 misrun, n—an incompletely formed casting, due to only partial filling of the mold cavity when the liquid metal solidifies
prematurely. The resulting casting appearance is characterized by rounded edges, for a mild degree of misrun. Irregular, malformed
edges of more severe misruns, and not fully formed castings, are characteristic. Frequently, misruns are associated with such
discontinuities as wrinkles or laps and folds, or both.
2.1.4 gas porosity, n—a concave discontinuity in castings due to the evolution of gas
...


Questions, Comments and Discussion
Ask us and Technical Secretary will try to provide an answer. You can facilitate discussion about the standard in here.