ASTM G46-94(1999)
(Guide)Standard Guide for Examination and Evaluation of Pitting Corrosion
Standard Guide for Examination and Evaluation of Pitting Corrosion
SCOPE
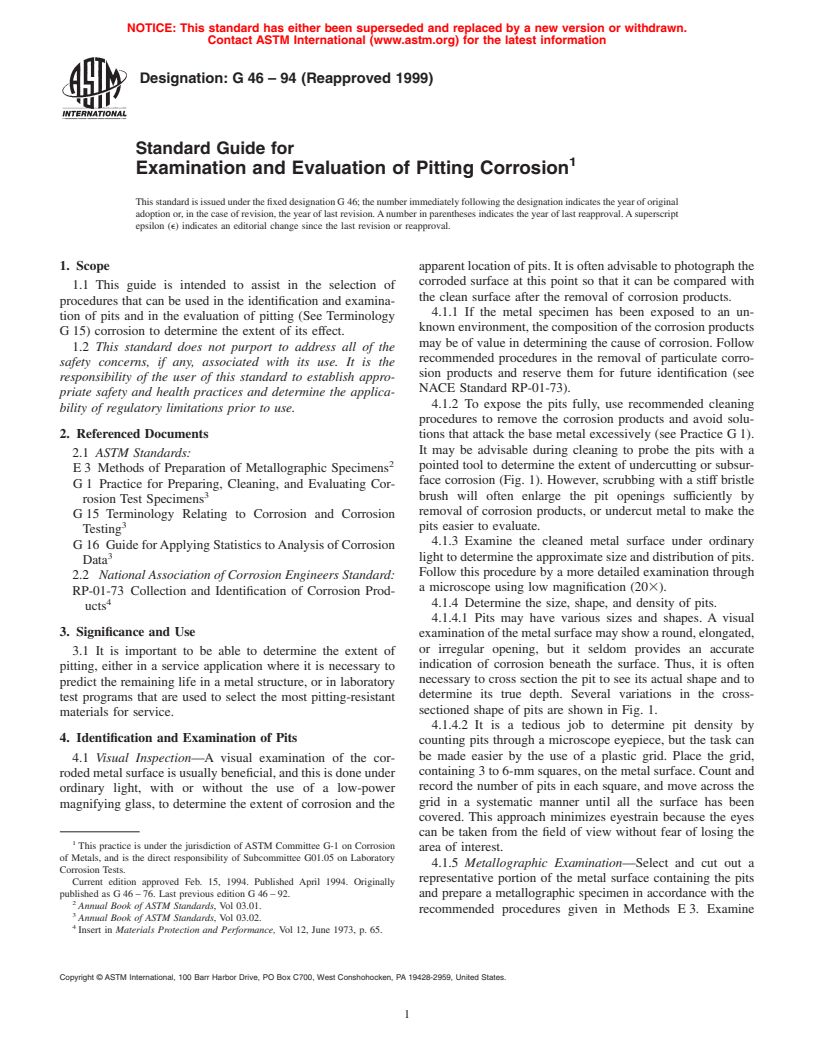
1.1 This guide is intended to assist in the selection of procedures that can be used in the identification and examination of pits and in the evaluation of pitting (See Terminology G15) corrosion to determine the extent of its effect.
1.2 This standard does not purport to address all of the safety concerns, if any, associated with its use. It is the responsibility of the user of this standard to establish appropriate safety and health practices and determine the applicability of regulatory limitations prior to use.
General Information
Relations
Standards Content (Sample)
NOTICE: This standard has either been superseded and replaced by a new version or withdrawn.
Contact ASTM International (www.astm.org) for the latest information
Designation:G46–94 (Reapproved 1999)
Standard Guide for
1
Examination and Evaluation of Pitting Corrosion
ThisstandardisissuedunderthefixeddesignationG 46;thenumberimmediatelyfollowingthedesignationindicatestheyearoforiginal
adoption or, in the case of revision, the year of last revision.Anumber in parentheses indicates the year of last reapproval.Asuperscript
epsilon (e) indicates an editorial change since the last revision or reapproval.
1. Scope apparentlocationofpits.Itisoftenadvisabletophotographthe
corroded surface at this point so that it can be compared with
1.1 This guide is intended to assist in the selection of
the clean surface after the removal of corrosion products.
procedures that can be used in the identification and examina-
4.1.1 If the metal specimen has been exposed to an un-
tion of pits and in the evaluation of pitting (See Terminology
known environment, the composition of the corrosion products
G 15) corrosion to determine the extent of its effect.
may be of value in determining the cause of corrosion. Follow
1.2 This standard does not purport to address all of the
recommended procedures in the removal of particulate corro-
safety concerns, if any, associated with its use. It is the
sion products and reserve them for future identification (see
responsibility of the user of this standard to establish appro-
NACE Standard RP-01-73).
priate safety and health practices and determine the applica-
4.1.2 To expose the pits fully, use recommended cleaning
bility of regulatory limitations prior to use.
procedures to remove the corrosion products and avoid solu-
2. Referenced Documents tions that attack the base metal excessively (see Practice G 1).
It may be advisable during cleaning to probe the pits with a
2.1 ASTM Standards:
2
pointed tool to determine the extent of undercutting or subsur-
E 3 Methods of Preparation of Metallographic Specimens
face corrosion (Fig. 1). However, scrubbing with a stiff bristle
G 1 Practice for Preparing, Cleaning, and Evaluating Cor-
3
brush will often enlarge the pit openings sufficiently by
rosion Test Specimens
removal of corrosion products, or undercut metal to make the
G 15 Terminology Relating to Corrosion and Corrosion
3
pits easier to evaluate.
Testing
4.1.3 Examine the cleaned metal surface under ordinary
G 16 Guide forApplying Statistics toAnalysis of Corrosion
3
light to determine the approximate size and distribution of pits.
Data
Follow this procedure by a more detailed examination through
2.2 NationalAssociationofCorrosionEngineersStandard:
a microscope using low magnification (203).
RP-01-73 Collection and Identification of Corrosion Prod-
4
4.1.4 Determine the size, shape, and density of pits.
ucts
4.1.4.1 Pits may have various sizes and shapes. A visual
3. Significance and Use
examinationofthemetalsurfacemayshowaround,elongated,
or irregular opening, but it seldom provides an accurate
3.1 It is important to be able to determine the extent of
indication of corrosion beneath the surface. Thus, it is often
pitting, either in a service application where it is necessary to
necessary to cross section the pit to see its actual shape and to
predict the remaining life in a metal structure, or in laboratory
determine its true depth. Several variations in the cross-
test programs that are used to select the most pitting-resistant
sectioned shape of pits are shown in Fig. 1.
materials for service.
4.1.4.2 It is a tedious job to determine pit density by
4. Identification and Examination of Pits
counting pits through a microscope eyepiece, but the task can
be made easier by the use of a plastic grid. Place the grid,
4.1 Visual Inspection—A visual examination of the cor-
containing 3 to 6-mm squares, on the metal surface. Count and
rodedmetalsurfaceisusuallybeneficial,andthisisdoneunder
record the number of pits in each square, and move across the
ordinary light, with or without the use of a low-power
grid in a systematic manner until all the surface has been
magnifying glass, to determine the extent of corrosion and the
covered. This approach minimizes eyestrain because the eyes
can be taken from the field of view without fear of losing the
1
This practice is under the jurisdiction of ASTM Committee G-1 on Corrosion
area of interest.
of Metals, and is the direct responsibility of Subcommittee G01.05 on Laboratory
4.1.5 Metallographic Examination—Select and cut out a
Corrosion Tests.
representative portion of the metal surface containing the pits
Current edition approved Feb. 15, 1994. Published April 1994. Originally
published as G 46 – 76. Last previous edition G 46 – 92. and prepare a metallographic specimen in accordance with the
2
Annual Book of ASTM Standards, Vol 03.01.
recommended procedures given in Methods E 3. Examine
3
Annual Book of ASTM Standards, Vol 03.02.
4
Insert in Materials Protection an
...


Questions, Comments and Discussion
Ask us and Technical Secretary will try to provide an answer. You can facilitate discussion about the standard in here.