ASTM C539-84(2011)
(Test Method)Standard Test Method for Linear Thermal Expansion of Porcelain Enamel and Glaze Frits and Ceramic Whiteware Materials by Interferometric Method
Standard Test Method for Linear Thermal Expansion of Porcelain Enamel and Glaze Frits and Ceramic Whiteware Materials by Interferometric Method
SIGNIFICANCE AND USE
This test method defines the thermal expansion of porcelain enamel and glaze frits by the interferometric method. This determination is critical in avoiding crazing (cracking) of these glass coatings due to mismatching of the thermal expansion between the coating and substrate materials.
SCOPE
1.1 This test method covers the interferometric determination of linear thermal expansion of premelted frits (porcelain enamel and glaze) and fired ceramic whiteware materials at temperatures lower than 1000°C (1830°F).
1.2 This standard does not purport to address all of the safety concerns, if any, associated with its use. It is the responsibility of the user of this standard to establish appropriate safety and health practices and determine the applicability of regulatory limitations prior to use.
General Information
Relations
Standards Content (Sample)
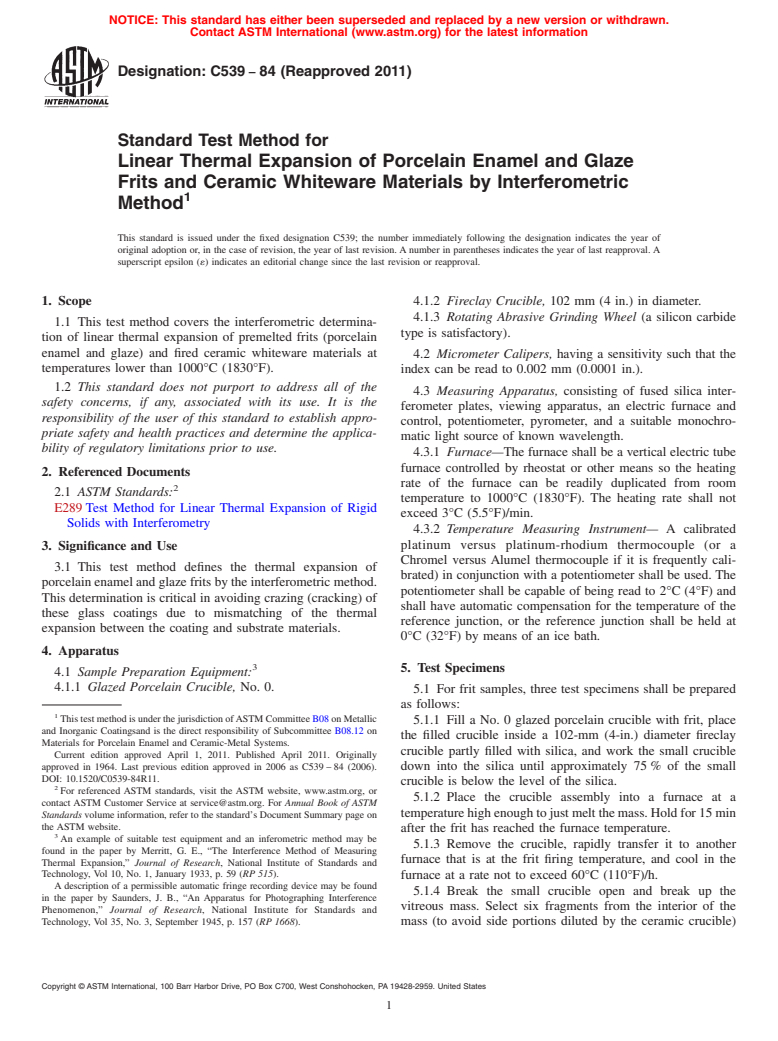
NOTICE: This standard has either been superseded and replaced by a new version or withdrawn.
Contact ASTM International (www.astm.org) for the latest information
Designation: C539 − 84 (Reapproved 2011)
Standard Test Method for
Linear Thermal Expansion of Porcelain Enamel and Glaze
Frits and Ceramic Whiteware Materials by Interferometric
Method
This standard is issued under the fixed designation C539; the number immediately following the designation indicates the year of
original adoption or, in the case of revision, the year of last revision. A number in parentheses indicates the year of last reapproval. A
superscript epsilon (´) indicates an editorial change since the last revision or reapproval.
1. Scope 4.1.2 Fireclay Crucible, 102 mm (4 in.) in diameter.
4.1.3 Rotating Abrasive Grinding Wheel (a silicon carbide
1.1 This test method covers the interferometric determina-
type is satisfactory).
tion of linear thermal expansion of premelted frits (porcelain
enamel and glaze) and fired ceramic whiteware materials at
4.2 Micrometer Calipers, having a sensitivity such that the
temperatures lower than 1000°C (1830°F).
index can be read to 0.002 mm (0.0001 in.).
1.2 This standard does not purport to address all of the
4.3 Measuring Apparatus, consisting of fused silica inter-
safety concerns, if any, associated with its use. It is the
ferometer plates, viewing apparatus, an electric furnace and
responsibility of the user of this standard to establish appro-
control, potentiometer, pyrometer, and a suitable monochro-
priate safety and health practices and determine the applica-
matic light source of known wavelength.
bility of regulatory limitations prior to use.
4.3.1 Furnace—The furnace shall be a vertical electric tube
furnace controlled by rheostat or other means so the heating
2. Referenced Documents
rate of the furnace can be readily duplicated from room
2.1 ASTM Standards:
temperature to 1000°C (1830°F). The heating rate shall not
E289 Test Method for Linear Thermal Expansion of Rigid
exceed 3°C (5.5°F)/min.
Solids with Interferometry
4.3.2 Temperature Measuring Instrument— A calibrated
platinum versus platinum-rhodium thermocouple (or a
3. Significance and Use
Chromel versus Alumel thermocouple if it is frequently cali-
3.1 This test method defines the thermal expansion of
brated) in conjunction with a potentiometer shall be used. The
porcelain enamel and glaze frits by the interferometric method.
potentiometer shall be capable of being read to 2°C (4°F) and
This determination is critical in avoiding crazing (cracking) of
shall have automatic compensation for the temperature of the
these glass coatings due to mismatching of the thermal
reference junction, or the reference junction shall be held at
expansion between the coating and substrate materials.
0°C (32°F) by means of an ice bath.
4. Apparatus
5. Test Specimens
4.1 Sample Preparation Equipment:
4.1.1 Glazed Porcelain Crucible, No. 0.
5.1 For frit samples, three test specimens shall be prepared
as follows:
This test method is under the jurisdiction ofASTM Committee B08 on Metallic
5.1.1 Fill a No. 0 glazed porcelain crucible with frit, place
and Inorganic Coatingsand is the direct responsibility of Subcommittee B08.12 on
the filled crucible inside a 102-mm (4-in.) diameter fireclay
Materials for Porcelain Enamel and Ceramic-Metal Systems.
crucible partly filled with silica, and work the small crucible
Current edition approved April 1, 2011. Published April 2011. Originally
approved in 1964. Last previous edition approved in 2006 as C539 – 84 (2006).
down into the silica until approximately 75 % of the small
DOI: 10.1520/C0539-84R11.
crucible is below the level of the silica.
For referenced ASTM standards, visit the ASTM website, www.astm.org, or
5.1.2 Place the crucible assembly into a furnace at a
contact ASTM Customer Service at service@astm.org. For Annual Book of ASTM
Standards volume information, refer to the standard’s Document Summary page on temperaturehighenoughtojustmeltthemass.Holdfor15min
the ASTM website.
after the frit has reached the furnace temperature.
An example of suitable test equipment and an inferometric method may be
5.1.3 Remove the crucible, rapidly transfer it to another
found in the paper by Merritt, G. E., “The Interference Method of Measuring
furnace that is at the frit firing temperature, and cool in the
Thermal Expansion,” Journal of Research, National Institute of Standards and
Technology, Vol 10, No. 1, January 1933, p. 59 (RP 515).
furnace at a rate not to exceed 60°C (110°F)/h.
A description of a permissible automatic fringe recording device may be found
5.1.4 Break the small crucible open and break up the
in the paper by Saunders, J. B., “An Apparatus for Photographing Interference
vitreous mass. Select six fragments from the interior of the
Phenomenon,” Journal of Research, National Institute for Standards and
Technology, Vol 35, No. 3, September 1945, p. 157 (RP 1668). mass (to avoid side portions diluted by the ceramic crucible)
Copyright © ASTM International, 100 Barr Harbor Drive, PO Box C700, West Conshohocken, PA 19428-2959. United States
C539 − 84 (2011)
having minimum conical dimensions of 3 mm ( ⁄8 in.) at the 7.2 Rotate the telescope and center it over the test specimen
base and 6 mm ( ⁄4 in.) high. assembly. Direct the monochromatic light source down the
tube. If four to eight fringes are present, the setup is correct. If
5.2 For fired samples, break and select six samples having
fewer or more fringes are present, adjust the cone heights. In
minimum conical dimensions of 3 mm ( ⁄8 in.) at the base and
some cases, mere tapping of the specimen assembly will
6mm( ⁄4 in.) in height. For all samples, grind the base of the
produce the correct number of fringes. Carefully measure and
flatconesandcementtheflatconebasetotheflatendofaglass
record the height of each cone. Upon achieving the proper
rod with heated sealing wax. Grind the piece to a finished cone
number of fringes, place the refractory ring cover on the
by rotating the rod while the piece is held against a rotating
crucible and recheck for fringes.
abrasive wheel (a silicon carbide type is satisfactory).
5.2.1 When a reasonably symmetrical cone with a rounded 7.3 Without rotating the crucible, gently lower it into the
tip is obtained, remove it from the rod by heating the wax or by furnace and onto the bottom support so the thermocouple rests
pressure with the fingertips. Remove all sealing wax with a at the bottom of the crucible. Cover the top of the furnace with
knife blade or abrasive paper. a quartz plate.
5.2.2 The test cone height may be of the order of 4.8 mm
7.4 Rotate the telescope and check the fringe pattern. If
( ⁄16 in.). These bases must be smooth and flat. Use No. 0
excessive glare or poor contrast are present, adjust by moving
metallurgical paper to approach the desired figure and then use
the quartz cover, moving the light source, or releveling the
successively finer papers until the final reduction is made with
telescope.
a No. 3/0 paper.
NOTE 1—Removal of the telescope eyepiece should reveal a bright dot,
4 which is the true image. This must be in the field or no fringes will be
6. Calibration of Furnace
seen. If this bright dot of the true image is not seen when the eyepiece is
removed, a great deal of trial and error adjustment of the telescope tripod
6.1 Using the following procedure, calibrate the furnace
must be made.Anumber of false images may also be present. These must
controls to obtain a heating rate of 3°C (5.5°F)/min:
be sorted out by inserting the eyepiece and checking to see if fringes are
6.1.1 Prepare three conical spacers closely approximating
present. If no fringes are seen, the bright dot is a false image.
the dimensions of the final test pieces described in Section 5.
7.5 Standardize the potentiometer if necessary and set the
These spacers shall be ground from fragments of refractory
potentiometer or other temperature measuring instrument to
ceramic known to have a softening temperature in excess of
38°C (100°F).
1000°C (1830°F).
6.1.2 Assemble the upper and lower interferometer plates 7.6 Slowly heat the furnace to 38°C (100°F). Center the
with three refractory spacers as described in Section 7, except
c
...


Questions, Comments and Discussion
Ask us and Technical Secretary will try to provide an answer. You can facilitate discussion about the standard in here.