ASTM B428-09
(Test Method)Standard Test Method for Angle of Twist in Rectangular and Square Copper and Copper Alloy Tube
Standard Test Method for Angle of Twist in Rectangular and Square Copper and Copper Alloy Tube
SIGNIFICANCE AND USE
The rectangular or square copper alloy tube covered by this test method may be used in applications in which control of twist is important to proper fit in final assembly and to minimize rework to bring the tube into compliance. It is recognized that the amount of twist, in degrees, per increment of length can change as a result of the weight of the product and its length during measurement.
This test method provides a procedure for measuring the twist in square and rectangular copper and copper alloy tubes as a measure of the deviation from straightness.
This test method allows the purchaser and supplier or manufacturer to inspect square and rectangular copper and copper alloy tube with a standard technique that provides acceptable twist in delivered tubes.
SCOPE
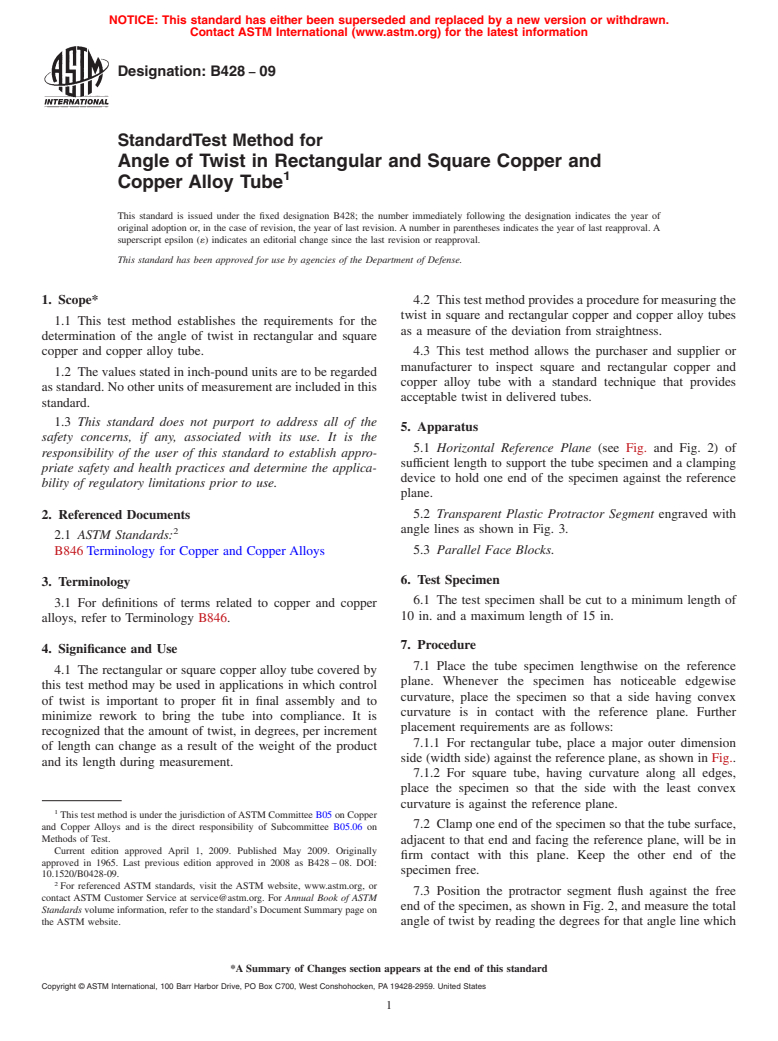
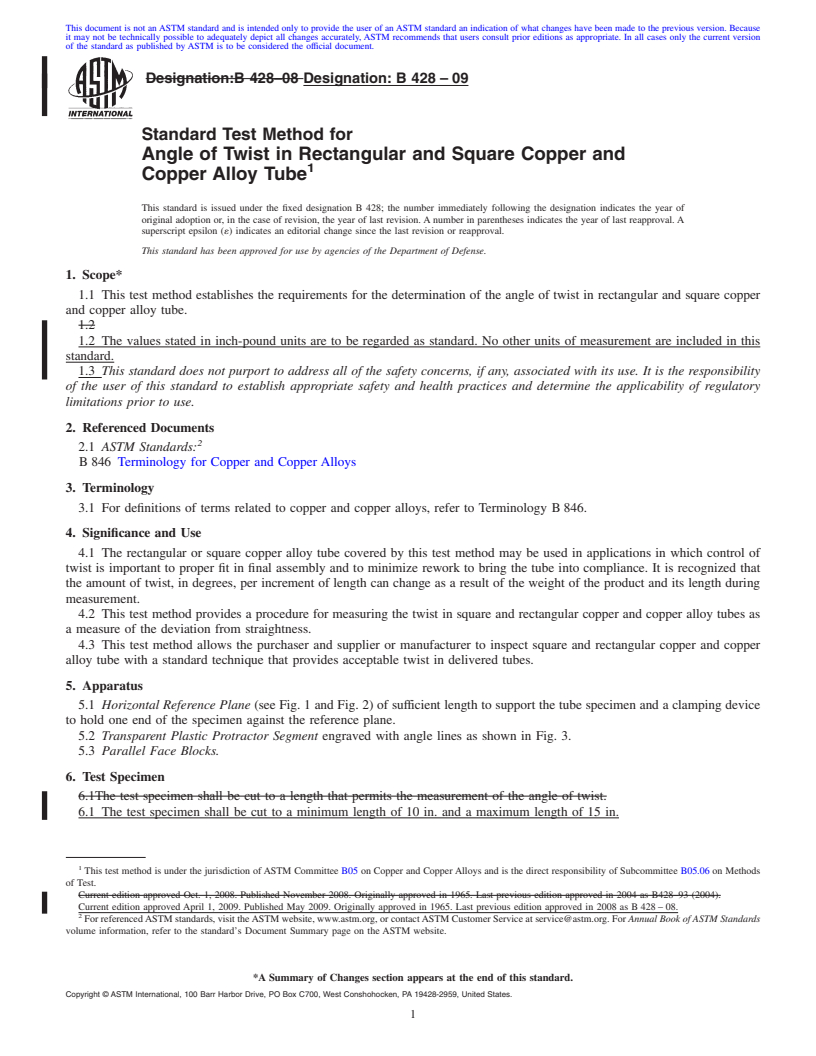
1.1 This test method establishes the requirements for the determination of the angle of twist in rectangular and square copper and copper alloy tube.
1.2 The values stated in inch-pound units are to be regarded as standard. No other units of measurement are included in this standard.
1.3 This standard does not purport to address all of the safety concerns, if any, associated with its use. It is the responsibility of the user of this standard to establish appropriate safety and health practices and determine the applicability of regulatory limitations prior to use.
General Information
Relations
Buy Standard
Standards Content (Sample)
NOTICE: This standard has either been superseded and replaced by a new version or withdrawn.
Contact ASTM International (www.astm.org) for the latest information
Designation: B428 − 09
StandardTest Method for
Angle of Twist in Rectangular and Square Copper and
1
Copper Alloy Tube
This standard is issued under the fixed designation B428; the number immediately following the designation indicates the year of
original adoption or, in the case of revision, the year of last revision. A number in parentheses indicates the year of last reapproval. A
superscript epsilon (´) indicates an editorial change since the last revision or reapproval.
This standard has been approved for use by agencies of the Department of Defense.
1. Scope* 4.2 This test method provides a procedure for measuring the
twist in square and rectangular copper and copper alloy tubes
1.1 This test method establishes the requirements for the
as a measure of the deviation from straightness.
determination of the angle of twist in rectangular and square
copper and copper alloy tube. 4.3 This test method allows the purchaser and supplier or
manufacturer to inspect square and rectangular copper and
1.2 The values stated in inch-pound units are to be regarded
copper alloy tube with a standard technique that provides
as standard. No other units of measurement are included in this
acceptable twist in delivered tubes.
standard.
1.3 This standard does not purport to address all of the
5. Apparatus
safety concerns, if any, associated with its use. It is the
5.1 Horizontal Reference Plane (see Fig. and Fig. 2) of
responsibility of the user of this standard to establish appro-
sufficient length to support the tube specimen and a clamping
priate safety and health practices and determine the applica-
device to hold one end of the specimen against the reference
bility of regulatory limitations prior to use.
plane.
2. Referenced Documents 5.2 Transparent Plastic Protractor Segment engraved with
2 angle lines as shown in Fig. 3.
2.1 ASTM Standards:
5.3 Parallel Face Blocks.
B846 Terminology for Copper and Copper Alloys
6. Test Specimen
3. Terminology
6.1 The test specimen shall be cut to a minimum length of
3.1 For definitions of terms related to copper and copper
10 in. and a maximum length of 15 in.
alloys, refer to Terminology B846.
7. Procedure
4. Significance and Use
7.1 Place the tube specimen lengthwise on the reference
4.1 The rectangular or square copper alloy tube covered by
plane. Whenever the specimen has noticeable edgewise
this test method may be used in applications in which control
curvature, place the specimen so that a side having convex
of twist is important to proper fit in final assembly and to
curvature is in contact with the reference plane. Further
minimize rework to bring the tube into compliance. It is
placement requirements are as follows:
recognized that the amount of twist, in degrees, per increment
7.1.1 For rectangular tube, place a major outer dimension
of length can change as a result of the weight of the product
side (width side) against the reference plane, as shown in Fig.
and its length during measurement.
7.1.2 For square tube, having curvature along all edges,
place the specimen so that the side with the least convex
curvature is against the reference plane.
1
This test method is under the jurisdiction ofASTM Committee B05 on Copper
7.2 Clamp one end of the specimen so that the tube surface,
and Copper Alloys and is the direct responsibility of Subcommittee B05.06 on
Methods of Test.
adjacent to that end and facing the reference plane, will be in
Current edition approved April 1, 2009. Published May 2009. Originally
firm contact with this plane. Keep the other end of the
ap
...
This document is not an ASTM standard and is intended only to provide the user of an ASTM standard an indication of what changes have been made to the previous version. Because
it may not be technically possible to adequately depict all changes accurately, ASTM recommends that users consult prior editions as appropriate. In all cases only the current version
of the standard as published by ASTM is to be considered the official document.
Designation:B 428–08 Designation:B 428–09
Standard Test Method for
Angle of Twist in Rectangular and Square Copper and
1
Copper Alloy Tube
This standard is issued under the fixed designation B 428; the number immediately following the designation indicates the year of
original adoption or, in the case of revision, the year of last revision. A number in parentheses indicates the year of last reapproval. A
superscript epsilon (´) indicates an editorial change since the last revision or reapproval.
This standard has been approved for use by agencies of the Department of Defense.
1. Scope*
1.1 This test method establishes the requirements for the determination of the angle of twist in rectangular and square copper
and copper alloy tube.
1.2
1.2 The values stated in inch-pound units are to be regarded as standard. No other units of measurement are included in this
standard.
1.3 This standard does not purport to address all of the safety concerns, if any, associated with its use. It is the responsibility
of the user of this standard to establish appropriate safety and health practices and determine the applicability of regulatory
limitations prior to use.
2. Referenced Documents
2
2.1 ASTM Standards:
B 846 Terminology for Copper and Copper Alloys
3. Terminology
3.1 For definitions of terms related to copper and copper alloys, refer to Terminology B 846.
4. Significance and Use
4.1 The rectangular or square copper alloy tube covered by this test method may be used in applications in which control of
twist is important to proper fit in final assembly and to minimize rework to bring the tube into compliance. It is recognized that
the amount of twist, in degrees, per increment of length can change as a result of the weight of the product and its length during
measurement.
4.2 This test method provides a procedure for measuring the twist in square and rectangular copper and copper alloy tubes as
a measure of the deviation from straightness.
4.3 This test method allows the purchaser and supplier or manufacturer to inspect square and rectangular copper and copper
alloy tube with a standard technique that provides acceptable twist in delivered tubes.
5. Apparatus
5.1 Horizontal Reference Plane (see Fig. 1 and Fig. 2) of sufficient length to support the tube specimen and a clamping device
to hold one end of the specimen against the reference plane.
5.2 Transparent Plastic Protractor Segment engraved with angle lines as shown in Fig. 3.
5.3 Parallel Face Blocks.
6. Test Specimen
6.1The test specimen shall be cut to a length that permits the measurement of the angle of twist.
6.1 The test specimen shall be cut to a minimum length of 10 in. and a maximum length of 15 in.
1
This test method is under the jurisdiction of ASTM Committee B05 on Copper and Copper Alloys and is the direct responsibility of Subcommittee B05.06 on Methods
of Test.
Current edition approved Oct. 1, 2008. Published November 2008. Originally approved in 1965. Last previous edition approved in 2004 as B428–93 (2004).
Current edition approved April 1, 2009. Published May 2009. Originally approved in 1965. Last previous edition approved in 2008 as B 428 – 08.
2
For referencedASTM standards, visit theASTM website, www.astm.org, or contactASTM Customer Service at service@astm.org. For Annual Book ofASTM Standards
volume information, refer to the standard’s Document Summary page on the ASTM website.
*A Summary of Changes section appears at the end of this standard.
Copyright © ASTM International, 100 Barr Harbor Drive, PO Box C700, West Conshohocken, PA 19428-2959, United States.
1
---------------------- Page: 1 ----------------------
B428–09
7. Procedure
7.1 Placethetubespecimenlengthwiseonthereferenceplane.Wheneverthespecimenhasnoticeableedgewisecurvature,place
the specimen so that a side having convex curvature is in contact with the reference plane. Further placement requirements are as
follows:
7.1.1 For rectangular tube, place a major outer dimension side (width side) against the reference plane, as shown in Fig. 1.
7.1.2 For square tube, having curvature along all edges, place the specimen so that the side with the least convex curvature is
against the reference plane.
7.2 Clamp one end of the specimen so that the tube surface, adjacent to that end and facing the reference plane, will be in firm
contact with this plane. Keep the other end of the specimen free.
7.3 Position the protractor segment flush against the free end of the specimen, as shown in Fig. 2, and measure the total angle
of twist by reading the degrees for t
...


Questions, Comments and Discussion
Ask us and Technical Secretary will try to provide an answer. You can facilitate discussion about the standard in here.