ASTM E399-09e1
(Test Method)Standard Test Method for Linear-Elastic Plane-Strain Fracture Toughness K Ic of Metallic Materials
Standard Test Method for Linear-Elastic Plane-Strain Fracture Toughness <bdit>K<inf> Ic</inf></bdit> of Metallic Materials
SIGNIFICANCE AND USE
The property KIc determined by this test method characterizes the resistance of a material to fracture in a neutral environment in the presence of a sharp crack under essentially linear-elastic stress and severe tensile constraint, such that (1) the state of stress near the crack front approaches tritensile plane strain, and (2) the crack-tip plastic zone is small compared to the crack size, specimen thickness, and ligament ahead of the crack.
Variation in the value of KIc can be expected within the allowable range of specimen proportions, a/W and W/B. KIc may also be expected to rise with increasing ligament size. Notwithstanding these variations, however, KIc is believed to represent a lower limiting value of fracture toughness (for 2 % apparent crack extension) in the environment and at the speed and temperature of the test.
Lower values of KIc can be obtained for materials that fail by cleavage fracture; for example, ferritic steels in the ductile-to-brittle transition region or below, where the crack front length affects the measurement in a stochastic manner independent of crack front constraint. The present test method does not apply to such materials and the user is referred to Test Method E1921 and E1820 E1820. Likewise this test method does not apply to high toughness or high tearing-resistance materials whose failure is accompanied by appreciable amounts of plasticity. Guidance on testing elastic-plastic materials is given in Test Method E1820.
The value of KIc obtained by this test method may be used to estimate the relation between failure stress and crack size for a material in service wherein the conditions of high constraint described above would be expected. Background information concerning the basis for development of this test method in terms of linear elastic fracture mechanics may be found in Refs (1) and (3).
Cyclic forces can cause crack extension at KI values less than KIc. Crack extension under cyclic or sustained forces (as by stre...
SCOPE
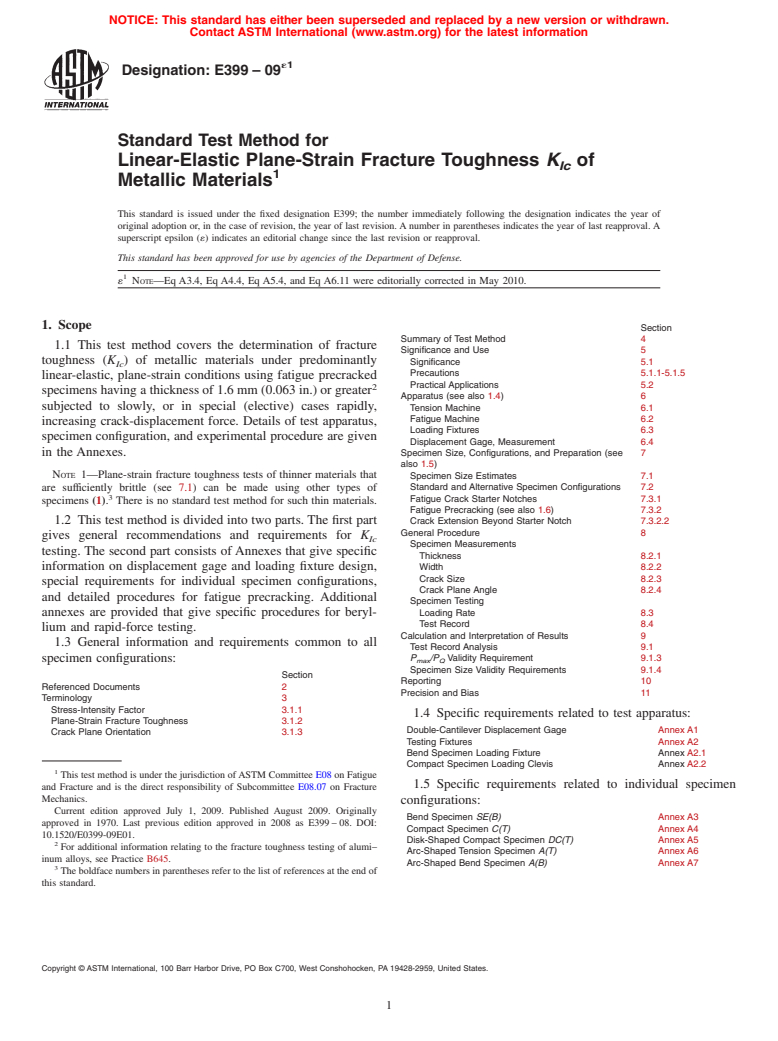
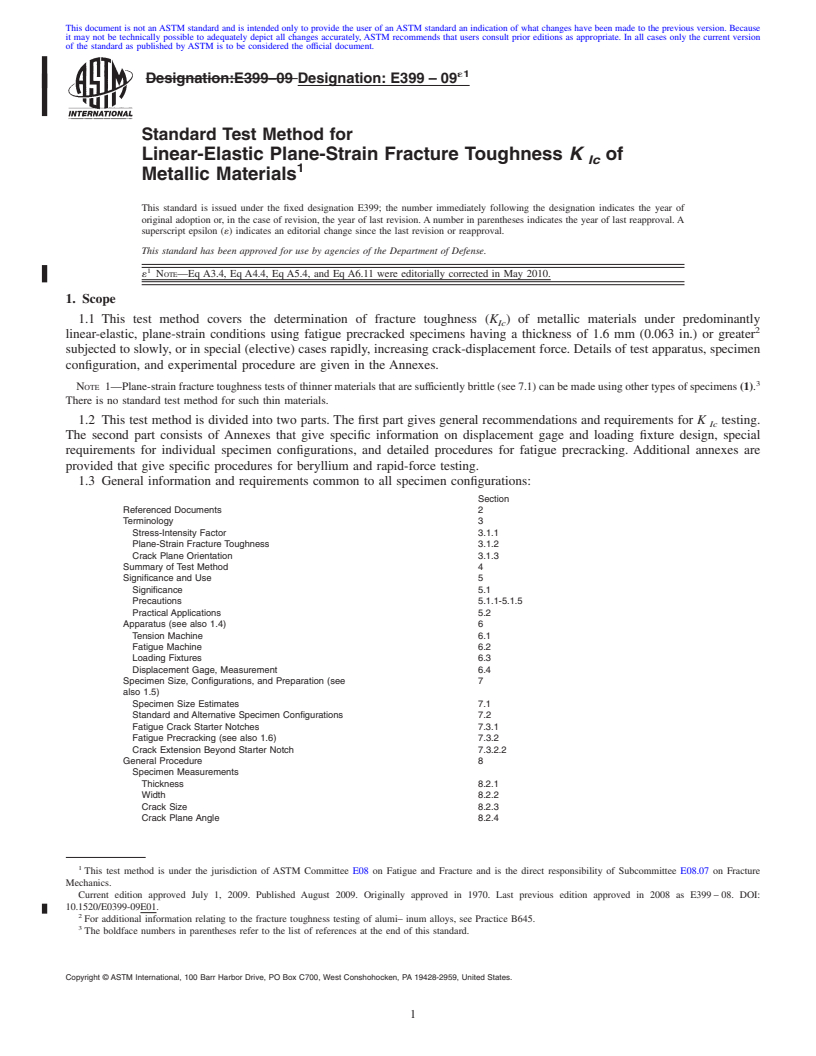
1.1 This test method covers the determination of fracture toughness (KIc) of metallic materials under predominantly linear-elastic, plane-strain conditions using fatigue precracked specimens having a thickness of 1.6 mm (0.063 in.) or greater subjected to slowly, or in special (elective) cases rapidly, increasing crack-displacement force. Details of test apparatus, specimen configuration, and experimental procedure are given in the Annexes.
Note 1—Plane-strain fracture toughness tests of thinner materials that are sufficiently brittle (see 7.1) can be made using other types of specimens (1). There is no standard test method for such thin materials.
1.2 This test method is divided into two parts. The first part gives general recommendations and requirements for KIc testing. The second part consists of Annexes that give specific information on displacement gage and loading fixture design, special requirements for individual specimen configurations, and detailed procedures for fatigue precracking. Additional annexes are provided that give specific procedures for beryllium and rapid-force testing.
General Information
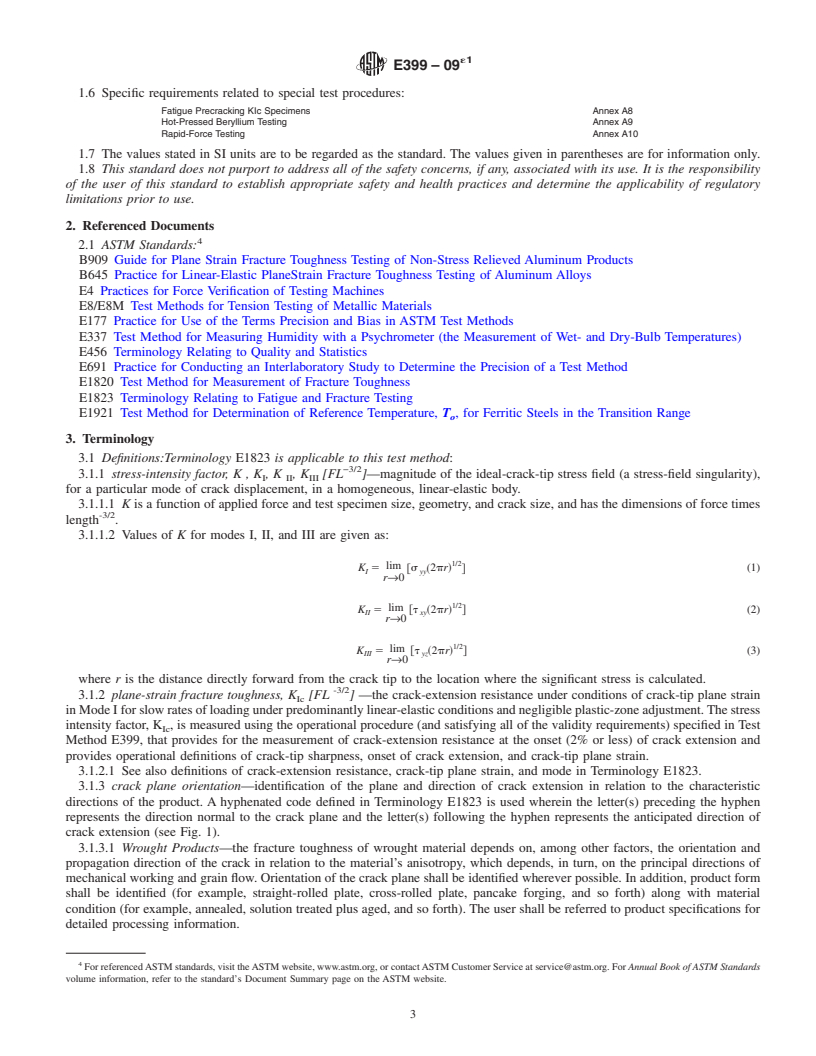
Relations
Buy Standard
Standards Content (Sample)
NOTICE: This standard has either been superseded and replaced by a new version or withdrawn.
Contact ASTM International (www.astm.org) for the latest information
´1
Designation: E399 – 09
Standard Test Method for
Linear-Elastic Plane-Strain Fracture Toughness K of
Ic
1
Metallic Materials
This standard is issued under the fixed designation E399; the number immediately following the designation indicates the year of
original adoption or, in the case of revision, the year of last revision.Anumber in parentheses indicates the year of last reapproval.A
superscript epsilon (´) indicates an editorial change since the last revision or reapproval.
This standard has been approved for use by agencies of the Department of Defense.
1
´ NOTE—Eq A3.4, Eq A4.4, Eq A5.4, and Eq A6.11 were editorially corrected in May 2010.
1. Scope
Section
Summary of Test Method 4
1.1 This test method covers the determination of fracture
Significance and Use 5
toughness (K ) of metallic materials under predominantly
Significance 5.1
Ic
Precautions 5.1.1-5.1.5
linear-elastic, plane-strain conditions using fatigue precracked
Practical Applications 5.2
2
specimenshavingathicknessof1.6mm(0.063in.)orgreater
Apparatus (see also 1.4) 6
subjected to slowly, or in special (elective) cases rapidly,
Tension Machine 6.1
Fatigue Machine 6.2
increasing crack-displacement force. Details of test apparatus,
Loading Fixtures 6.3
specimen configuration, and experimental procedure are given
Displacement Gage, Measurement 6.4
in the Annexes. Specimen Size, Configurations, and Preparation (see 7
also 1.5)
NOTE 1—Plane-strain fracture toughness tests of thinner materials that
Specimen Size Estimates 7.1
are sufficiently brittle (see 7.1) can be made using other types of Standard and Alternative Specimen Configurations 7.2
3
Fatigue Crack Starter Notches 7.3.1
specimens (1). There is no standard test method for such thin materials.
Fatigue Precracking (see also 1.6) 7.3.2
1.2 This test method is divided into two parts.The first part Crack Extension Beyond Starter Notch 7.3.2.2
General Procedure 8
gives general recommendations and requirements for K
Ic
Specimen Measurements
testing. The second part consists ofAnnexes that give specific
Thickness 8.2.1
information on displacement gage and loading fixture design, Width 8.2.2
Crack Size 8.2.3
special requirements for individual specimen configurations,
Crack Plane Angle 8.2.4
and detailed procedures for fatigue precracking. Additional
Specimen Testing
annexes are provided that give specific procedures for beryl- Loading Rate 8.3
Test Record 8.4
lium and rapid-force testing.
Calculation and Interpretation of Results 9
1.3 General information and requirements common to all
Test Record Analysis 9.1
specimen configurations: P /P Validity Requirement 9.1.3
max Q
Specimen Size Validity Requirements 9.1.4
Section
Reporting 10
Referenced Documents 2
Precision and Bias 11
Terminology 3
Stress-Intensity Factor 3.1.1
1.4 Specific requirements related to test apparatus:
Plane-Strain Fracture Toughness 3.1.2
Double-Cantilever Displacement Gage Annex A1
Crack Plane Orientation 3.1.3
Testing Fixtures Annex A2
Bend Specimen Loading Fixture Annex A2.1
Compact Specimen Loading Clevis Annex A2.2
1
This test method is under the jurisdiction ofASTM Committee E08 on Fatigue
1.5 Specific requirements related to individual specimen
and Fracture and is the direct responsibility of Subcommittee E08.07 on Fracture
Mechanics.
configurations:
Current edition approved July 1, 2009. Published August 2009. Originally
Bend Specimen SE(B) Annex A3
approved in 1970. Last previous edition approved in 2008 as E399–08. DOI:
Compact Specimen C(T) Annex A4
10.1520/E0399-09E01.
Disk-Shaped Compact Specimen DC(T) Annex A5
2
For additional information relating to the fracture toughness testing of alumi–
Arc-Shaped Tension Specimen A(T) Annex A6
inum alloys, see Practice B645.
Arc-Shaped Bend Specimen A(B) Annex A7
3
Theboldfacenumbersinparenthesesrefertothelistofreferencesattheendof
this standard.
Copyright © ASTM International, 100 Barr Harbor Drive, PO Box C700, West Conshohocken, PA 19428-2959, United States.
1
---------------------- Page: 1 ----------------------
´1
E399 – 09
1.6 Specific requirements related to special test procedures:
1/2
lim
K 5 @t ~2pr! # (3)
III yz
Fatigue Precracking KIc Specimens Annex A8
r→0
Hot-Pressed Beryllium Testing Annex A9
Rapid-Force Testing Annex A10
where r is the distance directly forward from the crack tip to
the location where the significant stress is calculated.
1.7 The values stated in SI units are to be regarded as the
-3/2
standard. The values given in parentheses are for information
3.1.2 plane-strain fracture toughness, K [FL ] —the
Ic
only. crack-extension resistance under conditions of crack-tip plane
1.8 This standard does not purport to address all of the
strain in Mode I for slow rates of loading under predominantly
safety concerns, if any, associated with its use. It is the linear-elastic conditions and negligible pla
...
This document is not anASTM standard and is intended only to provide the user of anASTM standard an indication of what changes have been made to the previous version. Because
it may not be technically possible to adequately depict all changes accurately, ASTM recommends that users consult prior editions as appropriate. In all cases only the current version
of the standard as published by ASTM is to be considered the official document.
´1
Designation:E399–09 Designation: E399 – 09
Standard Test Method for
Linear-Elastic Plane-Strain Fracture Toughness K of
Ic
1
Metallic Materials
This standard is issued under the fixed designation E399; the number immediately following the designation indicates the year of
original adoption or, in the case of revision, the year of last revision.Anumber in parentheses indicates the year of last reapproval.A
superscript epsilon (´) indicates an editorial change since the last revision or reapproval.
This standard has been approved for use by agencies of the Department of Defense.
1
´ NOTE—Eq A3.4, Eq A4.4, Eq A5.4, and Eq A6.11 were editorially corrected in May 2010.
1. Scope
1.1 This test method covers the determination of fracture toughness (K ) of metallic materials under predominantly
Ic
2
linear-elastic, plane-strain conditions using fatigue precracked specimens having a thickness of 1.6 mm (0.063 in.) or greater
subjected to slowly, or in special (elective) cases rapidly, increasing crack-displacement force. Details of test apparatus, specimen
configuration, and experimental procedure are given in the Annexes.
3
NOTE 1—Plane-strainfracturetoughnesstestsofthinnermaterialsthataresufficientlybrittle(see7.1)canbemadeusingothertypesofspecimens(1).
There is no standard test method for such thin materials.
1.2 This test method is divided into two parts. The first part gives general recommendations and requirements for K testing.
Ic
The second part consists of Annexes that give specific information on displacement gage and loading fixture design, special
requirements for individual specimen configurations, and detailed procedures for fatigue precracking. Additional annexes are
provided that give specific procedures for beryllium and rapid-force testing.
1.3 General information and requirements common to all specimen configurations:
Section
Referenced Documents 2
Terminology 3
Stress-Intensity Factor 3.1.1
Plane-Strain Fracture Toughness 3.1.2
Crack Plane Orientation 3.1.3
Summary of Test Method 4
Significance and Use 5
Significance 5.1
Precautions 5.1.1-5.1.5
Practical Applications 5.2
Apparatus (see also 1.4) 6
Tension Machine 6.1
Fatigue Machine 6.2
Loading Fixtures 6.3
Displacement Gage, Measurement 6.4
Specimen Size, Configurations, and Preparation (see 7
also 1.5)
Specimen Size Estimates 7.1
Standard and Alternative Specimen Configurations 7.2
Fatigue Crack Starter Notches 7.3.1
Fatigue Precracking (see also 1.6) 7.3.2
Crack Extension Beyond Starter Notch 7.3.2.2
General Procedure 8
Specimen Measurements
Thickness 8.2.1
Width 8.2.2
Crack Size 8.2.3
Crack Plane Angle 8.2.4
1
This test method is under the jurisdiction of ASTM Committee E08 on Fatigue and Fracture and is the direct responsibility of Subcommittee E08.07 on Fracture
Mechanics.
Current edition approved July 1, 2009. Published August 2009. Originally approved in 1970. Last previous edition approved in 2008 as E399–08. DOI:
10.1520/E0399-09E01.
2
For additional information relating to the fracture toughness testing of alumi– inum alloys, see Practice B645.
3
The boldface numbers in parentheses refer to the list of references at the end of this standard.
Copyright © ASTM International, 100 Barr Harbor Drive, PO Box C700, West Conshohocken, PA 19428-2959, United States.
1
---------------------- Page: 1 ----------------------
´1
E399 – 09
Section
Specimen Testing
Loading Rate 8.3
Test Record 8.4
Calculation and Interpretation of Results 9
Test Record Analysis 9.1
P /P Validity Requirement 9.1.3
max Q
Specimen Size Validity Requirements 9.1.4
Reporting 10
Precision and Bias 11
1.4 Specific requirements related to test apparatus:
Double-Cantilever Displacement Gage Annex A1
Testing Fixtures Annex A2
Bend Specimen Loading Fixture Annex A2.1
Compact Specimen Loading Clevis Annex A2.2
1.5 Specific requirements related to individual specimen configurations:
Bend Specimen SE(B) Annex A3
Compact Specimen C(T) Annex A4
Disk-Shaped Compact Specimen DC(T) Annex A5
Arc-Shaped Tension Specimen A(T) Annex A6
Arc-Shaped Bend Specimen A(B) Annex A7
2
---------------------- Page: 2 ----------------------
´1
E399 – 09
1.6 Specific requirements related to special test procedures:
Fatigue Precracking KIc Specimens Annex A8
Hot-Pressed Beryllium Testing Annex A9
Rapid-Force Testing Annex A10
1.7 The values stated in SI units are to be regarded as the standard. The values given in parentheses are for information only.
1.8 This standard does not purport to address all of the safety concerns, if any, associated with its use. It is the responsibilit
...


Questions, Comments and Discussion
Ask us and Technical Secretary will try to provide an answer. You can facilitate discussion about the standard in here.