ASTM D2122-15
(Test Method)Standard Test Method for Determining Dimensions of Thermoplastic Pipe and Fittings
Standard Test Method for Determining Dimensions of Thermoplastic Pipe and Fittings
SIGNIFICANCE AND USE
5.1 This test method provides for determining the physical dimensions of thermoplastic pipe and fittings. This test method is suitable for determination of dimensional compliance with product specifications.
SCOPE
1.1 This test method covers the determination of diameter, wall thickness, and length dimensions of thermoplastic pipe. Included are procedures for measurement of the inside diameter of pipe intended to be joined by internal fittings, measurement of the average outside diameter for roundable pipe where out-of-roundness is not of primary concern, out-of-roundness measurement and measurement of the average outside diameter of non-roundable pipe, and for determining length and straightness.
1.2 This test method also includes procedures for dimensioning molded thermoplastic pipe fittings.
1.3 The values stated in inch-pound units are to be regarded as standard. The values given in parentheses are mathematical conversions to SI units that are provided for information only and are not considered standard.
1.4 This standard does not purport to address all of the safety concerns, if any, associated with its use. It is the responsibility of the user of this standard to establish appropriate safety and health practices and determine the applicability of regulatory limitations prior to use.
General Information
Relations
Buy Standard
Standards Content (Sample)
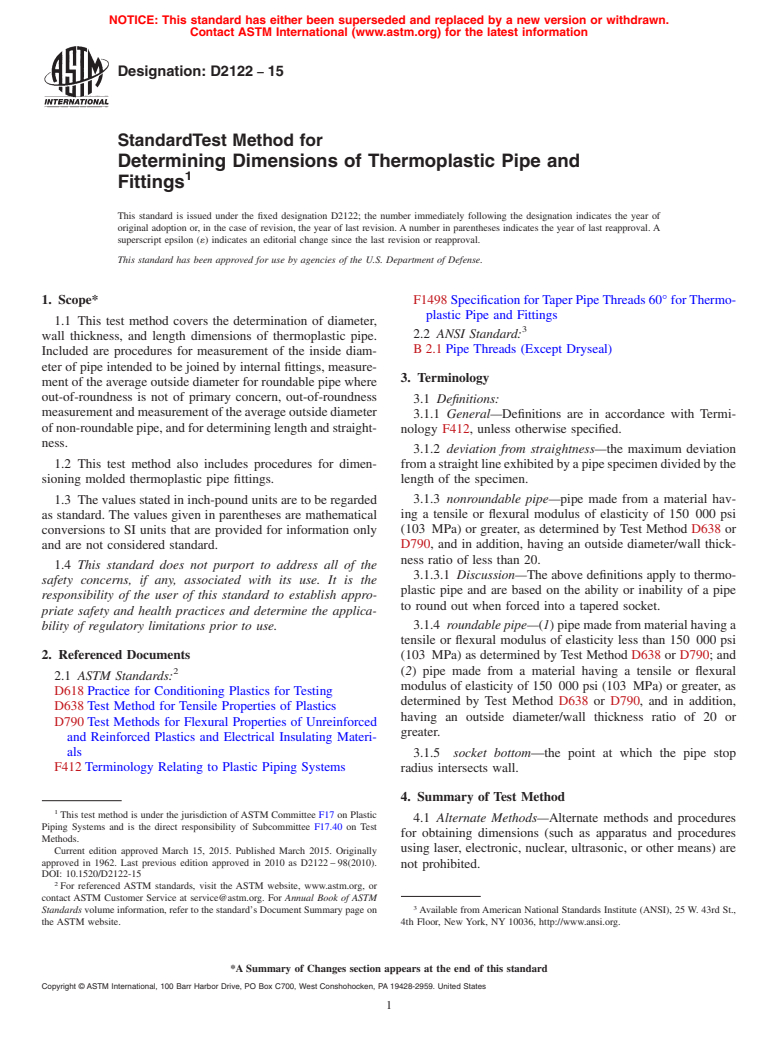
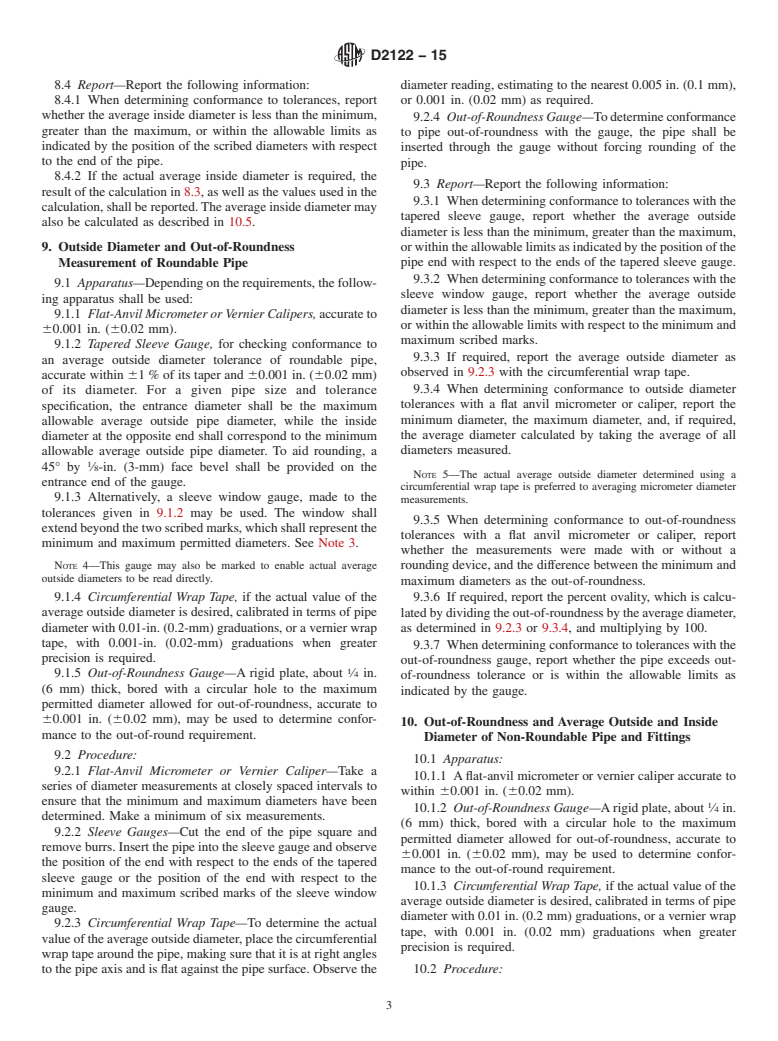
NOTICE: This standard has either been superseded and replaced by a new version or withdrawn.
Contact ASTM International (www.astm.org) for the latest information
Designation: D2122 − 15
StandardTest Method for
Determining Dimensions of Thermoplastic Pipe and
1
Fittings
This standard is issued under the fixed designation D2122; the number immediately following the designation indicates the year of
original adoption or, in the case of revision, the year of last revision. A number in parentheses indicates the year of last reapproval. A
superscript epsilon (´) indicates an editorial change since the last revision or reapproval.
This standard has been approved for use by agencies of the U.S. Department of Defense.
1. Scope* F1498 Specification forTaper PipeThreads 60° forThermo-
plastic Pipe and Fittings
1.1 This test method covers the determination of diameter,
3
2.2 ANSI Standard:
wall thickness, and length dimensions of thermoplastic pipe.
B 2.1 Pipe Threads (Except Dryseal)
Included are procedures for measurement of the inside diam-
eter of pipe intended to be joined by internal fittings, measure-
3. Terminology
ment of the average outside diameter for roundable pipe where
out-of-roundness is not of primary concern, out-of-roundness
3.1 Definitions:
measurementandmeasurementoftheaverageoutsidediameter
3.1.1 General—Definitions are in accordance with Termi-
ofnon-roundablepipe,andfordetermininglengthandstraight-
nology F412, unless otherwise specified.
ness.
3.1.2 deviation from straightness—the maximum deviation
1.2 This test method also includes procedures for dimen- fromastraightlineexhibitedbyapipespecimendividedbythe
sioning molded thermoplastic pipe fittings. length of the specimen.
3.1.3 nonroundable pipe—pipe made from a material hav-
1.3 The values stated in inch-pound units are to be regarded
ing a tensile or flexural modulus of elasticity of 150 000 psi
as standard. The values given in parentheses are mathematical
(103 MPa) or greater, as determined by Test Method D638 or
conversions to SI units that are provided for information only
D790, and in addition, having an outside diameter/wall thick-
and are not considered standard.
ness ratio of less than 20.
1.4 This standard does not purport to address all of the
3.1.3.1 Discussion—The above definitions apply to thermo-
safety concerns, if any, associated with its use. It is the
plastic pipe and are based on the ability or inability of a pipe
responsibility of the user of this standard to establish appro-
to round out when forced into a tapered socket.
priate safety and health practices and determine the applica-
bility of regulatory limitations prior to use. 3.1.4 roundable pipe—(1)pipemadefrommaterialhavinga
tensile or flexural modulus of elasticity less than 150 000 psi
2. Referenced Documents
(103 MPa) as determined by Test Method D638 or D790; and
2 (2) pipe made from a material having a tensile or flexural
2.1 ASTM Standards:
modulus of elasticity of 150 000 psi (103 MPa) or greater, as
D618 Practice for Conditioning Plastics for Testing
determined by Test Method D638 or D790, and in addition,
D638 Test Method for Tensile Properties of Plastics
having an outside diameter/wall thickness ratio of 20 or
D790 Test Methods for Flexural Properties of Unreinforced
greater.
and Reinforced Plastics and Electrical Insulating Materi-
als
3.1.5 socket bottom—the point at which the pipe stop
F412 Terminology Relating to Plastic Piping Systems radius intersects wall.
4. Summary of Test Method
1
This test method is under the jurisdiction of ASTM Committee F17 on Plastic
4.1 Alternate Methods—Alternate methods and procedures
Piping Systems and is the direct responsibility of Subcommittee F17.40 on Test
for obtaining dimensions (such as apparatus and procedures
Methods.
using laser, electronic, nuclear, ultrasonic, or other means) are
Current edition approved March 15, 2015. Published March 2015. Originally
approved in 1962. Last previous edition approved in 2010 as D2122 – 98(2010).
not prohibited.
DOI: 10.1520/D2122-15
2
For referenced ASTM standards, visit the ASTM website, www.astm.org, or
contact ASTM Customer Service at service@astm.org. For Annual Book of ASTM
3
Standards volume information, refer to the standard’s Document Summary page on Available from American National Standards Institute (ANSI), 25 W. 43rd St.,
the ASTM website. 4th Floor, New York, NY 10036, http://www.ansi.org.
*A Summary of Changes section appears at the end of this standard
Copyright © ASTM International, 100 Barr Harbor Drive, PO Box C700, West Conshohocken, PA 19428-2959. United States
1
---------------------- Page: 1 ----------------------
D2122 − 15
4.1.1 The user of an alternate method shall validate the 7.3 Calculation:
alternate method. The alternate method is validated when both 7.3.1 Calculate the average wall thickness by taking the
the product is measured according to the Apparatus and average of all values measured.
Procedure sections presented in this test method, and when
...
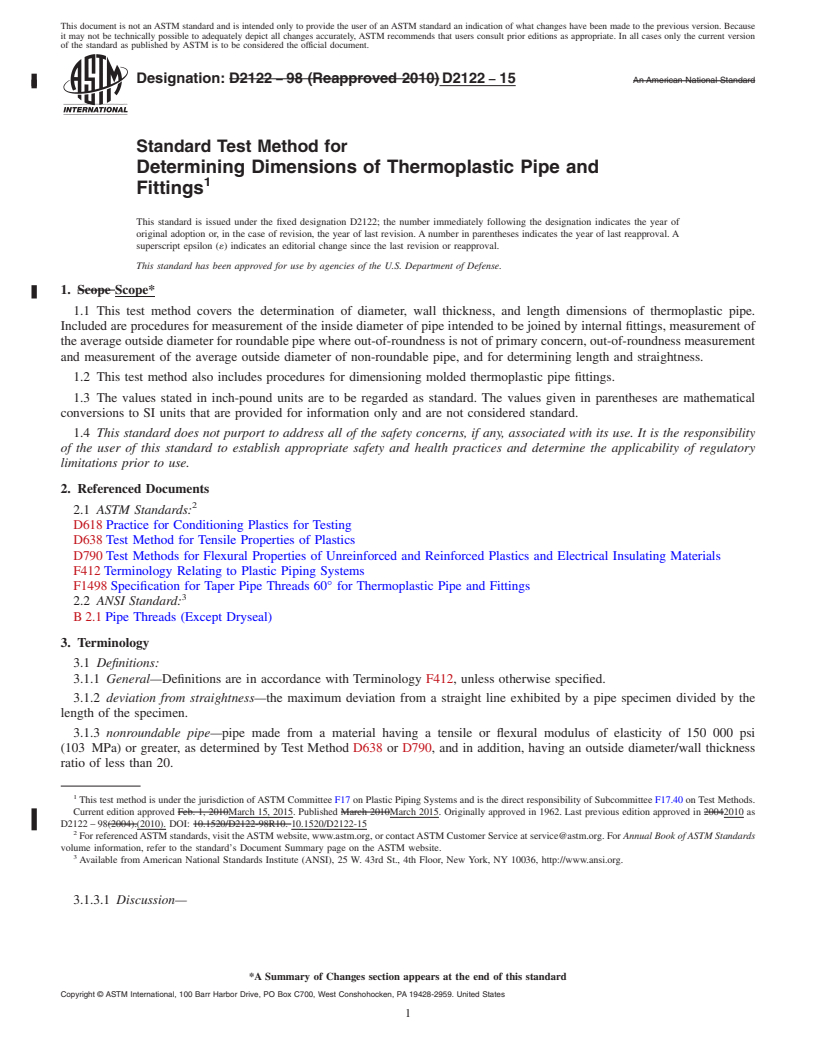
This document is not an ASTM standard and is intended only to provide the user of an ASTM standard an indication of what changes have been made to the previous version. Because
it may not be technically possible to adequately depict all changes accurately, ASTM recommends that users consult prior editions as appropriate. In all cases only the current version
of the standard as published by ASTM is to be considered the official document.
Designation: D2122 − 98 (Reapproved 2010) D2122 − 15 An American National Standard
Standard Test Method for
Determining Dimensions of Thermoplastic Pipe and
1
Fittings
This standard is issued under the fixed designation D2122; the number immediately following the designation indicates the year of
original adoption or, in the case of revision, the year of last revision. A number in parentheses indicates the year of last reapproval. A
superscript epsilon (´) indicates an editorial change since the last revision or reapproval.
This standard has been approved for use by agencies of the U.S. Department of Defense.
1. Scope Scope*
1.1 This test method covers the determination of diameter, wall thickness, and length dimensions of thermoplastic pipe.
Included are procedures for measurement of the inside diameter of pipe intended to be joined by internal fittings, measurement of
the average outside diameter for roundable pipe where out-of-roundness is not of primary concern, out-of-roundness measurement
and measurement of the average outside diameter of non-roundable pipe, and for determining length and straightness.
1.2 This test method also includes procedures for dimensioning molded thermoplastic pipe fittings.
1.3 The values stated in inch-pound units are to be regarded as standard. The values given in parentheses are mathematical
conversions to SI units that are provided for information only and are not considered standard.
1.4 This standard does not purport to address all of the safety concerns, if any, associated with its use. It is the responsibility
of the user of this standard to establish appropriate safety and health practices and determine the applicability of regulatory
limitations prior to use.
2. Referenced Documents
2
2.1 ASTM Standards:
D618 Practice for Conditioning Plastics for Testing
D638 Test Method for Tensile Properties of Plastics
D790 Test Methods for Flexural Properties of Unreinforced and Reinforced Plastics and Electrical Insulating Materials
F412 Terminology Relating to Plastic Piping Systems
F1498 Specification for Taper Pipe Threads 60° for Thermoplastic Pipe and Fittings
3
2.2 ANSI Standard:
B 2.1 Pipe Threads (Except Dryseal)
3. Terminology
3.1 Definitions:
3.1.1 General—Definitions are in accordance with Terminology F412, unless otherwise specified.
3.1.2 deviation from straightness—the maximum deviation from a straight line exhibited by a pipe specimen divided by the
length of the specimen.
3.1.3 nonroundable pipe—pipe made from a material having a tensile or flexural modulus of elasticity of 150 000 psi
(103 MPa) or greater, as determined by Test Method D638 or D790, and in addition, having an outside diameter/wall thickness
ratio of less than 20.
1
This test method is under the jurisdiction of ASTM Committee F17 on Plastic Piping Systems and is the direct responsibility of Subcommittee F17.40 on Test Methods.
Current edition approved Feb. 1, 2010March 15, 2015. Published March 2010March 2015. Originally approved in 1962. Last previous edition approved in 20042010 as
D2122 – 98(2004).(2010). DOI: 10.1520/D2122-98R10. 10.1520/D2122-15
2
For referenced ASTM standards, visit the ASTM website, www.astm.org, or contact ASTM Customer Service at service@astm.org. For Annual Book of ASTM Standards
volume information, refer to the standard’s Document Summary page on the ASTM website.
3
Available from American National Standards Institute (ANSI), 25 W. 43rd St., 4th Floor, New York, NY 10036, http://www.ansi.org.
3.1.3.1 Discussion—
*A Summary of Changes section appears at the end of this standard
Copyright © ASTM International, 100 Barr Harbor Drive, PO Box C700, West Conshohocken, PA 19428-2959. United States
1
---------------------- Page: 1 ----------------------
D2122 − 15
The above definitions apply to thermoplastic pipe and are based on the ability or inability of a pipe to round out when forced into
a tapered socket.
3.1.4 roundable pipe—(1) pipe made from material having a tensile or flexural modulus of elasticity less than 150 000 psi
(103 MPa) as determined by Test Method D638 or D790; and (2) pipe made from a material having a tensile or flexural modulus
of elasticity of 150 000 psi (103 MPa) or greater, as determined by Test Method D638 or D790, and in addition, having an outside
diameter/wall thickness ratio of 20 or greater.
3.1.5 socket bottom—the point at which the pipe stop radius intersects wall.
4. Summary of Test Method
4.1 Alternate Methods—Alternate methods and procedures for obtaining dimensions (such as apparatus and procedures using
lase
...


Questions, Comments and Discussion
Ask us and Technical Secretary will try to provide an answer. You can facilitate discussion about the standard in here.