ASTM C1648-12
(Guide)Standard Guide for Choosing a Method for Determining the Index of Refraction and Dispersion of Glass
Standard Guide for Choosing a Method for Determining the Index of Refraction and Dispersion of Glass
SIGNIFICANCE AND USE
4.1 Measurement—The refractive index at any wavelength of a piece of homogeneous glass is a function, primarily, of its composition, and secondarily, of its state of annealing. The index of a glass can be altered over a range of up to 1×10⁻⁴ (that is, 1 in the fourth decimal place) by the changing of an annealing schedule. This is a critical consideration for optical glasses, that is, glasses intended for use in high performance optical instruments where the required value of an index can be as exact as 1×10⁻⁶. Compensation for minor variations of composition are made by controlled rates of annealing for such optical glasses; therefore, the ability to measure index to six decimal places can be a necessity; however, for most commercial and experimental glasses, standard annealing schedules appropriate to each are used to limit internal stress and less rigorous methods of test for refractive index are usually adequate. The refractive indices of glass ophthalmic lens pressings are held to 5×10⁻⁴ because the tools used for generating the figures of ophthalmic lenses are made to produce curvatures that are related to specific indices of refraction of the lens materials.
4.2 Dispersion—Dispersion-values aid optical designers in their selection of glasses (Note 1). Each relative partial dispersion-number is calculated for a particular set of three wavelengths, and several such numbers, representing different parts of the spectrum might be used when designing more complex optical systems. For most glasses, dispersion increases with increasing refractive index. For the purposes of this standard, it is sufficient to describe only two reciprocal relative partial dispersions that are commonly used for characterizing glasses. The longest established practice has been to cite the Abbe-number (or Abbe ν-value), calculated by:
where vD is defined in 3.2 and nD, nF, and nC are the indices of refraction at the emission lines defined in 3.2.
4.2.1 Some modern usage speci...
SCOPE
1.1 This guide identifies and describes seven test methods for measuring the index of refraction of glass, with comments relevant to their uses such that an appropriate choice of method can be made. Four additional methods are mentioned by name, and brief descriptive information is given in Annex A1. The choice of a test method will depend upon the accuracy required, the nature of the test specimen that can be provided, the instrumentation available, and (perhaps) the time required for, or the cost of, the analysis. Refractive index is a function of the wavelength of light; therefore, its measurement is made with narrow-bandwidth light. Dispersion is the physical phenomenon of the variation of refractive index with wavelength. The nature of the test-specimen refers to its size, form, and quality of finish, as described in each of the methods herein. The test methods described are mostly for the visible range of wavelengths (approximately 400 to 780μm); however, some methods can be extended to the ultraviolet and near infrared, using radiation detectors other than the human eye.
1.1.1 List of test methods included in this guide:
1.1.1.1 Becke line (method of central illumination),
1.1.1.2 Apparent depth of microscope focus (the method of the Duc de Chaulnes),
1.1.1.3 Critical Angle Refractometers (Abbe type and Pulfrich type),
1.1.1.4 Metricon2 system,
1.1.1.5 Vee-block refractometers,
1.1.1.6 Prism spectrometer, and
1.1.1.7 Specular reflectance.
1.1.2 Test methods presented by name only (see Annex A1):
1.1.2.1 Immersion refractometers,
1.1.2.2 Interferometry,
1.1.2.3 Ellipsometry, and
1.1.2.4 Method of oblique illumination.
1.2 This standard does not purport to address all of the safety concerns, if any, associated with its use. It is the responsibility of the user of this standard to establish appropriate safety and health practices and determine the applicability of regulatory limitations...
General Information
Relations
Buy Standard
Standards Content (Sample)
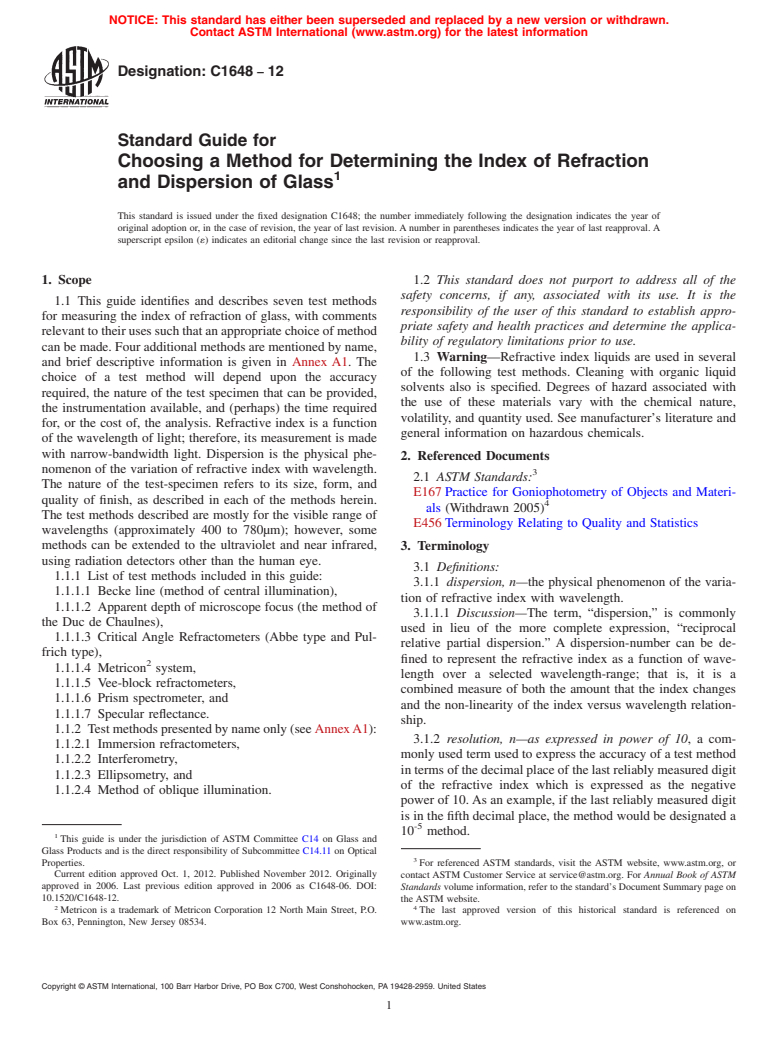
NOTICE: This standard has either been superseded and replaced by a new version or withdrawn.
Contact ASTM International (www.astm.org) for the latest information
Designation: C1648 − 12
Standard Guide for
Choosing a Method for Determining the Index of Refraction
1
and Dispersion of Glass
This standard is issued under the fixed designation C1648; the number immediately following the designation indicates the year of
original adoption or, in the case of revision, the year of last revision.Anumber in parentheses indicates the year of last reapproval.A
superscript epsilon (´) indicates an editorial change since the last revision or reapproval.
1. Scope 1.2 This standard does not purport to address all of the
safety concerns, if any, associated with its use. It is the
1.1 This guide identifies and describes seven test methods
responsibility of the user of this standard to establish appro-
for measuring the index of refraction of glass, with comments
priate safety and health practices and determine the applica-
relevanttotheirusessuchthatanappropriatechoiceofmethod
bility of regulatory limitations prior to use.
canbemade.Fouradditionalmethodsarementionedbyname,
1.3 Warning—Refractive index liquids are used in several
and brief descriptive information is given in Annex A1. The
of the following test methods. Cleaning with organic liquid
choice of a test method will depend upon the accuracy
solvents also is specified. Degrees of hazard associated with
required, the nature of the test specimen that can be provided,
the use of these materials vary with the chemical nature,
the instrumentation available, and (perhaps) the time required
volatility, and quantity used. See manufacturer’s literature and
for, or the cost of, the analysis. Refractive index is a function
general information on hazardous chemicals.
of the wavelength of light; therefore, its measurement is made
with narrow-bandwidth light. Dispersion is the physical phe-
2. Referenced Documents
nomenon of the variation of refractive index with wavelength.
3
2.1 ASTM Standards:
The nature of the test-specimen refers to its size, form, and
E167Practice for Goniophotometry of Objects and Materi-
quality of finish, as described in each of the methods herein.
4
als (Withdrawn 2005)
The test methods described are mostly for the visible range of
E456Terminology Relating to Quality and Statistics
wavelengths (approximately 400 to 780µm); however, some
methods can be extended to the ultraviolet and near infrared,
3. Terminology
using radiation detectors other than the human eye.
3.1 Definitions:
1.1.1 List of test methods included in this guide:
3.1.1 dispersion, n—the physical phenomenon of the varia-
1.1.1.1 Becke line (method of central illumination),
tion of refractive index with wavelength.
1.1.1.2 Apparent depth of microscope focus (the method of
3.1.1.1 Discussion—The term, “dispersion,” is commonly
the Duc de Chaulnes),
used in lieu of the more complete expression, “reciprocal
1.1.1.3 Critical Angle Refractometers (Abbe type and Pul-
relative partial dispersion.” A dispersion-number can be de-
frich type),
fined to represent the refractive index as a function of wave-
2
1.1.1.4 Metricon system,
length over a selected wavelength-range; that is, it is a
1.1.1.5 Vee-block refractometers,
combined measure of both the amount that the index changes
1.1.1.6 Prism spectrometer, and
and the non-linearity of the index versus wavelength relation-
1.1.1.7 Specular reflectance.
ship.
1.1.2 Testmethodspresentedbynameonly(seeAnnexA1):
3.1.2 resolution, n—as expressed in power of 10, a com-
1.1.2.1 Immersion refractometers,
monly used term used to express the accuracy of a test method
1.1.2.2 Interferometry,
intermsofthedecimalplaceofthelastreliablymeasureddigit
1.1.2.3 Ellipsometry, and
of the refractive index which is expressed as the negative
1.1.2.4 Method of oblique illumination.
power of 10.As an example, if the last reliably measured digit
is in the fifth decimal place, the method would be designated a
-5
10 method.
1
This guide is under the jurisdiction of ASTM Committee C14 on Glass and
Glass Products and is the direct responsibility of Subcommittee C14.11 on Optical
3
Properties. For referenced ASTM standards, visit the ASTM website, www.astm.org, or
Current edition approved Oct. 1, 2012. Published November 2012. Originally contact ASTM Customer Service at service@astm.org. For Annual Book of ASTM
approved in 2006. Last previous edition approved in 2006 as C1648-06. DOI: Standards volume information, refer to the standard’s Document Summary page on
10.1520/C1648-12. the ASTM website.
2
4
Metricon is a trademark of Metricon Corporation 12 North Main Street, P.O. The last approved version of this historical standard is referenced on
Box 63, Pennington, New Jersey 08534. www.astm.org.
Copyright © ASTM International, 100 Barr Harbor Drive, PO Box C700, West Conshohocken, PA 19428-2959. United States
1
---------------------- Page: 1 ----------------------
C1648 − 12
A
TABLE 1
...
Designation: C1648 − 06 C1648 − 12
Standard Guide for
Choosing a Method for Determining the Index of Refraction
1
and Dispersion of Glass
This standard is issued under the fixed designation C1648; the number immediately following the designation indicates the year of
original adoption or, in the case of revision, the year of last revision. A number in parentheses indicates the year of last reapproval. A
superscript epsilon (´) indicates an editorial change since the last revision or reapproval.
1. Scope
1.1 This guide identifies and describes seven test methods for measuring the index of refraction of glass, with comments
relevant to their uses such that an appropriate choice of method can be made. Four additional methods are mentioned by name,
and brief descriptive information is given in Annex A1. The choice of a test method will depend upon the accuracy required, the
nature of the test specimen that can be provided, the instrumentation available, and (perhaps) the time required for, or the cost of,
the analysis. Refractive index is a function of the wavelength of light; therefore, its measurement is made with narrow-bandwidth
light. Dispersion is the physical phenomenon of the variation of refractive index with wavelength. The nature of the test-specimen
refers to its size, form, and quality of finish, as described in each of the methods herein. The test methods described are mostly
for the visible range of wavelengths (approximately 400 to 780μm); however, some methods can be extended to the ultraviolet and
near infrared, using radiation detectors other than the human eye.
1.1.1 List of test methods included in this guide:
1.1.1.1 Becke line (method of central illumination),
1.1.1.2 Apparent depth of microscope focus (the method of the Duc de Chaulnes),
1.1.1.3 Critical Angle Refractometers (Abbe type and Pulfrich type),
2
1.1.1.4 Metricon system,
1.1.1.5 Vee-block refractometers,
1.1.1.6 Prism spectrometer, and
1.1.1.7 Specular reflectance.
1.1.2 Test methods presented by name only (see Annex A1):
1.1.2.1 Immersion refractometers,
1.1.2.2 Interferometry,
1.1.2.3 Ellipsometry, and
1.1.2.4 Method of oblique illumination.
1.2 This standard does not purport to address all of the safety concerns, if any, associated with its use. It is the responsibility
of the user of this standard to establish appropriate safety and health practices and determine the applicability of regulatory
limitations prior to use.
1.3 Warning—Refractive index liquids are used in several of the following test methods. Cleaning with organic liquid solvents
also is specified. Degrees of hazard associated with the use of these materials vary with the chemical nature, volatility, and quantity
used. See manufacturer’s literature and general information on hazardous chemicals.
2. Referenced Documents
3
2.1 ASTM Standards:
4
E167 Practice for Goniophotometry of Objects and Materials (Withdrawn 2005)
E456 Terminology Relating to Quality and Statistics
3. Terminology
3.1.1.1 Discussion—
3.1 Definitions:
2
Metricon is a trademark of Metricon Corporation 12 North Main Street, P.O.
3.1.1 dispersion, n—the physical phenomenon of the variation of refractive index with wavelength.
Box 63, Pennington, New Jersey 08534.
3
For referenced ASTM standards, visit the ASTM website, www.astm.org, or
contact ASTM Customer Service at service@astm.org. For Annual Book of ASTM
Standards volume information, refer to the standard’s Document Summary page on
the ASTM website.
4
The last approved version of this historical standard is referenced on
www.astm.org.
Copyright © ASTM International, 100 Barr Harbor Drive, PO Box C700, West Conshohocken, PA 19428-2959. United States
1
---------------------- Page: 1 ----------------------
C1648 − 12
The term, “dispersion,” is commonly used in lieu of the more complete expression, “reciprocal relative partial dispersion.” A
dispersion-number can be defined to represent the refractive index as a function of wavelength over a selected wavelength-range;
that is, it is a combined measure of both the amount that the index changes and the non-linearity of the index versus wavelength
relationship.
3.1.2 resolution, n—as expressed in power of 10, a commonly used term used to express the accuracy of a test method in terms
of the decimal place of the last reliably measured digit of the refractive index which is expressed as the negative power of 10. As
-5
an example, if the last reliably measured digit is in the fifth decimal place, the method would be designated a 10 method.
3.2 Symbols:
n = index of refraction
ν= Abbe-number; a representation of particular relative partial dispersions
ν= Abbe-number determined with spectral lines D,C, and F
D
= Abbe-number determined with spectral lines e,C', and F'νe
D = the spectral emission line of the sodium doublet at nominally 589.3 nm (which is the mid-point of the doublet that has lines
at 589.0 nm and 589.6 nm)
C = the spectral emission line of hydrogen at 656.3 nm
F = the spectral emission lin
...


Questions, Comments and Discussion
Ask us and Technical Secretary will try to provide an answer. You can facilitate discussion about the standard in here.