ASTM B548-03
(Test Method)Standard Test Method for Ultrasonic Inspection of Aluminum-Alloy Plate for Pressure Vessels
Standard Test Method for Ultrasonic Inspection of Aluminum-Alloy Plate for Pressure Vessels
SIGNIFICANCE AND USE
A number of factors such as the condition of the entry and back surfaces of the plate, the inclination of the ultrasonic beam with respect to the entry surface, and the performance characteristics of the test system may cause either a reduction of isolated indications or a substantial loss of back reflection and thereby could seriously impair the reliability of the test procedure outlined in this standard.
Accurate evaluations of discontinuity size also may be limited significantly by variations in beam characteristics which exist in most search units. For this reason, discontinuity size as determined by the test procedure outlined in this method is regarded as “apparent” or “estimated” in recognition of the limited quantitative value of the measurement.
Because a large number of interacting variables in a test system can adversely influence the results of an ultrasonic test, the actual quantitative effects of detected discontinuities upon the mechanical properties of the inspected plate are difficult to establish. Consequently, this ultrasonic inspection method is not applicable as an exclusive indicator of the ultimate quality and performance of pressure vessels but provides a reliable control of plate quality to avoid failure during the forming process for fabrication of vessels.
SCOPE
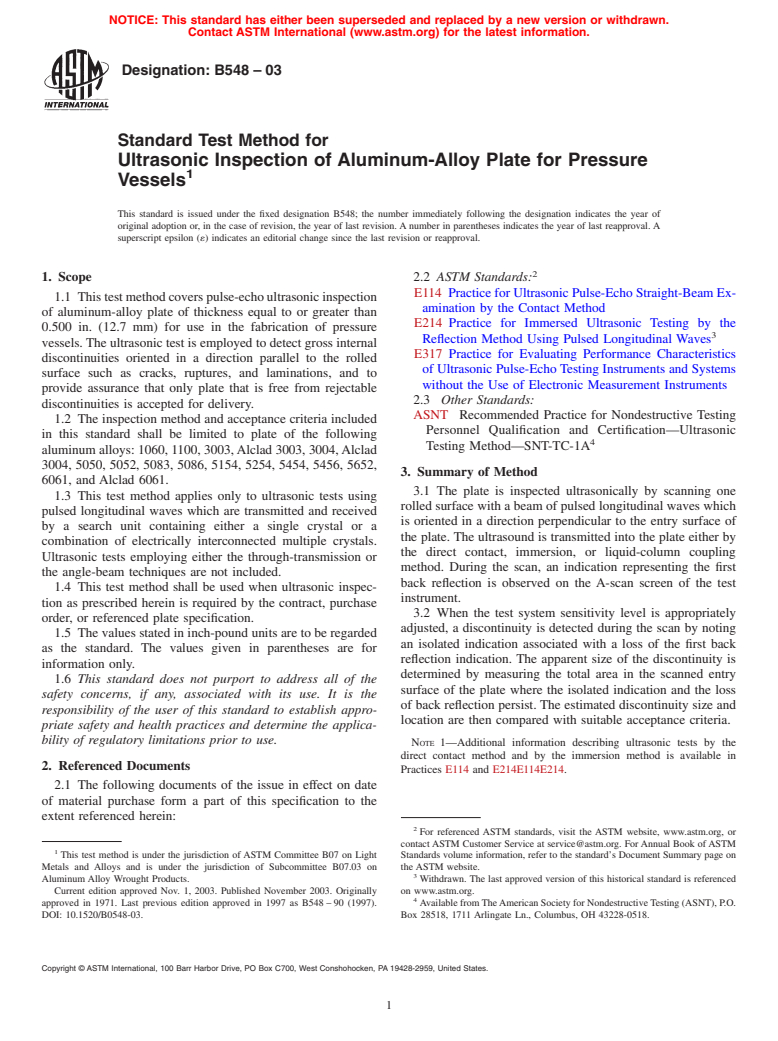
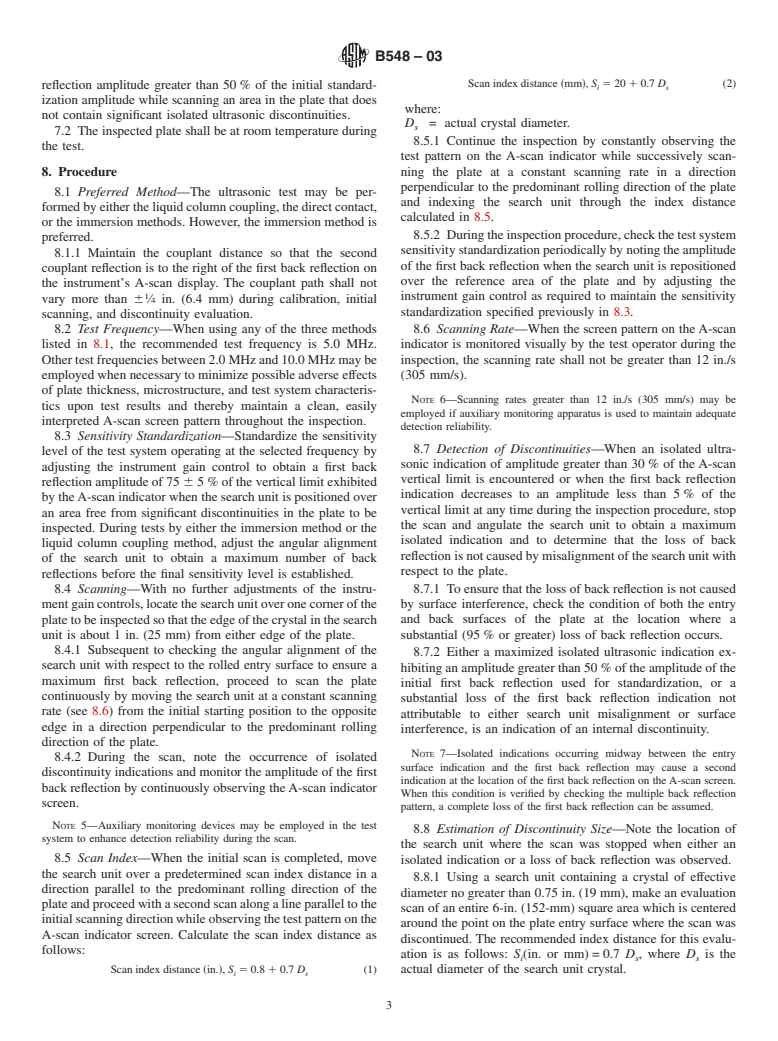
1.1 This method covers pulse-echo ultrasonic inspection of aluminum-alloy plate of thickness equal to or greater than 0.500 in. (12.7 mm) for use in the fabrication of pressure vessels. The ultrasonic test is employed to detect gross internal discontinuities oriented in a direction parallel to the rolled surface such as cracks, ruptures, and laminations, and to provide assurance that only plate that is free from rejectable discontinuities is accepted for delivery.
1.2 The inspection method and acceptance criteria included in this standard shall be limited to plate of the following aluminum alloys: 1060, 1100, 3003, Alclad 3003, 3004, Alclad 3004, 5050, 5052, 5083, 5086, 5154, 5254, 5454, 5456, 5652, 6061, and Alclad 6061.
1.3 This method applies only to ultrasonic tests using pulsed longitudinal waves which are transmitted and received by a search unit containing either a single crystal or a combination of electrically interconnected multiple crystals. Ultrasonic tests employing either the through-transmission or the angle-beam techniques are not included.
1.4 This method shall be used when ultrasonic inspection as prescribed herein is required by the contract, purchase order, or referenced plate specification.
1.5 The values stated in inch-pound units are the standard. The SI values in parentheses are for information only.
1.6 This standard may involve hazardous materials, operations, and equipment. This standard does not purport to address all of the safety problems associated with its use. It is the responsibility of the user of this standard to establish appropriate safety and health practices and determine the applicability of regulatory limitations prior to use.
General Information
Relations
Standards Content (Sample)
NOTICE: This standard has either been superseded and replaced by a new version or withdrawn.
Contact ASTM International (www.astm.org) for the latest information.
Designation:B548–03
Standard Test Method for
Ultrasonic Inspection of Aluminum-Alloy Plate for Pressure
1
Vessels
This standard is issued under the fixed designation B548; the number immediately following the designation indicates the year of
original adoption or, in the case of revision, the year of last revision. A number in parentheses indicates the year of last reapproval. A
superscript epsilon (´) indicates an editorial change since the last revision or reapproval.
2
1. Scope 2.2 ASTM Standards:
E114 Practice for Ultrasonic Pulse-Echo Straight-Beam Ex-
1.1 Thistestmethodcoverspulse-echoultrasonicinspection
amination by the Contact Method
of aluminum-alloy plate of thickness equal to or greater than
E214 Practice for Immersed Ultrasonic Testing by the
0.500 in. (12.7 mm) for use in the fabrication of pressure
3
Reflection Method Using Pulsed Longitudinal Waves
vessels. The ultrasonic test is employed to detect gross internal
E317 Practice for Evaluating Performance Characteristics
discontinuities oriented in a direction parallel to the rolled
of Ultrasonic Pulse-Echo Testing Instruments and Systems
surface such as cracks, ruptures, and laminations, and to
without the Use of Electronic Measurement Instruments
provide assurance that only plate that is free from rejectable
2.3 Other Standards:
discontinuities is accepted for delivery.
ASNT Recommended Practice for Nondestructive Testing
1.2 The inspection method and acceptance criteria included
Personnel Qualification and Certification—Ultrasonic
in this standard shall be limited to plate of the following
4
Testing Method—SNT-TC-1A
aluminum alloys: 1060, 1100, 3003,Alclad 3003, 3004,Alclad
3004, 5050, 5052, 5083, 5086, 5154, 5254, 5454, 5456, 5652,
3. Summary of Method
6061, and Alclad 6061.
3.1 The plate is inspected ultrasonically by scanning one
1.3 This test method applies only to ultrasonic tests using
rolled surface with a beam of pulsed longitudinal waves which
pulsed longitudinal waves which are transmitted and received
is oriented in a direction perpendicular to the entry surface of
by a search unit containing either a single crystal or a
the plate. The ultrasound is transmitted into the plate either by
combination of electrically interconnected multiple crystals.
the direct contact, immersion, or liquid-column coupling
Ultrasonic tests employing either the through-transmission or
method. During the scan, an indication representing the first
the angle-beam techniques are not included.
back reflection is observed on the A-scan screen of the test
1.4 This test method shall be used when ultrasonic inspec-
instrument.
tion as prescribed herein is required by the contract, purchase
3.2 When the test system sensitivity level is appropriately
order, or referenced plate specification.
adjusted, a discontinuity is detected during the scan by noting
1.5 The values stated in inch-pound units are to be regarded
an isolated indication associated with a loss of the first back
as the standard. The values given in parentheses are for
reflection indication. The apparent size of the discontinuity is
information only.
determined by measuring the total area in the scanned entry
1.6 This standard does not purport to address all of the
surface of the plate where the isolated indication and the loss
safety concerns, if any, associated with its use. It is the
of back reflection persist. The estimated discontinuity size and
responsibility of the user of this standard to establish appro-
location are then compared with suitable acceptance criteria.
priate safety and health practices and determine the applica-
bility of regulatory limitations prior to use.
NOTE 1—Additional information describing ultrasonic tests by the
direct contact method and by the immersion method is available in
2. Referenced Documents
Practices E114 and E214E114E214.
2.1 The following documents of the issue in effect on date
of material purchase form a part of this specification to the
extent referenced herein:
2
For referenced ASTM standards, visit the ASTM website, www.astm.org, or
contact ASTM Customer Service at service@astm.org. For Annual Book of ASTM
1
This test method is under the jurisdiction of ASTM Committee B07 on Light Standards volume information, refer to the standard’s Document Summary page on
Metals and Alloys and is under the jurisdiction of Subcommittee B07.03 on the ASTM website.
3
Aluminum Alloy Wrought Products. Withdrawn. The last approved version of this historical standard is referenced
Current edition approved Nov. 1, 2003. Published November 2003. Originally on www.astm.org.
4
approved in 1971. Last previous edition approved in 1997 as B548 – 90 (1997). Available fromTheAmerican Society for NondestructiveTesting (ASNT), P.O.
DOI: 10.1520/B0548-03. Box 28518, 1711 Arlingate Ln., Columbus, OH 43228-0518.
Copyright © ASTM Inte
...


Questions, Comments and Discussion
Ask us and Technical Secretary will try to provide an answer. You can facilitate discussion about the standard in here.