ASTM F36-15
(Test Method)Standard Test Method for Compressibility and Recovery of Gasket Materials
Standard Test Method for Compressibility and Recovery of Gasket Materials
ABSTRACT
This test method covers determination of the short-time compressibility and recovery at room temperature of sheet-gasket materials, form-in-place gaskets, and in certain cases, gaskets cut from sheets. The test shall be conducted with both specimen and apparatus at a required temperature. The compressibility and recovery shall be calculated.
SCOPE
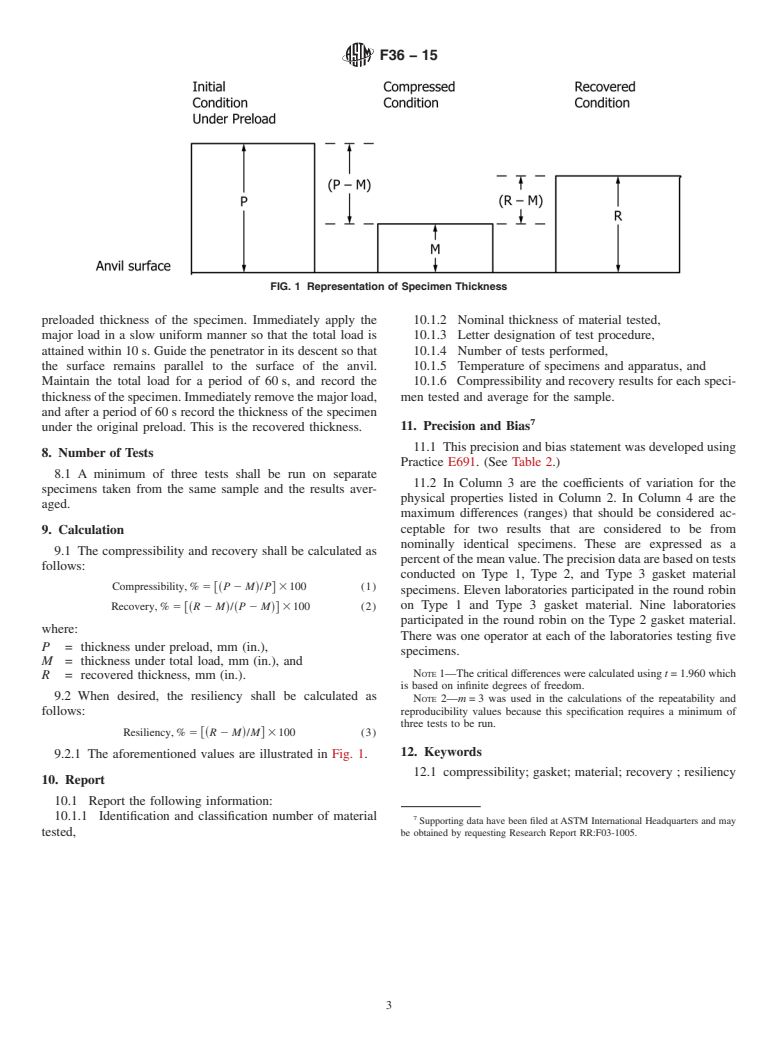
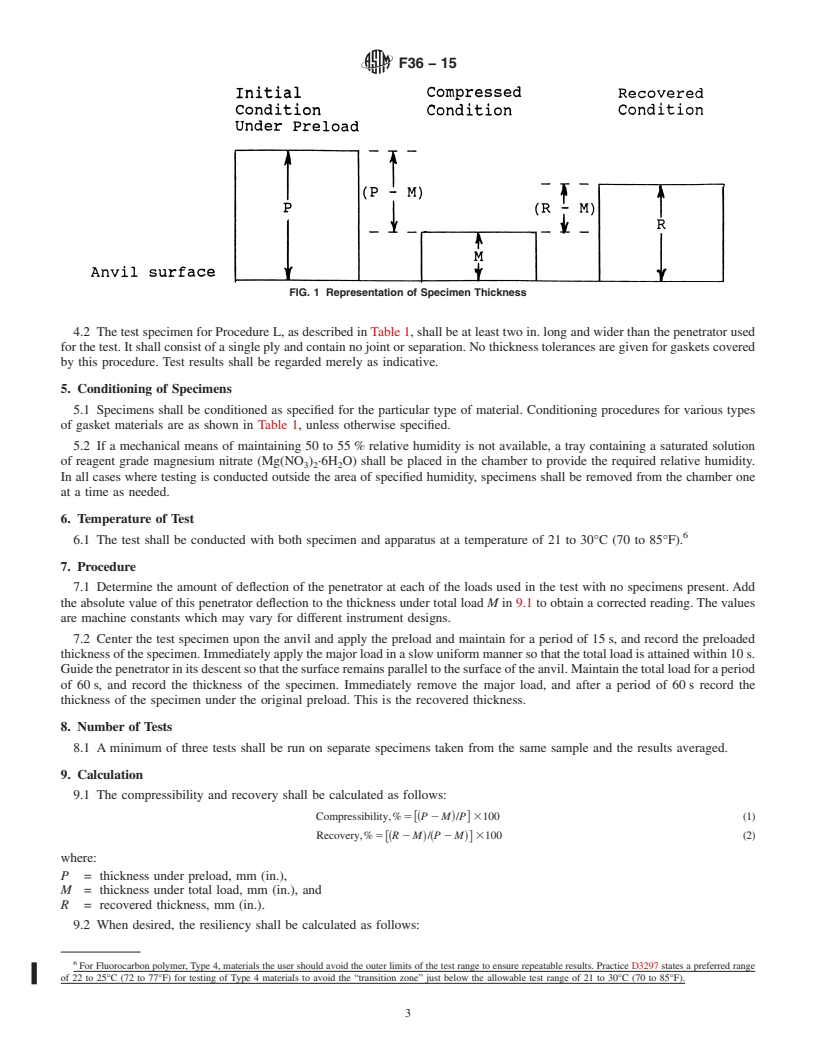
1.1 This test method covers determination of the short-time compressibility and recovery at room temperature of sheet-gasket materials, form-in-place gaskets, and in certain cases, gaskets cut from sheets. It is not intended as a test for compressibility under prolonged stress application, generally referred to as “creep,” or for recovery following such prolonged stress application, the inverse of which is generally referred to as “compression set.” Also, it is not intended for tests at other than room temperature. A resiliency characteristic (the amount recovered expressed as a percentage of the compressed thickness) may also be calculated from the test data where desired.
1.2 The values stated in SI units are to be regarded as the standard. The values given in parentheses are for information only.
1.3 This standard does not purport to address all of the safety concerns, if any, associated with its use. It is the responsibility of the user of this standard to establish appropriate safety and health practices and determine the applicability of regulatory limitations prior to use.
General Information
Buy Standard
Standards Content (Sample)
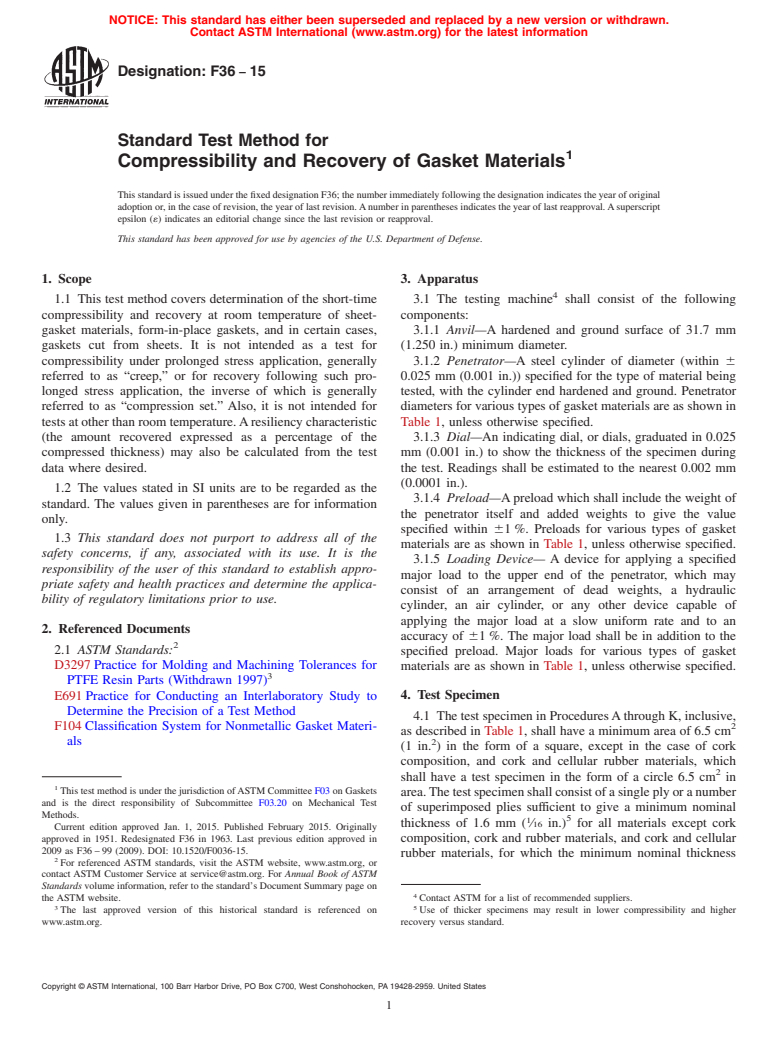
NOTICE: This standard has either been superseded and replaced by a new version or withdrawn.
Contact ASTM International (www.astm.org) for the latest information
Designation: F36 − 15
Standard Test Method for
1
Compressibility and Recovery of Gasket Materials
This standard is issued under the fixed designation F36; the number immediately following the designation indicates the year of original
adoption or, in the case of revision, the year of last revision.Anumber in parentheses indicates the year of last reapproval.Asuperscript
epsilon (´) indicates an editorial change since the last revision or reapproval.
This standard has been approved for use by agencies of the U.S. Department of Defense.
1. Scope 3. Apparatus
4
1.1 This test method covers determination of the short-time 3.1 The testing machine shall consist of the following
compressibility and recovery at room temperature of sheet- components:
gasket materials, form-in-place gaskets, and in certain cases, 3.1.1 Anvil—A hardened and ground surface of 31.7 mm
gaskets cut from sheets. It is not intended as a test for (1.250 in.) minimum diameter.
compressibility under prolonged stress application, generally 3.1.2 Penetrator—A steel cylinder of diameter (within 6
referred to as “creep,” or for recovery following such pro- 0.025 mm (0.001 in.)) specified for the type of material being
longed stress application, the inverse of which is generally tested, with the cylinder end hardened and ground. Penetrator
referred to as “compression set.” Also, it is not intended for diameters for various types of gasket materials are as shown in
tests at other than room temperature.Aresiliency characteristic Table 1, unless otherwise specified.
(the amount recovered expressed as a percentage of the 3.1.3 Dial—An indicating dial, or dials, graduated in 0.025
compressed thickness) may also be calculated from the test mm (0.001 in.) to show the thickness of the specimen during
data where desired. the test. Readings shall be estimated to the nearest 0.002 mm
(0.0001 in.).
1.2 The values stated in SI units are to be regarded as the
3.1.4 Preload—Apreload which shall include the weight of
standard. The values given in parentheses are for information
the penetrator itself and added weights to give the value
only.
specified within 61 %. Preloads for various types of gasket
1.3 This standard does not purport to address all of the
materials are as shown in Table 1, unless otherwise specified.
safety concerns, if any, associated with its use. It is the
3.1.5 Loading Device— A device for applying a specified
responsibility of the user of this standard to establish appro-
major load to the upper end of the penetrator, which may
priate safety and health practices and determine the applica-
consist of an arrangement of dead weights, a hydraulic
bility of regulatory limitations prior to use.
cylinder, an air cylinder, or any other device capable of
applying the major load at a slow uniform rate and to an
2. Referenced Documents
accuracy of 61 %. The major load shall be in addition to the
2
2.1 ASTM Standards:
specified preload. Major loads for various types of gasket
D3297 Practice for Molding and Machining Tolerances for
materials are as shown in Table 1, unless otherwise specified.
3
PTFE Resin Parts (Withdrawn 1997)
4. Test Specimen
E691 Practice for Conducting an Interlaboratory Study to
Determine the Precision of a Test Method
4.1 The test specimen in ProceduresAthrough K, inclusive,
2
F104 Classification System for Nonmetallic Gasket Materi-
as described in Table 1, shall have a minimum area of 6.5 cm
2
als
(1 in. ) in the form of a square, except in the case of cork
composition, and cork and cellular rubber materials, which
2
shall have a test specimen in the form of a circle 6.5 cm in
1
This test method is under the jurisdiction ofASTM Committee F03 on Gaskets
area.Thetestspecimenshallconsistofasingleplyoranumber
and is the direct responsibility of Subcommittee F03.20 on Mechanical Test
of superimposed plies sufficient to give a minimum nominal
Methods.
5
1
thickness of 1.6 mm ( ⁄16 in.) for all materials except cork
Current edition approved Jan. 1, 2015. Published February 2015. Originally
approved in 1951. Redesignated F36 in 1963. Last previous edition approved in
composition, cork and rubber materials, and cork and cellular
2009 as F36 – 99 (2009). DOI: 10.1520/F0036-15.
rubber materials, for which the minimum nominal thickness
2
For referenced ASTM standards, visit the ASTM website, www.astm.org, or
contact ASTM Customer Service at service@astm.org. For Annual Book of ASTM
Standards volume information, refer to the standard’s Document Summary page on
4
the ASTM website. Contact ASTM for a list of recommended suppliers.
3 5
The last approved version of this historical standard is referenced on Use of thicker specimens may result in lower compressibility and higher
www.astm.org. recovery versus standard.
Copyright © ASTM International, 100 Barr Harbor Drive, PO Box C700, West Conshoho
...
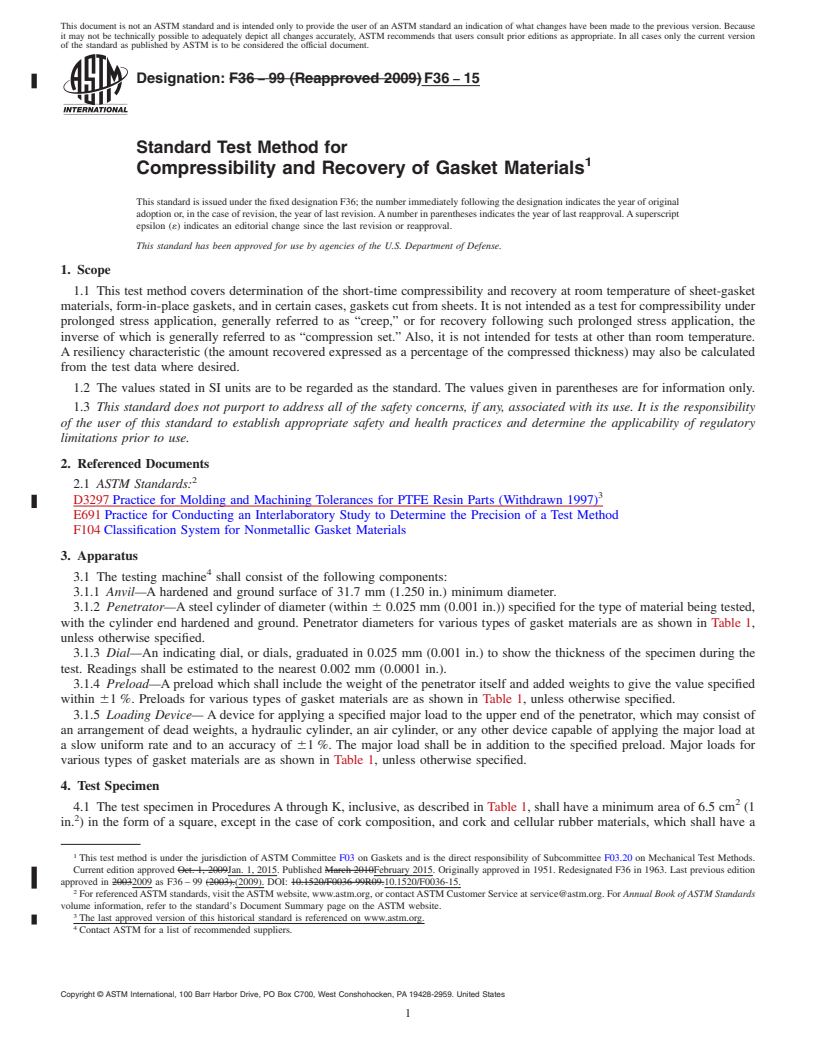
This document is not an ASTM standard and is intended only to provide the user of an ASTM standard an indication of what changes have been made to the previous version. Because
it may not be technically possible to adequately depict all changes accurately, ASTM recommends that users consult prior editions as appropriate. In all cases only the current version
of the standard as published by ASTM is to be considered the official document.
Designation: F36 − 99 (Reapproved 2009) F36 − 15
Standard Test Method for
1
Compressibility and Recovery of Gasket Materials
This standard is issued under the fixed designation F36; the number immediately following the designation indicates the year of original
adoption or, in the case of revision, the year of last revision. A number in parentheses indicates the year of last reapproval. A superscript
epsilon (´) indicates an editorial change since the last revision or reapproval.
This standard has been approved for use by agencies of the U.S. Department of Defense.
1. Scope
1.1 This test method covers determination of the short-time compressibility and recovery at room temperature of sheet-gasket
materials, form-in-place gaskets, and in certain cases, gaskets cut from sheets. It is not intended as a test for compressibility under
prolonged stress application, generally referred to as “creep,” or for recovery following such prolonged stress application, the
inverse of which is generally referred to as “compression set.” Also, it is not intended for tests at other than room temperature.
A resiliency characteristic (the amount recovered expressed as a percentage of the compressed thickness) may also be calculated
from the test data where desired.
1.2 The values stated in SI units are to be regarded as the standard. The values given in parentheses are for information only.
1.3 This standard does not purport to address all of the safety concerns, if any, associated with its use. It is the responsibility
of the user of this standard to establish appropriate safety and health practices and determine the applicability of regulatory
limitations prior to use.
2. Referenced Documents
2
2.1 ASTM Standards:
3
D3297 Practice for Molding and Machining Tolerances for PTFE Resin Parts (Withdrawn 1997)
E691 Practice for Conducting an Interlaboratory Study to Determine the Precision of a Test Method
F104 Classification System for Nonmetallic Gasket Materials
3. Apparatus
4
3.1 The testing machine shall consist of the following components:
3.1.1 Anvil—A hardened and ground surface of 31.7 mm (1.250 in.) minimum diameter.
3.1.2 Penetrator—A steel cylinder of diameter (within 6 0.025 mm (0.001 in.)) specified for the type of material being tested,
with the cylinder end hardened and ground. Penetrator diameters for various types of gasket materials are as shown in Table 1,
unless otherwise specified.
3.1.3 Dial—An indicating dial, or dials, graduated in 0.025 mm (0.001 in.) to show the thickness of the specimen during the
test. Readings shall be estimated to the nearest 0.002 mm (0.0001 in.).
3.1.4 Preload—A preload which shall include the weight of the penetrator itself and added weights to give the value specified
within 61 %. Preloads for various types of gasket materials are as shown in Table 1, unless otherwise specified.
3.1.5 Loading Device— A device for applying a specified major load to the upper end of the penetrator, which may consist of
an arrangement of dead weights, a hydraulic cylinder, an air cylinder, or any other device capable of applying the major load at
a slow uniform rate and to an accuracy of 61 %. The major load shall be in addition to the specified preload. Major loads for
various types of gasket materials are as shown in Table 1, unless otherwise specified.
4. Test Specimen
2
4.1 The test specimen in Procedures A through K, inclusive, as described in Table 1, shall have a minimum area of 6.5 cm (1
2
in. ) in the form of a square, except in the case of cork composition, and cork and cellular rubber materials, which shall have a
1
This test method is under the jurisdiction of ASTM Committee F03 on Gaskets and is the direct responsibility of Subcommittee F03.20 on Mechanical Test Methods.
Current edition approved Oct. 1, 2009Jan. 1, 2015. Published March 2010February 2015. Originally approved in 1951. Redesignated F36 in 1963. Last previous edition
approved in 20032009 as F36 – 99 (2003).(2009). DOI: 10.1520/F0036-99R09.10.1520/F0036-15.
2
For referenced ASTM standards, visit the ASTM website, www.astm.org, or contact ASTM Customer Service at service@astm.org. For Annual Book of ASTM Standards
volume information, refer to the standard’s Document Summary page on the ASTM website.
3
The last approved version of this historical standard is referenced on www.astm.org.
4
Contact ASTM for a list of recommended suppliers.
Copyright © ASTM International, 100 Barr Harbor Drive, PO Box C700, West Conshohocken, PA 19428-2959. United States
1
---------------------- Page: 1 -----------------
...


Questions, Comments and Discussion
Ask us and Technical Secretary will try to provide an answer. You can facilitate discussion about the standard in here.