ASTM F218-95(2000)
(Test Method)Standard Test Method for Analyzing Stress in Glass
Standard Test Method for Analyzing Stress in Glass
SCOPE
1.1 This test method covers the analysis of stress in glass by means of a polarimeter based on the principles developed by de Senarmont and Friedel (1,2). Stress is evaluated as a function of optical retardation. Retardation is expressed as the angle of rotation of an analyzing polarizer that causes extinction in the glass.
1.2 This standard does not purport to address all of the safety concerns, if any, associated with its use. It is the responsibility of the user of this standard to establish appropriate safety and health practices and determine the applicability of regulatory limitations prior to use.
General Information
Relations
Standards Content (Sample)
NOTICE: This standard has either been superseded and replaced by a new version or withdrawn.
Contact ASTM International (www.astm.org) for the latest information
Designation:F218–95 (Reapproved 2000)
Standard Test Method for
Analyzing Stress in Glass
This standard is issued under the fixed designation F 218; the number immediately following the designation indicates the year of
original adoption or, in the case of revision, the year of last revision. A number in parentheses indicates the year of last reapproval. A
superscript epsilon (e) indicates an editorial change since the last revision or reapproval.
1. Scope
1.1 This test method covers the analysis of stress in glass by
meansofapolarimeterbasedontheprinciplesdevelopedbyde
Sénarmont and Friedel (1,2). Stress is evaluated as a function
of optical retardation. Retardation is expressed as the angle of
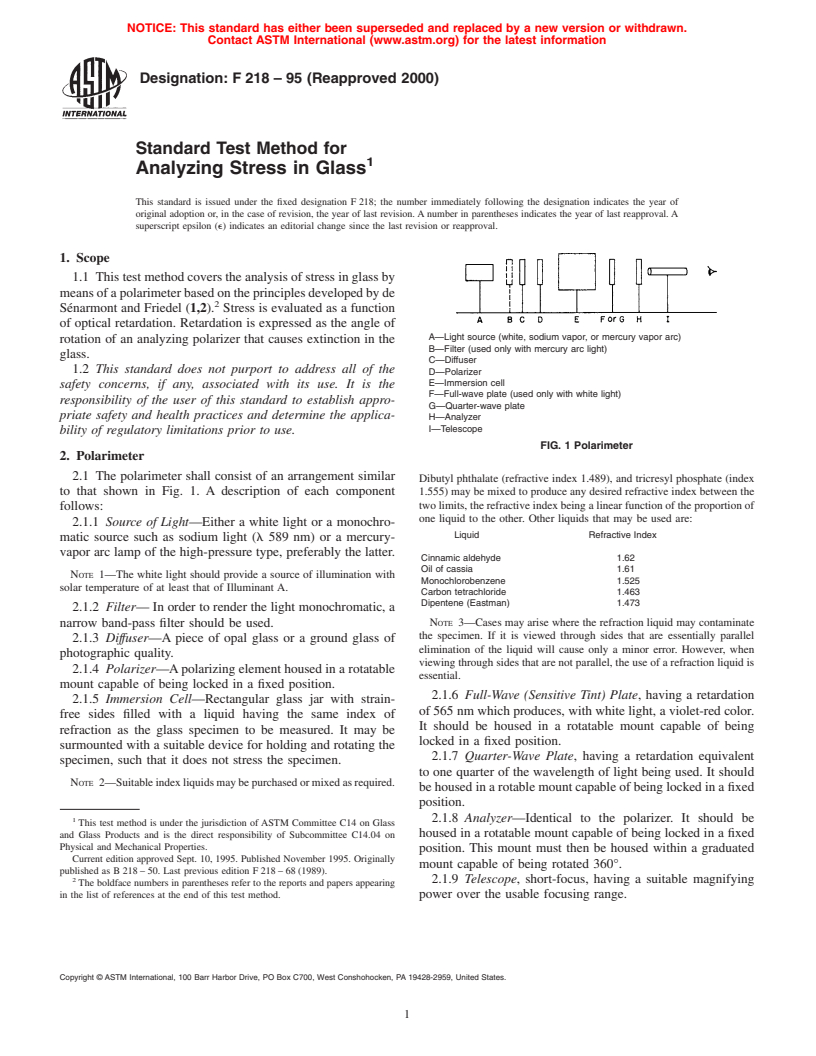
A—Light source (white, sodium vapor, or mercury vapor arc)
rotation of an analyzing polarizer that causes extinction in the
B—Filter (used only with mercury arc light)
glass.
C—Diffuser
1.2 This standard does not purport to address all of the
D—Polarizer
E—Immersion cell
safety concerns, if any, associated with its use. It is the
F—Full-wave plate (used only with white light)
responsibility of the user of this standard to establish appro-
G—Quarter-wave plate
priate safety and health practices and determine the applica-
H—Analyzer
I—Telescope
bility of regulatory limitations prior to use.
FIG. 1 Polarimeter
2. Polarimeter
2.1 The polarimeter shall consist of an arrangement similar
Dibutyl phthalate (refractive index 1.489), and tricresyl phosphate (index
to that shown in Fig. 1. A description of each component 1.555) may be mixed to produce any desired refractive index between the
two limits, the refractive index being a linear function of the proportion of
follows:
one liquid to the other. Other liquids that may be used are:
2.1.1 Source of Light—Either a white light or a monochro-
Liquid Refractive Index
matic source such as sodium light (l 589 nm) or a mercury-
vapor arc lamp of the high-pressure type, preferably the latter.
Cinnamic aldehyde 1.62
Oil of cassia 1.61
NOTE 1—The white light should provide a source of illumination with
Monochlorobenzene 1.525
solar temperature of at least that of Illuminant A.
Carbon tetrachloride 1.463
Dipentene (Eastman) 1.473
2.1.2 Filter— In order to render the light monochromatic, a
narrow band-pass filter should be used. NOTE 3—Cases may arise where the refraction liquid may contaminate
the specimen. If it is viewed through sides that are essentially parallel
2.1.3 Diffuser—A piece of opal glass or a ground glass of
elimination of the liquid will cause only a minor error. However, when
photographic quality.
viewing through sides that are not parallel, the use of a refraction liquid is
2.1.4 Polarizer—Apolarizing element housed in a rotatable
essential.
mount capable of being locked in a fixed position.
2.1.6 Full-Wave (Sensitive Tint) Plate, having a retardation
2.1.5 Immersion Cell—Rectangular glass jar with strain-
of 565 nm which produces, with white light, a violet-red color.
free sides filled with a liquid having the same index of
It should be housed in a rotatable mount capable of being
refraction as the glass specimen to be measured. It may be
locked in a fixed position.
surmounted with a suitable device for holding and rotating the
2.1.7 Quarter-Wave Plate, having a retardation equivalent
specimen, such that it does not stress the specimen.
to one quarter of the wavelength of light being used. It should
NOTE 2—Suitableindexliquidsmaybepurchasedormixedasrequired.
be housed in a rotable mount capable of being locked in a fixed
position.
1 2.1.8 Analyzer—Identical to the polarizer. It should be
This test method is under the jurisdiction of ASTM Committee C14 on Glass
housed in a rotatable mount capable of being locked in a fixed
and Glass Products and is the direct responsibility of Subcommittee C14.04 on
Physical and Mechanical Properties.
position. This mount must then be housed within a graduated
Current edition approved Sept. 10, 1995. Published November 1995. Originally
mount capable of being rotated 360°.
published as B 218 – 50. Last previous edition F 218 – 68 (1989).
2.1.9 Telescope, short-focus, having a suitable magnifying
The boldface numbers in parentheses refer to the reports and papers appearing
in the list of references at the end of this test method. power over the usable focusing range.
Copyright © ASTM International, 100 Barr Harbor Drive, PO Box C700, West Conshohocken, PA 19428-2959, United States.
F218
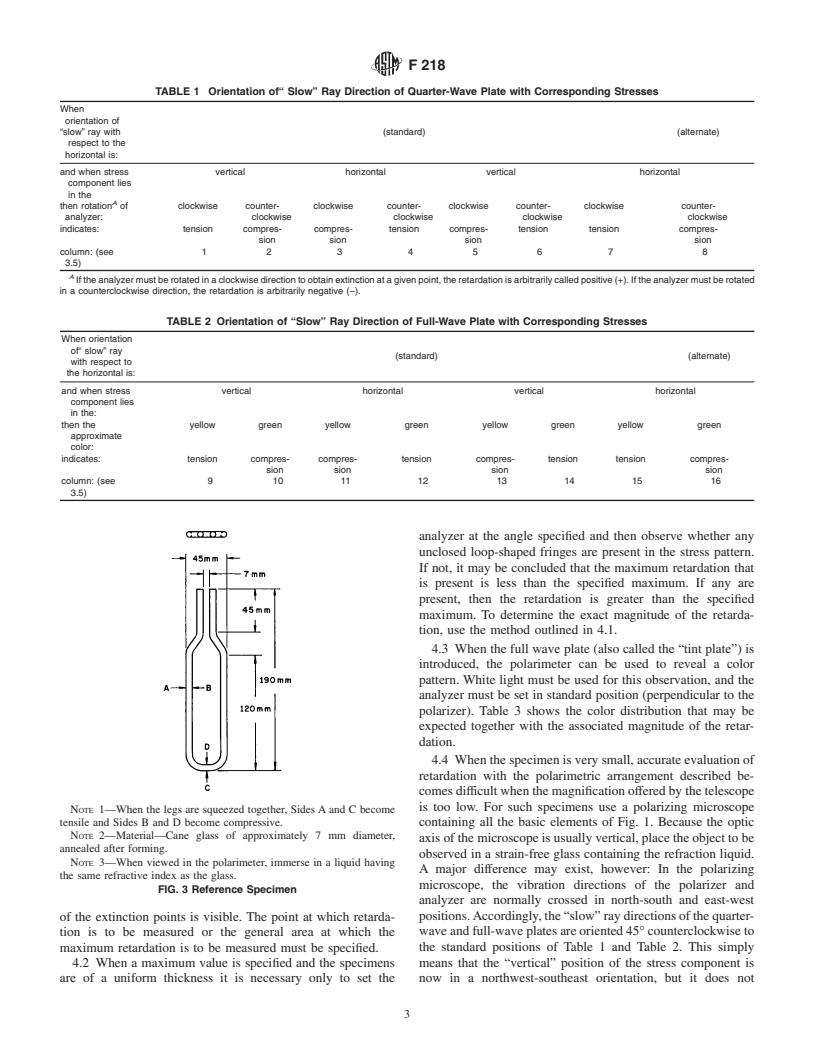
3. Setup of Polarimeter of the full-wave plate) to have opposite meanings. Table 1 and
Table 2 define these meanings in whatever is being measured
3.1 As usually employed, the polarimeter measures retarda-
or observed with the “slow” ray directions in either the
tions in a vertical or a horizontal direction. This is accom-
standard or the alternate positions.
plished by setting the vibration direction of the polarizer at an
angleof45°totheverticalandhorizontalineitheranorthwest-
3.5 To assure proper orientation of the directions of the
southeast or a northeast-southwest direction (Fig. 2). The
“slow” ray of the quarter-wave and full-wave plates with
vibration direction of the analyzer must be “crossed” with
respect to the vibration directions of the polarizer and analyzer,
respect to that of the polarizer; that is, the two directions must
use may be made of a U-shaped piece of annealed cane glass
be at right angles to each other. In this relationship a minimum
as illustrated in Fig. 3. Squeezing the legs together slightly will
amount of light will pass through the combination. To check
develop a tensile stress on the outside and a compressive stress
the 45° angle at which the directions of the polarizer and
on the inside. Then, if the“ slow” ray directions of the
analyzer must be set, use may be made of a rectangular-shaped
quarter-wave and full-wave plates are oriented in the standard
Glan-Thompson or Nicol prism. The prism is set so that its
positions, the stress conditions of Columns 1 through 4 and 9
vibration direction is 45° to the vertical and horizontal. The
through 12 of Table 1 and Table 2 will be noted in the vertical
polarizer is then rotated until extinction occurs between it and
andhorizontalsidesoftheU-tube.Iftheconditionsoftheother
the prism. The position of the analyzer is then determined in
columns are preferred, it will be necessary to rotate the “slow”
thesameway,butbyfirstrotatingtheGlan-ThompsonorNicol
ray directions 90° to the alternate positions.
prismthrough90°;or,theanalyzermayberotatedtoextinction
3.6 If a major stress component lies in any direction other
with respect to the polarizer after the latter has been set in
than vertical or horizontal, its measurement requires that the
position with the prism.
entire optical system be rotated so that the vibration directions
3.2 When a quarter-wave plate is used, its “slow” ray
direction must be set in a northwest-southeast direction (Fig. of the polarizer and analyzer are set at 45° to the stress
2).Adjusted in this position, maximum extinction occurs when direction, or that the part containing the stress direction be
direction of axes of all three elements (polarizer, analyzer and
rotated to suit.
quarter-wave plate) are in agreement with Fig. 2.
3.3 When the full-wave plate is used with the quarter-wave
4. Procedure
plate, its “slow” ray direction must be placed in a horizontal
4.1 To measure the retardation at any given point, rotate the
position (Fig. 2). Adjusted in this position, a violet-red back-
analyzer with respect to its initial position until maximum
ground color is seen when the three elements (polarizer,
extinction (darkness) occurs at the point. Note this by the
full-wave plate, and analyzer) are placed in series.
closing of a looped-shaped fringe until it merges into a small
3.4 Paragraphs 3.2 and 3.3 describe orientations of the
dark area. The angle through which the analyzer
...


Questions, Comments and Discussion
Ask us and Technical Secretary will try to provide an answer. You can facilitate discussion about the standard in here.