ASTM A833-08
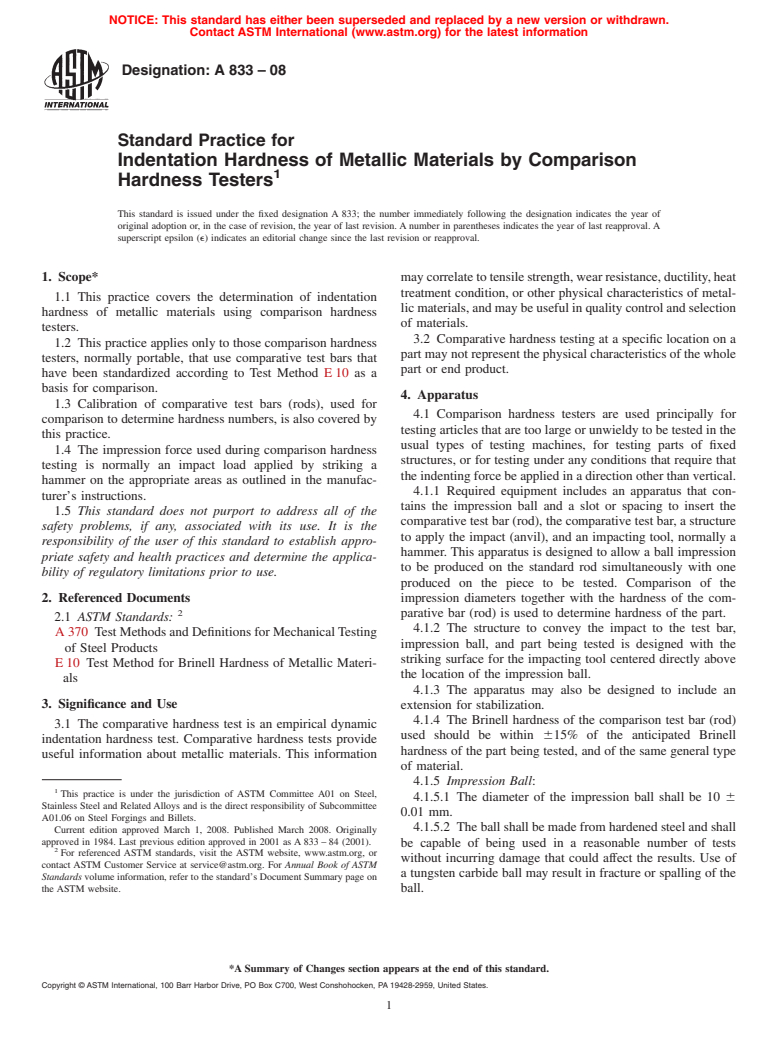
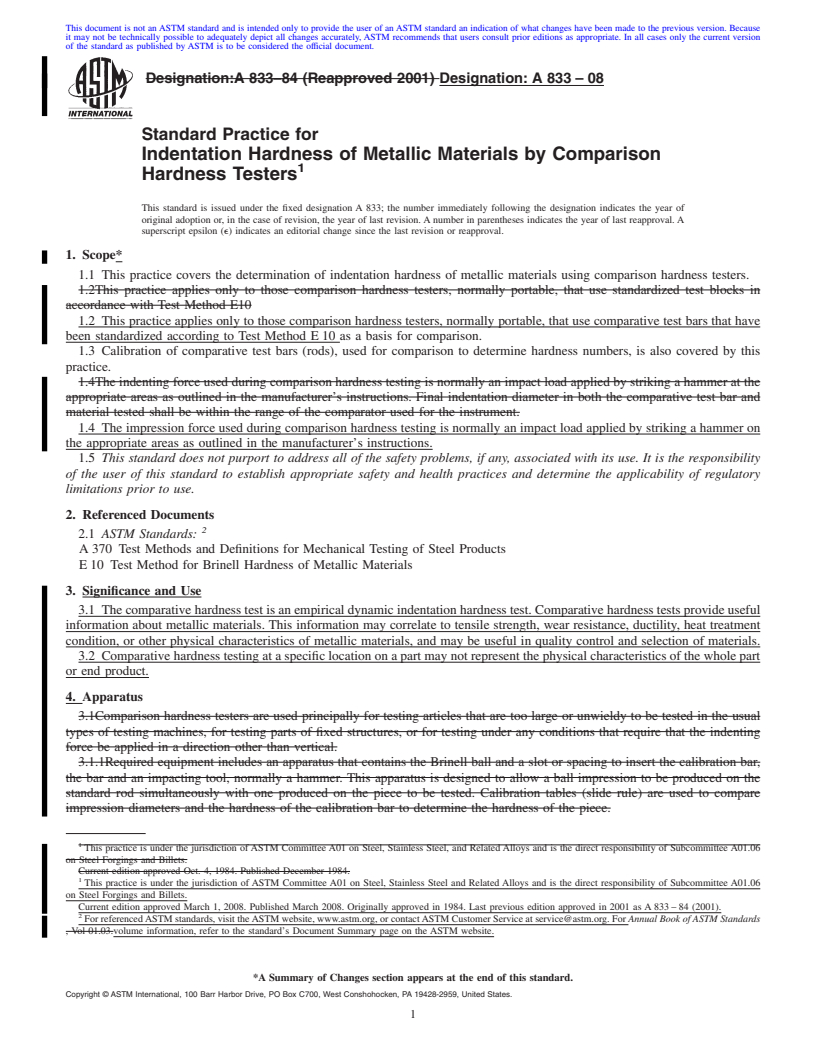
(Practice)Standard Practice for Indentation Hardness of Metallic Materials by Comparison Hardness Testers
Standard Practice for Indentation Hardness of Metallic Materials by Comparison Hardness Testers
SIGNIFICANCE AND USE
The comparative hardness test is an empirical dynamic indentation hardness test. Comparative hardness tests provide useful information about metallic materials. This information may correlate to tensile strength, wear resistance, ductility, heat treatment condition, or other physical characteristics of metallic materials, and may be useful in quality control and selection of materials.
Comparative hardness testing at a specific location on a part may not represent the physical characteristics of the whole part or end product.
SCOPE
1.1 This practice covers the determination of indentation hardness of metallic materials using comparison hardness testers.
1.2 This practice applies only to those comparison hardness testers, normally portable, that use comparative test bars that have been standardized according to Test Method E 10 as a basis for comparison.
1.3 Calibration of comparative test bars (rods), used for comparison to determine hardness numbers, is also covered by this practice.
1.4 The impression force used during comparison hardness testing is normally an impact load applied by striking a hammer on the appropriate areas as outlined in the manufacturer's instructions.
1.5 This standard does not purport to address all of the safety problems, if any, associated with its use. It is the responsibility of the user of this standard to establish appropriate safety and health practices and determine the applicability of regulatory limitations prior to use.
General Information
Relations
Buy Standard
Standards Content (Sample)
NOTICE: This standard has either been superseded and replaced by a new version or withdrawn.
Contact ASTM International (www.astm.org) for the latest information
Designation:A 833–08
Standard Practice for
Indentation Hardness of Metallic Materials by Comparison
1
Hardness Testers
This standard is issued under the fixed designation A 833; the number immediately following the designation indicates the year of
original adoption or, in the case of revision, the year of last revision. A number in parentheses indicates the year of last reapproval. A
superscript epsilon (e) indicates an editorial change since the last revision or reapproval.
1. Scope* maycorrelatetotensilestrength,wearresistance,ductility,heat
treatment condition, or other physical characteristics of metal-
1.1 This practice covers the determination of indentation
lic materials, and may be useful in quality control and selection
hardness of metallic materials using comparison hardness
of materials.
testers.
3.2 Comparative hardness testing at a specific location on a
1.2 This practice applies only to those comparison hardness
part may not represent the physical characteristics of the whole
testers, normally portable, that use comparative test bars that
part or end product.
have been standardized according to Test Method E10 as a
basis for comparison.
4. Apparatus
1.3 Calibration of comparative test bars (rods), used for
4.1 Comparison hardness testers are used principally for
comparison to determine hardness numbers, is also covered by
testing articles that are too large or unwieldy to be tested in the
this practice.
usual types of testing machines, for testing parts of fixed
1.4 The impression force used during comparison hardness
structures, or for testing under any conditions that require that
testing is normally an impact load applied by striking a
the indenting force be applied in a direction other than vertical.
hammer on the appropriate areas as outlined in the manufac-
4.1.1 Required equipment includes an apparatus that con-
turer’s instructions.
tains the impression ball and a slot or spacing to insert the
1.5 This standard does not purport to address all of the
comparative test bar (rod), the comparative test bar, a structure
safety problems, if any, associated with its use. It is the
to apply the impact (anvil), and an impacting tool, normally a
responsibility of the user of this standard to establish appro-
hammer. This apparatus is designed to allow a ball impression
priate safety and health practices and determine the applica-
to be produced on the standard rod simultaneously with one
bility of regulatory limitations prior to use.
produced on the piece to be tested. Comparison of the
2. Referenced Documents impression diameters together with the hardness of the com-
2
parative bar (rod) is used to determine hardness of the part.
2.1 ASTM Standards:
4.1.2 The structure to convey the impact to the test bar,
A 370 Test Methods and Definitions for MechanicalTesting
impression ball, and part being tested is designed with the
of Steel Products
striking surface for the impacting tool centered directly above
E10 Test Method for Brinell Hardness of Metallic Materi-
the location of the impression ball.
als
4.1.3 The apparatus may also be designed to include an
3. Significance and Use
extension for stabilization.
4.1.4 The Brinell hardness of the comparison test bar (rod)
3.1 The comparative hardness test is an empirical dynamic
used should be within 615% of the anticipated Brinell
indentation hardness test. Comparative hardness tests provide
hardness of the part being tested, and of the same general type
useful information about metallic materials. This information
of material.
4.1.5 Impression Ball:
1
This practice is under the jurisdiction of ASTM Committee A01 on Steel,
4.1.5.1 The diameter of the impression ball shall be 10 6
Stainless Steel and Related Alloys and is the direct responsibility of Subcommittee
0.01 mm.
A01.06 on Steel Forgings and Billets.
4.1.5.2 The ball shall be made from hardened steel and shall
Current edition approved March 1, 2008. Published March 2008. Originally
approved in 1984. Last previous edition approved in 2001 as A 833 – 84 (2001).
be capable of being used in a reasonable number of tests
2
For referenced ASTM standards, visit the ASTM website, www.astm.org, or
without incurring damage that could affect the results. Use of
contact ASTM Customer Service at service@astm.org. For Annual Book of ASTM
a tungsten carbide ball may result in fracture or spalling of the
Standards volume information, refer to the standard’s Document Summary page on
the ASTM website. ball.
*A Summary of Changes section appears at the end of this standard.
Copyright © ASTM International, 100 Barr Harbor Drive, PO Box C700, West Conshohocken, PA 19428-2959, United States.
1
---------------------- Page: 1 ----------------------
A833–08
4.1.5.3 Theballshallbeinspectedregularlyaccordingtothe 1500 kg load shall be used. The hardness values ob
...
This document is not an ASTM standard and is intended only to provide the user of an ASTM standard an indication of what changes have been made to the previous version. Because
it may not be technically possible to adequately depict all changes accurately, ASTM recommends that users consult prior editions as appropriate. In all cases only the current version
of the standard as published by ASTM is to be considered the official document.
Designation:A 833–84 (Reapproved 2001) Designation: A 833 – 08
Standard Practice for
Indentation Hardness of Metallic Materials by Comparison
1
Hardness Testers
This standard is issued under the fixed designation A 833; the number immediately following the designation indicates the year of
original adoption or, in the case of revision, the year of last revision. A number in parentheses indicates the year of last reapproval. A
superscript epsilon (e) indicates an editorial change since the last revision or reapproval.
1. Scope*
1.1 This practice covers the determination of indentation hardness of metallic materials using comparison hardness testers.
1.2This practice applies only to those comparison hardness testers, normally portable, that use standardized test blocks in
accordance with Test Method E10
1.2 This practice applies only to those comparison hardness testers, normally portable, that use comparative test bars that have
been standardized according to Test Method E 10 as a basis for comparison.
1.3 Calibration of comparative test bars (rods), used for comparison to determine hardness numbers, is also covered by this
practice.
1.4The indenting force used during comparison hardness testing is normally an impact load applied by striking a hammer at the
appropriate areas as outlined in the manufacturer’s instructions. Final indentation diameter in both the comparative test bar and
material tested shall be within the range of the comparator used for the instrument.
1.4 The impression force used during comparison hardness testing is normally an impact load applied by striking a hammer on
the appropriate areas as outlined in the manufacturer’s instructions.
1.5 This standard does not purport to address all of the safety problems, if any, associated with its use. It is the responsibility
of the user of this standard to establish appropriate safety and health practices and determine the applicability of regulatory
limitations prior to use.
2. Referenced Documents
2
2.1 ASTM Standards:
A 370 Test Methods and Definitions for Mechanical Testing of Steel Products
E 10 Test Method for Brinell Hardness of Metallic Materials
3. Significance and Use
3.1 The comparative hardness test is an empirical dynamic indentation hardness test. Comparative hardness tests provide useful
information about metallic materials. This information may correlate to tensile strength, wear resistance, ductility, heat treatment
condition, or other physical characteristics of metallic materials, and may be useful in quality control and selection of materials.
3.2 Comparative hardness testing at a specific location on a part may not represent the physical characteristics of the whole part
or end product.
4. Apparatus
3.1Comparison hardness testers are used principally for testing articles that are too large or unwieldy to be tested in the usual
types of testing machines, for testing parts of fixed structures, or for testing under any conditions that require that the indenting
force be applied in a direction other than vertical.
3.1.1Required equipment includes an apparatus that contains the Brinell ball and a slot or spacing to insert the calibration bar,
the bar and an impacting tool, normally a hammer. This apparatus is designed to allow a ball impression to be produced on the
standard rod simultaneously with one produced on the piece to be tested. Calibration tables (slide rule) are used to compare
impression diameters and the hardness of the calibration bar to determine the hardness of the piece.
1
This practice is under the jurisdiction of ASTM Committee A01 on Steel, Stainless Steel, and Related Alloys and is the direct responsibility of Subcommittee A01.06
on Steel Forgings and Billets.
Current edition approved Oct. 4, 1984. Published December 1984.
1
This practice is under the jurisdiction of ASTM Committee A01 on Steel, Stainless Steel and Related Alloys and is the direct responsibility of Subcommittee A01.06
on Steel Forgings and Billets.
Current edition approved March 1, 2008. Published March 2008. Originally approved in 1984. Last previous edition approved in 2001 as A 833 – 84 (2001).
2
For referencedASTM standards, visit theASTM website, www.astm.org, or contactASTM Customer Service at service@astm.org. For Annual Book of ASTM Standards
, Vol 01.03.volume information, refer to the standard’s Document Summary page on the ASTM website.
*A Summary of Changes section appears at the end of this standard.
Copyright © ASTM International, 100 Barr Harbor Drive, PO Box C700, West Conshohocken, PA 19428-2959,
...


Questions, Comments and Discussion
Ask us and Technical Secretary will try to provide an answer. You can facilitate discussion about the standard in here.