ASTM F36-99
(Test Method)Standard Test Method for Compressibility and Recovery of Gasket Materials
Standard Test Method for Compressibility and Recovery of Gasket Materials
SCOPE
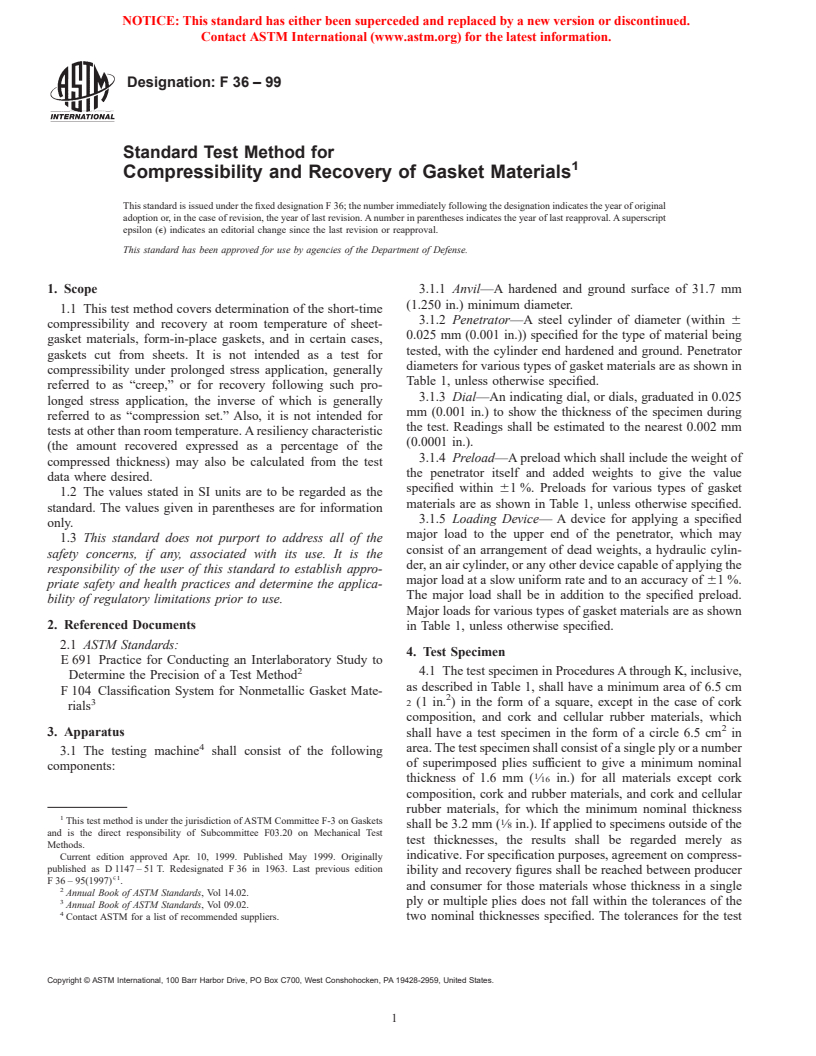
1.1 This test method covers determination of the short-time compressibility and recovery at room temperature of sheet-gasket materials, form-in-place gaskets, and in certain cases, gaskets cut from sheets. It is not intended as a test for compressibility under prolonged stress application, generally referred to as "creep," or for recovery following such prolonged stress application, the inverse of which is generally referred to as "compression set." Also, it is not intended for tests at other than room temperature. A resiliency characteristic (the amount recovered expressed as a percentage of the compressed thickness) may also be calculated from the test data where desired.
1.2 The values stated in SI units are to be regarded as the standard. The values given in parentheses are for information only.
1.3 This standard does not purport to address all of the safety concerns, if any, associated with its use. It is the responsibility of the user of this standard to establish appropriate safety and health practices and determine the applicability of regulatory limitations prior to use.
General Information
Relations
Standards Content (Sample)
NOTICE: This standard has either been superceded and replaced by a new version or discontinued.
Contact ASTM International (www.astm.org) for the latest information.
Designation: F 36 – 99
Standard Test Method for
Compressibility and Recovery of Gasket Materials
This standard is issued under the fixed designation F 36; the number immediately following the designation indicates the year of original
adoption or, in the case of revision, the year of last revision. A number in parentheses indicates the year of last reapproval. A superscript
epsilon (e) indicates an editorial change since the last revision or reapproval.
This standard has been approved for use by agencies of the Department of Defense.
1. Scope 3.1.1 Anvil—A hardened and ground surface of 31.7 mm
(1.250 in.) minimum diameter.
1.1 This test method covers determination of the short-time
3.1.2 Penetrator—A steel cylinder of diameter (within 6
compressibility and recovery at room temperature of sheet-
0.025 mm (0.001 in.)) specified for the type of material being
gasket materials, form-in-place gaskets, and in certain cases,
tested, with the cylinder end hardened and ground. Penetrator
gaskets cut from sheets. It is not intended as a test for
diameters for various types of gasket materials are as shown in
compressibility under prolonged stress application, generally
Table 1, unless otherwise specified.
referred to as “creep,” or for recovery following such pro-
3.1.3 Dial—An indicating dial, or dials, graduated in 0.025
longed stress application, the inverse of which is generally
mm (0.001 in.) to show the thickness of the specimen during
referred to as “compression set.” Also, it is not intended for
the test. Readings shall be estimated to the nearest 0.002 mm
tests at other than room temperature. A resiliency characteristic
(0.0001 in.).
(the amount recovered expressed as a percentage of the
3.1.4 Preload—A preload which shall include the weight of
compressed thickness) may also be calculated from the test
the penetrator itself and added weights to give the value
data where desired.
specified within 61 %. Preloads for various types of gasket
1.2 The values stated in SI units are to be regarded as the
materials are as shown in Table 1, unless otherwise specified.
standard. The values given in parentheses are for information
3.1.5 Loading Device— A device for applying a specified
only.
major load to the upper end of the penetrator, which may
1.3 This standard does not purport to address all of the
consist of an arrangement of dead weights, a hydraulic cylin-
safety concerns, if any, associated with its use. It is the
der, an air cylinder, or any other device capable of applying the
responsibility of the user of this standard to establish appro-
major load at a slow uniform rate and to an accuracy of 61%.
priate safety and health practices and determine the applica-
The major load shall be in addition to the specified preload.
bility of regulatory limitations prior to use.
Major loads for various types of gasket materials are as shown
2. Referenced Documents in Table 1, unless otherwise specified.
2.1 ASTM Standards:
4. Test Specimen
E 691 Practice for Conducting an Interlaboratory Study to
4.1 The test specimen in Procedures A through K, inclusive,
Determine the Precision of a Test Method
as described in Table 1, shall have a minimum area of 6.5 cm
F 104 Classification System for Nonmetallic Gasket Mate-
2 (1 in. ) in the form of a square, except in the case of cork
rials
composition, and cork and cellular rubber materials, which
3. Apparatus
shall have a test specimen in the form of a circle 6.5 cm in
area. The test specimen shall consist of a single ply or a number
3.1 The testing machine shall consist of the following
of superimposed plies sufficient to give a minimum nominal
components:
thickness of 1.6 mm ( ⁄16 in.) for all materials except cork
composition, cork and rubber materials, and cork and cellular
rubber materials, for which the minimum nominal thickness
This test method is under the jurisdiction of ASTM Committee F-3 on Gaskets 1
shall be 3.2 mm ( ⁄8 in.). If applied to specimens outside of the
and is the direct responsibility of Subcommittee F03.20 on Mechanical Test
test thicknesses, the results shall be regarded merely as
Methods.
indicative. For specification purposes, agreement on compress-
Current edition approved Apr. 10, 1999. Published May 1999. Originally
published as D 1147 – 51 T. Redesignated F 36 in 1963. Last previous edition
ibility and recovery figures shall be reached between producer
{1
F 36 – 95(1997) .
and consumer for those materials whose thickness in a single
Annual Book of ASTM Standards, Vol 14.02.
3 ply or multiple plies does not fall within the tolerances of the
Annual Book of ASTM Standards, Vol 09.02.
Contact ASTM for a list of recommended suppliers. two nominal thicknesses specified. The tolerances for the test
Copyright © ASTM International, 100 Barr Harbor Drive, PO Box C700, West Conshohocken, PA 19428-2959, United States.
NOTICE: This standard has either been superceded and replaced by a new version or discontinued.
Contact ASTM International (www.astm.org) for the latest information.
F36–99
TABLE 1 Conditioning and Test Loads for Gasket Materials
Total Load (Sum of
F 104 Identifica-
Penetrator Major
Major Load and
Proce- Type of Gasket tion First Two Pre-Load
B
Conditioning Procedure Diameter, Load, N
A Pre-Load)
dure Material Numerals of N (lbf)
mm (in.) (lbf)
Six-Digit Number
N (lbf) MPa (psi)
A Compressed asbestos F 11, F12, 1hat100 6 2°C (2126 3.6°F). Cool in 6.4 22.2 1090 1112 34.5
sheet; asbestos F 51, F52 desiccator over a suitable desiccant at (0.252) (5) (245) (250) (5000)
beater sheet; flexible 21 to 30°C (70 to 85°F)
graphite
H Asbestos paper and millboard F 13 4 h at 100 6 2°C (2126 3.6°F). Cool as 6.4 4.4 218 222 6.89
in Procedure A (0.252) (1) (49) (50) (1000)
F Cork composition F 21, F23 at least 46 h at 21 to 30°C (70 to 85°F) 28.7 4.4 440 445 0.69
Cork and cellular rubber and 50 to 55 % relative humidity (1.129) (1) (99) (100) (100)
B Cork and rubber F 22 at least 46 h at 21 to 30°C (70 to 85°F) 12.8 4.4 351 356 2.76
and 50 to 55 % relative humidity (0.504) (1) (79) (80) (400)
G Treated and untreated papers F 31, F32, 4 h at 21 to 30°C (70 to 85°F) over a 6.4 4.4 218 222 6.89
from cellulose or other F 33, F34 suitable desiccant followed immediately (0.252) (1) (49) (50) (1000)
organic fibers by at least 20 h at 21 to 30°C and 50
to 55 % relative humidity
J Compressed nonasbestos F 71, F72 1 h at 100 6 2°C (212 6 3.6°F). Cool in 6.4 22.2 1090 1112 34.5
sheet; non-asbestos beater desiccator over a suitable desiccant at (0.252) (5) (245) (250) (5000)
sheet 21 to 30°C (70 to 85°F)
K Non-asbestos paper and F73 4hat100 6 2°C (212 6 3.6°F). Cool as 6.4 4.4 218 222 6.89
millboard in Procedure J. (0.252) (1) (49) (50) (1000)
L Fluorocarbon polymer F 42 None 6.4 22.2 534 556 17.25
(Form-in-Place Gaskets) (0.252) (5) (120) (125) (2500)
A
Procedu
...


Questions, Comments and Discussion
Ask us and Technical Secretary will try to provide an answer. You can facilitate discussion about the standard in here.