ASTM F2227-02(2007)
(Test Method)Standard Test Method for Non-Destructive Detection of Leaks in Non-sealed and Empty Medical Packaging Trays by CO2 Tracer Gas Method
Standard Test Method for Non-Destructive Detection of Leaks in Non-sealed and Empty Medical Packaging Trays by CO<sub>2</sub> Tracer Gas Method
SIGNIFICANCE AND USE
Harmful biological or particulate contaminants may enter the package through imperfections such as pinholes or cracks in trays.
After initial instrument set-up and calibration, the operations of individual tests and test results do not need operator interpretation.
Leak test results that exceed the permissible threshold setting are indicated by audible or visual signal responses, or both, or by other means.
This non-destructive test method may be performed in either laboratory or production environments and may be undertaken on either a 100 % or a statistical sampling basis. This test method, in single instrument use and current implementation, may not be fast enough to work on a production packaging line, but is well suited for statistical testing as well as package developmental design work.
SCOPE
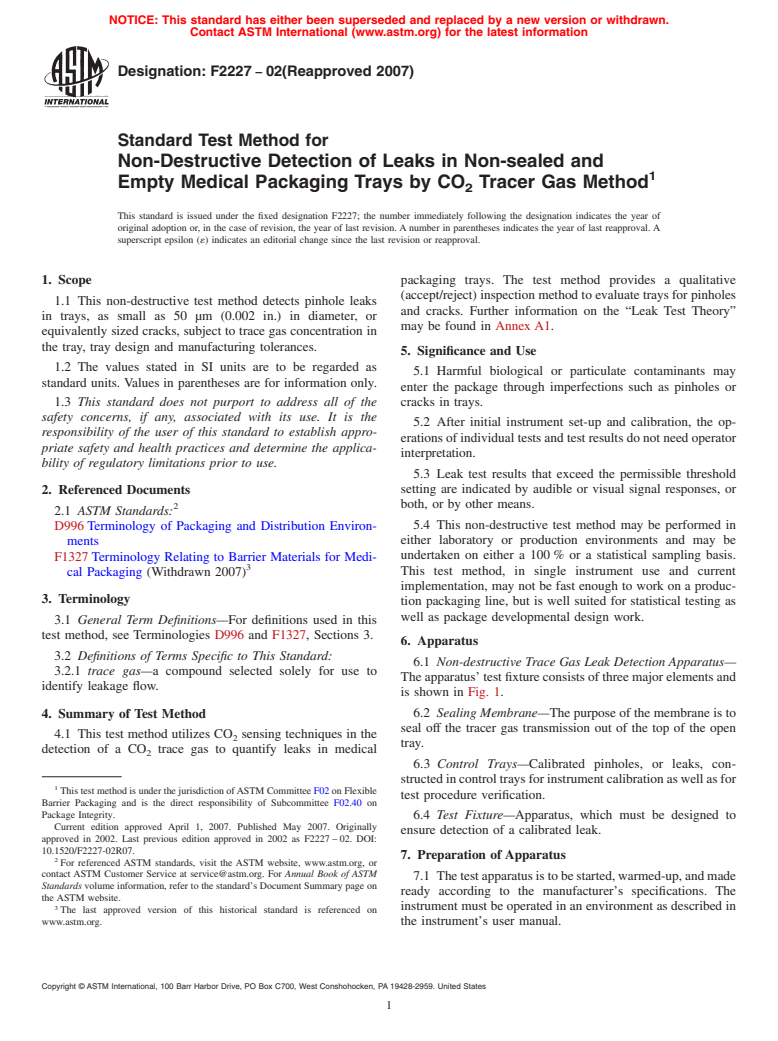
1.1 This non-destructive test method detects pinhole leaks in trays, as small as 50 m (0.002 in.) in diameter, or equivalently sized cracks, subject to trace gas concentration in the tray, tray design and manufacturing tolerances.
1.2 The values stated in SI units are to be regarded as standard units. Values in parentheses are for information only.
1.3 This standard does not purport to address all of the safety concerns, if any, associated with its use. It is the responsibility of the user of this standard to establish appropriate safety and health practices and determine the applicability of regulatory limitations prior to use.
General Information
Relations
Standards Content (Sample)
NOTICE: This standard has either been superseded and replaced by a new version or withdrawn.
Contact ASTM International (www.astm.org) for the latest information
Designation: F2227 − 02(Reapproved 2007)
Standard Test Method for
Non-Destructive Detection of Leaks in Non-sealed and
Empty Medical Packaging Trays by CO Tracer Gas Method
This standard is issued under the fixed designation F2227; the number immediately following the designation indicates the year of
original adoption or, in the case of revision, the year of last revision. A number in parentheses indicates the year of last reapproval. A
superscript epsilon (´) indicates an editorial change since the last revision or reapproval.
1. Scope packaging trays. The test method provides a qualitative
(accept/reject) inspection method to evaluate trays for pinholes
1.1 This non-destructive test method detects pinhole leaks
and cracks. Further information on the “Leak Test Theory”
in trays, as small as 50 µm (0.002 in.) in diameter, or
may be found in Annex A1.
equivalently sized cracks, subject to trace gas concentration in
the tray, tray design and manufacturing tolerances.
5. Significance and Use
1.2 The values stated in SI units are to be regarded as
5.1 Harmful biological or particulate contaminants may
standard units. Values in parentheses are for information only.
enter the package through imperfections such as pinholes or
1.3 This standard does not purport to address all of the cracks in trays.
safety concerns, if any, associated with its use. It is the
5.2 After initial instrument set-up and calibration, the op-
responsibility of the user of this standard to establish appro-
erations of individual tests and test results do not need operator
priate safety and health practices and determine the applica-
interpretation.
bility of regulatory limitations prior to use.
5.3 Leak test results that exceed the permissible threshold
setting are indicated by audible or visual signal responses, or
2. Referenced Documents
both, or by other means.
2.1 ASTM Standards:
5.4 This non-destructive test method may be performed in
D996 Terminology of Packaging and Distribution Environ-
either laboratory or production environments and may be
ments
undertaken on either a 100 % or a statistical sampling basis.
F1327 Terminology Relating to Barrier Materials for Medi-
This test method, in single instrument use and current
cal Packaging (Withdrawn 2007)
implementation, may not be fast enough to work on a produc-
3. Terminology
tion packaging line, but is well suited for statistical testing as
well as package developmental design work.
3.1 General Term Definitions—For definitions used in this
test method, see Terminologies D996 and F1327, Sections 3.
6. Apparatus
3.2 Definitions of Terms Specific to This Standard:
6.1 Non-destructive Trace Gas Leak Detection Apparatus—
3.2.1 trace gas—a compound selected solely for use to
The apparatus’ test fixture consists of three major elements and
identify leakage flow.
is shown in Fig. 1.
4. Summary of Test Method 6.2 Sealing Membrane—The purpose of the membrane is to
seal off the tracer gas transmission out of the top of the open
4.1 This test method utilizes CO sensing techniques in the
tray.
detection of a CO trace gas to quantify leaks in medical
6.3 Control Trays—Calibrated pinholes, or leaks, con-
structedincontroltraysforinstrumentcalibrationaswellasfor
This test method is under the jurisdiction ofASTM Committee F02 on Flexible
test procedure verification.
Barrier Packaging and is the direct responsibility of Subcommittee F02.40 on
Package Integrity.
6.4 Test Fixture—Apparatus, which must be designed to
Current edition approved April 1, 2007. Published May 2007. Originally
ensure detection of a calibrated leak.
approved in 2002. Last previous edition approved in 2002 as F2227 – 02. DOI:
10.1520/F2227-02R07.
7. Preparation of Apparatus
For referenced ASTM standards, visit the ASTM website, www.astm.org, or
contact ASTM Customer Service at service@astm.org. For Annual Book of ASTM
7.1 Thetestapparatusistobestarted,warmed-up,andmade
Standards volume information, refer to the standard’s Document Summary page on
ready according to the manufacturer’s specifications. The
the ASTM website.
instrument must be operated in an environment as described in
The last approved version of this historical standard is referenced on
www.astm.org. the instrument’s user manual.
Copyright © ASTM International, 100 Barr Harbor Drive, PO Box C700, West Conshohocken, PA 19428-2959. United States
F2227 − 02 (2007)
FIG. 1 Schematic of Test Fixture and Test Tray
8. Reagents and Materials 11. Procedure
8.1 CO Trace Gas Cylinder and Regulator—A cylinder of 11.1 Verify that sufficient CO trace gas is available for the
2 2
“Commercial” or “Bone Dry” grade carbon dioxide with a
tests. Monitor the trace gas supply and functionality of the gas
minimum of 206.84-kPa (30-psi) pressure is required for delivery system.
calibration and testing.
11.2 Select and implement the properly sized test fixture for
8.2 Sealing Membrane—The sealing membrane must ex- the trays to be tested. Verify that the instrument and associated
hibit the correct pliability and tackiness in order to form a
test fixture have been calibrated for the trays to be tested. The
gas-tight bond without leaving a residue on the tray-sealing test fixture is too large when the instrument is unable to detect
surface after removal from the test fixture.
a calibrated control pinhole leak.
11.3 Adjust the instrument baseline settings determined in
9. Hazards
calibration.
9.1 As the test fixture is closed, it may present pinch-point
11.4 Place the tray to be tested into the test fixture making
hazards.
certain that the tray is centered in the fixture and that good
9.2 CO , although inert and non-toxic, can cause danger of
sealing contact is made between the tray flange and the fixture
suffocation if it is allowed to displace oxygen. Thus it is
incorporated sealing.
recommendedthatthespentcarbondioxidebenaturallyvented
NOTE 1—The sealing membrane needs to be clean in order to develop
away from the test area and that adequate ventilation be
a good seal with the sealing flange of the tray. Laboratory conditions may
provided. cause dust or debris to be collected on the sealing membrane. These
conditions thus will warrant frequent inspection and cleaning of the
sealing membrane with a lint-free cloth soaked with a solvent recom-
10. Calibration and Standardization
mended by the manufacturer of the equipment.
10.1 Before any measurements are made, the apparatus
11.5 Close the top cover of the test fixture.
must be calibrated. The calibration procedure is used for
overall system checkout, as well as to establish an initial
11.6 Start the test.
reference profile for simulated pinhole leaks, and to determine
11.7 Note the pass or fail indicator and record results. Set
test limits for each different tray geometry to be tested using a
aside any “failed/defective” trays for further evaluation. Fur-
specific test fixture. The calibration procedure is performed to
ther evaluation should include re-testing of the tray.
establish the sensitivity setting of the instrumentation. It is
11.8 Select another tray and repeat the testing process.
expected that the calibration procedures be carried out fre-
quently; typically, at least one or more times a day, preferably
12. Report
at the beginning of every shift.
12.1 The report shall include the following:
10.2 Refer to the instrument manufacturer’s operating in-
structionsregardingpreparationofCalibrationStandards,Con- 12.1.1 A statement indicating that the tests were performed
ditioning of Calibration Trays and Instrument Calibration used in accordance with ASTM Standa
...


Questions, Comments and Discussion
Ask us and Technical Secretary will try to provide an answer. You can facilitate discussion about the standard in here.