ASTM E2700-14
(Practice)Standard Practice for Contact Ultrasonic Testing of Welds Using Phased Arrays
Standard Practice for Contact Ultrasonic Testing of Welds Using Phased Arrays
SIGNIFICANCE AND USE
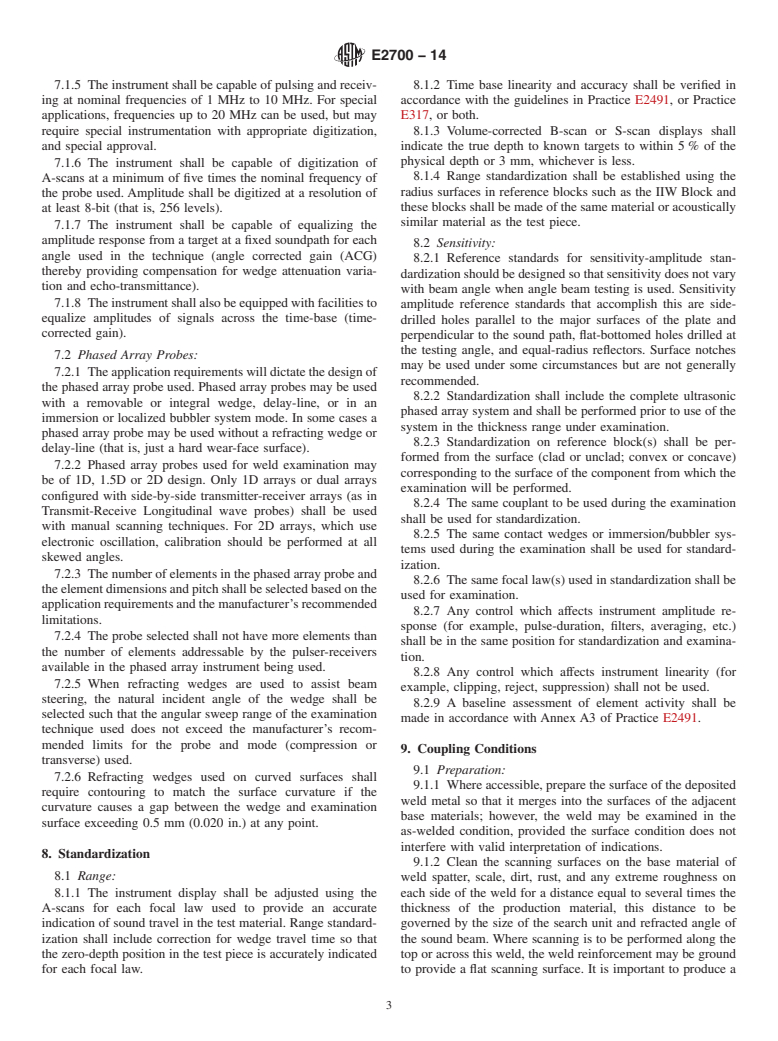
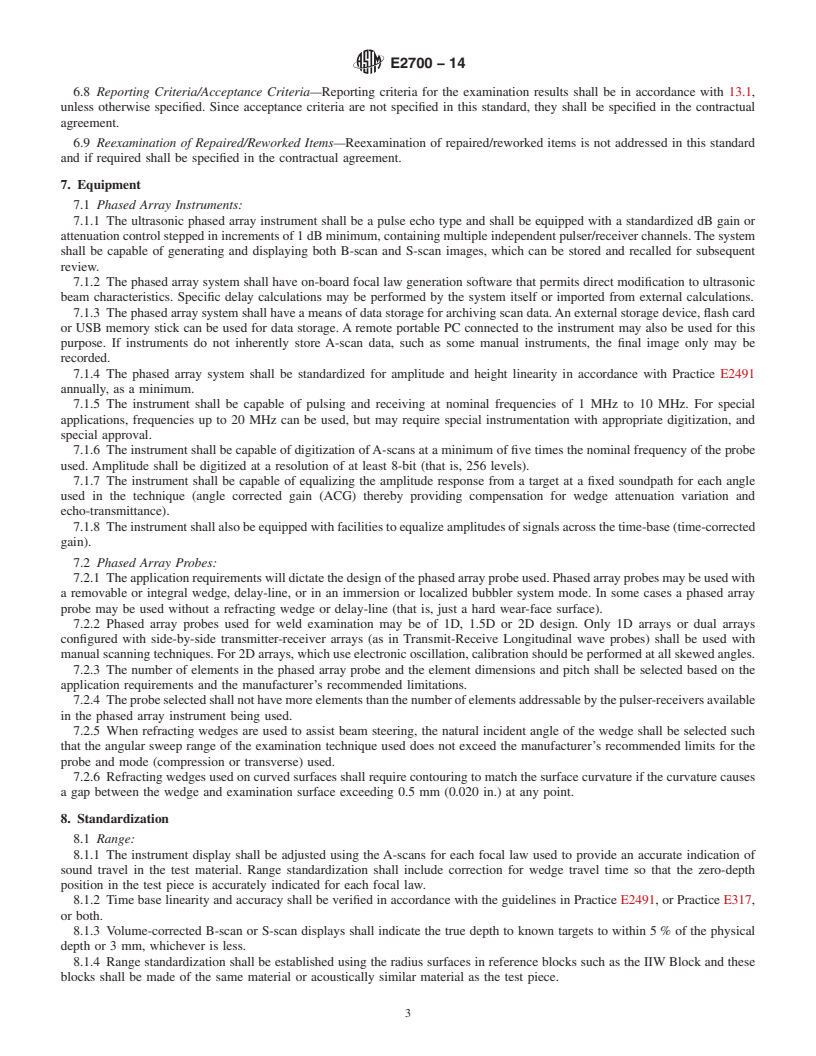
5.1 Industrial phased arrays differ from conventional monocrystal ultrasonic transducers since they permit the electronic control of ultrasound beams. The arrays consist of a series of individual transducer elements, each separately wired, time-delayed and electrically isolated; the arrays are typically pulsed in groups to permit “phasing,” or constructive-destructive interference.
5.2 Though primarily a method of generating and receiving ultrasound, phased arrays are also a method of scanning and imaging. While some scan patterns emulate manual technology, other scans (for example, S-scans) are unique to phased arrays. With their distinct features and capabilities, phased arrays require special set-ups and standardization, as addressed by this practice. Commercial software permits the operator to easily make set ups without detailed knowledge of the phasing requirements.
5.3 Phased arrays can be used in different ways: manual or encoded linear scanning; and different displays or combinations of displays. In manual scanning, the dominant display will be an S-scan with associated A-scans. S-scans have the advantage over E-scans that all the specified inspection angles can be covered at the same time.
5.4 The main advantages of using phased arrays for ultrasonic weld examinations are:
5.4.1 Faster scanning due to multiple angles on display at the same time,
5.4.2 Better imaging from the true depth S-scan,
5.4.3 Data storage, for example, selected reflectors, for auditing, and archiving.
5.4.4 Rapid and reproducible set-ups with electronic instruments.
SCOPE
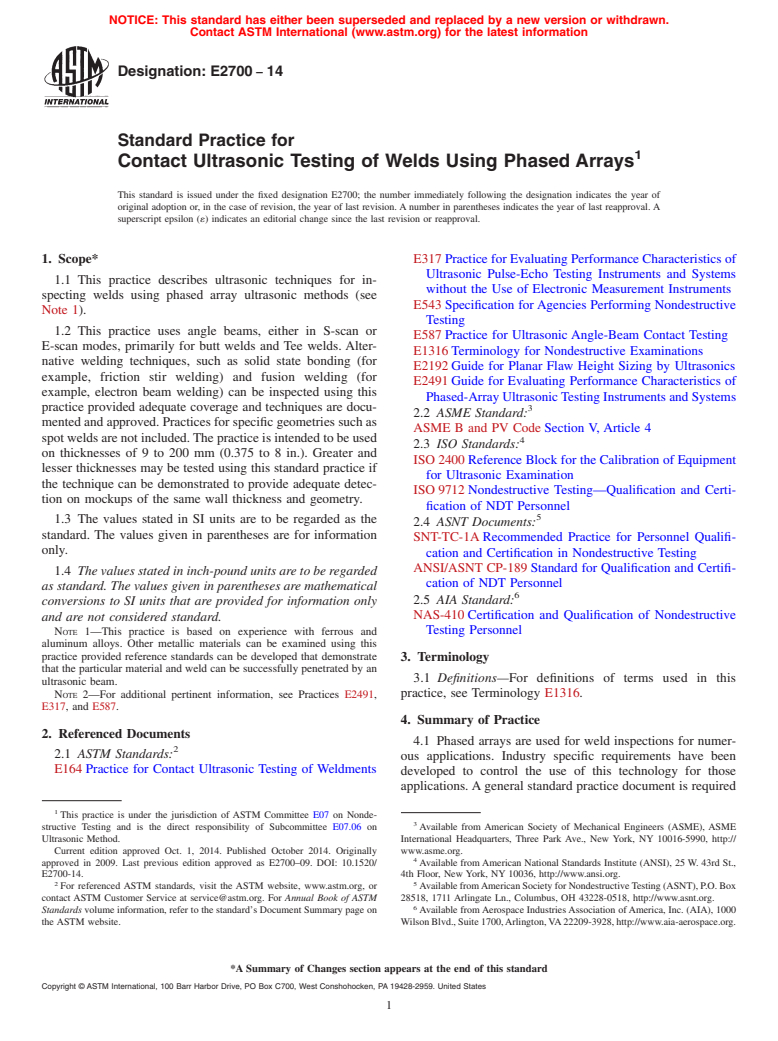
1.1 This practice describes ultrasonic techniques for inspecting welds using phased array ultrasonic methods (see Note 1).
1.2 This practice uses angle beams, either in S-scan or E-scan modes, primarily for butt welds and Tee welds. Alternative welding techniques, such as solid state bonding (for example, friction stir welding) and fusion welding (for example, electron beam welding) can be inspected using this practice provided adequate coverage and techniques are documented and approved. Practices for specific geometries such as spot welds are not included. The practice is intended to be used on thicknesses of 9 to 200 mm (0.375 to 8 in.). Greater and lesser thicknesses may be tested using this standard practice if the technique can be demonstrated to provide adequate detection on mockups of the same wall thickness and geometry.
1.3 The values stated in SI units are to be regarded as the standard. The values given in parentheses are for information only.
1.4 The values stated in inch-pound units are to be regarded as standard. The values given in parentheses are mathematical conversions to SI units that are provided for information only and are not considered standard.
Note 1: This practice is based on experience with ferrous and aluminum alloys. Other metallic materials can be examined using this practice provided reference standards can be developed that demonstrate that the particular material and weld can be successfully penetrated by an ultrasonic beam.
Note 2: For additional pertinent information, see Practices E2491, E317, and E587.
General Information
Relations
Buy Standard
Standards Content (Sample)
NOTICE: This standard has either been superseded and replaced by a new version or withdrawn.
Contact ASTM International (www.astm.org) for the latest information
Designation: E2700 − 14
Standard Practice for
1
Contact Ultrasonic Testing of Welds Using Phased Arrays
This standard is issued under the fixed designation E2700; the number immediately following the designation indicates the year of
original adoption or, in the case of revision, the year of last revision. A number in parentheses indicates the year of last reapproval. A
superscript epsilon (´) indicates an editorial change since the last revision or reapproval.
1. Scope* E317 Practice for Evaluating Performance Characteristics of
Ultrasonic Pulse-Echo Testing Instruments and Systems
1.1 This practice describes ultrasonic techniques for in-
without the Use of Electronic Measurement Instruments
specting welds using phased array ultrasonic methods (see
E543 Specification for Agencies Performing Nondestructive
Note 1).
Testing
1.2 This practice uses angle beams, either in S-scan or
E587 Practice for Ultrasonic Angle-Beam Contact Testing
E-scan modes, primarily for butt welds and Tee welds. Alter-
E1316 Terminology for Nondestructive Examinations
native welding techniques, such as solid state bonding (for
E2192 Guide for Planar Flaw Height Sizing by Ultrasonics
example, friction stir welding) and fusion welding (for
E2491 Guide for Evaluating Performance Characteristics of
example, electron beam welding) can be inspected using this
Phased-Array UltrasonicTesting Instruments and Systems
practice provided adequate coverage and techniques are docu- 3
2.2 ASME Standard:
mented and approved. Practices for specific geometries such as
ASME B and PV Code Section V, Article 4
spot welds are not included.The practice is intended to be used
4
2.3 ISO Standards:
on thicknesses of 9 to 200 mm (0.375 to 8 in.). Greater and
ISO 2400 Reference Block for the Calibration of Equipment
lesser thicknesses may be tested using this standard practice if
for Ultrasonic Examination
the technique can be demonstrated to provide adequate detec-
ISO 9712 Nondestructive Testing—Qualification and Certi-
tion on mockups of the same wall thickness and geometry.
fication of NDT Personnel
5
1.3 The values stated in SI units are to be regarded as the
2.4 ASNT Documents:
standard. The values given in parentheses are for information
SNT-TC-1A Recommended Practice for Personnel Qualifi-
only.
cation and Certification in Nondestructive Testing
ANSI/ASNT CP-189 Standard for Qualification and Certifi-
1.4 The values stated in inch-pound units are to be regarded
cation of NDT Personnel
as standard. The values given in parentheses are mathematical
6
2.5 AIA Standard:
conversions to SI units that are provided for information only
NAS-410 Certification and Qualification of Nondestructive
and are not considered standard.
NOTE 1—This practice is based on experience with ferrous and Testing Personnel
aluminum alloys. Other metallic materials can be examined using this
practice provided reference standards can be developed that demonstrate
3. Terminology
that the particular material and weld can be successfully penetrated by an
3.1 Definitions—For definitions of terms used in this
ultrasonic beam.
NOTE 2—For additional pertinent information, see Practices E2491, practice, see Terminology E1316.
E317, and E587.
4. Summary of Practice
2. Referenced Documents
4.1 Phased arrays are used for weld inspections for numer-
2
2.1 ASTM Standards:
ous applications. Industry specific requirements have been
E164 Practice for Contact Ultrasonic Testing of Weldments
developed to control the use of this technology for those
applications. A general standard practice document is required
1
This practice is under the jurisdiction of ASTM Committee E07 on Nonde-
3
structive Testing and is the direct responsibility of Subcommittee E07.06 on Available from American Society of Mechanical Engineers (ASME), ASME
Ultrasonic Method. International Headquarters, Three Park Ave., New York, NY 10016-5990, http://
Current edition approved Oct. 1, 2014. Published October 2014. Originally www.asme.org.
4
approved in 2009. Last previous edition approved as E2700–09. DOI: 10.1520/ Available fromAmerican National Standards Institute (ANSI), 25 W. 43rd St.,
E2700-14. 4th Floor, New York, NY 10036, http://www.ansi.org.
2 5
For referenced ASTM standards, visit the ASTM website, www.astm.org, or AvailablefromAmericanSocietyforNondestructiveTesting(ASNT),P.O.Box
contact ASTM Customer Service at service@astm.org. For Annual Book of ASTM 28518, 1711 Arlingate Ln., Columbus, OH 43228-0518, http://www.asnt.org.
6
Standards volume information, refer to the standard’s Document Summary page on Available fromAerospace IndustriesAssociation ofAmerica, Inc. (AIA), 1000
the ASTM website. WilsonBlvd.,Suite1700,Arlington,VA22209-3928,http://www.aia-aerospace.org.
*A Summary of Changes section appears at the end of this standard
Copyright © ASTM International, 100 Barr Ha
...
This document is not an ASTM standard and is intended only to provide the user of an ASTM standard an indication of what changes have been made to the previous version. Because
it may not be technically possible to adequately depict all changes accurately, ASTM recommends that users consult prior editions as appropriate. In all cases only the current version
of the standard as published by ASTM is to be considered the official document.
Designation: E2700 − 09 E2700 − 14
Standard Practice for
1
Contact Ultrasonic Testing of Welds Using Phased Arrays
This standard is issued under the fixed designation E2700; the number immediately following the designation indicates the year of
original adoption or, in the case of revision, the year of last revision. A number in parentheses indicates the year of last reapproval. A
superscript epsilon (´) indicates an editorial change since the last revision or reapproval.
1. Scope Scope*
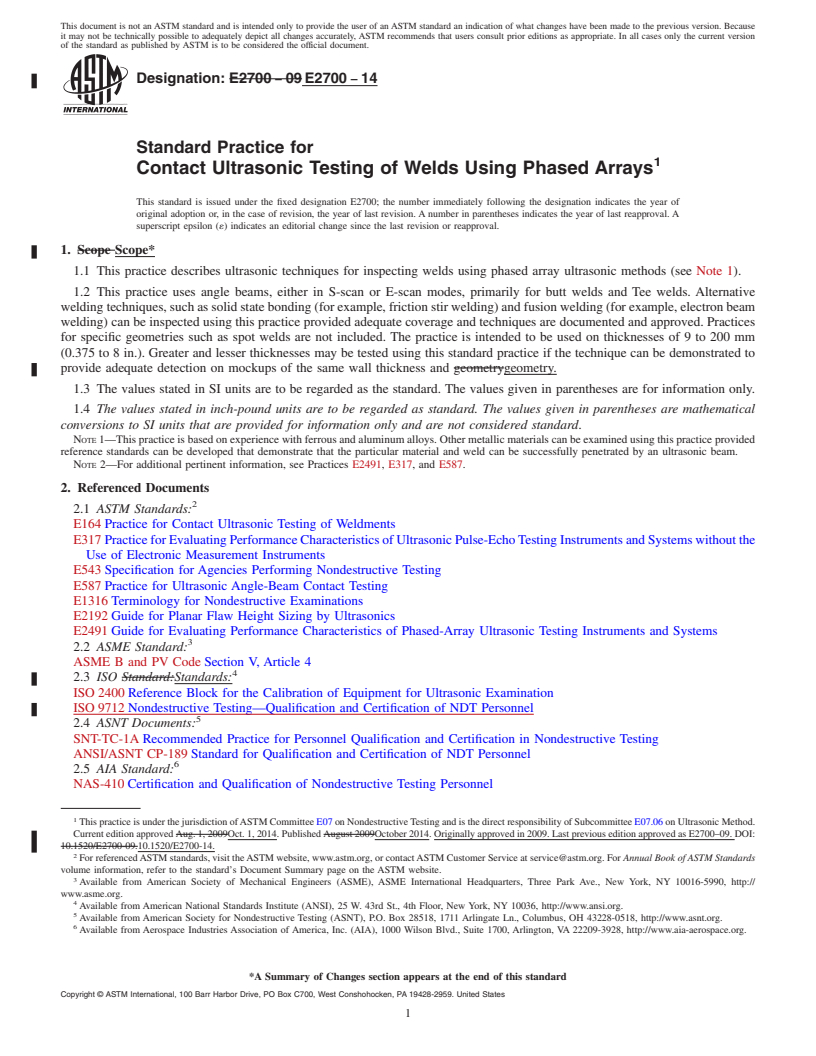
1.1 This practice describes ultrasonic techniques for inspecting welds using phased array ultrasonic methods (see Note 1).
1.2 This practice uses angle beams, either in S-scan or E-scan modes, primarily for butt welds and Tee welds. Alternative
welding techniques, such as solid state bonding (for example, friction stir welding) and fusion welding (for example, electron beam
welding) can be inspected using this practice provided adequate coverage and techniques are documented and approved. Practices
for specific geometries such as spot welds are not included. The practice is intended to be used on thicknesses of 9 to 200 mm
(0.375 to 8 in.). Greater and lesser thicknesses may be tested using this standard practice if the technique can be demonstrated to
provide adequate detection on mockups of the same wall thickness and geometrygeometry.
1.3 The values stated in SI units are to be regarded as the standard. The values given in parentheses are for information only.
1.4 The values stated in inch-pound units are to be regarded as standard. The values given in parentheses are mathematical
conversions to SI units that are provided for information only and are not considered standard.
NOTE 1—This practice is based on experience with ferrous and aluminum alloys. Other metallic materials can be examined using this practice provided
reference standards can be developed that demonstrate that the particular material and weld can be successfully penetrated by an ultrasonic beam.
NOTE 2—For additional pertinent information, see Practices E2491, E317, and E587.
2. Referenced Documents
2
2.1 ASTM Standards:
E164 Practice for Contact Ultrasonic Testing of Weldments
E317 Practice for Evaluating Performance Characteristics of Ultrasonic Pulse-Echo Testing Instruments and Systems without the
Use of Electronic Measurement Instruments
E543 Specification for Agencies Performing Nondestructive Testing
E587 Practice for Ultrasonic Angle-Beam Contact Testing
E1316 Terminology for Nondestructive Examinations
E2192 Guide for Planar Flaw Height Sizing by Ultrasonics
E2491 Guide for Evaluating Performance Characteristics of Phased-Array Ultrasonic Testing Instruments and Systems
3
2.2 ASME Standard:
ASME B and PV Code Section V, Article 4
4
2.3 ISO Standard:Standards:
ISO 2400 Reference Block for the Calibration of Equipment for Ultrasonic Examination
ISO 9712 Nondestructive Testing—Qualification and Certification of NDT Personnel
5
2.4 ASNT Documents:
SNT-TC-1A Recommended Practice for Personnel Qualification and Certification in Nondestructive Testing
ANSI/ASNT CP-189 Standard for Qualification and Certification of NDT Personnel
6
2.5 AIA Standard:
NAS-410 Certification and Qualification of Nondestructive Testing Personnel
1
This practice is under the jurisdiction of ASTM Committee E07 on Nondestructive Testing and is the direct responsibility of Subcommittee E07.06 on Ultrasonic Method.
Current edition approved Aug. 1, 2009Oct. 1, 2014. Published August 2009October 2014. Originally approved in 2009. Last previous edition approved as E2700–09. DOI:
10.1520/E2700-09.10.1520/E2700-14.
2
For referenced ASTM standards, visit the ASTM website, www.astm.org, or contact ASTM Customer Service at service@astm.org. For Annual Book of ASTM Standards
volume information, refer to the standard’s Document Summary page on the ASTM website.
3
Available from American Society of Mechanical Engineers (ASME), ASME International Headquarters, Three Park Ave., New York, NY 10016-5990, http://
www.asme.org.
4
Available from American National Standards Institute (ANSI), 25 W. 43rd St., 4th Floor, New York, NY 10036, http://www.ansi.org.
5
Available from American Society for Nondestructive Testing (ASNT), P.O. Box 28518, 1711 Arlingate Ln., Columbus, OH 43228-0518, http://www.asnt.org.
6
Available from Aerospace Industries Association of America, Inc. (AIA), 1000 Wilson Blvd., Suite 1700, Arlington, VA 22209-3928, http://www.aia-aerospace.org.
*A Summary of Changes section appears at the end of this standard
Copyright © ASTM International, 100 Barr Harbo
...


Questions, Comments and Discussion
Ask us and Technical Secretary will try to provide an answer. You can facilitate discussion about the standard in here.