ASTM A577/A577M-90(2012)
(Specification)Standard Specification for Ultrasonic Angle-Beam Examination of Steel Plates
Standard Specification for Ultrasonic Angle-Beam Examination of Steel Plates
ABSTRACT
This specification covers ultrasonic angle-beam procedure and acceptance standards for the detection of internal discontinuities not laminar in nature and of surface imperfections in a steel plate. This specification is intended for use only as a supplement to specifications which provide straight-beam ultrasonic examination. The ultrasonic frequency for the examination shall be the highest frequency that permits detection of the required calibration notch.
SCOPE
1.1 This specification covers an ultrasonic angle-beam procedure and acceptance standards for the detection of internal discontinuities not laminar in nature and of surface imperfections in a steel plate. This specification is intended for use only as a supplement to specifications which provide straight-beam ultrasonic examination.
Note 1—An internal discontinuity that is laminar in nature is one whose principal plane is parallel to the principal plane of the plate.
1.2 Individuals performing examinations in accordance with this specification shall be qualified and certified in accordance with the requirements of the latest edition of ASNT SNT-TC-1A or an equivalent accepted standard. An equivalent standard is one which covers the qualification and certification of ultrasonic nondestructive examination candidates and which is acceptable to the purchaser.
1.3 The values stated in either inch-pound units or SI units are to be regarded separately as standard. Within the text, the SI units are shown in brackets. The values stated in each system are not exact equivalents; therefore, each system must be used independently of the other. Combining values from the two systems may result in nonconformance with the specification.
General Information
Relations
Buy Standard
Standards Content (Sample)
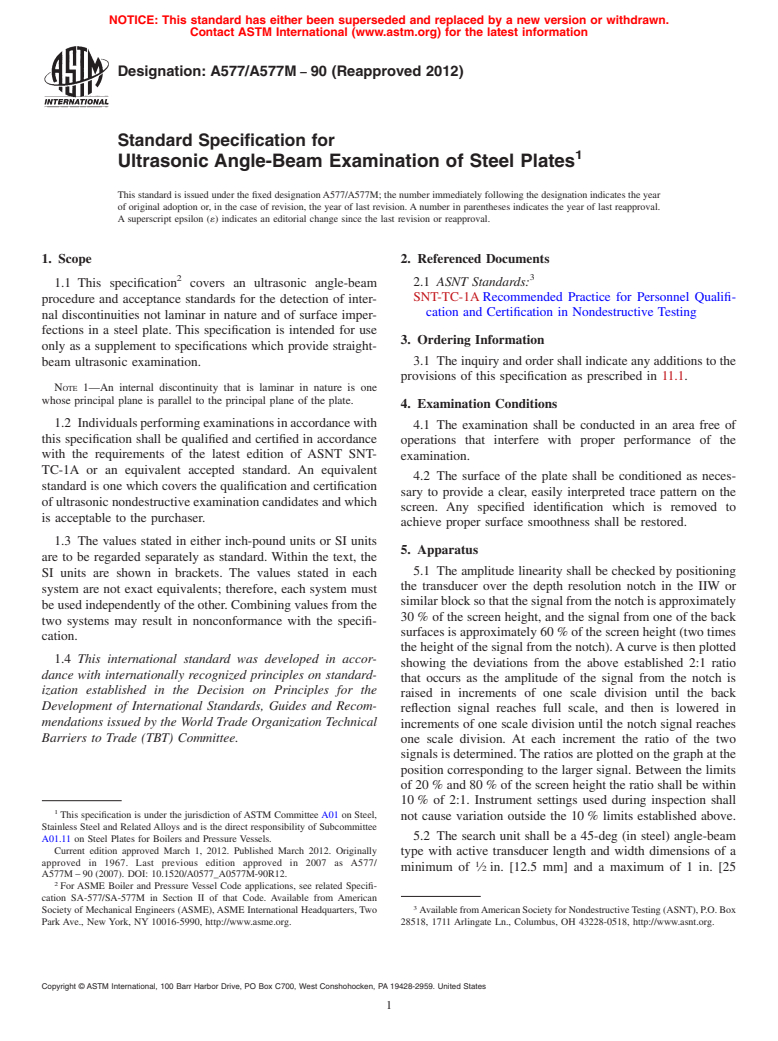
NOTICE: This standard has either been superseded and replaced by a new version or withdrawn.
Contact ASTM International (www.astm.org) for the latest information
Designation: A577/A577M −90 (Reapproved 2012)
Standard Specification for
1
Ultrasonic Angle-Beam Examination of Steel Plates
This standard is issued under the fixed designationA577/A577M; the number immediately following the designation indicates the year
of original adoption or, in the case of revision, the year of last revision. A number in parentheses indicates the year of last reapproval.
A superscript epsilon (´) indicates an editorial change since the last revision or reapproval.
1. Scope 2. Referenced Documents
3
2
2.1 ASNT Standards:
1.1 This specification covers an ultrasonic angle-beam
SNT-TC-1A Recommended Practice for Personnel Qualifi-
procedure and acceptance standards for the detection of inter-
cation and Certification in Nondestructive Testing
nal discontinuities not laminar in nature and of surface imper-
fections in a steel plate. This specification is intended for use
3. Ordering Information
only as a supplement to specifications which provide straight-
beam ultrasonic examination. 3.1 The inquiry and order shall indicate any additions to the
provisions of this specification as prescribed in 11.1.
NOTE 1—An internal discontinuity that is laminar in nature is one
whose principal plane is parallel to the principal plane of the plate.
4. Examination Conditions
1.2 Individualsperformingexaminationsinaccordancewith
4.1 The examination shall be conducted in an area free of
this specification shall be qualified and certified in accordance
operations that interfere with proper performance of the
with the requirements of the latest edition of ASNT SNT-
examination.
TC-1A or an equivalent accepted standard. An equivalent
4.2 The surface of the plate shall be conditioned as neces-
standard is one which covers the qualification and certification
sary to provide a clear, easily interpreted trace pattern on the
of ultrasonic nondestructive examination candidates and which
screen. Any specified identification which is removed to
is acceptable to the purchaser.
achieve proper surface smoothness shall be restored.
1.3 The values stated in either inch-pound units or SI units
5. Apparatus
are to be regarded separately as standard. Within the text, the
5.1 The amplitude linearity shall be checked by positioning
SI units are shown in brackets. The values stated in each
the transducer over the depth resolution notch in the IIW or
system are not exact equivalents; therefore, each system must
similar block so that the signal from the notch is approximately
be used independently of the other. Combining values from the
30 % of the screen height, and the signal from one of the back
two systems may result in nonconformance with the specifi-
surfaces is approximately 60 % of the screen height (two times
cation.
the height of the signal from the notch).Acurve is then plotted
1.4 This international standard was developed in accor-
showing the deviations from the above established 2:1 ratio
dance with internationally recognized principles on standard-
that occurs as the amplitude of the signal from the notch is
ization established in the Decision on Principles for the
raised in increments of one scale division until the back
Development of International Standards, Guides and Recom-
reflection signal reaches full scale, and then is lowered in
mendations issued by the World Trade Organization Technical
increments of one scale division until the notch signal reaches
Barriers to Trade (TBT) Committee. one scale division. At each increment the ratio of the two
signals is determined. The ratios are plotted on the graph at the
position corresponding to the larger signal. Between the limits
of 20 % and 80 % of the screen height the ratio shall be within
10 % of 2:1. Instrument settings used during inspection shall
1
This specification is under the jurisdiction of ASTM Committee A01 on Steel,
not cause variation outside the 10 % limits established above.
Stainless Steel and Related Alloys and is the direct responsibility of Subcommittee
5.2 The search unit shall be a 45-deg (in steel) angle-beam
A01.11 on Steel Plates for Boilers and Pressure Vessels.
Current edition approved March 1, 2012. Published March 2012. Originally
type with active transducer length and width dimensions of a
approved in 1967. Last previous edition approved in 2007 as A577/
1
minimum of ⁄2 in. [12.5 mm] and a maximum of 1 in. [25
A577M – 90 (2007). DOI: 10.1520/A0577_A0577M-90R12.
2
For ASME Boiler and Pressure Vessel Code applications, see related Specifi-
cation SA-577/SA-577M in Section II of that Code. Available from American
3
Society of Mechanical Engineers (ASME),ASME International Headquarters, Two AvailablefromAmericanSocietyforNondestructiveTesting(ASNT),P.O.Box
Park Ave., New York, NY 10016-5990, http://www.asme.org. 28518, 1711 Arlingate Ln., Columbus, OH 43228-0518, http://www.asnt.org.
Copyright © A
...
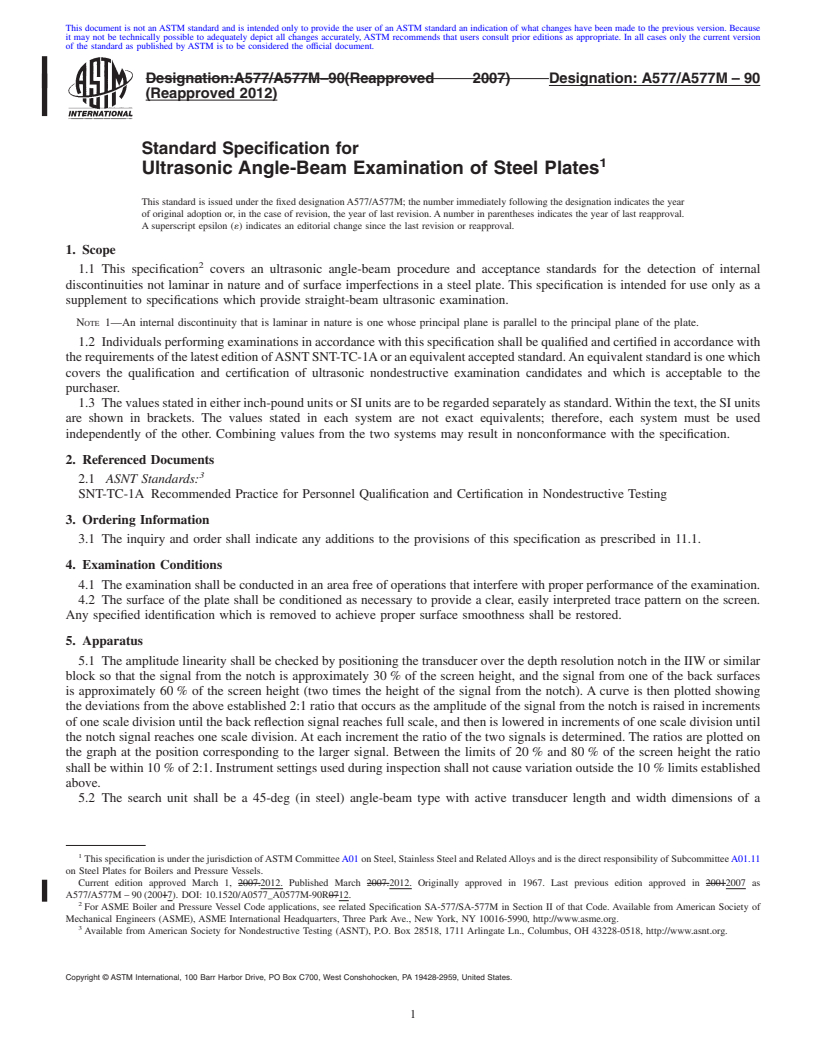
This document is not an ASTM standard and is intended only to provide the user of an ASTM standard an indication of what changes have been made to the previous version. Because
it may not be technically possible to adequately depict all changes accurately, ASTM recommends that users consult prior editions as appropriate. In all cases only the current version
of the standard as published by ASTM is to be considered the official document.
Designation:A577/A577M–90(Reapproved 2007) Designation: A577/A577M – 90
(Reapproved 2012)
Standard Specification for
1
Ultrasonic Angle-Beam Examination of Steel Plates
This standard is issued under the fixed designationA577/A577M; the number immediately following the designation indicates the year
of original adoption or, in the case of revision, the year of last revision. A number in parentheses indicates the year of last reapproval.
A superscript epsilon (´) indicates an editorial change since the last revision or reapproval.
1. Scope
2
1.1 This specification covers an ultrasonic angle-beam procedure and acceptance standards for the detection of internal
discontinuities not laminar in nature and of surface imperfections in a steel plate. This specification is intended for use only as a
supplement to specifications which provide straight-beam ultrasonic examination.
NOTE 1—An internal discontinuity that is laminar in nature is one whose principal plane is parallel to the principal plane of the plate.
1.2 Individualsperformingexaminationsinaccordancewiththisspecificationshallbequalifiedandcertifiedinaccordancewith
therequirementsofthelatesteditionofASNTSNT-TC-1Aoranequivalentacceptedstandard.Anequivalentstandardisonewhich
covers the qualification and certification of ultrasonic nondestructive examination candidates and which is acceptable to the
purchaser.
1.3 Thevaluesstatedineitherinch-poundunitsorSIunitsaretoberegardedseparatelyasstandard.Withinthetext,theSIunits
are shown in brackets. The values stated in each system are not exact equivalents; therefore, each system must be used
independently of the other. Combining values from the two systems may result in nonconformance with the specification.
2. Referenced Documents
3
2.1 ASNT Standards:
SNT-TC-1A Recommended Practice for Personnel Qualification and Certification in Nondestructive Testing
3. Ordering Information
3.1 The inquiry and order shall indicate any additions to the provisions of this specification as prescribed in 11.1.
4. Examination Conditions
4.1 The examination shall be conducted in an area free of operations that interfere with proper performance of the examination.
4.2 The surface of the plate shall be conditioned as necessary to provide a clear, easily interpreted trace pattern on the screen.
Any specified identification which is removed to achieve proper surface smoothness shall be restored.
5. Apparatus
5.1 The amplitude linearity shall be checked by positioning the transducer over the depth resolution notch in the IIW or similar
block so that the signal from the notch is approximately 30 % of the screen height, and the signal from one of the back surfaces
is approximately 60 % of the screen height (two times the height of the signal from the notch). A curve is then plotted showing
the deviations from the above established 2:1 ratio that occurs as the amplitude of the signal from the notch is raised in increments
of one scale division until the back reflection signal reaches full scale, and then is lowered in increments of one scale division until
the notch signal reaches one scale division.At each increment the ratio of the two signals is determined. The ratios are plotted on
the graph at the position corresponding to the larger signal. Between the limits of 20 % and 80 % of the screen height the ratio
shall be within 10 % of 2:1. Instrument settings used during inspection shall not cause variation outside the 10 % limits established
above.
5.2 The search unit shall be a 45-deg (in steel) angle-beam type with active transducer length and width dimensions of a
1
This specification is under the jurisdiction ofASTM CommitteeA01 on Steel, Stainless Steel and RelatedAlloys and is the direct responsibility of SubcommitteeA01.11
on Steel Plates for Boilers and Pressure Vessels.
Current edition approved March 1, 2007.2012. Published March 2007.2012. Originally approved in 1967. Last previous edition approved in 20012007 as
A577/A577M – 90 (20017). DOI: 10.1520/A0577_A0577M-90R0712.
2
For ASME Boiler and Pressure Vessel Code applications, see related Specification SA-577/SA-577M in Section II of that Code. Available from American Society of
Mechanical Engineers (ASME), ASME International Headquarters, Three Park Ave., New York, NY 10016-5990, http://www.asme.org.
3
Available from American Society for Nondestructive Testing (ASNT), P.O. Box 28518, 1711 Arlingate Ln., Columbus, OH 43228-0518, http://www.asnt.org.
Copyright © ASTM International, 100 Barr Harbor Drive, PO Box C700, West Conshohocken, PA 19428-2959, United States.
...


Questions, Comments and Discussion
Ask us and Technical Secretary will try to provide an answer. You can facilitate discussion about the standard in here.