ASTM D2663-06
(Test Method)Standard Test Methods for Carbon Black-Dispersion in Rubber
Standard Test Methods for Carbon Black-Dispersion in Rubber
SIGNIFICANCE AND USE
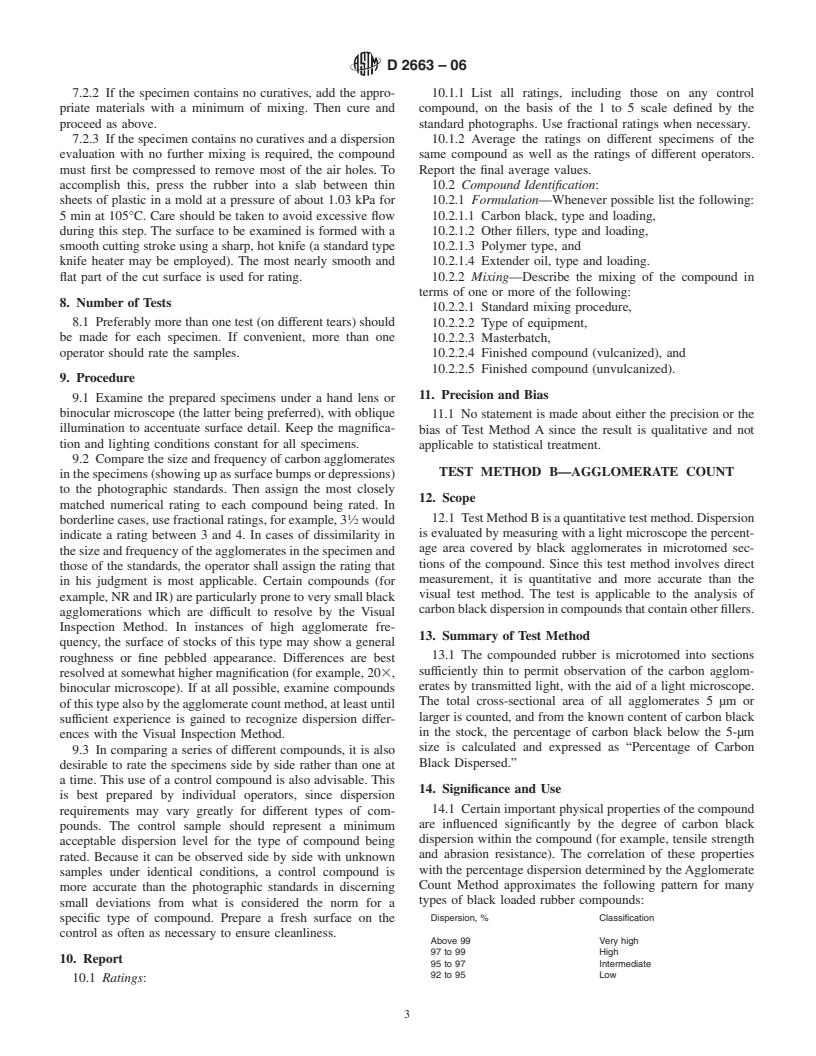
Visual dispersion ratings correlate with certain important physical properties of the compound. A rating of 5 indicates a state of dispersion developing near maximum properties, while a rating of 1 would indicate a state of dispersion developing considerably depressed properties. Normally, the visual dispersion ratings indicate the following levels of compound quality:
Visual Dispersion RatingClassification 4 to 5High 3 to 4Intermediate 2 to 3Low 1 to 2Very low
SCOPE
1.1 These test methods cover the degree of dispersion of carbon black in rubber. Three test methods are described as follows: SectionsTest Method A-Visual Inspection3-11Test Method B-Agglomerate Count12-23Test Method C-Microroughness Measurement24-34
1.2 The values stated in SI units are to be regarded as standard. No other units of measurement are included in this standard.
This standard does not purport to address all of the safety concerns, if any, associated with its use. It is the responsibility of the user of this standard to establish appropriate safety and health practices and determine the applicability of regulatory limitations prior to use.
General Information
Relations
Standards Content (Sample)
NOTICE: This standard has either been superseded and replaced by a new version or withdrawn.
Contact ASTM International (www.astm.org) for the latest information
Designation:D2663–06
Standard Test Methods for
1
Carbon Black—Dispersion in Rubber
This standard is issued under the fixed designation D2663; the number immediately following the designation indicates the year of
original adoption or, in the case of revision, the year of last revision.Anumber in parentheses indicates the year of last reapproval.A
superscript epsilon (e) indicates an editorial change since the last revision or reapproval.
1. Scope TEST METHOD A—VISUAL INSPECTION
1.1 These test methods cover the degree of dispersion of
3. Scope
carbon black in rubber. Three test methods are described as
3.1 Test Method A is a qualitative visual test method.
follows:
Ratings are made against a set of standard photographs (Fig.
Sections
3
1), andtheresultsareexpressedonanumericalscale.Thistest
Test Method A—Visual Inspection 3-11
Test Method B—Agglomerate Count 12-23
methodcannotbeusedforcompoundsthatcontainfillersother
Test Method C—Microroughness Measurement 24-34
than carbon black.
1.2 The values stated in SI units are to be regarded as
4. Summary of Test Method
standard. No other units of measurement are included in this
standard. 4.1 The compound rubber is torn or cut to expose a fresh
surface for examination by the eye, aided preferably by a hand
1.3 This standard does not purport to address all of the
safety concerns, if any, associated with its use. It is the lens or a low-power binocular microscope. The dispersion
level of the carbon black is compared against a series of five
responsibility of the user of this standard to establish appro-
priate safety and health practices and determine the applica- photographic standards and then rated numerically from 1
(very low) to 5 (high) (see Fig. 1).
bility of regulatory limitations prior to use.
2. Referenced Documents 5. Significance and Use
2
5.1 Visual dispersion ratings correlate with certain impor-
2.1 ASTM Standards:
D3182 Practice for Rubber—Materials, Equipment, and tant physical properties of the compound. A rating of 5
indicates a state of dispersion developing near maximum
Procedures for Mixing Standard Compounds and Prepar-
properties, while a rating of 1 would indicate a state of
ing Standard Vulcanized Sheets
D4483 Practice for Evaluating Precision for Test Method dispersion developing considerably depressed properties. Nor-
mally, the visual dispersion ratings indicate the following
Standards in the Rubber and Carbon Black Manufacturing
Industries levels of compound quality:
2.2 ASTM Adjuncts: Visual Dispersion Rating Classification
3
Carbon Black Dispersion Standards
4to5 High
4
Carbon Black Dispersion Chart
3 to 4 Intermediate
2to3 Low
1 to 2 Very low
1
These test methods are under the jurisdiction of ASTM Committee D24 on
6. Apparatus
Carbon Black and are the direct responsibility of Subcommittee D24.71 on Carbon
Black Testing in Rubber.
6.1 Sharp Knife or Razor Blade.
Current edition approved Oct. 1, 2006. Published November 2006. Originally
6.2 Hand Lens (103)orbinocularmicroscope(10to203).
approved in 1967. Last previous edition approved in 2006 as D2663–95a (2006).
2
6.3 Illuminator, microscopical-type.
For referenced ASTM standards, visit the ASTM website, www.astm.org, or
contact ASTM Customer Service at service@astm.org. For Annual Book of ASTM
6.4 Knife Heater.
Standards volume information, refer to the standard’s Document Summary page on
6.5 Series of Photographic Standards, rating 1 to 5. These
the ASTM website.
3
standards give the following percent dispersion ratings by the
Available from ASTM International Headquarters. Order Adjunct No.
ADJD266302. Original adjunct produced in 1967. Agglomerate Count Method:
4
Available from ASTM International Headquarters. Order Adjunct No.
ADJD266301. Original adjunct produced in 1967.
Copyright © ASTM International, 100 Barr Harbor Drive, PO Box C700, West Conshohocken, PA 19428-2959, United States.
1
---------------------- Page: 1 ----------------------
D2663–06
FIG. 1 Carbon Black Dispersion Standards—Visual Analysis of Torn Vulcanizates
The tear may be initiated by a small cut. The most nearly flat
Visual Rating Black Dispersed, %
170
part of the tear is used for rating.
280
7.2 Unvulcanized Compounds—Unvulcanized rubber may
391
496
be examined as follows:
599
7.2.1 Ifthespecimencontainscuringagents,sheetitoutand
7. Test Specimen
cure in a press to form a vulcanized slab about 2 mm in
7.1 Vulcanized Compounds—Use a slab of rubber about thickness. Mill and cure in accordance with Practice D3182.
2mm in thickness. Tear it so that a fresh surface is exposed. Then proceed as in 7.1.
2
---------------------- Page: 2 ----------------------
D2663–06
7.2.2 If the specimen contains no curatives, add the appro- 10.1.1 List all ratings, including those on any control
priate materials with a minimum of mixing. Then cure and compound, on th
...


Questions, Comments and Discussion
Ask us and Technical Secretary will try to provide an answer. You can facilitate discussion about the standard in here.