ASTM D3165-07
(Test Method)Standard Test Method for Strength Properties of Adhesives in Shear by Tension Loading of Single-Lap-Joint Laminated Assemblies
Standard Test Method for Strength Properties of Adhesives in Shear by Tension Loading of Single-Lap-Joint Laminated Assemblies
SIGNIFICANCE AND USE
This test method is useful in that the joint configuration closely simulates the actual joint configuration of many bonded assemblies. Surface preparation of the adherends can affect the apparent shear strength of the adhesive and can be one of the variables under study.
This test method is also useful as an in-process quality control test for laminated assemblies. In practice the laminated assembly is either made over size and test specimens removed from it or a percentage of the assemblies are destructively tested.
The misuse of strength values obtained from this test method as design allowable stress values for structural joints could lead to product failure, property damage, and human injury. The apparent shear strength of an adhesive obtained from a given small single-lap specimen may differ from that obtained from a joint made with different adherends or by a different bonding process. The normal variation of temperature and moisture in the service environment causes the adherends and the adhesive to swell and shrink. The adherends and adhesive are likely to have different thermal and moisture coefficients of expansion.
4.3.1 Even in small specimens, short-term environmental changes can induce internal stresses or chemical changes in the adhesive that permanently affect the apparent strength and other mechanical properties of the adhesive. The problem of predicting joint behavior in a changing environment is even more difficult if a different type of adherend is used in a larger structural joint than was used in the small specimen.
The apparent shear strength measured with a single-lap specimen is not suitable for determining design allowable stresses for designing structural joints that differ in any manner from the joints tested without thorough analysis and understanding of the joint and adhesive behaviors.
Single-lap tests may be used for comparing and selecting adhesives or bonding processes for susceptibility to fatigue and environmental change...
SCOPE
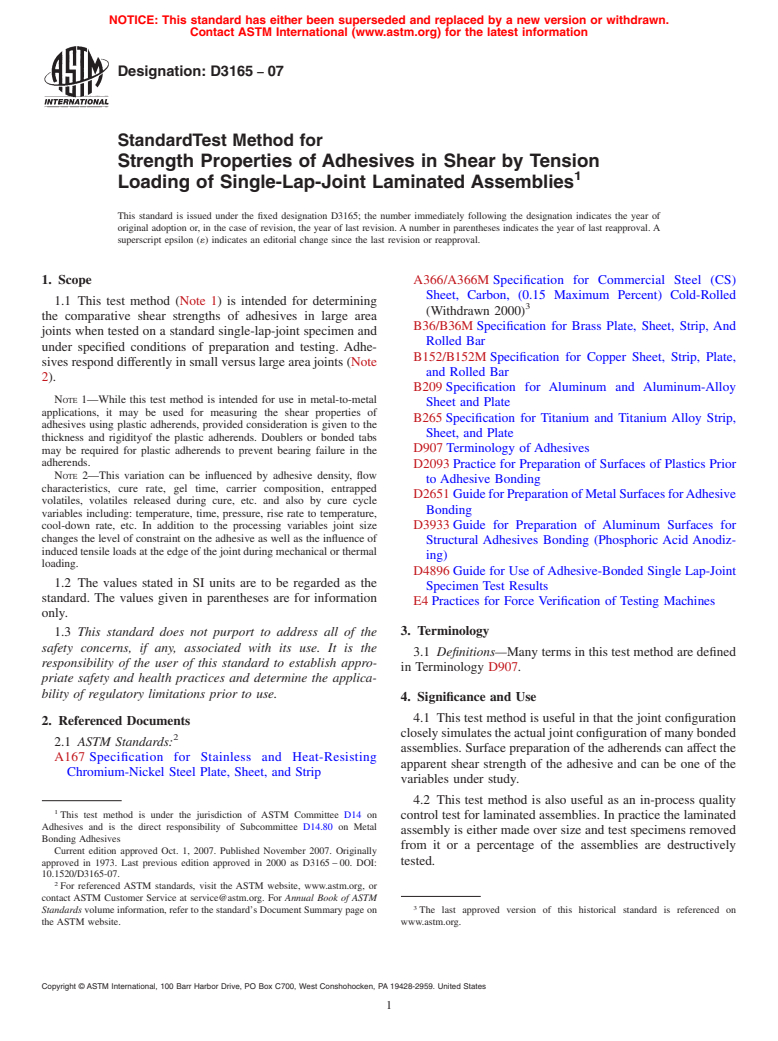
1.1 This test method (Note 1) is intended for determining the comparative shear strengths of adhesives in large area joints when tested on a standard single-lap-joint specimen and under specified conditions of preparation and testing. Adhesives respond differently in small versus large area joints (Note 2). Note 1
While this test method is intended for use in metal-to-metal applications, it may be used for measuring the shear properties of adhesives using plastic adherends, provided consideration is given to the thickness and rigidityof the plastic adherends. Doublers or bonded tabs may be required for plastic adherends to prevent bearing failure in the adherends.Note 2
This variation can be influenced by adhesive density, flow characteristics, cure rate, gel time, carrier composition, entrapped volatiles, volatiles released during cure, etc. and also by cure cycle variables including: temperature, time, pressure, rise rate to temperature, cool-down rate, etc. In addition to the processing variables joint size changes the level of constraint on the adhesive as well as the influence of induced tensile loads at the edge of the joint during mechanical or thermal loading.
1.2 The values stated in SI units are to be regarded as the standard. The values given in parentheses are for information only.
This standard does not purport to address all of the safety concerns, if any, associated with its use. It is the responsibility of the user of this standard to establish appropriate safety and health practices and determine the applicability of regulatory limitations prior to use.
General Information
Relations
Buy Standard
Standards Content (Sample)
NOTICE: This standard has either been superseded and replaced by a new version or withdrawn.
Contact ASTM International (www.astm.org) for the latest information
Designation: D3165 − 07
StandardTest Method for
Strength Properties of Adhesives in Shear by Tension
1
Loading of Single-Lap-Joint Laminated Assemblies
This standard is issued under the fixed designation D3165; the number immediately following the designation indicates the year of
original adoption or, in the case of revision, the year of last revision. A number in parentheses indicates the year of last reapproval. A
superscript epsilon (´) indicates an editorial change since the last revision or reapproval.
1. Scope A366/A366M Specification for Commercial Steel (CS)
Sheet, Carbon, (0.15 Maximum Percent) Cold-Rolled
1.1 This test method (Note 1) is intended for determining
3
(Withdrawn 2000)
the comparative shear strengths of adhesives in large area
B36/B36M Specification for Brass Plate, Sheet, Strip, And
joints when tested on a standard single-lap-joint specimen and
Rolled Bar
under specified conditions of preparation and testing. Adhe-
B152/B152M Specification for Copper Sheet, Strip, Plate,
sives respond differently in small versus large area joints (Note
and Rolled Bar
2).
B209 Specification for Aluminum and Aluminum-Alloy
NOTE 1—While this test method is intended for use in metal-to-metal
Sheet and Plate
applications, it may be used for measuring the shear properties of
B265 Specification for Titanium and Titanium Alloy Strip,
adhesives using plastic adherends, provided consideration is given to the
Sheet, and Plate
thickness and rigidityof the plastic adherends. Doublers or bonded tabs
D907 Terminology of Adhesives
may be required for plastic adherends to prevent bearing failure in the
adherends.
D2093 Practice for Preparation of Surfaces of Plastics Prior
NOTE 2—This variation can be influenced by adhesive density, flow
to Adhesive Bonding
characteristics, cure rate, gel time, carrier composition, entrapped
D2651 GuideforPreparationofMetalSurfacesforAdhesive
volatiles, volatiles released during cure, etc. and also by cure cycle
Bonding
variables including: temperature, time, pressure, rise rate to temperature,
cool-down rate, etc. In addition to the processing variables joint size D3933 Guide for Preparation of Aluminum Surfaces for
changes the level of constraint on the adhesive as well as the influence of
Structural Adhesives Bonding (Phosphoric Acid Anodiz-
induced tensile loads at the edge of the joint during mechanical or thermal
ing)
loading.
D4896 Guide for Use ofAdhesive-Bonded Single Lap-Joint
1.2 The values stated in SI units are to be regarded as the
Specimen Test Results
standard. The values given in parentheses are for information
E4 Practices for Force Verification of Testing Machines
only.
1.3 This standard does not purport to address all of the 3. Terminology
safety concerns, if any, associated with its use. It is the
3.1 Definitions—Many terms in this test method are defined
responsibility of the user of this standard to establish appro-
in Terminology D907.
priate safety and health practices and determine the applica-
bility of regulatory limitations prior to use.
4. Significance and Use
4.1 This test method is useful in that the joint configuration
2. Referenced Documents
closelysimulatestheactualjointconfigurationofmanybonded
2
2.1 ASTM Standards:
assemblies. Surface preparation of the adherends can affect the
A167 Specification for Stainless and Heat-Resisting
apparent shear strength of the adhesive and can be one of the
Chromium-Nickel Steel Plate, Sheet, and Strip
variables under study.
4.2 This test method is also useful as an in-process quality
1
This test method is under the jurisdiction of ASTM Committee D14 on
control test for laminated assemblies. In practice the laminated
Adhesives and is the direct responsibility of Subcommittee D14.80 on Metal
assembly is either made over size and test specimens removed
Bonding Adhesives
from it or a percentage of the assemblies are destructively
Current edition approved Oct. 1, 2007. Published November 2007. Originally
approved in 1973. Last previous edition approved in 2000 as D3165 – 00. DOI: tested.
10.1520/D3165-07.
2
For referenced ASTM standards, visit the ASTM website, www.astm.org, or
contact ASTM Customer Service at service@astm.org. For Annual Book of ASTM
3
Standards volume information, refer to the standard’s Document Summary page on The last approved version of this historical standard is referenced on
the ASTM website. www.astm.org.
Copyright © ASTM International, 100 Barr Harbor Drive, PO Box C700, West Conshohocken, PA 19428-2959. United States
1
---------------------- Page: 1 ----------------------
D3165 − 07
4.3 The misuse of strength values obtained from this test 5. Apparatus
method as design allowable stress values for structural joints
5.1 Testing Machine, conforming to the requirements of
could lead to product failure, property damage, and human
Practice E4. The t
...
This document is not anASTM standard and is intended only to provide the user of anASTM standard an indication of what changes have been made to the previous version. Because
it may not be technically possible to adequately depict all changes accurately, ASTM recommends that users consult prior editions as appropriate. In all cases only the current version
of the standard as published by ASTM is to be considered the official document.
Designation:D3165–00 Designation: D 3165 – 07
Standard Test Method for
Strength Properties of Adhesives in Shear by Tension
1
Loading of Single-Lap-Joint Laminated Assemblies
This standard is issued under the fixed designation D 3165; the number immediately following the designation indicates the year of
original adoption or, in the case of revision, the year of last revision. A number in parentheses indicates the year of last reapproval. A
superscript epsilon (e) indicates an editorial change since the last revision or reapproval.
1. Scope
1.1 This test method (Note 1) is intended for determining the comparative shear strengths of adhesives in large area joints when
tested on a standard single-lap-joint specimen and under specified conditions of preparation and testing. Adhesives respond
differently in small versus large area joints (Note 2).
NOTE 1—Whilethistestmethodisintendedforuseinmetal-to-metalapplications,itmaybeusedformeasuringtheshearpropertiesofadhesivesusing
plastic adherends, provided consideration is given to the thickness and rigidityof the plastic adherends. Doublers or bonded tabs may be required for
plastic adherends to prevent bearing failure in the adherends.
NOTE2—This variation can be influenced by adhesive density, flow characteristics, cure rate, gel time, carrier composition, entrapped volatiles, volatiles
released during cure, etc. and also by cure cycle variables including: temperature, time, pressure, rise rate to temperature, cool-down rate, etc.
1.2The values stated in SI units are to be regarded as the standard. The values given in parentheses are provided for infomation
purposes only. 2—This variation can be influenced by adhesive density, flow characteristics, cure rate, gel time, carrier
composition, entrapped volatiles, volatiles released during cure, etc. and also by cure cycle variables including: temperature, time,
pressure, rise rate to temperature, cool-down rate, etc. In addition to the processing variables joint size changes the level of
constraint on the adhesive as well as the influence of induced tensile loads at the edge of the joint during mechanical or thermal
loading.
1.2 The values stated in SI units are to be regarded as the standard. The values given in parentheses are for information only.
1.3 This standard does not purport to address all of the safety concerns, if any, associated with its use. It is the responsibility
of the user of this standard to establish appropriate safety and health practices and determine the applicability of regulatory
limitations prior to use.
2. Referenced Documents
2
2.1 ASTM Standards:
A 167 Specification for Stainless and Heat-Resisting Chromium-Nickel Steel Plate, Sheet, and Strip
3
A 366/A 366M Specification for Steel, Sheet, Carbon, Cold-Rolled, Commercial Quality
B 36/B 36M Specification for Brass Plate, Sheet, Strip, andAnd Rolled Bar
B 152/B 152M Specification for Copper Sheet, Strip, Plate, and Rolled Bar
B 209 Specification for Aluminum and Aluminum-Alloy Sheet and Plate
B 265 Specification for Titanium and Titanium Alloy Strip, Sheet, and Plate
D 907 Terminology of Adhesives
D 2093 Practice for Preparation of Surfaces of Plastics Prior to Adhesive Bonding
D 2651 Guide for Preparation of Metal Surfaces for Adhesive Bonding
D 3933 Guide for Preparation of Aluminum Surfaces for Structural Adhesives Bonding (Phosphoric Acid Anodizing)
D 4896 Guide for Use of Adhesive-Bonded Single- Lap-Joint Specimen Test Results
E 4 Practices for Force Verification of Testing Machines
3. Terminology
3.1 Definitions—Many terms in this test method are defined in Terminology D 907.
1
This test method is under the jurisdiction ofASTM Committee D-14 onAdhesives and is the direct responsibility of Subcommittee D14.80 on Metal BondingAdhesives.
Current edition approved May 10, 2000. Published August 2000. Originally published as D3165–73. Last previous edition D3165–95.
1
This test method is under the jurisdiction ofASTM Committee D14 onAdhesives and is the direct responsibility of Subcommittee D14.80 on Metal BondingAdhesives
Current edition approved Oct. 1, 2007. Published November 2007. Originally approved in 1973. Last previous edition approved in 2000 as D 3165 – 00.
2
For referencedASTM standards, visit theASTM website, www.astm.org, or contactASTM Customer Service at service@astm.org. For Annual Book of ASTM Standards
, Vol 01.03.volume information, refer to the standard’s Document Summary page on the ASTM website.
3
Withdrawn.
Copyright © ASTM International, 100 Barr Harbor Drive, PO Box C700, West Conshohocken, PA 194
...


Questions, Comments and Discussion
Ask us and Technical Secretary will try to provide an answer. You can facilitate discussion about the standard in here.