ASTM E606/E606M-12
(Test Method)Standard Test Method for Strain-Controlled Fatigue Testing
Standard Test Method for Strain-Controlled Fatigue Testing
SIGNIFICANCE AND USE
Strain-controlled fatigue is a phenomenon that is influenced by the same variables that influence force-controlled fatigue. The nature of strain-controlled fatigue imposes distinctive requirements on fatigue testing methods. In particular, cyclic total strain should be measured and cyclic plastic strain should be determined. Furthermore, either of these strains typically is used to establish cyclic limits; total strain usually is controlled throughout the cycle. The uniqueness of this test method and the results it yields are the determination of cyclic stresses and strains at any time during the tests. Differences in strain histories other than constant-amplitude alter fatigue life as compared with the constant amplitude results (for example, periodic overstrains and block or spectrum histories). Likewise, the presence of nonzero mean strains and varying environmental conditions may alter fatigue life as compared with the constant-amplitude, fully reversed fatigue tests. Care must be exercised in analyzing and interpreting data for such cases. In the case of variable amplitude or spectrum strain histories, cycle counting can be performed with Practice E1049 .
Strain-controlled fatigue can be an important consideration in the design of industrial products. It is important for situations in which components or portions of components undergo either mechanically or thermally induced cyclic plastic strains that cause failure within relatively few (that is, approximately 105) cycles. Information obtained from strain-controlled fatigue testing may be an important element in the establishment of design criteria to protect against component failure by fatigue.
Strain-controlled fatigue test results are useful in the areas of mechanical design as well as materials research and development, process and quality control, product performance, and failure analysis. Results of a strain-controlled fatigue test program may be used in the formulation of empirical relationships be...
SCOPE
1.1 This test method covers the determination of fatigue properties of nominally homogeneous materials by the use of test specimens subjected to uniaxial forces. It is intended as a guide for fatigue testing performed in support of such activities as materials research and development, mechanical design, process and quality control, product performance, and failure analysis. While this test method is intended primarily for strain-controlled fatigue testing, some sections may provide useful information for force-controlled or stress-controlled testing.
1.2 The use of this test method is limited to specimens and does not cover testing of full-scale components, structures, or consumer products.
1.3 This test method is applicable to temperatures and strain rates for which the magnitudes of time-dependent inelastic strains are on the same order or less than the magnitudes of time-independent inelastic strains. No restrictions are placed on environmental factors such as temperature, pressure, humidity, medium, and others, provided they are controlled throughout the test, do not cause loss of or change in dimension with time, and are detailed in the data report.
Note 1—The term inelastic is used herein to refer to all nonelastic strains. The term plastic is used herein to refer only to the time-independent (that is, noncreep) component of inelastic strain. To truly determine a time-independent strain the force would have to be applied instantaneously, which is not possible. A useful engineering estimate of time-independent strain can be obtained when the strain rate exceeds some value. For example, a strain rate of 1 × 10⁻³ sec−1 is often used for this purpose. This value should increase with increasing test temperature.
1.4 This test method is restricted to the testing of uniform gage section test specimens subjected to axial forces as shown in Fig. 1(a). Testing is limited to strain-controlled cycling. The test meth...
General Information
Relations
Buy Standard
Standards Content (Sample)
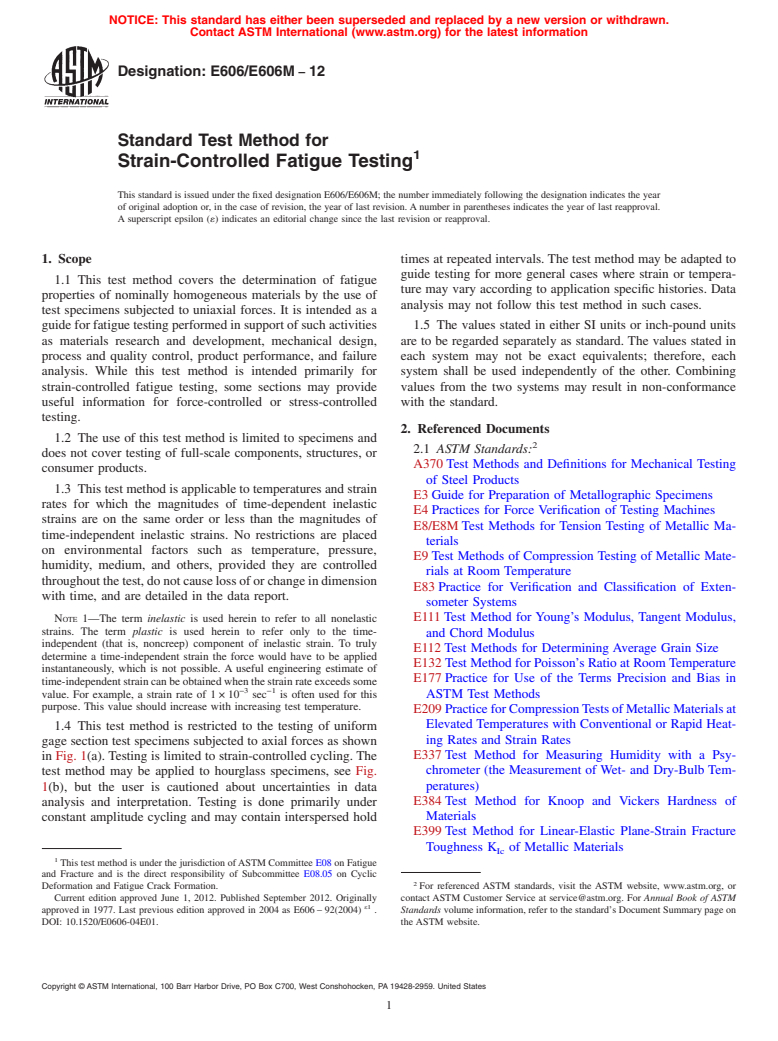
NOTICE: This standard has either been superseded and replaced by a new version or withdrawn.
Contact ASTM International (www.astm.org) for the latest information
Designation: E606/E606M − 12
Standard Test Method for
1
Strain-Controlled Fatigue Testing
This standard is issued under the fixed designation E606/E606M; the number immediately following the designation indicates the year
of original adoption or, in the case of revision, the year of last revision.Anumber in parentheses indicates the year of last reapproval.
A superscript epsilon (´) indicates an editorial change since the last revision or reapproval.
1. Scope times at repeated intervals.The test method may be adapted to
guide testing for more general cases where strain or tempera-
1.1 This test method covers the determination of fatigue
ture may vary according to application specific histories. Data
properties of nominally homogeneous materials by the use of
analysis may not follow this test method in such cases.
test specimens subjected to uniaxial forces. It is intended as a
guideforfatiguetestingperformedinsupportofsuchactivities 1.5 The values stated in either SI units or inch-pound units
as materials research and development, mechanical design, are to be regarded separately as standard. The values stated in
process and quality control, product performance, and failure each system may not be exact equivalents; therefore, each
analysis. While this test method is intended primarily for system shall be used independently of the other. Combining
strain-controlled fatigue testing, some sections may provide values from the two systems may result in non-conformance
useful information for force-controlled or stress-controlled with the standard.
testing.
2. Referenced Documents
1.2 The use of this test method is limited to specimens and
2
2.1 ASTM Standards:
does not cover testing of full-scale components, structures, or
A370Test Methods and Definitions for Mechanical Testing
consumer products.
of Steel Products
1.3 Thistestmethodisapplicabletotemperaturesandstrain
E3Guide for Preparation of Metallographic Specimens
rates for which the magnitudes of time-dependent inelastic
E4Practices for Force Verification of Testing Machines
strains are on the same order or less than the magnitudes of
E8/E8MTest Methods for Tension Testing of Metallic Ma-
time-independent inelastic strains. No restrictions are placed
terials
on environmental factors such as temperature, pressure,
E9Test Methods of Compression Testing of Metallic Mate-
humidity, medium, and others, provided they are controlled
rials at Room Temperature
throughoutthetest,donotcauselossoforchangeindimension
E83Practice for Verification and Classification of Exten-
with time, and are detailed in the data report.
someter Systems
NOTE 1—The term inelastic is used herein to refer to all nonelastic E111Test Method for Young’s Modulus, Tangent Modulus,
strains. The term plastic is used herein to refer only to the time-
and Chord Modulus
independent (that is, noncreep) component of inelastic strain. To truly
E112Test Methods for Determining Average Grain Size
determine a time-independent strain the force would have to be applied
E132Test Method for Poisson’s Ratio at RoomTemperature
instantaneously, which is not possible. A useful engineering estimate of
E177Practice for Use of the Terms Precision and Bias in
time-independentstraincanbeobtainedwhenthestrainrateexceedssome
−3 −1
value. For example, a strain rate of 1×10 sec is often used for this ASTM Test Methods
purpose. This value should increase with increasing test temperature.
E209PracticeforCompressionTestsofMetallicMaterialsat
Elevated Temperatures with Conventional or Rapid Heat-
1.4 This test method is restricted to the testing of uniform
ing Rates and Strain Rates
gage section test specimens subjected to axial forces as shown
E337Test Method for Measuring Humidity with a Psy-
in Fig. 1(a).Testing is limited to strain-controlled cycling.The
chrometer (the Measurement of Wet- and Dry-Bulb Tem-
test method may be applied to hourglass specimens, see Fig.
peratures)
1(b), but the user is cautioned about uncertainties in data
E384Test Method for Knoop and Vickers Hardness of
analysis and interpretation. Testing is done primarily under
Materials
constant amplitude cycling and may contain interspersed hold
E399Test Method for Linear-Elastic Plane-Strain Fracture
Toughness K of Metallic Materials
Ic
1
This test method is under the jurisdiction ofASTM Committee E08 on Fatigue
and Fracture and is the direct responsibility of Subcommittee E08.05 on Cyclic
2
Deformation and Fatigue Crack Formation. For referenced ASTM standards, visit the ASTM website, www.astm.org, or
Current edition approved June 1, 2012. Published September 2012. Originally contact ASTM Customer Service at service@astm.org. For Annual Book of ASTM
ε1
approved in 1977. Last previous edition approved in 2004 as E606–92(2004) . Standards volume information, refer to the standard’s Document Summary pag
...
This document is not anASTM standard and is intended only to provide the user of anASTM standard an indication of what changes have been made to the previous version. Because
it may not be technically possible to adequately depict all changes accurately, ASTM recommends that users consult prior editions as appropriate. In all cases only the current version
of the standard as published by ASTM is to be considered the official document.
´1
Designation:E606–04
Standard Practice for Designation: E606/E606M – 12
Standard Test Method for
1
Strain-Controlled Fatigue Testing
This standard is issued under the fixed designation E606/E606M; the number immediately following the designation indicates the year
of original adoption or, in the case of revision, the year of last revision.Anumber in parentheses indicates the year of last reapproval.
1
Asuperscript epsilon (´) indicates an editorial change since the last revision or reapproval. ´ NOTE—Section 10 was editorially revised
in July 2005.
1. Scope
1.1 This practice test method covers the determination of fatigue properties of nominally homogeneous materials by the use of
test specimens subjected to uniaxial forces. It is intended as a guide for fatigue testing performed in support of such activities as
materials research and development, mechanical design, process and quality control, product performance, and failure analysis.
While this practice test method is intended primarily for strain-controlled fatigue testing, some sections may provide useful
information for force-controlled or stress-controlled testing.
1.2 The use of this practice test method is limited to specimens and does not cover testing of full-scale components, structures,
or consumer products.
1.3 Thispracticetestmethodisapplicabletotemperaturesandstrainratesforwhichthemagnitudesoftime-dependentinelastic
strains are on the same order or less than the magnitudes of time-independent inelastic strains. No restrictions are placed on
environmental factors such as temperature, pressure, humidity, medium, and others, provided they are controlled throughout the
test, do not cause loss of or change in dimension with time, and are detailed in the data report.
NOTE 1—The term inelastic is used herein to refer to all nonelastic strains. The term plastic is used herein to refer only to the time-independent (that
is,noncreep)componentofinelasticstrain.Totrulydetermineatime-independentstraintheforcewouldhavetobeappliedinstantaneously,which isnot
possible. A useful engineering estimate of time-independent strain can be obtained when the strain rate exceeds some value. For example, a strain rate
−3 −1
of 1 310 sec is often used for this purpose. This value should increase with increasing test temperature.
1.4 Thispracticetestmethodisrestrictedtothetestingofuniformgagesectiontestspecimenssubjectedtoaxialforcesasshown
inFig.1(a).Testingislimitedtostrain-controlledcycling.Thepracticetestmethodmaybeappliedtohourglassspecimens,seeFig.
1(b), but the user is cautioned about uncertainties in data analysis and interpretation. Testing is done primarily under constant
amplitude cycling and may contain interspersed hold times at repeated intervals.The practice may be adapted to guide testing for
more general cases where strain or temperature may vary according to application specific histories. Data analysis may not follow
this practice in such cases. (b), but the user is cautioned about uncertainties in data analysis and interpretation. Testing is done
primarily under constant amplitude cycling and may contain interspersed hold times at repeated intervals. The test method may
beadaptedtoguidetestingformoregeneralcaseswherestrainortemperaturemayvaryaccordingtoapplicationspecifichistories.
Data analysis may not follow this test method in such cases.
1.5 The values stated in either SI units or inch-pound units are to be regarded separately as standard.The values stated in each
system may not be exact equivalents; therefore, each system shall be used independently of the other. Combining values from the
two systems may result in non-conformance with the standard.
2. Referenced Documents
2
2.1 ASTM Standards:
A370 Test Methods and Definitions for Mechanical Testing of Steel Products
E3 Guide for Preparation of Metallographic Specimens
E4 Practices for Force Verification of Testing Machines
1
This practice test method is under the jurisdiction ofASTM Committee E08 on Fatigue and Fracture and is the direct responsibility of Subcommittee E08.05 on Cyclic
Deformation and Fatigue Crack Formation.
Current edition approved Oct.June 1, 2004.2012. Published October 2004.September 2012. Originally approved in 1977. Last previous edition approved in 2004 as
´1
E606–92(2004) . DOI: 10.1520/E0606-04E01.
2
ForreferencedASTMstandards,visittheASTMwebsite,www.astm.org,orcontactASTMCustomerServiceatservice@astm.org.For Annual Book of ASTM Standards
volume information, refer to the standard’s Document Summary page on the ASTM website.
Copyright © ASTM
...


Questions, Comments and Discussion
Ask us and Technical Secretary will try to provide an answer. You can facilitate discussion about the standard in here.