ASTM C914-09
(Test Method)Standard Test Method for Bulk Density and Volume of Solid Refractories by Wax Immersion
Standard Test Method for Bulk Density and Volume of Solid Refractories by Wax Immersion
SIGNIFICANCE AND USE
This test method may be used to quickly determine volume and bulk density of a refractory of any shape, provided it has sufficient structural integrity to permit handling. Thus it may be used on unfired or fired, strong or friable shapes.
Since the test may be performed quickly, it has found application as manufacturing in-process control as well as in characterizing finished refractory products. Also it may be used to examine specimens after other test or service exposure.
SCOPE
1.1 This test method covers the basic procedure for determining bulk density and volume of refractory shapes. This test is applicable to all refractory shapes or monoliths, burned or unburned, independent of composition or forming method, including materials that slake and hydrate. It is particularly suitable for determining bulk density and volume of complex shapes after forming, since results may be obtained in a matter of minutes.
1.2 Units—The values stated in inch-pound units are to be regarded as standard. The values given in parentheses are mathematical conversions to SI units that are provided for information only and are not considered standard.
1.2.1 Exception—The balance used in this standard is only available in SI units (Sections 3-6).
1.3 This standard does not purport to address all of the safety concerns, if any, associated with its use. It is the responsibility of the user of this standard to establish appropriate safety and health practices and determine the applicability of regulatory limitations prior to use. For a specific hazard statement, see Note 2.
General Information
Relations
Buy Standard
Standards Content (Sample)
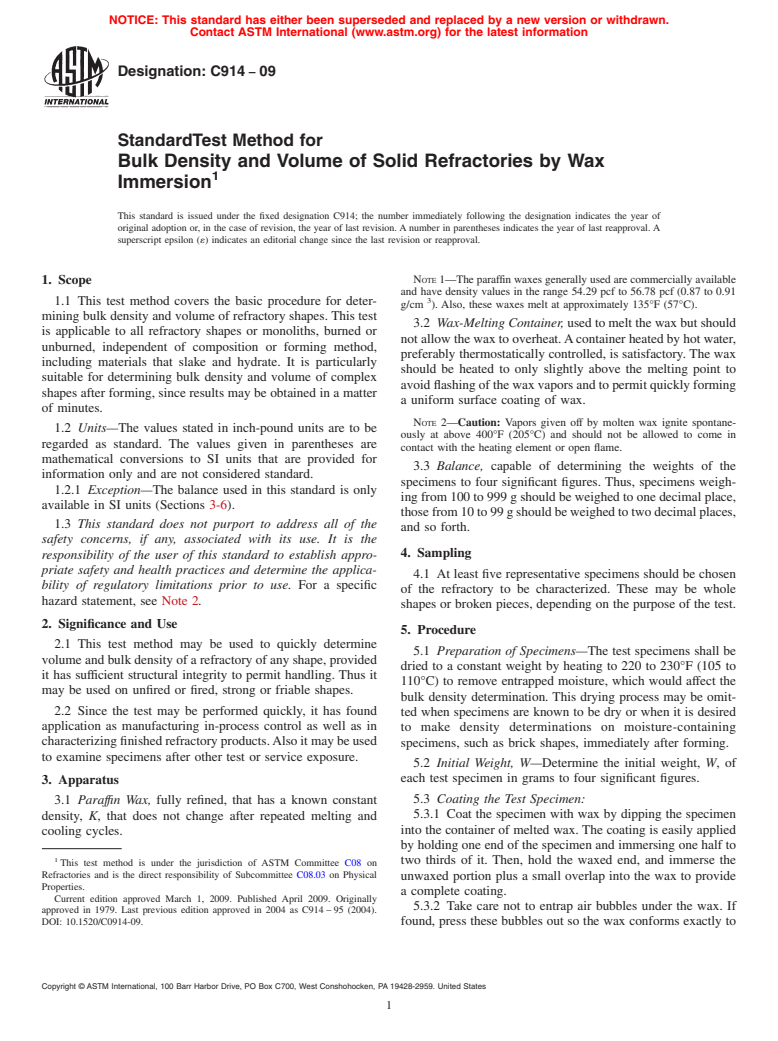
NOTICE: This standard has either been superseded and replaced by a new version or withdrawn.
Contact ASTM International (www.astm.org) for the latest information
Designation: C914 − 09
StandardTest Method for
Bulk Density and Volume of Solid Refractories by Wax
1
Immersion
This standard is issued under the fixed designation C914; the number immediately following the designation indicates the year of
original adoption or, in the case of revision, the year of last revision. A number in parentheses indicates the year of last reapproval. A
superscript epsilon (´) indicates an editorial change since the last revision or reapproval.
NOTE 1—The paraffin waxes generally used are commercially available
1. Scope
and have density values in the range 54.29 pcf to 56.78 pcf (0.87 to 0.91
3
1.1 This test method covers the basic procedure for deter-
g/cm ). Also, these waxes melt at approximately 135°F (57°C).
mining bulk density and volume of refractory shapes. This test
3.2 Wax-Melting Container, used to melt the wax but should
is applicable to all refractory shapes or monoliths, burned or
not allow the wax to overheat.Acontainer heated by hot water,
unburned, independent of composition or forming method,
preferably thermostatically controlled, is satisfactory. The wax
including materials that slake and hydrate. It is particularly
should be heated to only slightly above the melting point to
suitable for determining bulk density and volume of complex
avoid flashing of the wax vapors and to permit quickly forming
shapes after forming, since results may be obtained in a matter
a uniform surface coating of wax.
of minutes.
NOTE 2—Caution: Vapors given off by molten wax ignite spontane-
1.2 Units—The values stated in inch-pound units are to be
ously at above 400°F (205°C) and should not be allowed to come in
regarded as standard. The values given in parentheses are
contact with the heating element or open flame.
mathematical conversions to SI units that are provided for
3.3 Balance, capable of determining the weights of the
information only and are not considered standard.
specimens to four significant figures. Thus, specimens weigh-
1.2.1 Exception—The balance used in this standard is only
ing from 100 to 999 g should be weighed to one decimal place,
available in SI units (Sections 3-6).
thosefrom10to99gshouldbeweighedtotwodecimalplaces,
1.3 This standard does not purport to address all of the
and so forth.
safety concerns, if any, associated with its use. It is the
4. Sampling
responsibility of the user of this standard to establish appro-
priate safety and health practices and determine the applica-
4.1 At least five representative specimens should be chosen
bility of regulatory limitations prior to use. For a specific
of the refractory to be characterized. These may be whole
hazard statement, see Note 2.
shapes or broken pieces, depending on the purpose of the test.
2. Significance and Use
5. Procedure
2.1 This test method may be used to quickly determine
5.1 Preparation of Specimens—The test specimens shall be
volume and bulk density of a refractory of any shape, provided
dried to a constant weight by heating to 220 to 230°F (105 to
it has sufficient structural integrity to permit handling. Thus it
110°C) to remove entrapped moisture, which would affect the
may be used on unfired or fired, strong or friable shapes.
bulk density determination. This drying process may be omit-
2.2 Since the test may be performed quickly, it has found
ted when specimens are known to be dry or when it is desired
application as manufacturing in-process control as well as in
to make density determinations on moisture-containing
characterizing finished refractory products.Also it may be used
specimens, such as brick shapes, immediately after forming.
to examine specimens after other test or service exposure.
5.2 Initial Weight, W—Determine the initial weight, W,of
each test specimen in grams to four significant figures.
3. Apparatus
5.3 Coating the Test Specimen:
3.1 Paraffın Wax, fully refined, that has a known constant
5.3.1 Coat the specimen with wax by dipping the specimen
density, K, that does not change after repeated melting and
into the container of melted wax. The coating is easily applied
cooling cycles.
by holding one end of the specimen and immersing one half to
1
two thirds of it. Then, hold the waxed end, and immerse the
This test method is under the jurisdiction of ASTM Committee C08 on
Refractories and is the direct responsibility of Subcommittee C08.03 on Physical
unwaxed portion plus a small overlap into the wax to provide
Properties.
a complete coating.
Current edition approved March 1, 2009. Published April 2009. Originally
5.3.2 Take care not to entrap air bubbles under the wax. If
approved in 1979. Last previous edition approved in 2004 as C914 – 95 (2004).
DOI: 10.1520/C0914-09. found, press these bubbles out so the wax conforms exactly to
Copyright © ASTM International, 100 Barr Harbor Drive, PO Box C700, West Conshohocken, PA 19428
...
This document is not an ASTM standard and is intended only to provide the user of an ASTM standard an indication of what changes have been made to the previous version. Because
it may not be technically possible to adequately depict all changes accurately, ASTM recommends that users consult prior editions as appropriate. In all cases only the current version
of the standard as published by ASTM is to be considered the official document.
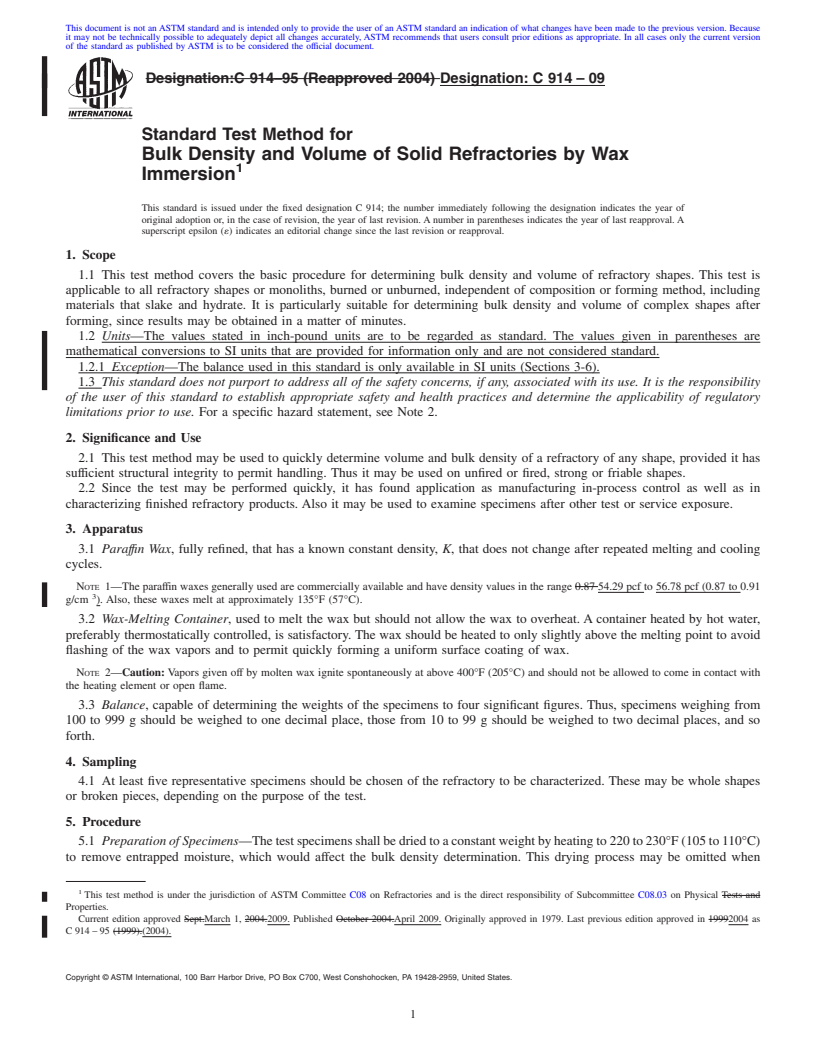
Designation:C 914–95 (Reapproved 2004) Designation:C 914–09
Standard Test Method for
Bulk Density and Volume of Solid Refractories by Wax
1
Immersion
This standard is issued under the fixed designation C 914; the number immediately following the designation indicates the year of
original adoption or, in the case of revision, the year of last revision. A number in parentheses indicates the year of last reapproval. A
superscript epsilon (´) indicates an editorial change since the last revision or reapproval.
1. Scope
1.1 This test method covers the basic procedure for determining bulk density and volume of refractory shapes. This test is
applicable to all refractory shapes or monoliths, burned or unburned, independent of composition or forming method, including
materials that slake and hydrate. It is particularly suitable for determining bulk density and volume of complex shapes after
forming, since results may be obtained in a matter of minutes.
1.2 Units—The values stated in inch-pound units are to be regarded as standard. The values given in parentheses are
mathematical conversions to SI units that are provided for information only and are not considered standard.
1.2.1 Exception—The balance used in this standard is only available in SI units (Sections 3-6).
1.3 This standard does not purport to address all of the safety concerns, if any, associated with its use. It is the responsibility
of the user of this standard to establish appropriate safety and health practices and determine the applicability of regulatory
limitations prior to use. For a specific hazard statement, see Note 2.
2. Significance and Use
2.1 This test method may be used to quickly determine volume and bulk density of a refractory of any shape, provided it has
sufficient structural integrity to permit handling. Thus it may be used on unfired or fired, strong or friable shapes.
2.2 Since the test may be performed quickly, it has found application as manufacturing in-process control as well as in
characterizing finished refractory products. Also it may be used to examine specimens after other test or service exposure.
3. Apparatus
3.1 Paraffın Wax, fully refined, that has a known constant density, K, that does not change after repeated melting and cooling
cycles.
NOTE 1—The paraffin waxes generally used are commercially available and have density values in the range 0.87 54.29 pcf to 56.78 pcf (0.87 to 0.91
3
g/cm ). Also, these waxes melt at approximately 135°F (57°C).
3.2 Wax-Melting Container, used to melt the wax but should not allow the wax to overheat. A container heated by hot water,
preferably thermostatically controlled, is satisfactory. The wax should be heated to only slightly above the melting point to avoid
flashing of the wax vapors and to permit quickly forming a uniform surface coating of wax.
NOTE 2—Caution: Vapors given off by molten wax ignite spontaneously at above 400°F (205°C) and should not be allowed to come in contact with
the heating element or open flame.
3.3 Balance, capable of determining the weights of the specimens to four significant figures. Thus, specimens weighing from
100 to 999 g should be weighed to one decimal place, those from 10 to 99 g should be weighed to two decimal places, and so
forth.
4. Sampling
4.1 At least five representative specimens should be chosen of the refractory to be characterized. These may be whole shapes
or broken pieces, depending on the purpose of the test.
5. Procedure
5.1 Preparation of Specimens—Thetestspecimensshallbedriedtoaconstantweightbyheatingto220to230°F(105to110°C)
to remove entrapped moisture, which would affect the bulk density determination. This drying process may be omitted when
1
This test method is under the jurisdiction of ASTM Committee C08 on Refractories and is the direct responsibility of Subcommittee C08.03 on Physical Tests and
Properties.
Current edition approved Sept.March 1, 2004.2009. Published October 2004.April 2009. Originally approved in 1979. Last previous edition approved in 19992004 as
C 914 – 95 (1999).(2004).
Copyright © ASTM International, 100 Barr Harbor Drive, PO Box C700, West Conshohocken, PA 19428-2959, United States.
1
---------------------- Page: 1 ----------------------
C914–09
specimens are known to be dry or when it is desired to make density determinations on moisture-containing specimens, such as
brick shapes, immediately after forming.
5.2 Initial Weight, W—Determine the initial weight, W, of each test specimen in grams to four significant figures.
5.3 Coating the Test Specimen:
5.3.1 Coat the specimen
...


Questions, Comments and Discussion
Ask us and Technical Secretary will try to provide an answer. You can facilitate discussion about the standard in here.