ASTM E794-98
(Test Method)Standard Test Method for Melting and Crystallization Temperatures by Thermal Analysis
Standard Test Method for Melting and Crystallization Temperatures by Thermal Analysis
SCOPE
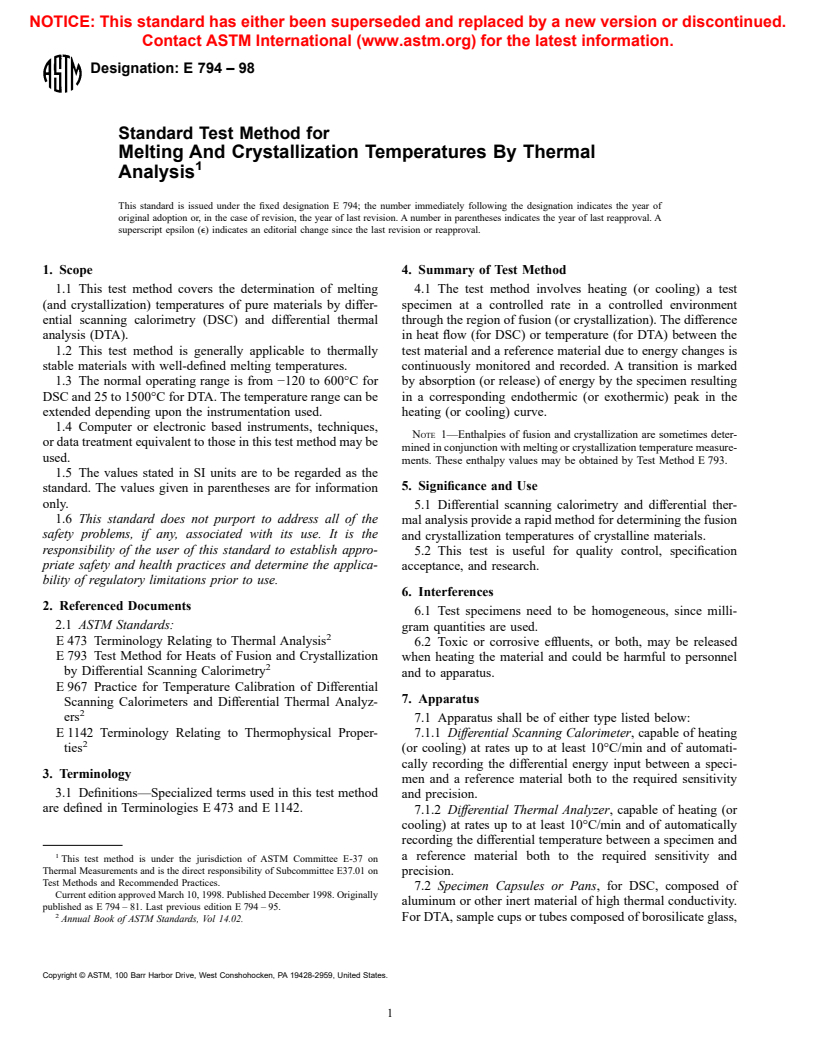
1.1 This test method covers the determination of melting (and crystallization) temperatures of pure materials by differential scanning calorimetry (DSC) and differential thermal analysis (DTA).
1.2 This test method is generally applicable to thermally stable materials with well-defined melting temperatures.
1.3 The normal operating range is from -120 to 600°C for DSC and 25 to 1500°C for DTA. The temperature range can be extended depending upon the instrumentation used.
1.4 Computer or electronic based instruments, techniques, or data treatment equivalent to those in this test method may be used.
1.5 The values stated in SI units are to be regarded as the standard. The values given in parentheses are for information only.
1.6 This standard does not purport to address all of the safety problems, if any, associated with its use. It is the responsibility of the user of this standard to establish appropriate safety and health practices and determine the applicability of regulatory limitations prior to use.
General Information
Relations
Standards Content (Sample)
NOTICE: This standard has either been superseded and replaced by a new version or discontinued.
Contact ASTM International (www.astm.org) for the latest information.
Designation: E 794 – 98
Standard Test Method for
Melting And Crystallization Temperatures By Thermal
Analysis
This standard is issued under the fixed designation E 794; the number immediately following the designation indicates the year of
original adoption or, in the case of revision, the year of last revision. A number in parentheses indicates the year of last reapproval. A
superscript epsilon (e) indicates an editorial change since the last revision or reapproval.
1. Scope 4. Summary of Test Method
1.1 This test method covers the determination of melting 4.1 The test method involves heating (or cooling) a test
(and crystallization) temperatures of pure materials by differ- specimen at a controlled rate in a controlled environment
ential scanning calorimetry (DSC) and differential thermal through the region of fusion (or crystallization). The difference
analysis (DTA). in heat flow (for DSC) or temperature (for DTA) between the
1.2 This test method is generally applicable to thermally test material and a reference material due to energy changes is
stable materials with well-defined melting temperatures. continuously monitored and recorded. A transition is marked
1.3 The normal operating range is from −120 to 600°C for by absorption (or release) of energy by the specimen resulting
DSC and 25 to 1500°C for DTA. The temperature range can be in a corresponding endothermic (or exothermic) peak in the
extended depending upon the instrumentation used. heating (or cooling) curve.
1.4 Computer or electronic based instruments, techniques,
NOTE 1—Enthalpies of fusion and crystallization are sometimes deter-
or data treatment equivalent to those in this test method may be
mined in conjunction with melting or crystallization temperature measure-
used.
ments. These enthalpy values may be obtained by Test Method E 793.
1.5 The values stated in SI units are to be regarded as the
5. Significance and Use
standard. The values given in parentheses are for information
only.
5.1 Differential scanning calorimetry and differential ther-
1.6 This standard does not purport to address all of the
mal analysis provide a rapid method for determining the fusion
safety problems, if any, associated with its use. It is the
and crystallization temperatures of crystalline materials.
responsibility of the user of this standard to establish appro-
5.2 This test is useful for quality control, specification
priate safety and health practices and determine the applica-
acceptance, and research.
bility of regulatory limitations prior to use.
6. Interferences
2. Referenced Documents
6.1 Test specimens need to be homogeneous, since milli-
2.1 ASTM Standards:
gram quantities are used.
E 473 Terminology Relating to Thermal Analysis
6.2 Toxic or corrosive effluents, or both, may be released
E 793 Test Method for Heats of Fusion and Crystallization
when heating the material and could be harmful to personnel
by Differential Scanning Calorimetry
and to apparatus.
E 967 Practice for Temperature Calibration of Differential
7. Apparatus
Scanning Calorimeters and Differential Thermal Analyz-
ers
7.1 Apparatus shall be of either type listed below:
E 1142 Terminology Relating to Thermophysical Proper- 7.1.1 Differential Scanning Calorimeter, capable of heating
ties
(or cooling) at rates up to at least 10°C/min and of automati-
cally recording the differential energy input between a speci-
3. Terminology
men and a reference material both to the required sensitivity
3.1 Definitions—Specialized terms used in this test method
and precision.
are defined in Terminologies E 473 and E 1142.
7.1.2 Differential Thermal Analyzer, capable of heating (or
cooling) at rates up to at least 10°C/min and of automatically
recording the differential temperature between a specimen and
a reference material both to the required sensitivity and
This test method is under the jurisdiction of ASTM Committee E-37 on
Thermal Measurements and is the direct responsibility of Subcommittee E37.01 on
precision.
Test Methods and Recommended Practices.
7.2 Specimen Capsules or Pans, for DSC, composed of
Current edition approved March 10, 1998. Published December 1998. Originally
aluminum or other inert material of high thermal conductivity.
published as E 794 – 81. Last previous edition E 794 – 95.
For DTA, sample cups or tubes composed of borosilicate glass,
Annual Book of ASTM Standards, Vol 14.02.
Copyright © ASTM, 100 Barr Harbor Drive, West Conshohocken, PA 19428-2959, United States.
E 794
alumina, or quartz may be used. The specimen capsules, pans, 10.7 Cool the specimen at 10°C/min through the exotherm
cups, or tubes must not react with the sample. until the baseline is reestablished below the crystallization
7.3 Nitrogen, or other inert purge gas supply. exotherm. Other cooling rates may be used but must be
7.4 Analytical Balance, with a capacity greater than 100 mg, indicated in the report. To allow the system to achieve steady
capable of weighing to the nearest 0.01 mg. state, provide at least 3 min of scanning time (six for DTA)
both before and after the peak. For some materials, it may be
8. Sampling
necessary to scan several tens of degrees below the peak
maximum in order to attain a constant baseline. Record the
8.1 Powdered or granular materials should be mixed thor-
accompanying thermal curve.
oughly prior to sampling and should be sampled by removing
10.8 Reweigh the specimen after completion of the analysis
portions from various parts of the container. These portions, in
and discard. Report any mass loss observed.
turn, should be combined and mixed well to ensure a repre-
sentative specimen for the determination. Liquid samples may
NOTE 3—Mass loss is only one indication of suspected sample degra-
be sampled directly after mixing.
dation or decomposition. An accurate determination of mass loss may not
8.2 In the absence of information, samples are assumed to
be easily accomplished for tests in which the measuring thermocouple is
be analyzed as received. If some heat or mechanical treatment embedded in the specimen. For these cases, other decomposition indica-
tions, such as color change, will suffice and should be reported.
is applied to the sample prior to analysis, this treatment should
be noted in the report. If some heat treatment is applied, record
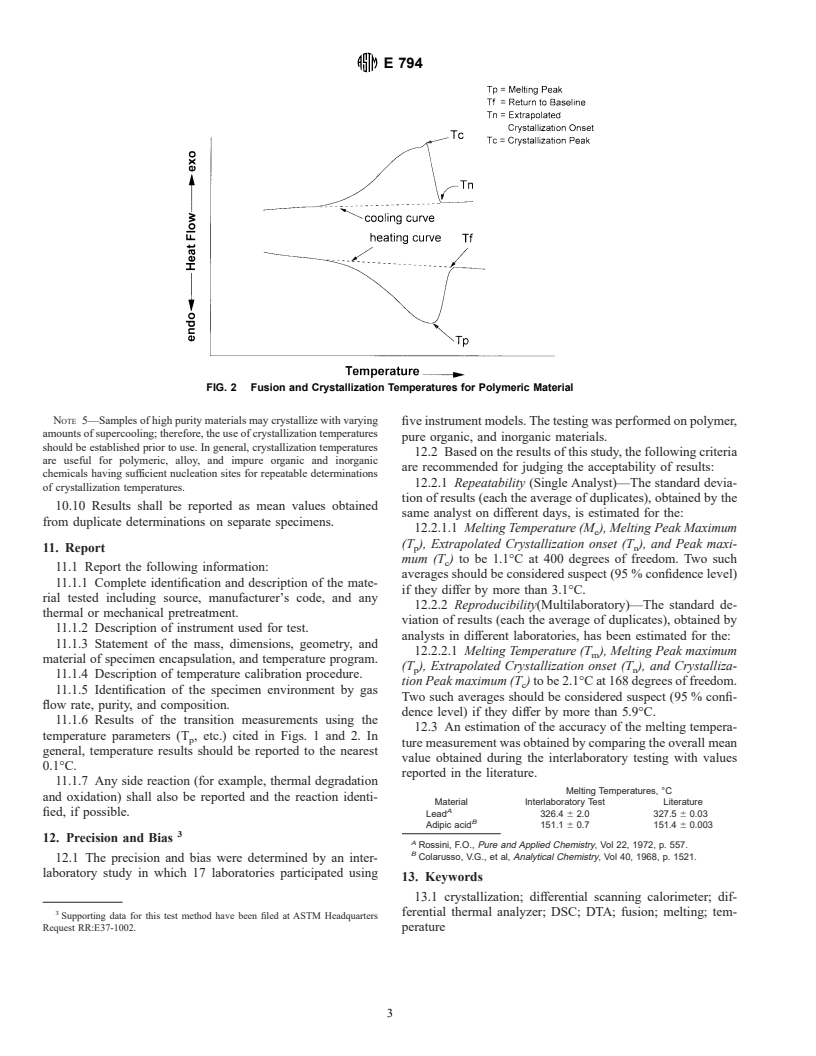
10.9 From the resultant curve, measure the temperatures for
any mass loss as a result of this treatment.
the desired points on the curve: T ,T ,T,T ,T . Report T ,
p m f n c m
and T , (see Fig. 1) for a pure crystalline, low molecular weight
n
9. Calibration
compound. For such a material T is the best determination of
m
9.1 Using the same heating rate, purge gas, and flow rate as the discrete thermodynamic melting temperature, and T indi-
n
that to be used for analyzing the specimen, calibrate the
cates the onset of crystallization. For polymers, alloys or
temperature axis of the instrument using the procedure in mixtures of materials, report the relevant descriptive parameter
Practice E 967.
(see Fig. 2). Report multiple T s and T s, if observed.
p c
where:
10. Procedure
T 5 melting temperature,
m
10.
...


Questions, Comments and Discussion
Ask us and Technical Secretary will try to provide an answer. You can facilitate discussion about the standard in here.