ASTM C372-94(2012)
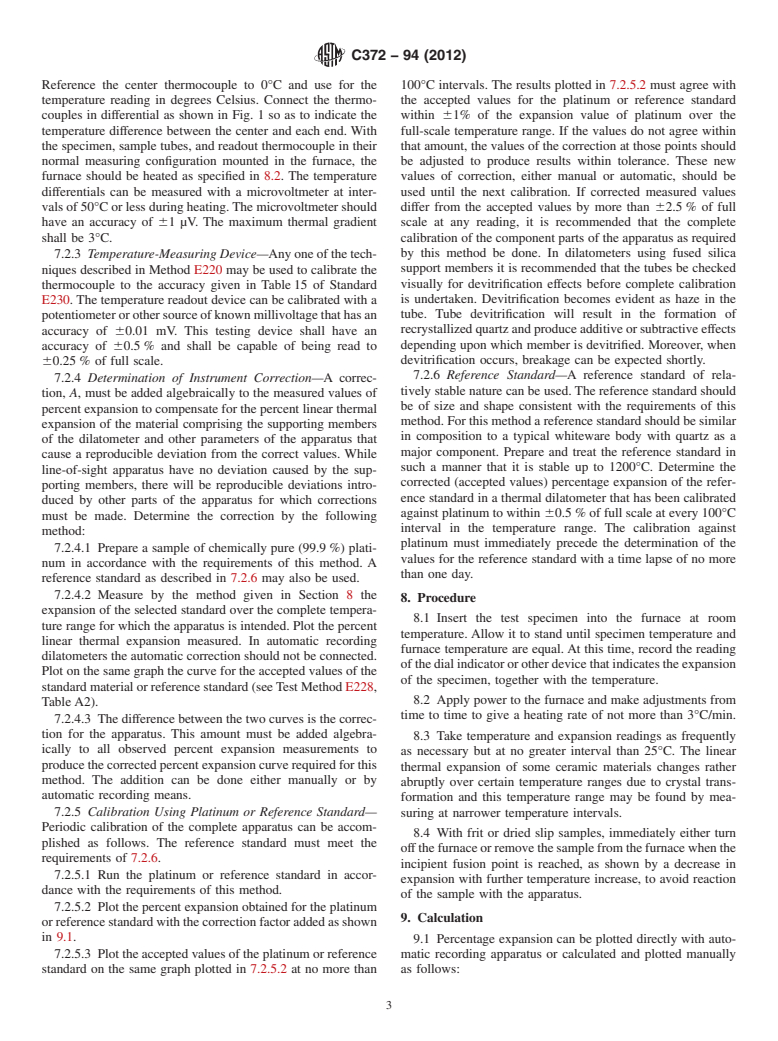
(Test Method)Standard Test Method for Linear Thermal Expansion of Porcelain Enamel and Glaze Frits and Fired Ceramic Whiteware Products by the Dilatometer Method
Standard Test Method for Linear Thermal Expansion of Porcelain Enamel and Glaze Frits and Fired Ceramic Whiteware Products by the Dilatometer Method
SIGNIFICANCE AND USE
Measurement of thermal expansion is useful for predicting stress within joined materials or single materials under conditions of changing or nonuniform temperature. It can also serve as an indicator of phase composition or changes in structure.
SCOPE
1.1 This test method covers the determination of the linear thermal expansion of premelted frit (porcelain enamel and glaze) and ceramic whiteware products by the thermal dilatometer method. This test method is applicable to apparatus meeting the reproducibility and accuracy requirements of this test method, which are to produce percent linear expansion accuracy of ±3 % or better and coefficient of linear expansion accuracy of ±5 % or better.
1.2 This standard does not purport to address all of the safety concerns, if any, associated with its use. It is the responsibility of the user of this standard to establish appropriate safety and health practices and determine the applicability of regulatory limitations prior to use.
General Information
Relations
Standards Content (Sample)
NOTICE: This standard has either been superseded and replaced by a new version or withdrawn.
Contact ASTM International (www.astm.org) for the latest information
Designation: C372 − 94(Reapproved 2012)
Standard Test Method for
Linear Thermal Expansion of Porcelain Enamel and Glaze
Frits and Fired Ceramic Whiteware Products by the
Dilatometer Method
This standard is issued under the fixed designation C372; the number immediately following the designation indicates the year of
original adoption or, in the case of revision, the year of last revision.Anumber in parentheses indicates the year of last reapproval.A
superscript epsilon (´) indicates an editorial change since the last revision or reapproval.
1. Scope 0.01 P
α, mm/mm·°C orin./in.·°C 5
T 2 T
2 1
1.1 This test method covers the determination of the linear
thermal expansion of premelted frit (porcelain enamel and
where:
glaze)andceramicwhitewareproductsbythethermaldilatom-
α = mean coefficient of linear thermal expansion from
eter method. This test method is applicable to apparatus
temperature T to T , and
1 2
meeting the reproducibility and accuracy requirements of this
P = percent linear thermal expansion as defined in 3.1.2.
test method, which are to produce percent linear expansion
3.1.2 percent linear thermal expansion—from temperature
accuracy of 63% or better and coefficient of linear expansion
T to temperature T (T < T ):
1 2 1 2
accuracy of 65% or better.
L 2 L
2 1
1.2 This standard does not purport to address all of the
P 5 31001A
L
safety concerns, if any, associated with its use. It is the
responsibility of the user of this standard to establish appro-
∆L
5 31001A
priate safety and health practices and determine the applica- L
bility of regulatory limitations prior to use.
where:
P = percent linear thermal expansion from temperature T
2. Referenced Documents
to T ,
2.1 ASTM Standards:
L = sample length at T (T between 20 and 30°C),
0 0 0
E220Test Method for Calibration of Thermocouples By
L = sample length at T ,
1 1
Comparison Techniques
L = sample length at T , and
2 2
E228Test Method for Linear Thermal Expansion of Solid
A = instrument correction.
Materials With a Push-Rod Dilatometer
E230Specification and Temperature-Electromotive Force
4. Significance and Use
(EMF) Tables for Standardized Thermocouples
4.1 Measurementofthermalexpansionisusefulforpredict-
E691Practice for Conducting an Interlaboratory Study to
ing stress within joined materials or single materials under
Determine the Precision of a Test Method
conditions of changing or nonuniform temperature. It can also
serve as an indicator of phase composition or changes in
3. Terminology
structure.
3.1 Definitions:
3.1.1 mean coeffıcient of linear thermal expansion—from
5. Apparatus
temperature T to temperature T (T < T ):
1 2 1 2
5.1 Thermal Dilatometer:
5.1.1 General Description—A thermal dilatometer is an
apparatus that provides means for varying the temperature of a
ThistestmethodisunderthejurisdictionofASTMCommitteeC21onCeramic
Whitewares and Related Productsand is the direct responsibility of Subcommittee
test specimen in a controlled manner, measuring the specimen
C21.03 on Methods for Whitewares and Environmental Concerns.
length,andmeasuringthetemperatureofthespecimenforeach
Current edition approved April 1, 2012. Published April 2012. Originally
readingofspecimenlength.Thereareseveraldifferenttypesas
approvedin1955.Lastpreviouseditionapprovedin2007asC372–94(2007).DOI:
10.1520/C0372-94R12. follows:
For referenced ASTM standards, visit the ASTM website, www.astm.org, or
5.1.1.1 Manual—Amanual dilatometer is one in which any
contact ASTM Customer Service at service@astm.org. For Annual Book of ASTM
oralloftheabovearedonebymanualmeansandthecorrected
Standards volume information, refer to the standard’s Document Summary page on
the ASTM website. percent linear thermal expansion curve is plotted by hand.
Copyright © ASTM International, 100 Barr Harbor Drive, PO Box C700, West Conshohocken, PA 19428-2959. United States
C372 − 94 (2012)
5.1.1.2 Recording—Arecording dilatometer is an apparatus 6.2 For all samples, test specimens may be of any conve-
bywhichtheabovearerecordedbyinstrumentalmeansbutthe nient length, provided the uniformity of the furnace has been
final corrected percent linear thermal expansion curve is determined over that length. The minimum thickness of the
plotted by hand. specimen shall be 0.2 in. (5.1 mm) and the maximum cross-
2 2
5.1.1.3 Automatic Recording—An automatic recording sectional area shall be 0.45 in. (2.9 cm ). The ends of the
dilatometer is a recording dilatometer with provision for specimen shall be ground flat and perpendicular to the axis of
automatically plotting the corrected percent linear thermal the specimen.
expansion curve.
6.3 Test specimens shall be conditioned in accordance with
5.1.2 Any generally accepted apparatus that is capable of
the history of the specimen. Conditioning shall include drying,
measuring the length changes produced by thermal expansion
annealing,orprotectionagainstmoistureexpansion,asmaybe
may be used in this method. The accuracy of the expansion-
necessary.
measuringapparatusincludingtransducer,electronic,mechani-
6.4 The length of the specimen shall be measured to within
cal or optical amplification and readout device must be
an accuracy of 0.1%.
60.0001 in. (60.003 mm) and should be reproducible to
60.00005 in. (60.0013 mm). A dilatometer may use a direct
7. Calibration
method of sighting on either of the two ends of the test
specimen or suitable markings at the ends, by means of two
7.1 Periodiccalibrationofthethermaldilatometerisrecom-
telescopes mounted on a measuring bank. Another method
mended to assure the accuracy required by this method.
transmits the change in length of the specimen to a sensitive
Procedures for calibrating the component parts of the dilatom-
dial gage or transducer by means of members that are chemi-
eter are given below. A less time-consuming method for
cally inert and free of phase transformations, having ground
standardizing a complete apparatus, especially the recording
and polished surfaces at points of contact with the test
type, is also given. A calibration check of the components of
specimens.
theapparatusshouldbedoneonanannualbasisandcalibration
of the complete instrument using a standard sample should be
5.2 Scale or Caliper, capable of measuring the length of the
done within 90 days preceding a report prepared under this
specimen with an accuracy of 60.0005 in. (60.010 mm) must
method.Thedateoflastcalibrationbyeithermethodshouldbe
be used.
included on the report.
5.3 Furnace that is electrically heated and designed so that
the thermal gradient over the length of the test specimen shall 7.2 Calibration Procedures:
be less than 3°C. This may be accomplished by electrical 7.2.1 Dilatometer:
shuntings, individually controlled zones, or other methods.
7.2.1.1 If a direct sighting method is used, the dilatometer
can be calibrated with a standard sample with a known length
5.4 Temperature-Measuring Device—Temperature mea-
that has been measured by a micrometer with an accuracy of
surementsshallbemadebymeansofathermocoupleplacedin
60.0001in.(0.003mm).Thereferencesampleshouldbemade
contact with the test specimen approximately at its mid-length.
from a material that has a very low thermal expansion, such as
ThethermocoupleshallhavetheaccuracyspecifiedinTable15
fused silica or invar. The dilatometer system can be calibrated
of Standard E230. Type S or Type K thermocouples are
by measuring the length of the sample using a movable
recommended for this method.
telescope and comparing it with the known value.
5.5 Temperature-Indicating Device—The temperature-
7.2.1.2 Ifadialgagetransducersystemisused,thedilatom-
indicatingdevicemaybeamillivoltpotentiometer,acalibrated
eter can be calibrated with a micrometer or thickness gage. Fix
meter or recorder, or other apparatus with a precision of 65°C
the dial gage transducer and micrometer in position on the
and an accuracy specification equivalent to the precision.
instrument itself or in a special fixture during calibration. The
system can be calibrated by displacing the probe of the
6. Test Specimens
transducer a known amount with the micrometer or thickness
6.1 For frit or dried slip samples, specimens shall be
gage and adjusting the instrument to give that value. Which-
prepared as follows:
ever technique is used, the micrometer or thickness gage shall
6.1.1 Frit should be crushed and screened through a 10-
be accurate to 60.0001 in. (0.003 mm).
mesh sieve to remove large lumps. Then, a refractory boat
7.2.2 Furnace—The thermal gradient that occurs over the
crucible shall be filled with the sample material. If it is desired
sample length within the furnace should be determined by
to reuse the crucible, it should be first lined with powdered
simultaneously measuring the temperature at the center, and at
alumina as a parting agent.The crucible can be of any suitable
3 1
the ends of an alumina sample ⁄8 to ⁄2 in. (10 to 13 mm) in
refractory material such as porcelain or alumina, but shall be
diameter and equal in length to the standard size sample for
unglazed. For frits that will be fired at less than 800°C, a metal
which the apparatus is intended. The thermocouples shall be
mold may be used, if desired.
Type S or Type K. Thermocouple wire of 0.010-in. (0.25-mm)
6.1.2 Thetestspecimenshallbesubjectedtothesamefiring
diameter or less should be used. The thermocouple beads
cycle used commercially in order to give a smooth surface on
should be in contact with the test sample surface. Bring
a bulk sample.
thermocouple wires out of the furnace for termination. A
commonnegativewiremaybeusedforallthreethermocouples
NOTE 1—The sample must be cooled slowly over several hours to
preserve structural integrity. to reduce the number of leads brought from the furnace.
C372 − 94 (2012)
Reference the center thermocouple to 0°C and use for the 100°C intervals. The results plotted in 7.2.5.2 must agree with
temperature reading in degrees Celsius. Connect the thermo- the accepted values for the platinum or reference standard
couples in differential as shown in Fig. 1 so as to indicate the within 61% of the expansion value of platinum over the
temperature difference between the center a
...


Questions, Comments and Discussion
Ask us and Technical Secretary will try to provide an answer. You can facilitate discussion about the standard in here.