ASTM D4093-23
(Test Method)Standard Test Method for Photoelastic Measurements of Birefringence and Residual Strains in Transparent or Translucent Plastic Materials
Standard Test Method for Photoelastic Measurements of Birefringence and Residual Strains in Transparent or Translucent Plastic Materials
SIGNIFICANCE AND USE
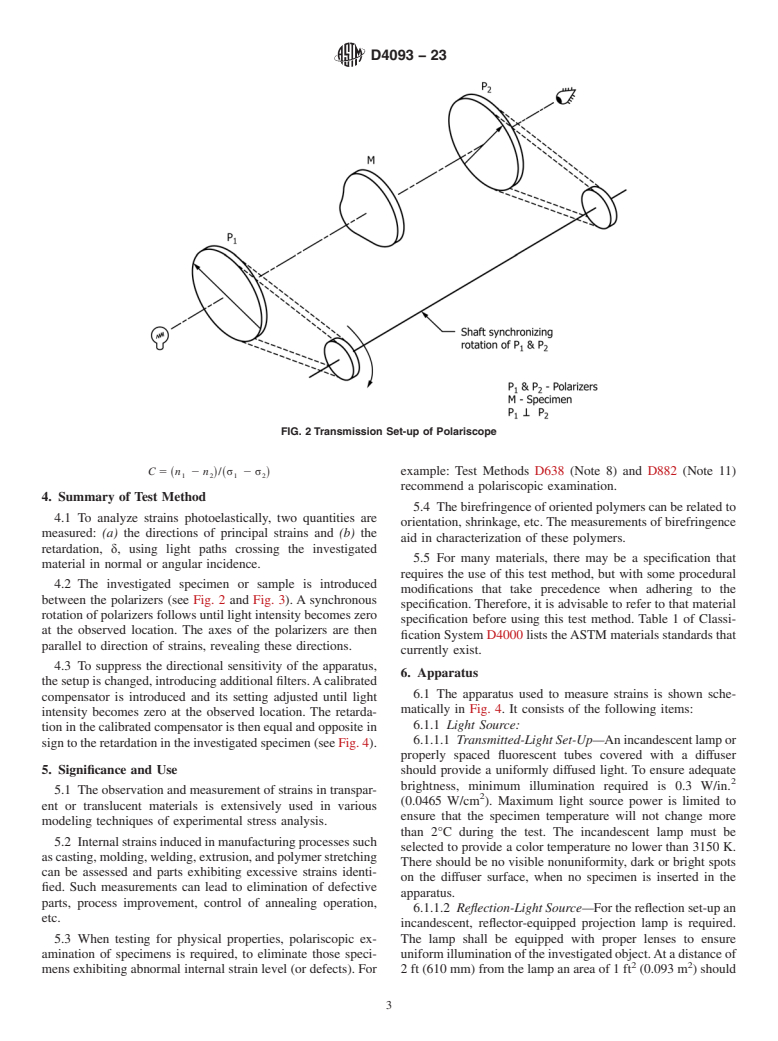
5.1 The observation and measurement of strains in transparent or translucent materials is extensively used in various modeling techniques of experimental stress analysis.
5.2 Internal strains induced in manufacturing processes such as casting, molding, welding, extrusion, and polymer stretching can be assessed and parts exhibiting excessive strains identified. Such measurements can lead to elimination of defective parts, process improvement, control of annealing operation, etc.
5.3 When testing for physical properties, polariscopic examination of specimens is required, to eliminate those specimens exhibiting abnormal internal strain level (or defects). For example: Test Methods D638 (Note 8) and D882 (Note 11) recommend a polariscopic examination.
5.4 The birefringence of oriented polymers can be related to orientation, shrinkage, etc. The measurements of birefringence aid in characterization of these polymers.
5.5 For many materials, there may be a specification that requires the use of this test method, but with some procedural modifications that take precedence when adhering to the specification. Therefore, it is advisable to refer to that material specification before using this test method. Table 1 of Classification System D4000 lists the ASTM materials standards that currently exist.
SCOPE
1.1 This quantitative test method covers measurements of direction of principal strains, ε1 and ε2, and the photoelastic retardation, δ, using a compensator, for the purpose of analyzing strains in transparent or translucent plastic materials. This test method can be used to measure birefringence and to determine the difference of principal strains or normal strains when the principal directions do not change substantially within the light path.
1.2 In addition to the method using a compensator described in this test method, other methods are in use, such as the goniometric method (using rotation of the analyzer) mostly applied for measuring small retardation, and expressing it as a fraction of a wavelength. Nonvisual methods employing spectrophotometric measurements and eliminating the human judgment factor are also possible.
1.3 Test data obtained by this test method is relevant and appropriate for use in engineering design.
1.4 The values stated in either SI units or inch-pound units are to be regarded as standard. The values stated in each system may not be exact equivalents; therefore, each system shall be used independently of the other. Combining values from the two systems may result in nonconformance with the standard.
1.5 This standard does not purport to address all of the safety concerns, if any, associated with its use. It is the responsibility of the user of this standard to establish appropriate safety, health, and environmental practices and determine the applicability of regulatory limitations prior to use.
Note 1: There is no known ISO equivalent to this test method.
1.6 This international standard was developed in accordance with internationally recognized principles on standardization established in the Decision on Principles for the Development of International Standards, Guides and Recommendations issued by the World Trade Organization Technical Barriers to Trade (TBT) Committee.
General Information
Buy Standard
Standards Content (Sample)
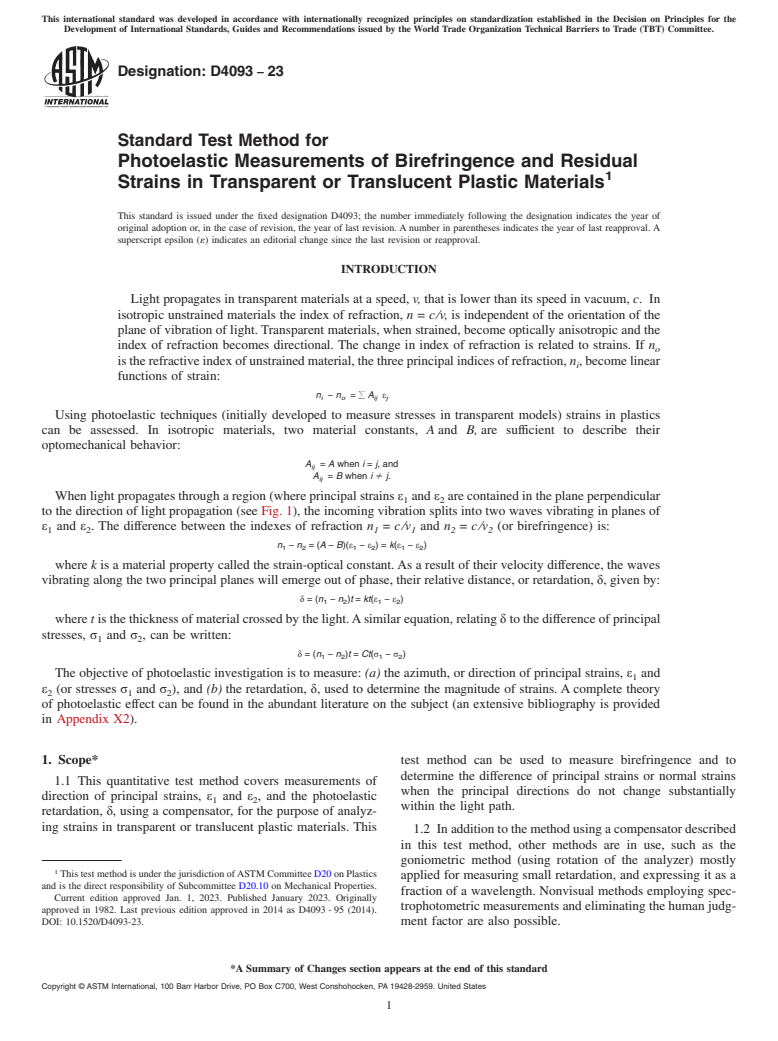
This international standard was developed in accordance with internationally recognized principles on standardization established in the Decision on Principles for the
Development of International Standards, Guides and Recommendations issued by the World Trade Organization Technical Barriers to Trade (TBT) Committee.
Designation: D4093 − 23
Standard Test Method for
Photoelastic Measurements of Birefringence and Residual
1
Strains in Transparent or Translucent Plastic Materials
This standard is issued under the fixed designation D4093; the number immediately following the designation indicates the year of
original adoption or, in the case of revision, the year of last revision.Anumber in parentheses indicates the year of last reapproval.A
superscript epsilon (´) indicates an editorial change since the last revision or reapproval.
INTRODUCTION
Light propagates in transparent materials at a speed, v,that is lower than its speed in vacuum, c.In
isotropic unstrained materials the index of refraction,n=c⁄v,is independent of the orientation of the
planeofvibrationoflight.Transparentmaterials,whenstrained,becomeopticallyanisotropicandthe
index of refraction becomes directional. The change in index of refraction is related to strains. If n
o
istherefractiveindexofunstrainedmaterial,thethreeprincipalindicesofrefraction,n,becomelinear
i
functions of strain:
n − n =^ A ε
i o ij j
Using photoelastic techniques (initially developed to measure stresses in transparent models) strains in plastics
can be assessed. In isotropic materials, two material constants, Aand B,are sufficient to describe their
optomechanical behavior:
A = A when i = j, and
ij
A = B when i fi j.
ij
Whenlightpropagatesthrougharegion(whereprincipalstrainsε andε arecontainedintheplaneperpendicular
1 2
to the direction of light propagation (see Fig. 1), the incoming vibration splits into two waves vibrating in planes of
ε and ε . The difference between the indexes of refraction n =c⁄v and n =c⁄v (or birefringence) is:
1 2 1 1 2 2
n − n =(A − B)(ε − ε )= k(ε − ε )
1 2 1 2 1 2
where kis a material property called the strain-optical constant.As a result of their velocity difference, the waves
vibrating along the two principal planes will emerge out of phase, their relative distance, or retardation, δ, given by:
δ =(n − n )t = kt(ε − ε )
1 2 1 2
where tisthethicknessofmaterialcrossedbythelight.Asimilarequation,relatingδtothedifferenceofprincipal
stresses, σ and σ , can be written:
1 2
δ =(n − n )t = Ct(σ − σ )
1 2 1 2
The objective of photoelastic investigation is to measure: (a)the azimuth, or direction of principal strains, ε and
1
ε (or stresses σ and σ ), and (b)the retardation, δ, used to determine the magnitude of strains.Acomplete theory
2 1 2
of photoelastic effect can be found in the abundant literature on the subject (an extensive bibliography is provided
in Appendix X2).
1. Scope* test method can be used to measure birefringence and to
determine the difference of principal strains or normal strains
1.1 This quantitative test method covers measurements of
when the principal directions do not change substantially
direction of principal strains, ε and ε , and the photoelastic
1 2
within the light path.
retardation, δ, using a compensator, for the purpose of analyz-
ing strains in transparent or translucent plastic materials. This
1.2 Inadditiontothemethodusingacompensatordescribed
in this test method, other methods are in use, such as the
goniometric method (using rotation of the analyzer) mostly
1
ThistestmethodisunderthejurisdictionofASTMCommitteeD20onPlastics
applied for measuring small retardation, and expressing it as a
and is the direct responsibility of Subcommittee D20.10 on Mechanical Properties.
fraction of a wavelength. Nonvisual methods employing spec-
Current edition approved Jan. 1, 2023. Published January 2023. Originally
trophotometricmeasurementsandeliminatingthehumanjudg-
approved in 1982. Last previous edition approved in 2014 as D4093-95 (2014).
DOI: 10.1520/D4093-23. ment factor are also possible.
*A Summary of Changes section appears at the end of this standard
Copyright © ASTM International, 100 Barr Harbor Drive, PO Box C700, West Conshohocken, PA 19428-2959. United States
1
---------------------- Page: 1 ----------------------
D4093 − 23
FIG. 1 Propagation of Light in a Strained Transparent Material
1.3 Test data obtained by this test method is relevant and E2935Practice for Evaluating Equivalence of Two Testing
appropriate for use in engineering design. Processes
1.4 The values stated in either SI units or inch-pound units
3. Terminology
aretoberegardedasstandard.Thevaluesstatedineachsystem
3.1 Terms used in this standard are defined in accordance
may not be exact equivalents; therefore, each system shall be
with Terminology D883, unless otherwise specified. For terms
used independently of the other. Combining values from the
relating to precision and bias and associated issues, the terms
two systems may result in nonconforma
...
This document is not an ASTM standard and is intended only to provide the user of an ASTM standard an indication of what changes have been made to the previous version. Because
it may not be technically possible to adequately depict all changes accurately, ASTM recommends that users consult prior editions as appropriate. In all cases only the current version
of the standard as published by ASTM is to be considered the official document.
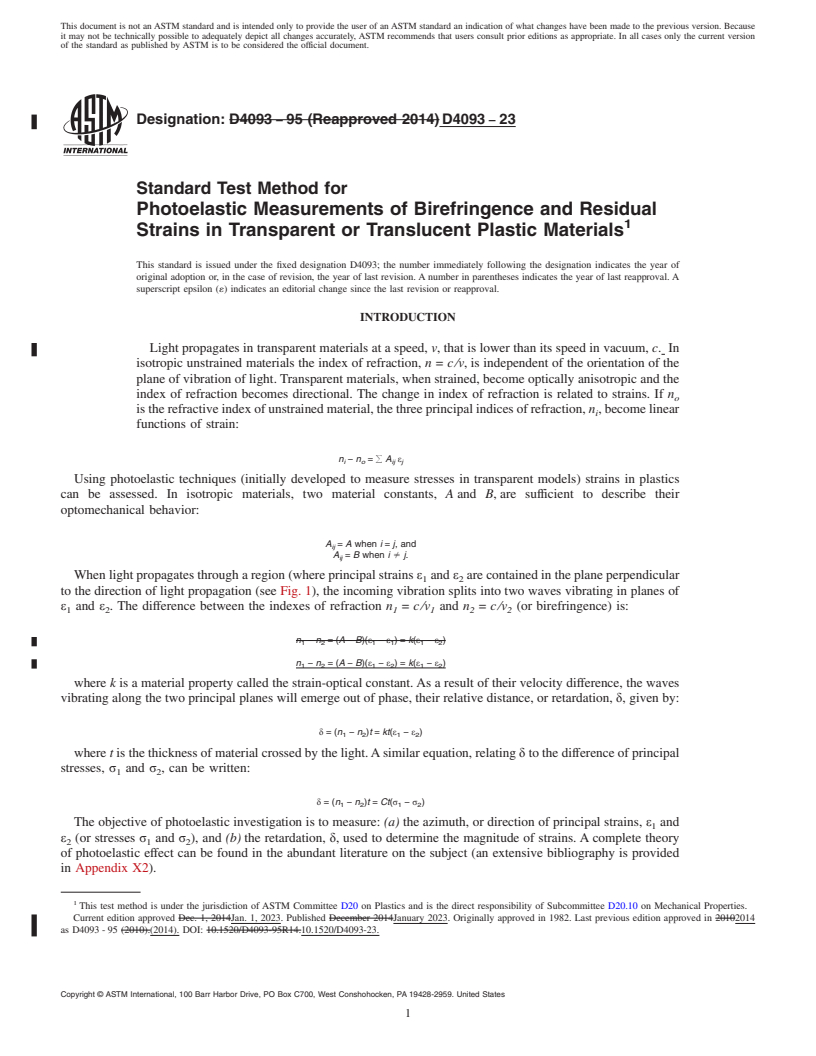
Designation: D4093 − 95 (Reapproved 2014) D4093 − 23
Standard Test Method for
Photoelastic Measurements of Birefringence and Residual
1
Strains in Transparent or Translucent Plastic Materials
This standard is issued under the fixed designation D4093; the number immediately following the designation indicates the year of
original adoption or, in the case of revision, the year of last revision. A number in parentheses indicates the year of last reapproval. A
superscript epsilon (´) indicates an editorial change since the last revision or reapproval.
INTRODUCTION
Light propagates in transparent materials at a speed, v, that is lower than its speed in vacuum, c. In
isotropic unstrained materials the index of refraction, n = c ⁄v, is independent of the orientation of the
plane of vibration of light. Transparent materials, when strained, become optically anisotropic and the
index of refraction becomes directional. The change in index of refraction is related to strains. If n
o
is the refractive index of unstrained material, the three principal indices of refraction, n , become linear
i
functions of strain:
n − n = ^ A ε
i o ij j
Using photoelastic techniques (initially developed to measure stresses in transparent models) strains in plastics
can be assessed. In isotropic materials, two material constants, A and B, are sufficient to describe their
optomechanical behavior:
A = A when i = j, and
ij
A = B when i fi j.
ij
When light propagates through a region (where principal strains ε and ε are contained in the plane perpendicular
1 2
to the direction of light propagation (see Fig. 1), the incoming vibration splits into two waves vibrating in planes of
ε and ε . The difference between the indexes of refraction n = c ⁄v and n = c ⁄v (or birefringence) is:
1 2 1 1 2 2
n − n = (A − B)(ε − ε ) = k(ε − ε )
1 2 1 1 1 2
n − n = (A − B)(ε − ε ) = k(ε − ε )
1 2 1 2 1 2
where k is a material property called the strain-optical constant. As a result of their velocity difference, the waves
vibrating along the two principal planes will emerge out of phase, their relative distance, or retardation, δ, given by:
δ = (n − n )t = kt(ε − ε )
1 2 1 2
where t is the thickness of material crossed by the light. A similar equation, relating δ to the difference of principal
stresses, σ and σ , can be written:
1 2
δ = (n − n )t = Ct(σ − σ )
1 2 1 2
The objective of photoelastic investigation is to measure: (a) the azimuth, or direction of principal strains, ε and
1
ε (or stresses σ and σ ), and (b) the retardation, δ, used to determine the magnitude of strains. A complete theory
2 1 2
of photoelastic effect can be found in the abundant literature on the subject (an extensive bibliography is provided
in Appendix X2).
1
This test method is under the jurisdiction of ASTM Committee D20 on Plastics and is the direct responsibility of Subcommittee D20.10 on Mechanical Properties.
Current edition approved Dec. 1, 2014Jan. 1, 2023. Published December 2014January 2023. Originally approved in 1982. Last previous edition approved in 20102014
as D4093 - 95 (2010).(2014). DOI: 10.1520/D4093-95R14.10.1520/D4093-23.
Copyright © ASTM International, 100 Barr Harbor Drive, PO Box C700, West Conshohocken, PA 19428-2959. United States
1
---------------------- Page: 1 ----------------------
D4093 − 23
FIG. 1 Propagation of Light in a Strained Transparent Material
2
---------------------- Page: 2 ----------------------
D4093 − 23
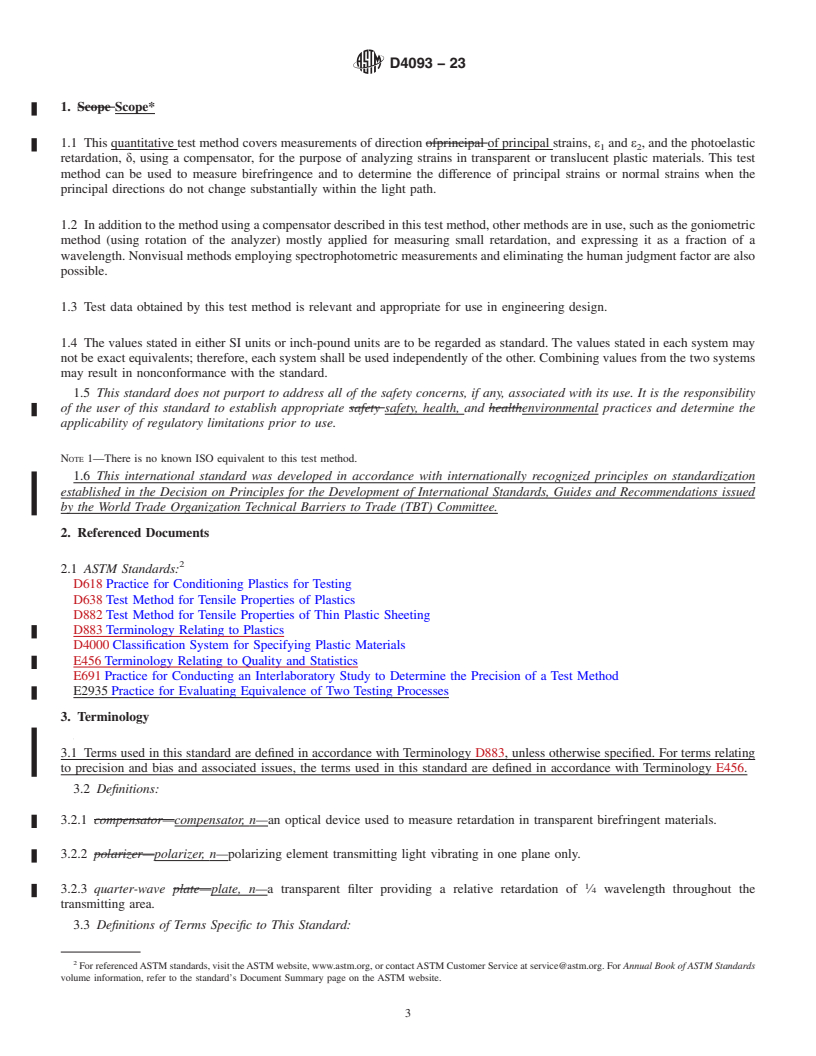
1. Scope Scope*
1.1 This quantitative test method covers measurements of direction ofprincipal of principal strains, ε and ε , and the photoelastic
1 2
retardation, δ, using a compensator, for the purpose of analyzing strains in transparent or translucent plastic materials. This test
method can be used to measure birefringence and to determine the difference of principal strains or normal strains when the
principal directions do not change substantially within the light path.
1.2 In addition to the method using a compensator described in this test method, other methods are in use, such as the goniometric
method (using rotation of the analyzer) mostly applied for measuring small retardation, and expressing it as a fraction of a
wavelength. Nonvisual methods employing spectrophotometric measurements and eliminating the human judgment factor are also
possible.
1.3 Test data obtained by this test method is relevant and appropriate for use in engineering design.
1.4 The values stated in either SI units or inch-pound units are to be regarded as standard. The values stated in each system may
not be exact eq
...


Questions, Comments and Discussion
Ask us and Technical Secretary will try to provide an answer. You can facilitate discussion about the standard in here.