ASTM D2563-08(2015)
(Practice)Standard Practice for Classifying Visual Defects in Glass-Reinforced Plastic Laminate Parts (Withdrawn 2024)
Standard Practice for Classifying Visual Defects in Glass-Reinforced Plastic Laminate Parts (Withdrawn 2024)
ABSTRACT
This practice covers acceptance criteria for visual inspection of parts made from glass-reinforced plastic laminates. It presents word descriptions of possible defects to serve as a guide for contracts, drawings, product specifications, and final inspection. This practice also categorizes different inspection requirements for levels of product quality. The acceptance criteria shall be applied to the following: dimensions and tolerances, inserts, molded-in threads or cored holes, workmanship, critical area, allowable visual defects, repairable defects, surface finish, and surface appearance. Four acceptance levels for visual inspection are described: Acceptance Level I, Acceptance Level II, Acceptance Level III, and Acceptance Level IV.
SCOPE
1.1 This practice covers acceptance criteria for visual inspection of parts made from molded glass-reinforced plastic laminates.
1.2 This practice presents word descriptions of possible defects to serve as a guide for contracts, drawings, product specifications, and final inspection.
1.3 This practice also categorizes different inspection requirements for levels of product quality.
1.4 The allowable size and frequency of permitted defects within the acceptance level categories of this specification are general and not related to specific service requirements. A Level IV of allowable defects which defines allowable size, frequency, and permitted repair procedures should be established for specific service requirements as agreed upon between the purchaser and the supplier.
1.5 The values stated in SI units are to be regarded as the standard. The values given in parentheses are for information only.
1.6 This standard does not purport to address all of the safety concerns, if any, associated with its use. It is the responsibility of the user of this standard to establish appropriate safety and health practices and determine the applicability of regulatory limitations prior to use.
Note 1: There is no known ISO equivalent to this standard.
WITHDRAWN RATIONALE
This practice covers acceptance criteria for visual inspection of parts made from molded glass-reinforced plastic laminates.
Formerly under the jurisdiction of Committee D20 on Plastics, this practice was withdrawn in January 2024 in accordance with section 10.6.3 of the Regulations Governing ASTM Technical Committees, which requires that standards shall be updated by the end of the eighth year since the last approval date.
General Information
Relations
Standards Content (Sample)
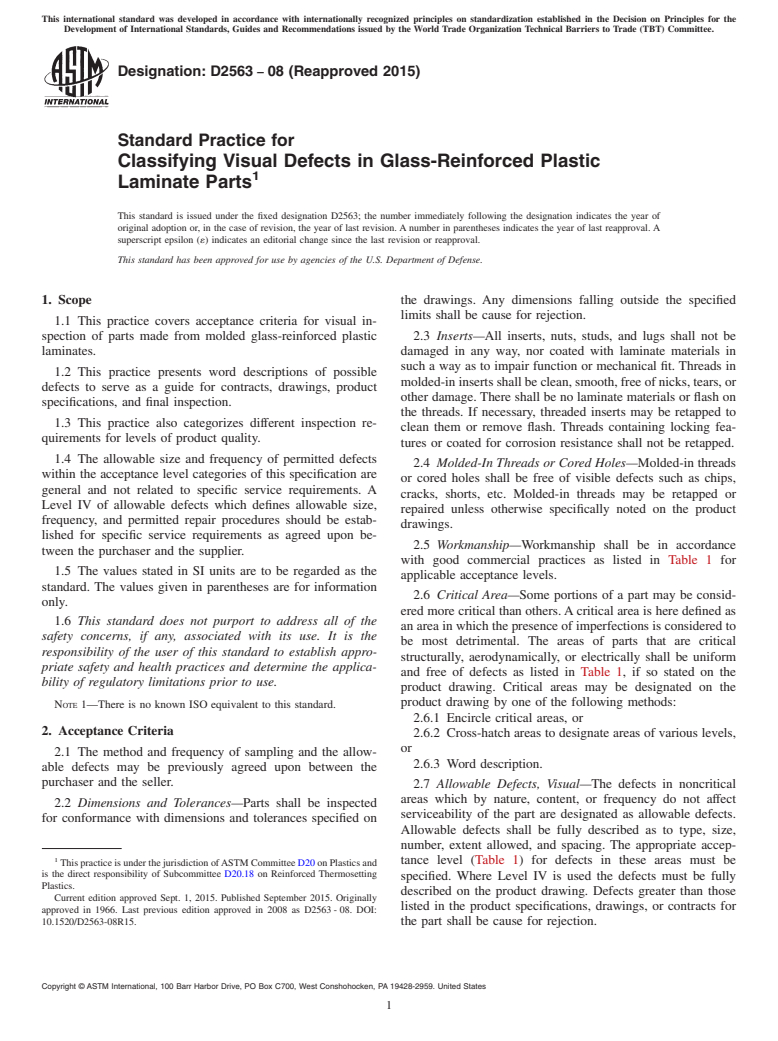
This international standard was developed in accordance with internationally recognized principles on standardization established in the Decision on Principles for the
Development of International Standards, Guides and Recommendations issued by the World Trade Organization Technical Barriers to Trade (TBT) Committee.
Designation: D2563 − 08 (Reapproved 2015)
Standard Practice for
Classifying Visual Defects in Glass-Reinforced Plastic
1
Laminate Parts
This standard is issued under the fixed designation D2563; the number immediately following the designation indicates the year of
original adoption or, in the case of revision, the year of last revision. A number in parentheses indicates the year of last reapproval. A
superscript epsilon (´) indicates an editorial change since the last revision or reapproval.
This standard has been approved for use by agencies of the U.S. Department of Defense.
1. Scope the drawings. Any dimensions falling outside the specified
limits shall be cause for rejection.
1.1 This practice covers acceptance criteria for visual in-
spection of parts made from molded glass-reinforced plastic 2.3 Inserts—All inserts, nuts, studs, and lugs shall not be
laminates. damaged in any way, nor coated with laminate materials in
such a way as to impair function or mechanical fit. Threads in
1.2 This practice presents word descriptions of possible
molded-in inserts shall be clean, smooth, free of nicks, tears, or
defects to serve as a guide for contracts, drawings, product
other damage. There shall be no laminate materials or flash on
specifications, and final inspection.
the threads. If necessary, threaded inserts may be retapped to
1.3 This practice also categorizes different inspection re-
clean them or remove flash. Threads containing locking fea-
quirements for levels of product quality.
tures or coated for corrosion resistance shall not be retapped.
1.4 The allowable size and frequency of permitted defects
2.4 Molded-In Threads or Cored Holes—Molded-in threads
within the acceptance level categories of this specification are
or cored holes shall be free of visible defects such as chips,
general and not related to specific service requirements. A
cracks, shorts, etc. Molded-in threads may be retapped or
Level IV of allowable defects which defines allowable size,
repaired unless otherwise specifically noted on the product
frequency, and permitted repair procedures should be estab-
drawings.
lished for specific service requirements as agreed upon be-
2.5 Workmanship—Workmanship shall be in accordance
tween the purchaser and the supplier.
with good commercial practices as listed in Table 1 for
1.5 The values stated in SI units are to be regarded as the
applicable acceptance levels.
standard. The values given in parentheses are for information
2.6 Critical Area—Some portions of a part may be consid-
only.
ered more critical than others.Acritical area is here defined as
1.6 This standard does not purport to address all of the
an area in which the presence of imperfections is considered to
safety concerns, if any, associated with its use. It is the
be most detrimental. The areas of parts that are critical
responsibility of the user of this standard to establish appro-
structurally, aerodynamically, or electrically shall be uniform
priate safety and health practices and determine the applica-
and free of defects as listed in Table 1, if so stated on the
bility of regulatory limitations prior to use.
product drawing. Critical areas may be designated on the
product drawing by one of the following methods:
NOTE 1—There is no known ISO equivalent to this standard.
2.6.1 Encircle critical areas, or
2. Acceptance Criteria
2.6.2 Cross-hatch areas to designate areas of various levels,
or
2.1 The method and frequency of sampling and the allow-
2.6.3 Word description.
able defects may be previously agreed upon between the
purchaser and the seller.
2.7 Allowable Defects, Visual—The defects in noncritical
areas which by nature, content, or frequency do not affect
2.2 Dimensions and Tolerances—Parts shall be inspected
serviceability of the part are designated as allowable defects.
for conformance with dimensions and tolerances specified on
Allowable defects shall be fully described as to type, size,
number, extent allowed, and spacing. The appropriate accep-
1
tance level (Table 1) for defects in these areas must be
This practice is under the jurisdiction ofASTM Committee D20 on Plastics and
is the direct responsibility of Subcommittee D20.18 on Reinforced Thermosetting
specified. Where Level IV is used the defects must be fully
Plastics.
described on the product drawing. Defects greater than those
Current edition approved Sept. 1, 2015. Published September 2015. Originally
listed in the product specifications, drawings, or contracts for
approved in 1966. Last previous edition approved in 2008 as D2563 - 08. DOI:
10.1520/D2563-08R15. the part shall be cause for rejection.
Copyright © ASTM International, 100 Barr Harbor Drive, PO
...


Questions, Comments and Discussion
Ask us and Technical Secretary will try to provide an answer. You can facilitate discussion about the standard in here.