ASTM G77-05e1
(Test Method)Standard Test Method for Ranking Resistance of Materials to Sliding Wear Using Block-on-Ring Wear Test
Standard Test Method for Ranking Resistance of Materials to Sliding Wear Using Block-on-Ring Wear Test
SIGNIFICANCE AND USE
The significance of this test method in any overall measurement program directed toward a service application will depend on the relative match of test conditions to the conditions of the service application.
This test method seeks only to prescribe the general test procedure and method of calculating and reporting data. The choice of test operating parameters is left to the user. A fixed amount of sliding distance must be used because wear is usually non-linear with distance in this test.
SCOPE
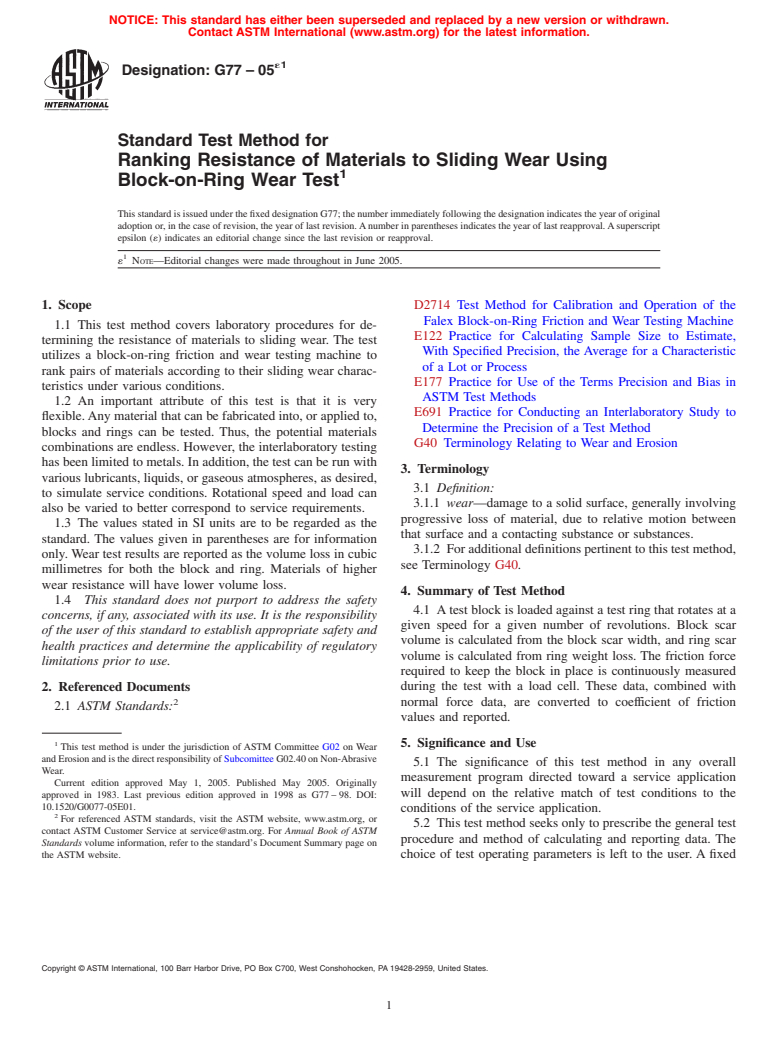
1.1 This test method covers laboratory procedures for determining the resistance of materials to sliding wear. The test utilizes a block-on-ring friction and wear testing machine to rank pairs of materials according to their sliding wear characteristics under various conditions.
1.2 An important attribute of this test is that it is very flexible. Any material that can be fabricated into, or applied to, blocks and rings can be tested. Thus, the potential materials combinations are endless. However, the interlaboratory testing has been limited to metals. In addition, the test can be run with various lubricants, liquids, or gaseous atmospheres, as desired, to simulate service conditions. Rotational speed and load can also be varied to better correspond to service requirements.
1.3 The values stated in SI units are to be regarded as the standard. The values given in parentheses are for information only. Wear test results are reported as the volume loss in cubic millimetres for both the block and ring. Materials of higher wear resistance will have lower volume loss.
1.4 This standard does not purport to address the safety concerns, if any, associated with its use. It is the responsibility of the user of this standard to establish appropriate safety and health practices and determine the applicability of regulatory limitations prior to use.
General Information
Relations
Standards Content (Sample)
NOTICE: This standard has either been superseded and replaced by a new version or withdrawn.
Contact ASTM International (www.astm.org) for the latest information.
´1
Designation:G77–05
Standard Test Method for
Ranking Resistance of Materials to Sliding Wear Using
1
Block-on-Ring Wear Test
ThisstandardisissuedunderthefixeddesignationG77;thenumberimmediatelyfollowingthedesignationindicatestheyearoforiginal
adoptionor,inthecaseofrevision,theyearoflastrevision.Anumberinparenthesesindicatestheyearoflastreapproval.Asuperscript
epsilon (´) indicates an editorial change since the last revision or reapproval.
1
´ NOTE—Editorial changes were made throughout in June 2005.
1. Scope D2714 Test Method for Calibration and Operation of the
Falex Block-on-Ring Friction and Wear Testing Machine
1.1 This test method covers laboratory procedures for de-
E122 Practice for Calculating Sample Size to Estimate,
termining the resistance of materials to sliding wear. The test
With Specified Precision, the Average for a Characteristic
utilizes a block-on-ring friction and wear testing machine to
of a Lot or Process
rank pairs of materials according to their sliding wear charac-
E177 Practice for Use of the Terms Precision and Bias in
teristics under various conditions.
ASTM Test Methods
1.2 An important attribute of this test is that it is very
E691 Practice for Conducting an Interlaboratory Study to
flexible.Anymaterialthatcanbefabricatedinto,orappliedto,
Determine the Precision of a Test Method
blocks and rings can be tested. Thus, the potential materials
G40 Terminology Relating to Wear and Erosion
combinations are endless. However, the interlaboratory testing
hasbeenlimitedtometals.Inaddition,thetestcanberunwith
3. Terminology
various lubricants, liquids, or gaseous atmospheres, as desired,
3.1 Definition:
to simulate service conditions. Rotational speed and load can
3.1.1 wear—damage to a solid surface, generally involving
also be varied to better correspond to service requirements.
progressive loss of material, due to relative motion between
1.3 The values stated in SI units are to be regarded as the
that surface and a contacting substance or substances.
standard. The values given in parentheses are for information
3.1.2 Foradditionaldefinitionspertinenttothistestmethod,
only.Wear test results are reported as the volume loss in cubic
see Terminology G40.
millimetres for both the block and ring. Materials of higher
wear resistance will have lower volume loss.
4. Summary of Test Method
1.4 This standard does not purport to address the safety
4.1 Atest block is loaded against a test ring that rotates at a
concerns, if any, associated with its use. It is the responsibility
given speed for a given number of revolutions. Block scar
of the user of this standard to establish appropriate safety and
volume is calculated from the block scar width, and ring scar
health practices and determine the applicability of regulatory
volume is calculated from ring weight loss. The friction force
limitations prior to use.
required to keep the block in place is continuously measured
2. Referenced Documents during the test with a load cell. These data, combined with
2 normal force data, are converted to coefficient of friction
2.1 ASTM Standards:
values and reported.
1 5. Significance and Use
This test method is under the jurisdiction of ASTM Committee G02 on Wear
andErosionandisthedirectresponsibilityofSubcomitteeG02.40onNon-Abrasive
5.1 The significance of this test method in any overall
Wear.
measurement program directed toward a service application
Current edition approved May 1, 2005. Published May 2005. Originally
will depend on the relative match of test conditions to the
approved in 1983. Last previous edition approved in 1998 as G77–98. DOI:
10.1520/G0077-05E01.
conditions of the service application.
2
For referenced ASTM standards, visit the ASTM website, www.astm.org, or
5.2 This test method seeks only to prescribe the general test
contact ASTM Customer Service at service@astm.org. For Annual Book of ASTM
procedure and method of calculating and reporting data. The
Standards volume information, refer to the standard’s Document Summary page on
the ASTM website. choice of test operating parameters is left to the user. A fixed
Copyright © ASTM International, 100 Barr Harbor Drive, PO Box C700, West Conshohocken, PA 19428-2959, United States.
1
---------------------- Page: 1 ----------------------
´1
G77–05
6.5 Optical device (or equivalent), with metric or inch-
pound unit calibration, is also necessary so that scar width can
be measured with a precision of 0.005 mm (0.0002 in.) or
equivalent.
7. Reagents
7.1 Methanol.
8. Preparation and Calibration of Apparatus
8.1 Run the calibration procedure that is in Test Method
D2714 to ensure good mechanical operation of the test
equipment.
9. Procedure
9.1 Clean the block and ring using a procedure that will
remove any scale, oil film, or residue without damaging the
surface.
9.1.1 For metals, the following
...


Questions, Comments and Discussion
Ask us and Technical Secretary will try to provide an answer. You can facilitate discussion about the standard in here.