ASTM E1458-12(2022)
(Test Method)Standard Test Method for Calibration Verification of Laser Diffraction Particle Sizing Instruments Using Photomask Reticles
Standard Test Method for Calibration Verification of Laser Diffraction Particle Sizing Instruments Using Photomask Reticles
SIGNIFICANCE AND USE
4.1 This test method permits a user to compare the performance of an instrument to the tolerance limit specifications stated by a manufacturer and to verify that an instrument is suitable for continued routine use. It also provides for generation of calibration data on a periodic basis, forming a database from which any changes in the performance of the instrument will be evident.
4.2 This test method for the calibration verification of laser diffraction particle sizing instruments is suitable for acceptance testing of laser diffraction instruments so long as current estimates of the bias (see Section 11) and the between-laboratory precision of the test method (see Section 10) are acceptably small relative to typical laser diffraction instrument accuracy specifications; see Practice D3244.
SCOPE
1.1 This test method describes a procedure necessary to permit a user to easily verify that a laser diffraction particle sizing instrument is operating within tolerance limit specifications, for example, such that the instrument accuracy is as stated by the manufacturer. The recommended calibration verification method provides a decisive indication of the overall performance of the instrument at the calibration point or points, but it is specifically not to be inferred that all factors in instrument performance are verified. In effect, use of this test method will verify the instrument performance for applications involving spherical particles of known refractive index where the near-forward light scattering properties are accurately modeled by the instrument data processing and data reduction software. The precision and bias limits presented herein are, therefore, estimates of the instrument performance under ideal conditions. Nonideal factors that could be present in actual applications and that could significantly increase the bias errors of laser diffraction instruments include vignetting4 (that is, where light scattered at large angles by particles far away from the receiving lens does not pass through the receiving lens and therefore does not reach the detector plane), the presence of nonspherical particles, the presence of particles of unknown refractive index, and multiple scattering.
1.2 This test method shall be used as a significant test of the instrument performance. While the procedure is not designed for extensive calibration adjustment of an instrument, it shall be used to verify quantitative performance on an ongoing basis, to compare one instrument performance with that of another, and to provide error limits for instruments tested.
1.3 This test method provides an indirect measurement of some of the important parameters controlling the results in particle sizing by laser diffraction. A determination of all parameters affecting instrument performance would come under a calibration adjustment procedure.
1.4 This test method shall be performed on a periodic and regular basis, the frequency of which depends on the physical environment in which the instrumentation is used. Thus, units handled roughly or used under adverse conditions (for example, exposed to dust, chemical vapors, vibration, or combinations thereof) shall undergo a calibration verification more frequently than those not exposed to such conditions. This procedure shall be performed after any significant repairs are made on an instrument, such as those involving the optics, detector, or electronics.
1.5 The values stated in SI units are to be regarded as standard. No other units of measurement are included in this standard.
1.6 This standard does not purport to address all of the safety problems, if any, associated with its use. It is the responsibility of the user of this standard to establish appropriate safety, health, and environmental practices and determine the applicability of regulatory limitations prior to use.
1.7 This international standard was developed in accordance with internationally rec...
General Information
Relations
Standards Content (Sample)
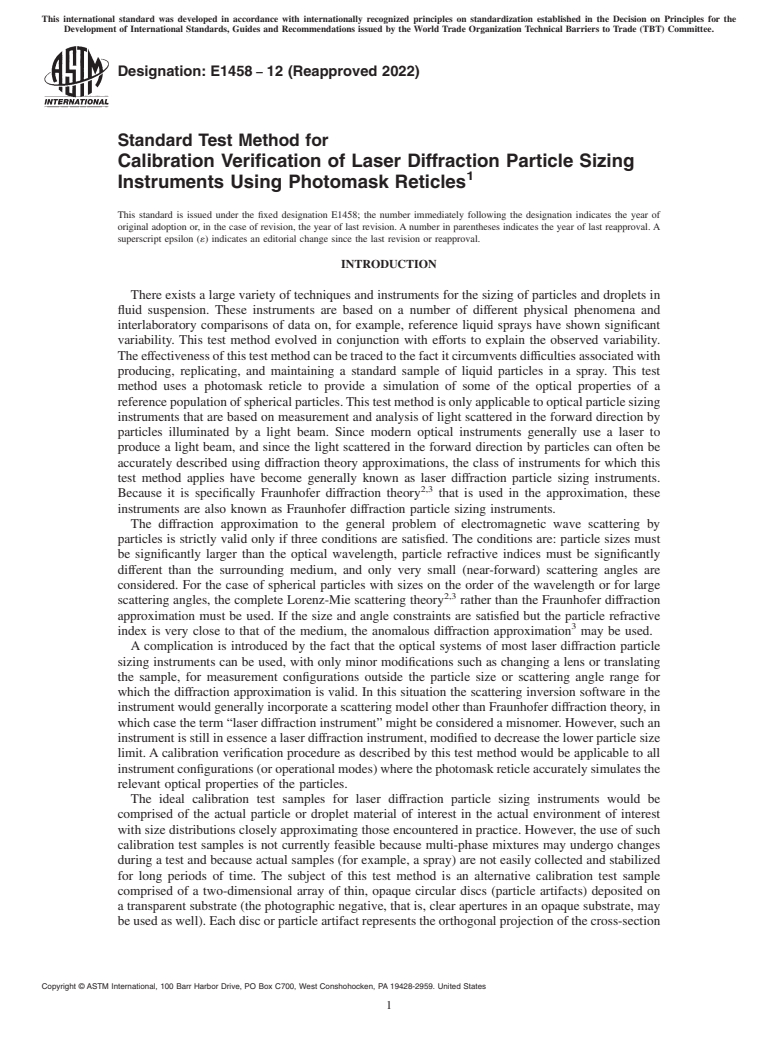
This international standard was developed in accordance with internationally recognized principles on standardization established in the Decision on Principles for the
Development of International Standards, Guides and Recommendations issued by the World Trade Organization Technical Barriers to Trade (TBT) Committee.
Designation:E1458 −12 (Reapproved 2022)
Standard Test Method for
Calibration Verification of Laser Diffraction Particle Sizing
1
Instruments Using Photomask Reticles
This standard is issued under the fixed designation E1458; the number immediately following the designation indicates the year of
original adoption or, in the case of revision, the year of last revision.Anumber in parentheses indicates the year of last reapproval.A
superscript epsilon (´) indicates an editorial change since the last revision or reapproval.
INTRODUCTION
There exists a large variety of techniques and instruments for the sizing of particles and droplets in
fluid suspension. These instruments are based on a number of different physical phenomena and
interlaboratory comparisons of data on, for example, reference liquid sprays have shown significant
variability. This test method evolved in conjunction with efforts to explain the observed variability.
Theeffectivenessofthistestmethodcanbetracedtothefactitcircumventsdifficultiesassociatedwith
producing, replicating, and maintaining a standard sample of liquid particles in a spray. This test
method uses a photomask reticle to provide a simulation of some of the optical properties of a
referencepopulationofsphericalparticles.Thistestmethodisonlyapplicabletoopticalparticlesizing
instruments that are based on measurement and analysis of light scattered in the forward direction by
particles illuminated by a light beam. Since modern optical instruments generally use a laser to
produce a light beam, and since the light scattered in the forward direction by particles can often be
accurately described using diffraction theory approximations, the class of instruments for which this
test method applies have become generally known as laser diffraction particle sizing instruments.
2,3
Because it is specifically Fraunhofer diffraction theory that is used in the approximation, these
instruments are also known as Fraunhofer diffraction particle sizing instruments.
The diffraction approximation to the general problem of electromagnetic wave scattering by
particles is strictly valid only if three conditions are satisfied. The conditions are: particle sizes must
be significantly larger than the optical wavelength, particle refractive indices must be significantly
different than the surrounding medium, and only very small (near-forward) scattering angles are
considered. For the case of spherical particles with sizes on the order of the wavelength or for large
2,3
scattering angles, the complete Lorenz-Mie scattering theory rather than the Fraunhofer diffraction
approximation must be used. If the size and angle constraints are satisfied but the particle refractive
3
index is very close to that of the medium, the anomalous diffraction approximation may be used.
A complication is introduced by the fact that the optical systems of most laser diffraction particle
sizing instruments can be used, with only minor modifications such as changing a lens or translating
the sample, for measurement configurations outside the particle size or scattering angle range for
which the diffraction approximation is valid. In this situation the scattering inversion software in the
instrumentwouldgenerallyincorporateascatteringmodelotherthanFraunhoferdiffractiontheory,in
whichcasetheterm“laserdiffractioninstrument”mightbeconsideredamisnomer.However,suchan
instrumentisstillinessencealaserdiffractioninstrument,modifiedtodecreasethelowerparticlesize
limit.Acalibration verification procedure as described by this test method would be applicable to all
instrumentconfigurations(oroperationalmodes)wherethephotomaskreticleaccuratelysimulatesthe
relevant optical properties of the particles.
The ideal calibration test samples for laser diffraction particle sizing instruments would be
comprised of the actual particle or droplet material of interest in the actual environment of interest
with size distributions closely approximating those encountered in practice. However, the use of such
calibration test samples is not currently feasible because multi-phase mixtures may undergo changes
during a test and because actual samples (for example, a spray) are not easily collected and stabilized
for long periods of time. The subject of this test method is an alternative calibration test sample
comprised of a two-dimensional array of thin, opaque circular discs (particle artifacts) deposited on
a transparent substrate (the photographic negative, that is, clear apertures in an opaque substrate, may
beusedaswell).Eachdiscorparticleartifactrepresentstheorthogonalprojectionofthecross-section
Copyright © ASTM International, 100 Barr Harbor Drive, PO Box C70
...


Questions, Comments and Discussion
Ask us and Technical Secretary will try to provide an answer. You can facilitate discussion about the standard in here.