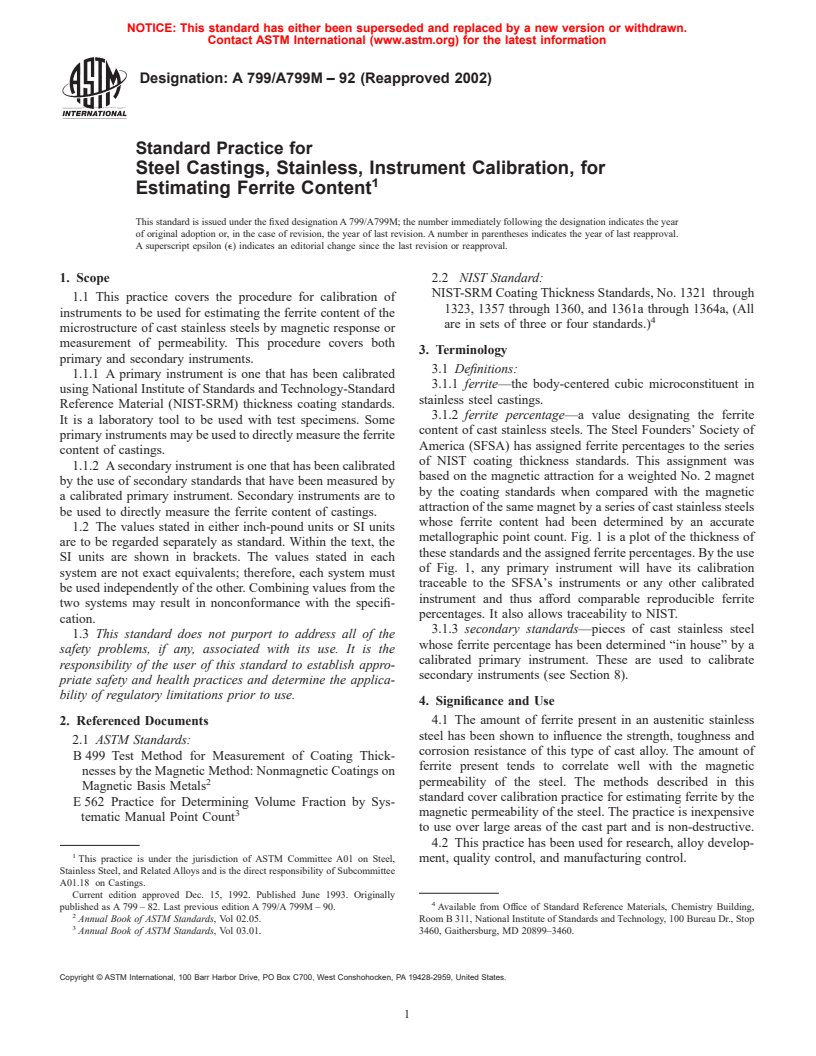
ASTM A799/A799M-92(2002)
(Practice)Standard Practice for Steel Castings, Stainless, Instrument Calibration, for Estimating Ferrite Content
Standard Practice for Steel Castings, Stainless, Instrument Calibration, for Estimating Ferrite Content
SCOPE
1.1 This practice covers the procedure for calibration of instruments to be used for estimating the ferrite content of the microstructure of cast stainless steels by magnetic response or measurement of permeability. This procedure covers both primary and secondary instruments.
1.1.1 A primary instrument is one that has been calibrated using National Institute of Standards and Technology-Standard Reference Material (NIST-SRM) thickness coating standards. It is a laboratory tool to be used with test specimens. Some primary instruments may be used to directly measure the ferrite content of castings.
1.1.2 A secondary instrument is one that has been calibrated by the use of secondary standards that have been measured by a calibrated primary instrument. Secondary instruments are to be used to directly measure the ferrite content of castings.
1.2 The values stated in either inch-pound units or SI units are to be regarded separately as standard. Within the text, the SI units are shown in brackets. The values stated in each system are not exact equivalents; therefore, each system must be used independently of the other. Combining values from the two systems may result in nonconformance with the specification.
1.3 This standard does not purport to address all of the safety problems, if any, associated with its use. It is the responsibility of the user of this standard to establish appropriate safety and health practices and determine the applicability of regulatory limitations prior to use.
General Information
Relations
Standards Content (Sample)
NOTICE: This standard has either been superseded and replaced by a new version or withdrawn.
Contact ASTM International (www.astm.org) for the latest information
Designation: A 799/A799M – 92 (Reapproved 2002)
Standard Practice for
Steel Castings, Stainless, Instrument Calibration, for
Estimating Ferrite Content
This standard is issued under the fixed designation A 799/A799M; the number immediately following the designation indicates the year
of original adoption or, in the case of revision, the year of last revision. A number in parentheses indicates the year of last reapproval.
A superscript epsilon (e) indicates an editorial change since the last revision or reapproval.
1. Scope 2.2 NIST Standard:
NIST-SRM Coating Thickness Standards, No. 1321 through
1.1 This practice covers the procedure for calibration of
1323, 1357 through 1360, and 1361a through 1364a, (All
instruments to be used for estimating the ferrite content of the
are in sets of three or four standards.)
microstructure of cast stainless steels by magnetic response or
measurement of permeability. This procedure covers both
3. Terminology
primary and secondary instruments.
3.1 Definitions:
1.1.1 A primary instrument is one that has been calibrated
3.1.1 ferrite—the body-centered cubic microconstituent in
using National Institute of Standards and Technology-Standard
stainless steel castings.
Reference Material (NIST-SRM) thickness coating standards.
3.1.2 ferrite percentage—a value designating the ferrite
It is a laboratory tool to be used with test specimens. Some
content of cast stainless steels. The Steel Founders’ Society of
primary instruments may be used to directly measure the ferrite
America (SFSA) has assigned ferrite percentages to the series
content of castings.
of NIST coating thickness standards. This assignment was
1.1.2 A secondary instrument is one that has been calibrated
based on the magnetic attraction for a weighted No. 2 magnet
by the use of secondary standards that have been measured by
by the coating standards when compared with the magnetic
a calibrated primary instrument. Secondary instruments are to
attraction of the same magnet by a series of cast stainless steels
be used to directly measure the ferrite content of castings.
whose ferrite content had been determined by an accurate
1.2 The values stated in either inch-pound units or SI units
metallographic point count. Fig. 1 is a plot of the thickness of
are to be regarded separately as standard. Within the text, the
these standards and the assigned ferrite percentages. By the use
SI units are shown in brackets. The values stated in each
of Fig. 1, any primary instrument will have its calibration
system are not exact equivalents; therefore, each system must
traceable to the SFSA’s instruments or any other calibrated
be used independently of the other. Combining values from the
instrument and thus afford comparable reproducible ferrite
two systems may result in nonconformance with the specifi-
percentages. It also allows traceability to NIST.
cation.
3.1.3 secondary standards—pieces of cast stainless steel
1.3 This standard does not purport to address all of the
whose ferrite percentage has been determined “in house” by a
safety problems, if any, associated with its use. It is the
calibrated primary instrument. These are used to calibrate
responsibility of the user of this standard to establish appro-
secondary instruments (see Section 8).
priate safety and health practices and determine the applica-
bility of regulatory limitations prior to use.
4. Significance and Use
2. Referenced Documents 4.1 The amount of ferrite present in an austenitic stainless
steel has been shown to influence the strength, toughness and
2.1 ASTM Standards:
corrosion resistance of this type of cast alloy. The amount of
B 499 Test Method for Measurement of Coating Thick-
ferrite present tends to correlate well with the magnetic
nesses by the Magnetic Method: Nonmagnetic Coatings on
permeability of the steel. The methods described in this
Magnetic Basis Metals
standard cover calibration practice for estimating ferrite by the
E 562 Practice for Determining Volume Fraction by Sys-
magnetic permeability of the steel. The practice is inexpensive
tematic Manual Point Count
to use over large areas of the cast part and is non-destructive.
4.2 This practice has been used for research, alloy develop-
This practice is under the jurisdiction of ASTM Committee A01 on Steel, ment, quality control, and manufacturing control.
Stainless Steel, and Related Alloys and is the direct responsibility of Subcommittee
A01.18 on Castings.
Current edition approved Dec. 15, 1992. Published June 1993. Originally
published as A 799 – 82. Last previous edition A 799/A 799M – 90. Available from Office of Standard Reference Materials, Chemistry Building,
Annual Book of ASTM Standards, Vol 02.05. Room B 311, National Institute of Standards and Technology, 100 Bureau Dr., Stop
Annual Book of ASTM Standards, Vol 03.01. 3460, Gaithersburg, MD 20899–3460.
Copyright © ASTM International, 100 Barr Harbor Drive, PO Box C700, West Conshohocken, PA 19428-2959, United States.
A 799/A799M – 92 (2002)
FIG. 1 Assigned Ferrite Percentages to NIST Coating Thickness Standards
4.2.1 Many instruments are available having two-point 5.1.3 The amount of force that the coiled spring has
probes, single-point probes, and differing excitation current developed is determined from a marked dial securely attached
levels. When the probe is placed on the material being to the shaft that is used to coil or uncoil the spring.
investigated, a closed magnetic circuit is formed and energized 5.1.3.1 A weighted number 2 is used with this instrument,
by a low-frequency magnetic field. The voltage induced in the U5-0664W.
probe coil by this field is a measure of the permeability. When 5.2 When using a Feritscope, follow the manufacturer’s
calibrated with standards having known ferrite content, this instructions for calibration. When traceability is required,
permeability indicates the ferrite content of the material being confirm the calibration using the appropriate NIST standards
analyzed. The estimated ferrite content is read from a cali- listed in 2.2.
brated dial or from a digital-readout dial. Follow the manufac- 5.2.1 This instrument has a two-point probe as the sensing
turer’s instructions for proper calibration of the instrument. device. When this probe is placed on the material being
4.3 Since this practice measures magnetic attraction and not investigated, a closed magnetic circuit is formed and energized
ferrite directly, it is subject to all of the variables that affect by a low-frequency magnetic field. The voltage induced in the
magnetic permeability, such as thermal history. probe coil by this field is a measure of the permeability. When
4.4 Magnetic methods should not be used for arbitration of calibrated with standards having known ferrite content, this
conflicts on ferrite content except when agreed upon between permeability indicates the ferrite content of the material being
manufacturer and purchaser. analyzed. The estimated ferrite content is read from a cali-
brated dial or from a digital-readout dial.
5. Apparatus
5.3 One secondary instrument consists of a balance arm that
has a rod-shaped magnet attached to one end. The opposite
5.1 One primary instrument that uses magnetic attraction
end is counterweighted to balance the magnet.
consists of a spring-loaded balance arm from which a rod-
5.3.1 This arm with its magnet and counterweight is en-
shaped magnet is suspended. The opposite end of the balance
closed in a transparent box. The top face of this container has
arm from the magnet has counterweights that balance most but
a threaded hole directly over the magnet. Into this hole are
not all of the weight of the magnet.
screwed-marked inserts that have metal plates on their bottom
5.1.1 When this instrument is used, the spring load is
face. These plates have different strengths of attraction for the
relaxed sufficiently to allow the magnet to make contact with
magnet.
the material being tested.
5.3.2 In use, the bottom end of the magnet is touched to the
5.1.2 The spring is then wound until the force of the coiled
material being investigated. The other end of the magnet is in
spring overcomes the magnetic attraction of the magnet for the
contact with the metal plate on the bottom of the insert. The
material being tested, causing the magnet to break contact and
container is then raised. If the material being measured has a
the lever arm to rise.
5 6
Magna Gage, produced by Magna Gage Sales and Service, 6417 Chell Rd., Feritscope, produced by Fisher Technology, Inc., Windsor, CT 06708.
Columbia, MD 21044. Severn Gage, Severn Instrument Co., Annapolis, MD.
A 799/A799M – 92 (2002)
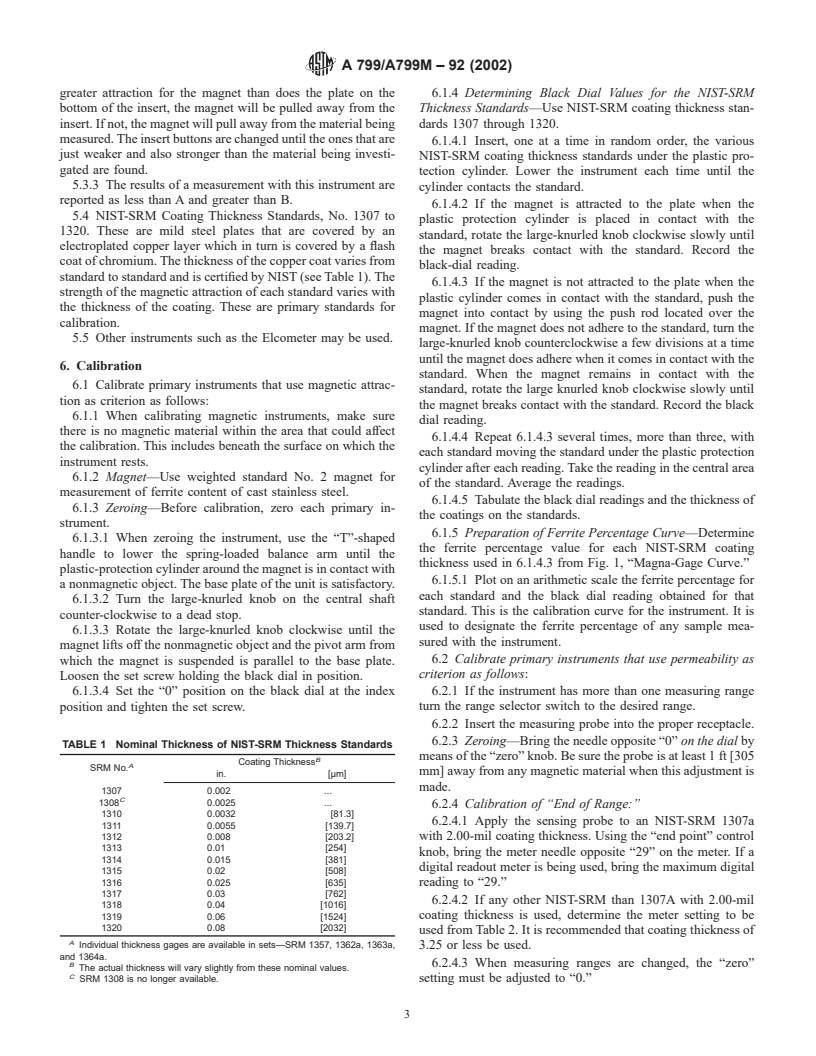
greater attraction for the magnet than does the plate on the 6.1.4 Determining Black Dial Values for the NIST-SRM
bottom of the insert, the magnet will be pulled away from the Thickness Standards—Use NIST-SRM coating thickness stan-
insert. If not, the magnet will pull away from the material being dards 1307 through 1320.
measured. The insert buttons are changed until the ones that are
6.1.4.1 Insert, one at a time in random order, the various
just weaker and also stronger than the material being investi-
N
...


Questions, Comments and Discussion
Ask us and Technical Secretary will try to provide an answer. You can facilitate discussion about the standard in here.