ASTM E18-03
(Test Method)Standard Test Methods for Rockwell Hardness and Rockwell Superficial Hardness of Metallic Materials
Standard Test Methods for Rockwell Hardness and Rockwell Superficial Hardness of Metallic Materials
SCOPE
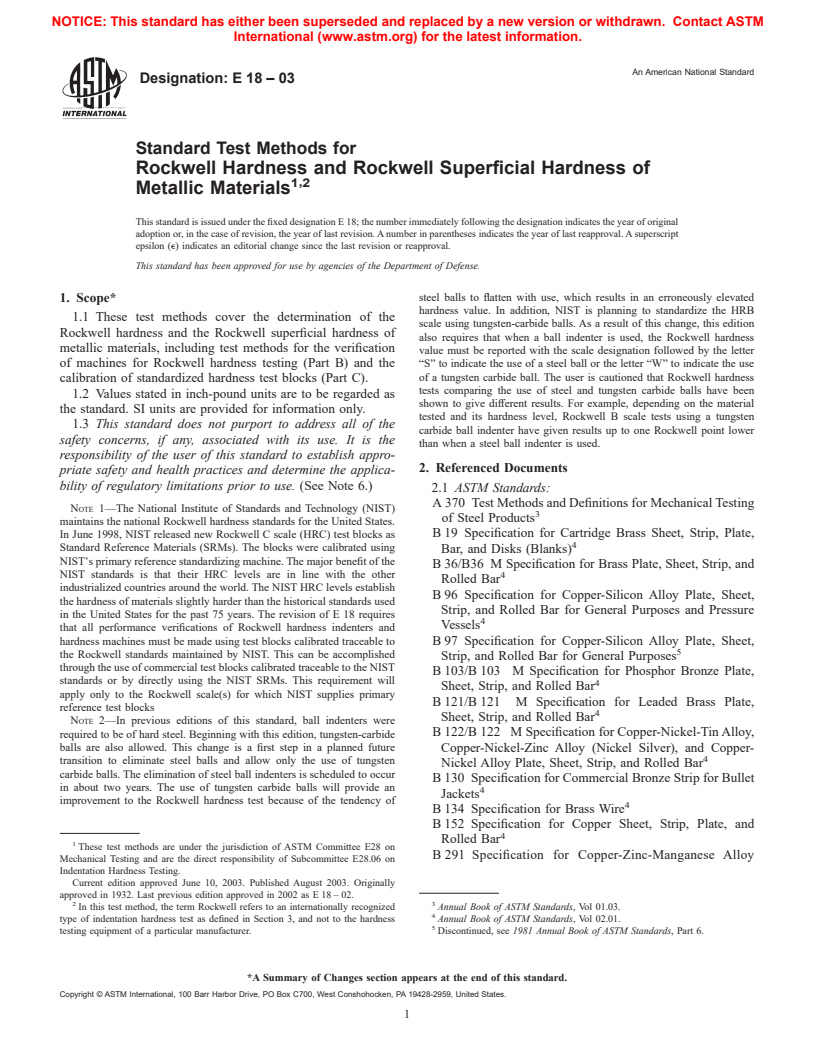
1.1 These test methods cover the determination of the Rockwell hardness and the Rockwell superficial hardness of metallic materials, including test methods for the verification of machines for Rockwell hardness testing (Part B) and the calibration of standardized hardness test blocks (Part C).
1.2 Values stated in inch-pound units are to be regarded as the standard. SI units are provided for information only.
1.3 This standard does not purport to address all of the safety concerns, if any, associated with its use. It is the responsibility of the user of this standard to establish appropriate safety and health practices and determine the applicability of regulatory limitations prior to use. (See Note 6.)Note 1—The National Institute of Standards and Technology (NIST) maintains the national Rockwell hardness standards for the United States. In June 1998, NIST released new Rockwell C scale (HRC) test blocks as Standard Reference Materials (SRMs). The blocks were calibrated using NIST's primary reference standardizing machine. The major benefit of the NIST standards is that their HRC levels are in line with the other industrialized countries around the world. The NIST HRC levels establish the hardness of materials slightly harder than the historical standards used in the United States for the past 75 years. The revision of E 18 requires that all performance verifications of Rockwell hardness indenters and hardness machines must be made using test blocks calibrated traceable to the Rockwell standards maintained by NIST. This can be accomplished through the use of commercial test blocks calibrated traceable to the NIST standards or by directly using the NIST SRMs. This requirement will apply only to the Rockwell scale(s) for which NIST supplies primary reference test blocks
Note 2—In previous editions of this standard, ball indenters were required to be of hard steel. Beginning with this edition, tungsten-carbide balls are also allowed. This change is a first step in a planned future transition to eliminate steel balls and allow only the use of tungsten carbide balls. The elimination of steel ball indenters is scheduled to occur in about two years. The use of tungsten carbide balls will provide an improvement to the Rockwell hardness test because of the tendency of steel balls to flatten with use, which results in an erroneously elevated hardness value. In addition, NIST is planning to standardize the HRB scale using tungsten-carbide balls. As a result of this change, this edition also requires that when a ball indenter is used, the Rockwell hardness value must be reported with the scale designation followed by the letter "S" to indicate the use of a steel ball or the letter "W" to indicate the use of a tungsten carbide ball. The user is cautioned that Rockwell hardness tests comparing the use of steel and tungsten carbide balls have been shown to give different results. For example, depending on the material tested and its hardness level, Rockwell B scale tests using a tungsten carbide ball indenter have given results up to one Rockwell point lower than when a steel ball indenter is used.
General Information
Relations
Standards Content (Sample)
NOTICE: This standard has either been superseded and replaced by a new version or withdrawn. Contact ASTM
International (www.astm.org) for the latest information.
An American National Standard
Designation: E 18 – 03
Standard Test Methods for
Rockwell Hardness and Rockwell Superficial Hardness of
,
1 2
Metallic Materials
This standard is issued under the fixed designation E 18; the number immediately following the designation indicates the year of original
adoption or, in the case of revision, the year of last revision. A number in parentheses indicates the year of last reapproval. A superscript
epsilon (e) indicates an editorial change since the last revision or reapproval.
This standard has been approved for use by agencies of the Department of Defense.
steel balls to flatten with use, which results in an erroneously elevated
1. Scope*
hardness value. In addition, NIST is planning to standardize the HRB
1.1 These test methods cover the determination of the
scale using tungsten-carbide balls. As a result of this change, this edition
Rockwell hardness and the Rockwell superficial hardness of
also requires that when a ball indenter is used, the Rockwell hardness
metallic materials, including test methods for the verification
value must be reported with the scale designation followed by the letter
of machines for Rockwell hardness testing (Part B) and the “S” to indicate the use of a steel ball or the letter “W” to indicate the use
of a tungsten carbide ball. The user is cautioned that Rockwell hardness
calibration of standardized hardness test blocks (Part C).
tests comparing the use of steel and tungsten carbide balls have been
1.2 Values stated in inch-pound units are to be regarded as
shown to give different results. For example, depending on the material
the standard. SI units are provided for information only.
tested and its hardness level, Rockwell B scale tests using a tungsten
1.3 This standard does not purport to address all of the
carbide ball indenter have given results up to one Rockwell point lower
safety concerns, if any, associated with its use. It is the
than when a steel ball indenter is used.
responsibility of the user of this standard to establish appro-
2. Referenced Documents
priate safety and health practices and determine the applica-
bility of regulatory limitations prior to use. (See Note 6.)
2.1 ASTM Standards:
A 370 Test Methods and Definitions for Mechanical Testing
NOTE 1—The National Institute of Standards and Technology (NIST)
3
of Steel Products
maintains the national Rockwell hardness standards for the United States.
In June 1998, NIST released new Rockwell C scale (HRC) test blocks as B 19 Specification for Cartridge Brass Sheet, Strip, Plate,
4
Standard Reference Materials (SRMs). The blocks were calibrated using
Bar, and Disks (Blanks)
NIST’s primary reference standardizing machine. The major benefit of the
B 36/B36 M Specification for Brass Plate, Sheet, Strip, and
NIST standards is that their HRC levels are in line with the other 4
Rolled Bar
industrialized countries around the world. The NIST HRC levels establish
B 96 Specification for Copper-Silicon Alloy Plate, Sheet,
the hardness of materials slightly harder than the historical standards used
Strip, and Rolled Bar for General Purposes and Pressure
in the United States for the past 75 years. The revision of E 18 requires
4
Vessels
that all performance verifications of Rockwell hardness indenters and
hardness machines must be made using test blocks calibrated traceable to B 97 Specification for Copper-Silicon Alloy Plate, Sheet,
5
the Rockwell standards maintained by NIST. This can be accomplished
Strip, and Rolled Bar for General Purposes
through the use of commercial test blocks calibrated traceable to the NIST
B 103/B 103 M Specification for Phosphor Bronze Plate,
standards or by directly using the NIST SRMs. This requirement will
4
Sheet, Strip, and Rolled Bar
apply only to the Rockwell scale(s) for which NIST supplies primary
B 121/B 121 M Specification for Leaded Brass Plate,
reference test blocks
4
Sheet, Strip, and Rolled Bar
NOTE 2—In previous editions of this standard, ball indenters were
B 122/B 122 M Specification for Copper-Nickel-Tin Alloy,
required to be of hard steel. Beginning with this edition, tungsten-carbide
balls are also allowed. This change is a first step in a planned future Copper-Nickel-Zinc Alloy (Nickel Silver), and Copper-
4
transition to eliminate steel balls and allow only the use of tungsten
Nickel Alloy Plate, Sheet, Strip, and Rolled Bar
carbide balls. The elimination of steel ball indenters is scheduled to occur
B 130 Specification for Commercial Bronze Strip for Bullet
in about two years. The use of tungsten carbide balls will provide an
4
Jackets
improvement to the Rockwell hardness test because of the tendency of
4
B 134 Specification for Brass Wire
B 152 Specification for Copper Sheet, Strip, Plate, and
4
Rolled Bar
1
These test methods are under the jurisdiction of ASTM Committee E28 on
B 291 Spe
...


Questions, Comments and Discussion
Ask us and Technical Secretary will try to provide an answer. You can facilitate discussion about the standard in here.