ASTM E1781-08
(Practice)Standard Practice for Secondary Calibration of Acoustic Emission Sensors
Standard Practice for Secondary Calibration of Acoustic Emission Sensors
SIGNIFICANCE AND USE
The purpose of this practice is to enable the transfer of calibration from sensors that have been calibrated by primary calibration to other sensors.
SCOPE
1.1 This practice covers requirements for the secondary calibration of acoustic emission (AE) sensors. The secondary calibration yields the frequency response of a sensor to waves of the type normally encountered in acoustic emission work. The source producing the signal used for the calibration is mounted on the same surface of the test block as the sensor under testing (SUT). Rayleigh waves are dominant under these conditions; the calibration results represent primarily the sensor's sensitivity to Rayleigh waves. The sensitivity of the sensor is determined for excitation within the range of 100 kHz to 1 MHz. Sensitivity values are usually determined at frequencies approximately 10 kHz apart. The units of the calibration are volts per unit of mechanical input (displacement, velocity, or acceleration).
1.2 The values stated in SI units are to be regarded as the standard. The values given in parentheses are for information only.
1.3 This standard does not purport to address all of the safety concerns, if any, associated with its use. It is the responsibility of the user of this standard to establish appropriate safety and health practices and determine the applicability of regulatory limitations prior to use.
General Information
Relations
Buy Standard
Standards Content (Sample)
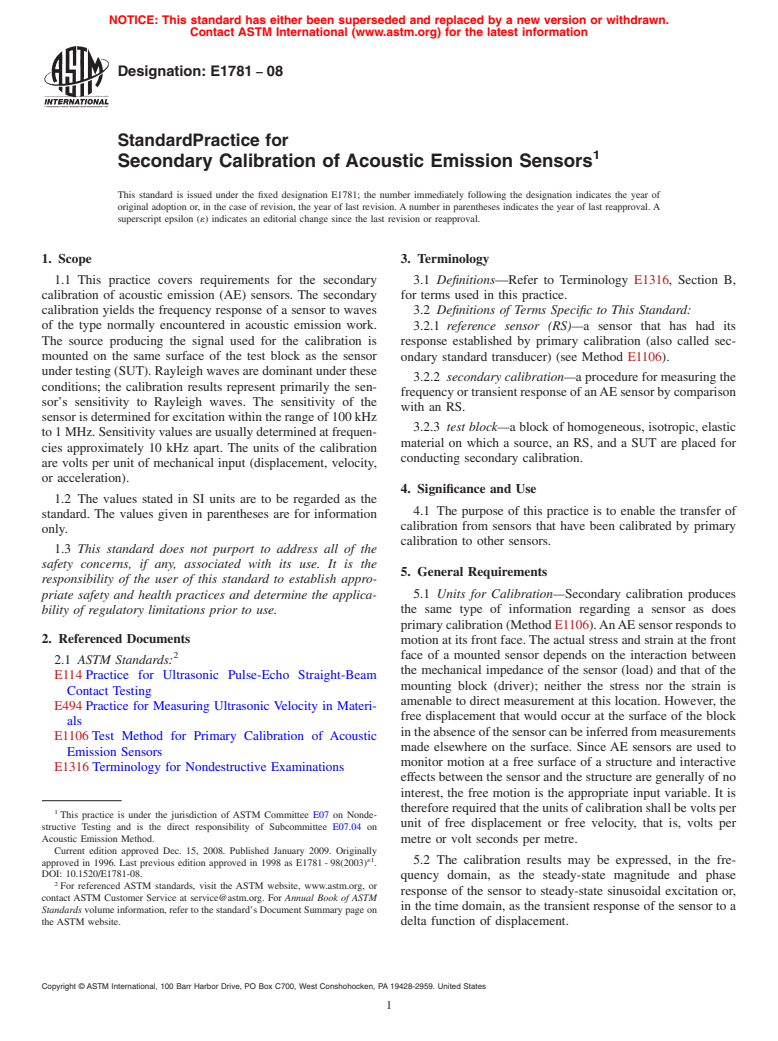
NOTICE: This standard has either been superseded and replaced by a new version or withdrawn.
Contact ASTM International (www.astm.org) for the latest information
Designation: E1781 − 08
StandardPractice for
1
Secondary Calibration of Acoustic Emission Sensors
This standard is issued under the fixed designation E1781; the number immediately following the designation indicates the year of
original adoption or, in the case of revision, the year of last revision.Anumber in parentheses indicates the year of last reapproval.A
superscript epsilon (´) indicates an editorial change since the last revision or reapproval.
1. Scope 3. Terminology
1.1 This practice covers requirements for the secondary 3.1 Definitions—Refer to Terminology E1316, Section B,
calibration of acoustic emission (AE) sensors. The secondary for terms used in this practice.
calibration yields the frequency response of a sensor to waves 3.2 Definitions of Terms Specific to This Standard:
of the type normally encountered in acoustic emission work.
3.2.1 reference sensor (RS)—a sensor that has had its
The source producing the signal used for the calibration is
response established by primary calibration (also called sec-
mounted on the same surface of the test block as the sensor ondary standard transducer) (see Method E1106).
undertesting(SUT).Rayleighwavesaredominantunderthese
3.2.2 secondary calibration—a procedure for measuring the
conditions; the calibration results represent primarily the sen-
frequencyortransientresponseofanAEsensorbycomparison
sor’s sensitivity to Rayleigh waves. The sensitivity of the
with an RS.
sensorisdeterminedforexcitationwithintherangeof100kHz
3.2.3 test block—a block of homogeneous, isotropic, elastic
to1MHz.Sensitivityvaluesareusuallydeterminedatfrequen-
material on which a source, an RS, and a SUT are placed for
cies approximately 10 kHz apart. The units of the calibration
conducting secondary calibration.
are volts per unit of mechanical input (displacement, velocity,
or acceleration).
4. Significance and Use
1.2 The values stated in SI units are to be regarded as the
4.1 The purpose of this practice is to enable the transfer of
standard. The values given in parentheses are for information
calibration from sensors that have been calibrated by primary
only.
calibration to other sensors.
1.3 This standard does not purport to address all of the
safety concerns, if any, associated with its use. It is the
5. General Requirements
responsibility of the user of this standard to establish appro-
priate safety and health practices and determine the applica- 5.1 Units for Calibration—Secondary calibration produces
bility of regulatory limitations prior to use. the same type of information regarding a sensor as does
primarycalibration(MethodE1106).AnAEsensorrespondsto
2. Referenced Documents motion at its front face.The actual stress and strain at the front
2 face of a mounted sensor depends on the interaction between
2.1 ASTM Standards:
the mechanical impedance of the sensor (load) and that of the
E114 Practice for Ultrasonic Pulse-Echo Straight-Beam
mounting block (driver); neither the stress nor the strain is
Contact Testing
amenable to direct measurement at this location. However, the
E494Practice for Measuring Ultrasonic Velocity in Materi-
free displacement that would occur at the surface of the block
als
intheabsenceofthesensorcanbeinferredfrommeasurements
E1106Test Method for Primary Calibration of Acoustic
made elsewhere on the surface. Since AE sensors are used to
Emission Sensors
monitor motion at a free surface of a structure and interactive
E1316Terminology for Nondestructive Examinations
effectsbetweenthesensorandthestructurearegenerallyofno
interest, the free motion is the appropriate input variable. It is
thereforerequiredthattheunitsofcalibrationshallbevoltsper
1
This practice is under the jurisdiction of ASTM Committee E07 on Nonde-
unit of free displacement or free velocity, that is, volts per
structive Testing and is the direct responsibility of Subcommittee E07.04 on
Acoustic Emission Method.
metre or volt seconds per metre.
Current edition approved Dec. 15, 2008. Published January 2009. Originally
´1
5.2 The calibration results may be expressed, in the fre-
approved in 1996. Last previous edition approved in 1998 as E1781-98(2003) .
DOI: 10.1520/E1781-08.
quency domain, as the steady-state magnitude and phase
2
For referenced ASTM standards, visit the ASTM website, www.astm.org, or
response of the sensor to steady-state sinusoidal excitation or,
contact ASTM Customer Service at service@astm.org. For Annual Book of ASTM
in the time domain, as the transient response of the sensor to a
Standards volume information, refer to the standard’s Document Summary page on
the ASTM website. delta function of displacement.
Copyright © ASTM International, 100 Barr Harbor Drive, PO Box C700, West Conshohocken, PA 19428-2959. United States
1
---------------------- Page: 1 ----------------------
E1781 − 08
6.1.1 Actual d
...
This document is not anASTM standard and is intended only to provide the user of anASTM standard an indication of what changes have been made to the previous version. Because
it may not be technically possible to adequately depict all changes accurately, ASTM recommends that users consult prior editions as appropriate. In all cases only the current version
of the standard as published by ASTM is to be considered the official document.
´1
Designation:E1781–98 (Reapproved 2003) Designation:E1781–08
Standard Practice for
1
Secondary Calibration of Acoustic Emission Sensors
This standard is issued under the fixed designation E1781; the number immediately following the designation indicates the year of
original adoption or, in the case of revision, the year of last revision.Anumber in parentheses indicates the year of last reapproval.A
superscript epsilon (´) indicates an editorial change since the last revision or reapproval.
1
´ NOTE—Editorial changes made throughout the standard in July 2003.
1. Scope
1.1 This practice covers requirements for the secondary calibration of acoustic emission (AE) sensors. The secondary
calibration yields the frequency response of a sensor to waves of the type normally encountered in acoustic emission work. The
source producing the signal used for the calibration is mounted on the same surface of the test block as the sensor under testing
(SUT). Rayleigh waves are dominant under these conditions; the calibration results represent primarily the sensor’s sensitivity to
Rayleighwaves.Thesensitivityofthesensorisdeterminedforexcitationwithintherangeof100kHzto1MHz.Sensitivityvalues
are usually determined at frequencies approximately 10 kHz apart. The units of the calibration are volts per unit of mechanical
input (displacement, velocity, or acceleration).
1.2 The values stated in SI units are to be regarded as the standard. The values given in parentheses are for information only.
1.3 This standard does not purport to address all of the safety concerns, if any, associated with its use. It is the responsibility
of the user of this standard to establish appropriate safety and health practices and determine the applicability of regulatory
limitations prior to use.
2. Referenced Documents
2
2.1 ASTM Standards:
E114 Practice for Ultrasonic Pulse-Echo Straight-Beam Examination by the Contact Method
E494 Practice for Measuring Ultrasonic Velocity in Materials
E1106 Test Method for Primary Calibration of Acoustic Emission Sensors
E1316 Terminology for Nondestructive Examinations
3. Terminology
3.1 Definitions—Refer to Terminology E1316, Section B, for terms used in this practice.
3.2 Definitions of Terms Specific to This Standard:
3.2.1 reference sensor (RS)—a sensor that has had its response established by primary calibration (also called secondary
standard transducer) (see Method E1106).
3.2.2 secondary calibration—a procedure for measuring the frequency or transient response of an AE sensor by comparison
with an RS.
3.2.3 test block—a block of homogeneous, isotropic, elastic material on which a source, an RS, and a SUT are placed for
conducting secondary calibration.
4. Significance and Use
4.1 The purpose of this practice is to enable the transfer of calibration from sensors that have been calibrated by primary
calibration to other sensors.
5. General Requirements
5.1 Units for Calibration—Secondary calibration produces the same type of information regarding a sensor as does primary
calibration (Method E1106). An AE sensor responds to motion at its front face. The actual stress and strain at the front face of
amountedsensordependsontheinteractionbetweenthemechanicalimpedanceofthesensor(load)andthatofthemountingblock
1
ThispracticeisunderthejurisdictionofASTMCommitteeE07onNondestructiveTestingandisthedirectresponsibilityofSubcommitteeE07.04onAcousticEmission
Method.
Current edition approved July 10, 2003. Published September 2003. Originally approved in 1996. Last previous edition approved in 1998 as E1781-98.
´1
Current edition approved Dec. 15, 2008. Published January 2009. Originally approved in 1996. Last previous edition approved in 1998 as E1781-98(2003) .
2
ForreferencedASTMstandards,visittheASTMwebsite,www.astm.org,orcontactASTMCustomerServiceatservice@astm.org.For Annual Book of ASTM Standards
, Vol 03.03.volume information, refer to the standard’s Document Summary page on the ASTM website.
Copyright © ASTM International, 100 Barr Harbor Drive, PO Box C700, West Conshohocken, PA 19428-2959, United States.
1
---------------------- Page: 1 ----------------------
E1781–08
(driver); neither the stress nor the strain is amenable to direct measurement at this location. However, the free displacement that
would occur at the surface of the block in the absence of the sensor can be inferred from measurements made elsewhere on the
surface.SinceAEsensorsareusedtomonitormotionatafreesurfaceofastructureandinteractiveeffectsbetweenthesensorand
the structure are generally of no interest, the free
...


Questions, Comments and Discussion
Ask us and Technical Secretary will try to provide an answer. You can facilitate discussion about the standard in here.