ASTM D968-05(2010)
(Test Method)Standard Test Methods for Abrasion Resistance of Organic Coatings by Falling Abrasive
Standard Test Methods for Abrasion Resistance of Organic Coatings by Falling Abrasive
SIGNIFICANCE AND USE
Silica sand produces a slower rate of abrasion for organic coatings than that provided by silicon carbide. For some types of coatings, it also provides greater differentiation.
The abrasion resistance scales produced by the two methods differ, but the methods provide approximately the same rankings of coatings for abrasion resistance.
Each of the methods has been found useful for rating the abrasion resistance of specific types of coatings. For example Method A (falling sand) has been used for rating floor coatings while Method B (falling silicon carbide) has been used for rating coatings for ship decks.
SCOPE
1.1 These test methods cover the determination of the resistance of organic coatings to abrasion produced by abrasive falling onto coatings applied to a plane rigid surface, such as a metal or glass panel.
1.2 Two test methods based on different abrasives are covered as follows:
Sections Method AFalling Sand Abrasion Test 1-12 Method BFalling Silicon Carbide Abrasion Test13-19
1.3 These methods should be restricted to testing in only one laboratory when numerical values are used because of the poor reproducibility of the methods (see 13.1.2 and 21.1.2). Interlaboratory agreement is improved significantly when ranking is used in place of numerical values.
1.4 The values stated in SI units are to be regarded as the standard. The values given in parentheses are for information only.
1.5 This standard does not purport to address the safety concerns, if any, associated with its use. It is the responsibility of the user of this standard to establish appropriate safety and health practices and determine the applicability of regulatory limitations prior to use.
General Information
Relations
Standards Content (Sample)
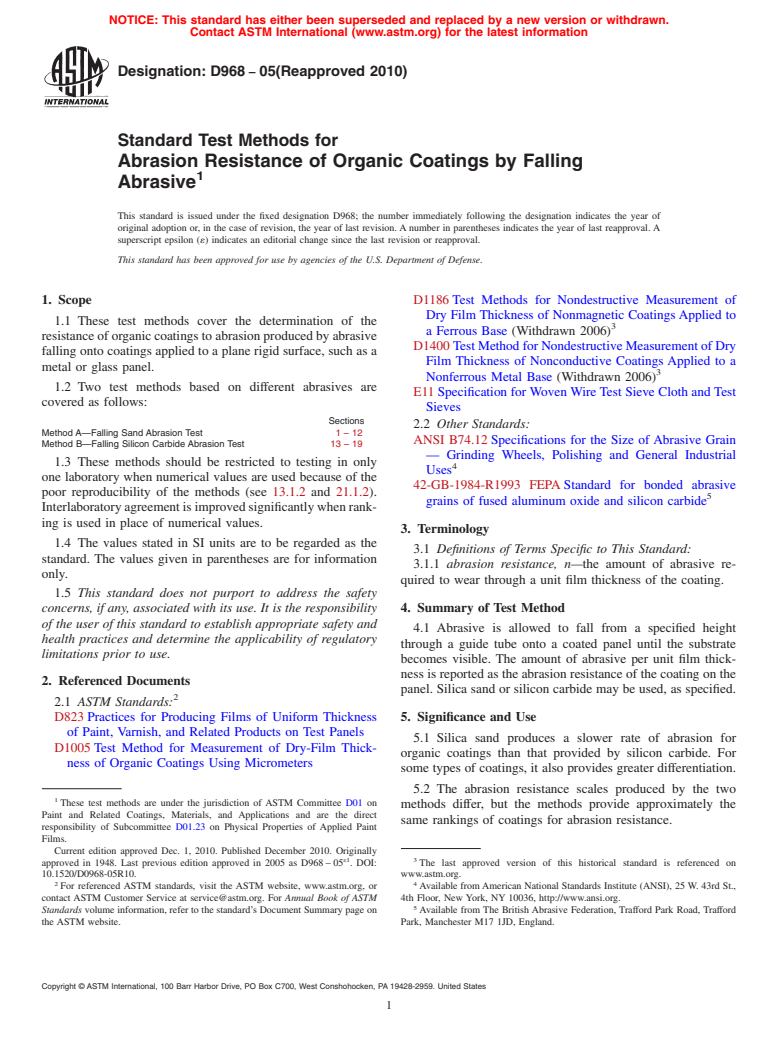
NOTICE: This standard has either been superseded and replaced by a new version or withdrawn.
Contact ASTM International (www.astm.org) for the latest information
Designation: D968 − 05(Reapproved 2010)
Standard Test Methods for
Abrasion Resistance of Organic Coatings by Falling
Abrasive
This standard is issued under the fixed designation D968; the number immediately following the designation indicates the year of
original adoption or, in the case of revision, the year of last revision. A number in parentheses indicates the year of last reapproval. A
superscript epsilon (´) indicates an editorial change since the last revision or reapproval.
This standard has been approved for use by agencies of the U.S. Department of Defense.
1. Scope D1186 Test Methods for Nondestructive Measurement of
Dry Film Thickness of Nonmagnetic Coatings Applied to
1.1 These test methods cover the determination of the
a Ferrous Base (Withdrawn 2006)
resistance of organic coatings to abrasion produced by abrasive
D1400 TestMethodforNondestructiveMeasurementofDry
falling onto coatings applied to a plane rigid surface, such as a
Film Thickness of Nonconductive Coatings Applied to a
metal or glass panel.
Nonferrous Metal Base (Withdrawn 2006)
1.2 Two test methods based on different abrasives are
E11 Specification for Woven Wire Test Sieve Cloth and Test
covered as follows:
Sieves
Sections
2.2 Other Standards:
Method A—Falling Sand Abrasion Test 1–12
ANSI B74.12 Specifications for the Size of Abrasive Grain
Method B—Falling Silicon Carbide Abrasion Test 13–19
— Grinding Wheels, Polishing and General Industrial
1.3 These methods should be restricted to testing in only
Uses
one laboratory when numerical values are used because of the
42-GB-1984-R1993 FEPA Standard for bonded abrasive
poor reproducibility of the methods (see 13.1.2 and 21.1.2).
grains of fused aluminum oxide and silicon carbide
Interlaboratoryagreementisimprovedsignificantlywhenrank-
ing is used in place of numerical values.
3. Terminology
1.4 The values stated in SI units are to be regarded as the
3.1 Definitions of Terms Specific to This Standard:
standard. The values given in parentheses are for information
3.1.1 abrasion resistance, n—the amount of abrasive re-
only.
quired to wear through a unit film thickness of the coating.
1.5 This standard does not purport to address the safety
concerns, if any, associated with its use. It is the responsibility 4. Summary of Test Method
of the user of this standard to establish appropriate safety and
4.1 Abrasive is allowed to fall from a specified height
health practices and determine the applicability of regulatory
through a guide tube onto a coated panel until the substrate
limitations prior to use.
becomes visible. The amount of abrasive per unit film thick-
ness is reported as the abrasion resistance of the coating on the
2. Referenced Documents
panel. Silica sand or silicon carbide may be used, as specified.
2.1 ASTM Standards:
D823 Practices for Producing Films of Uniform Thickness 5. Significance and Use
of Paint, Varnish, and Related Products on Test Panels
5.1 Silica sand produces a slower rate of abrasion for
D1005 Test Method for Measurement of Dry-Film Thick-
organic coatings than that provided by silicon carbide. For
ness of Organic Coatings Using Micrometers
some types of coatings, it also provides greater differentiation.
5.2 The abrasion resistance scales produced by the two
These test methods are under the jurisdiction of ASTM Committee D01 on
methods differ, but the methods provide approximately the
Paint and Related Coatings, Materials, and Applications and are the direct
same rankings of coatings for abrasion resistance.
responsibility of Subcommittee D01.23 on Physical Properties of Applied Paint
Films.
Current edition approved Dec. 1, 2010. Published December 2010. Originally
ε1
approved in 1948. Last previous edition approved in 2005 as D968 – 05 . DOI: The last approved version of this historical standard is referenced on
10.1520/D0968-05R10. www.astm.org.
2 4
For referenced ASTM standards, visit the ASTM website, www.astm.org, or Available from American National Standards Institute (ANSI), 25 W. 43rd St.,
contact ASTM Customer Service at service@astm.org. For Annual Book of ASTM 4th Floor, New York, NY 10036, http://www.ansi.org.
Standards volume information, refer to the standard’s Document Summary page on Available from The British Abrasive Federation, Trafford Park Road, Trafford
the ASTM website. Park, Manchester M17 1JD, England.
Copyright © ASTM International, 100 Barr Harbor Drive, PO Box C700, West Conshohocken, PA 19428-2959. United States
D968 − 05 (2010)
MethodA(falling sand) has been used for rating floor coatings
while Method B (falling silicon carbide) has been used for
rating coatings for ship decks.
METHOD A—FALLING SAND ABRASION TEST
6. Apparatus and Materials
6.1 Abrasion Tester,asillustratedinFig.1andFig.2.Agate
for starting the flow of abrasive is located near the top of the
guide tube. It consists of a metal disk inserted into a slit in the
side of the guide tube with a collar covering the slit. The guide
tube shall be firmly supported in a vertical position over a
suitable receptacle, which shall contain a support for holding
the coated panel at an angle of 45° to the vertical. The opening
of the tube is directly above the area to be abraded and the
distance from the tube to the coated surface face at the nearest
point is 25 mm (1 in.) when measured in the vertical direction.
The base of the apparatus shall be fitted with adjusting screws
for properly aligning the equipment.
6.2 Standard Abrasive—Natural silica sand from the St.
Peters or Jordan sandstone deposits (located in the central
United States) shall be considered standard when graded as
follows after 5 min of continuous sieving.
0 % retained on a No. 16 (1.18 mm) sieve
Maximum 15 % retained on a No. 20 (850 µm) sieve
Minimum 80 % retained on a No. 30 (600 µm) sieve
Maximum 5 % passing a No. 30 (600 µm) sieve
The sand is characterized by its roundness of grains and has
FIG. 1 Apparatus for Falling Sand Abrasion Test
a silicon dioxide content greater than 99 %. Use the sieves
described in Specification E11.
NOTE1—Theabradingqualitiesofsandobtainedfromdifferentsources
may differ slightly even though the sand meets the sieve requirements.
Therefore, for maximum precision of test results, purchaser and seller
should use sand from the same source.
7. Test Specimens
7.1 Apply uniform coatings of the material to be tested to a
plane, rigid surface such as a metal or glass panel. Prepare a
minimum of two coated panels for the material.
7.2 Cure the coated panels under the conditions of humidity
and temperature agreed upon between the purchaser and seller.
NOTE 2—The coatings should be applied in accordance with Practices
D823, or as agreed upon between the purchaser and the seller.
NOTE 3—The thickness of the dry coatings should be measured in
accordance with Test Methods D1005, D1186 or D1400.
8. Standardization
8.1 Pour a quantity of standard sand into the funnel and
examine the sand stream falling from the lower end of the
guide tube. Align the apparatus by means of the adjusting
screws in the base until the inner concentrated core of the sand
stream falls in the center of the flow when viewed at two
positions at 90° to each other. Introduce a measured volume of
sand (2000 6 10 mL is a convenient amount) and determine
NOTE 1—All dimensions are given in inches. 1 in. = 25.4 mm.
the time of efflux. The rate of flow shall be 2 L of sand in 21
FIG. 2 Design Details of Abrasion Test Apparatus
to 23.5 s.
5.3 Eachofthemethodshasbeenfoundusefulforratingthe
Hipkins, C. C., and Phain, R. J., “The Falling Sand Abrasion Tester,” ASTM
abrasion resistance of specific types of coatings. For example Bulletin, No. 143, December 1946, pp. 18–22.
D968 − 05 (2010)
8.2 Secure a trial panel in the testing position, as described 11. Calculation
in 6.1, and introduce the sand in increments until a spot 4 mm
11.1 For each area of the coated panel tested, calculate the
( ⁄32 in.) in diameter is worn through to the base material. The
abrasion resistance, A, in litres per mil from the following
overall abraded area shall be elliptical in shape, about 1 in. (25
equation:
mm) in width and 30 mm (1 ⁄4 in.) in length. The center of the
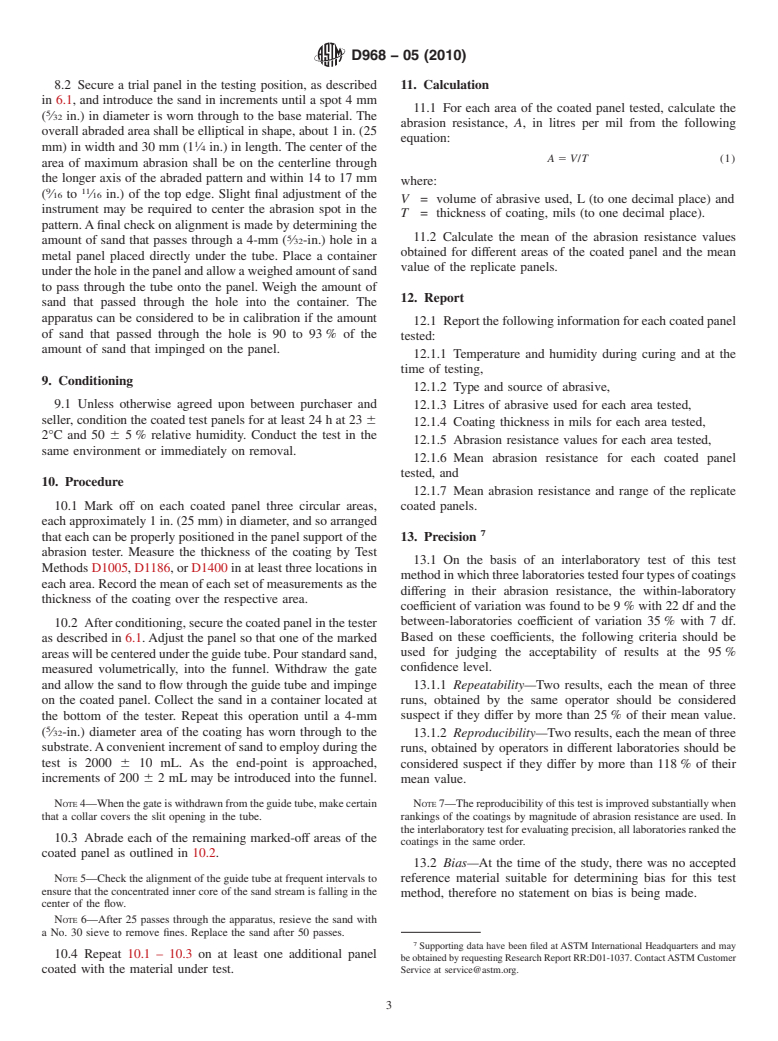
A 5 V/T (1)
area of maximum abrasion shall be on the centerline through
the longer axis of the abraded pattern and within 14 to 17 mm
where:
9 11
( ⁄16 to ⁄16 in.) of the top edge. Slight final adjustment of the
V = volume of abrasive used, L (to one decimal place) and
instrument may be required to center the abrasion spot in the
T = thickness of coating, mils (to one decimal place).
pattern.Afinal check on alignment is made by determining the
5 11.2 Calculate the mean of the abrasion resistance values
amount of sand that passes through a 4-mm ( ⁄32-in.) hole in a
obtained for different areas of the coated panel and the mean
metal panel placed directly under the tube. Place a container
value of the replicate panels.
undertheholeinthepanelandallowaweighedamountofsand
to pass through the tube onto the panel. Weigh the amount of
12. Report
sand that passed through the hole into the container. The
apparatus can be considered to be in calibration if the amount
12.1 Report the following information for each coated panel
of sand that passed through the hole is 90 to 93 % of the
tested:
amount of sand that impinged on the panel.
12.1.1 Temperature and humidity during curing
...


Questions, Comments and Discussion
Ask us and Technical Secretary will try to provide an answer. You can facilitate discussion about the standard in here.