ASTM F14-80(2010)
(Practice)Standard Practice for Making and Testing Reference Glass-Metal Bead-Seal
Standard Practice for Making and Testing Reference Glass-Metal Bead-Seal
SIGNIFICANCE AND USE
The term reference as employed in this practice implies that both the glass and the metal of the reference glass-metal seal will be a standard reference material such as those supplied for other physical tests by the National Institute of Standards and Technology, or a secondary reference material whose sealing characteristics have been determined by seals to a standard reference material (see NIST Special Publication 260). Until standard reference materials for seals are established by the NIST, secondary reference materials may be agreed upon between producer and user.
SCOPE
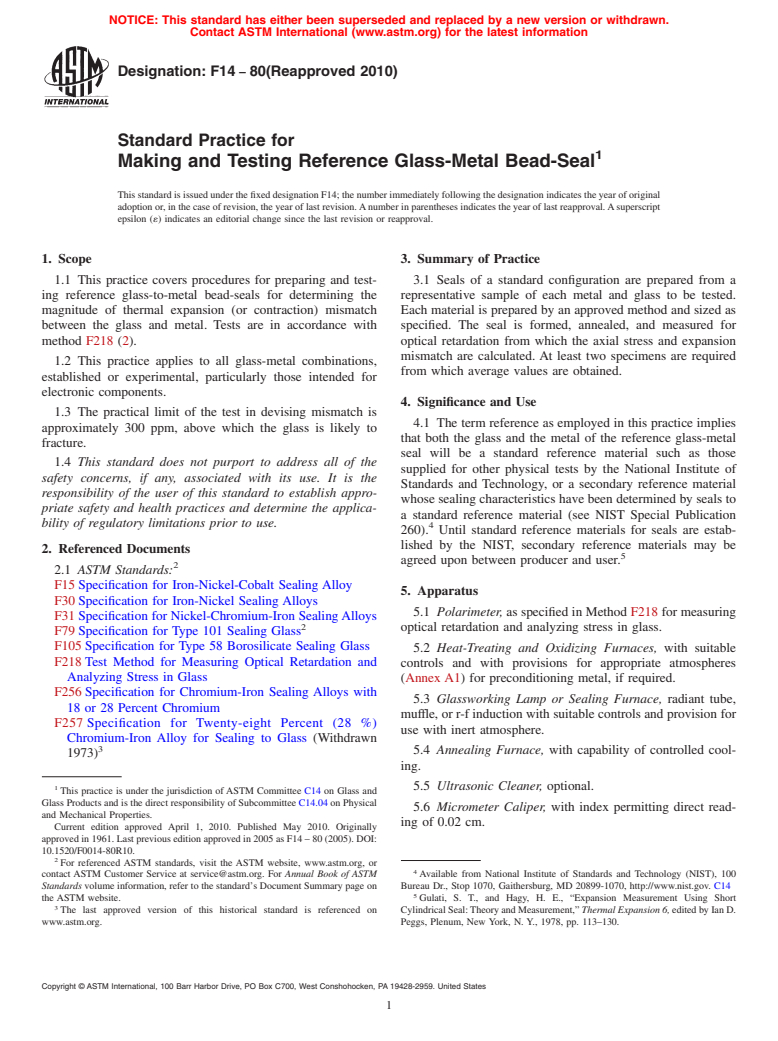
1.1 This practice covers procedures for preparing and testing reference glass-to-metal bead-seals for determining the magnitude of thermal expansion (or contraction) mismatch between the glass and metal. Tests are in accordance with method F218 (2).
1.2 This practice applies to all glass-metal combinations, established or experimental, particularly those intended for electronic components.
1.3 The practical limit of the test in devising mismatch is approximately 300 ppm, above which the glass is likely to fracture.
1.4 This standard does not purport to address all of the safety concerns, if any, associated with its use. It is the responsibility of the user of this standard to establish appropriate safety and health practices and determine the applicability of regulatory limitations prior to use.
General Information
Relations
Standards Content (Sample)
NOTICE: This standard has either been superseded and replaced by a new version or withdrawn.
Contact ASTM International (www.astm.org) for the latest information
Designation: F14 − 80(Reapproved 2010)
Standard Practice for
Making and Testing Reference Glass-Metal Bead-Seal
This standard is issued under the fixed designation F14; the number immediately following the designation indicates the year of original
adoption or, in the case of revision, the year of last revision.Anumber in parentheses indicates the year of last reapproval.Asuperscript
epsilon (´) indicates an editorial change since the last revision or reapproval.
1. Scope 3. Summary of Practice
1.1 This practice covers procedures for preparing and test- 3.1 Seals of a standard configuration are prepared from a
ing reference glass-to-metal bead-seals for determining the representative sample of each metal and glass to be tested.
magnitude of thermal expansion (or contraction) mismatch Each material is prepared by an approved method and sized as
between the glass and metal. Tests are in accordance with specified. The seal is formed, annealed, and measured for
method F218 (2). optical retardation from which the axial stress and expansion
mismatch are calculated. At least two specimens are required
1.2 This practice applies to all glass-metal combinations,
from which average values are obtained.
established or experimental, particularly those intended for
electronic components.
4. Significance and Use
1.3 The practical limit of the test in devising mismatch is
4.1 The term reference as employed in this practice implies
approximately 300 ppm, above which the glass is likely to
that both the glass and the metal of the reference glass-metal
fracture.
seal will be a standard reference material such as those
1.4 This standard does not purport to address all of the
supplied for other physical tests by the National Institute of
safety concerns, if any, associated with its use. It is the
Standards and Technology, or a secondary reference material
responsibility of the user of this standard to establish appro-
whose sealing characteristics have been determined by seals to
priate safety and health practices and determine the applica-
a standard reference material (see NIST Special Publication
bility of regulatory limitations prior to use. 4
260). Until standard reference materials for seals are estab-
lished by the NIST, secondary reference materials may be
2. Referenced Documents
agreed upon between producer and user.
2.1 ASTM Standards:
F15 Specification for Iron-Nickel-Cobalt Sealing Alloy
5. Apparatus
F30 Specification for Iron-Nickel Sealing Alloys
5.1 Polarimeter, as specified in Method F218 for measuring
F31 Specification for Nickel-Chromium-Iron SealingAlloys
optical retardation and analyzing stress in glass.
F79 Specification for Type 101 Sealing Glass
F105 Specification for Type 58 Borosilicate Sealing Glass
5.2 Heat-Treating and Oxidizing Furnaces, with suitable
F218 Test Method for Measuring Optical Retardation and
controls and with provisions for appropriate atmospheres
Analyzing Stress in Glass
(Annex A1) for preconditioning metal, if required.
F256 Specification for Chromium-Iron Sealing Alloys with
5.3 Glassworking Lamp or Sealing Furnace, radiant tube,
18 or 28 Percent Chromium
muffle, or r-f induction with suitable controls and provision for
F257 Specification for Twenty-eight Percent (28 %)
use with inert atmosphere.
Chromium-Iron Alloy for Sealing to Glass (Withdrawn
5.4 Annealing Furnace, with capability of controlled cool-
1973)
ing.
1 5.5 Ultrasonic Cleaner, optional.
This practice is under the jurisdiction of ASTM Committee C14 on Glass and
Glass Products and is the direct responsibility of Subcommittee C14.04 on Physical
5.6 Micrometer Caliper, with index permitting direct read-
and Mechanical Properties.
ing of 0.02 cm.
Current edition approved April 1, 2010. Published May 2010. Originally
approved in 1961. Last previous edition approved in 2005 as F14 – 80 (2005). DOI:
10.1520/F0014-80R10.
For referenced ASTM standards, visit the ASTM website, www.astm.org, or
contact ASTM Customer Service at service@astm.org. For Annual Book of ASTM Available from National Institute of Standards and Technology (NIST), 100
Standards volume information, refer to the standard’s Document Summary page on Bureau Dr., Stop 1070, Gaithersburg, MD 20899-1070, http://www.nist.gov. C14
the ASTM website. Gulati, S. T., and Hagy, H. E., “Expansion Measurement Using Short
The last approved version of this historical standard is referenced on CylindricalSeal:TheoryandMeasurement,”ThermalExpansion6,editedbyIanD.
www.astm.org. Peggs, Plenum, New York, N. Y., 1978, pp. 113–130.
Copyright © ASTM International, 100 Barr Harbor Drive, PO Box C700, West Conshohocken, PA 19428-2959. United States
F14 − 80 (2010)
6. Materials 9.1.1 Placethesealinanindex-matchingliquidandposition
its axis in a direction 45° from the direction of vibration of the
6.1 Metal—Representative rod stock with out-of-round not
polarizer and analyzer, so that the line of sight is at the
exceeding 1 % shall be selected, preferably with a diameter in
midpoint of the glass bead.
the range 0.5 to 4 mm. Smaller diameters result in a loss of
sensitivity and larger diameters tend to be cumbersome and 9.1.2 Determine the retardation along the light path through
impractical. Surfaces shall be relatively free of scratches, the glass in terms of degrees of rotation of the analyzer. Rotate
machine marks, pits, or inclusions that would induce localized
in a direction that causes the black fringe seen within the glass
stresses. Length requirements are discussed in 6.2.
to move toward the glass-metal interface. Stop rotation of the
analyzer when the center of the black fringe is coincident with
6.2 Glass—Representative glass tubing of suitable optical
the glass-metal interface. This condition is termed the point of
transmission with an inside diameter 0.15 to 0.25 mm larger
extinction.
than the metal rod diameter.The outside diameter of the tubing
shall preferably be such that it produces a glass-to-metal
NOTE 1—Sealing combinations may exist in which the thermal expan-
diameterratiobetween1.5and2.Thelengthofthetubingshall
sion coefficients of glass and metal at room temperature may differ
exceed four times the finished glass diameter.The length of the
significantly. In these cases it may be important to record the temperature
metal rod must exceed the length of the tubing. Surface
oftherefractionliquid(ortheseal)atthetimetheretardationismeasured.
contaminants shall be removed to reduce the risk of making
9.1.3 Repeat the above for a total of four measurements per
bubbly seals. An ultrasonic water mark is recommended.
seal equally spaced around the interface. Calculate average
7. Seal-Making Procedure
rotation, A.
9.1.4 Recordtheopticalretardationsindegrees,theindexof
7.1 The seal may be made either by flame-working tech-
niques or by heating the tubing-rod assembly in a furnace. In refraction of the liquid, a
...


Questions, Comments and Discussion
Ask us and Technical Secretary will try to provide an answer. You can facilitate discussion about the standard in here.