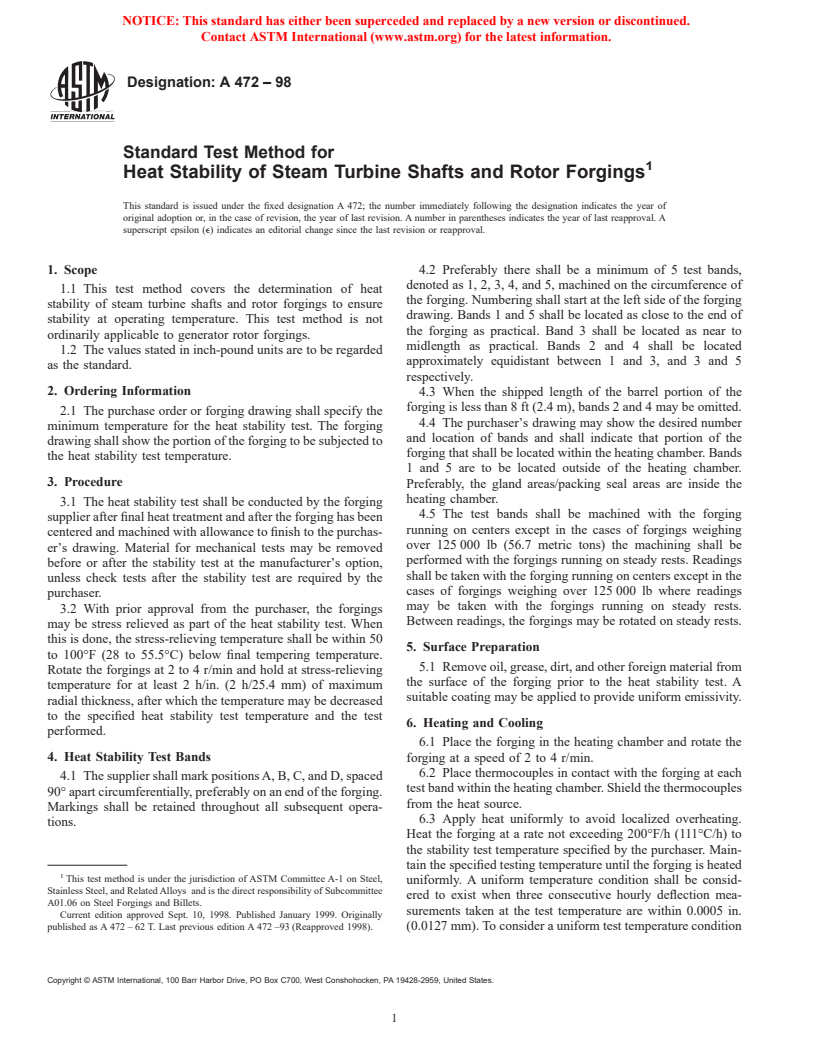
ASTM A472-98
(Test Method)Standard Test Method for Heat Stability of Steam Turbine Shafts and Rotor Forgings
Standard Test Method for Heat Stability of Steam Turbine Shafts and Rotor Forgings
SCOPE
1.1 This test method covers the determination of heat stability of steam turbine shafts and rotor forgings to ensure stability at operating temperature. This test method is not ordinarily applicable to generator rotor forgings.
1.2 The values stated in inch-pound units are to be regarded as the standard.
General Information
Relations
Standards Content (Sample)
NOTICE: This standard has either been superceded and replaced by a new version or discontinued.
Contact ASTM International (www.astm.org) for the latest information.
Designation: A 472 – 98
Standard Test Method for
Heat Stability of Steam Turbine Shafts and Rotor Forgings
This standard is issued under the fixed designation A 472; the number immediately following the designation indicates the year of
original adoption or, in the case of revision, the year of last revision. A number in parentheses indicates the year of last reapproval. A
superscript epsilon (e) indicates an editorial change since the last revision or reapproval.
1. Scope 4.2 Preferably there shall be a minimum of 5 test bands,
denoted as 1, 2, 3, 4, and 5, machined on the circumference of
1.1 This test method covers the determination of heat
the forging. Numbering shall start at the left side of the forging
stability of steam turbine shafts and rotor forgings to ensure
drawing. Bands 1 and 5 shall be located as close to the end of
stability at operating temperature. This test method is not
the forging as practical. Band 3 shall be located as near to
ordinarily applicable to generator rotor forgings.
midlength as practical. Bands 2 and 4 shall be located
1.2 The values stated in inch-pound units are to be regarded
approximately equidistant between 1 and 3, and 3 and 5
as the standard.
respectively.
2. Ordering Information 4.3 When the shipped length of the barrel portion of the
forging is less than 8 ft (2.4 m), bands 2 and 4 may be omitted.
2.1 The purchase order or forging drawing shall specify the
4.4 The purchaser’s drawing may show the desired number
minimum temperature for the heat stability test. The forging
and location of bands and shall indicate that portion of the
drawing shall show the portion of the forging to be subjected to
forging that shall be located within the heating chamber. Bands
the heat stability test temperature.
1 and 5 are to be located outside of the heating chamber.
3. Procedure
Preferably, the gland areas/packing seal areas are inside the
heating chamber.
3.1 The heat stability test shall be conducted by the forging
4.5 The test bands shall be machined with the forging
supplier after final heat treatment and after the forging has been
running on centers except in the cases of forgings weighing
centered and machined with allowance to finish to the purchas-
over 125 000 lb (56.7 metric tons) the machining shall be
er’s drawing. Material for mechanical tests may be removed
performed with the forgings running on steady rests. Readings
before or after the stability test at the manufacturer’s option,
shall be taken with the forging running on centers except in the
unless check tests after the stability test are required by the
cases of forgings weighing over 125 000 lb where readings
purchaser.
may be taken with the forgings running on steady rests.
3.2 With prior approval from the purchaser, the forgings
Between readings, the forgings may be rotated on steady rests.
may be stress relieved as part of the heat stability test. When
this is done, the stress-relieving temperature shall be within 50
5. Surface Preparation
to 100°F (28 to 55.5°C) below final tempering temperature.
5.1 Remove oil, grease, dirt, and other foreign material from
Rotate the forgings at 2 to 4 r/min and hold at stress-relieving
the surface of the forging prior to the heat stability test. A
temperature for at least 2 h/in. (2 h/25.4 mm) of maximum
suitable coating may be applied to provide uniform emissivity.
radial thickness, after which the temperature may be decreased
to the specified heat stability test temperature and the test
6. Heating and Cooling
performed.
6.1 Place the forging in the heating chamber and rotate the
4. Heat Stability Test Bands
forging at a speed of 2 to 4 r/min.
6.2 Place thermocouples in contact with the forging at each
4.1 The supplier shall mark positions A, B, C, and D, spaced
test band within the heating chamber. Shield the thermocouples
90° apart circumferentially, preferably on an end of the forging.
from the heat source.
Markings shall be retained throughout all subsequent opera-
6.3 Apply heat uniformly to avoid localized overheating.
tions.
Heat the forging at a rate not exceeding 200°F/h (111°C/h) to
the stability test temperature specified by the purchaser. Main-
tain the specified testing temperature until the forging is heated
This test method is under the jurisdiction of ASTM Committee A-1 on Steel,
uniformly. A uniform temperature condition shall be consid-
Stainless Steel, and Related Alloys and is the direct responsibility of Subcommittee
ered to exist when three consecutive hourly deflection mea-
A01.06 on Steel Forgings and Billets.
surements taken at the test temperature are within 0.0005 in.
Current edition approved Sept. 10, 1998. Published January 1999. Originally
published as A 472 – 62 T. Last previous edition A 472 –93 (Reapproved 1998). (0.0127 mm). To consider a uniform test temperature condition
Copyright © ASTM International, 100 Barr Harbor Drive, PO Box C700, West Conshohocken, PA 19428-2959, United States.
...


Questions, Comments and Discussion
Ask us and Technical Secretary will try to provide an answer. You can facilitate discussion about the standard in here.