ASTM D6641/D6641M-09
(Test Method)Standard Test Method for Compressive Properties of Polymer Matrix Composite Materials Using a Combined Loading Compression (CLC) Test Fixture
Standard Test Method for Compressive Properties of Polymer Matrix Composite Materials Using a Combined Loading Compression (CLC) Test Fixture
SIGNIFICANCE AND USE
This test method is designed to produce compressive property data for material specifications, research and development, quality assurance, and structural design and analysis. When tabbed (Procedure B) specimens, typically unidirectional composites, are tested, the CLC test method (combined shear end loading) has similarities to Test Methods D 3410/D 3410M (shear loading) and D 695 (end loading). When testing lower strength materials such that untabbed CLC specimens can be used (Procedure A), the benefits of combined loading become particularly prominent. It may not be possible to successfully test untabbed specimens of these same materials using either of the other two methods. When specific laminates are tested (primarily of the [90/0]ns family, although other laminates containing at least one 0° ply can be used), the CLC data are frequently used to “back out” 0° ply strength, using lamination theory to calculate a 0° unidirectional lamina strength (1, 2). Factors that influence the compressive response include: type of material, methods of material preparation and lay-up, specimen stacking sequence, specimen preparation, specimen conditioning, environment of testing, speed of testing, time at temperature, void content, and volume percent reinforcement. Composite properties in the test direction that may be obtained from this test method include:
Ultimate compressive strength,
Ultimate compressive strain,
Compressive (linear or chord) modulus of elasticity, and
Poisson's ratio in compression.
SCOPE
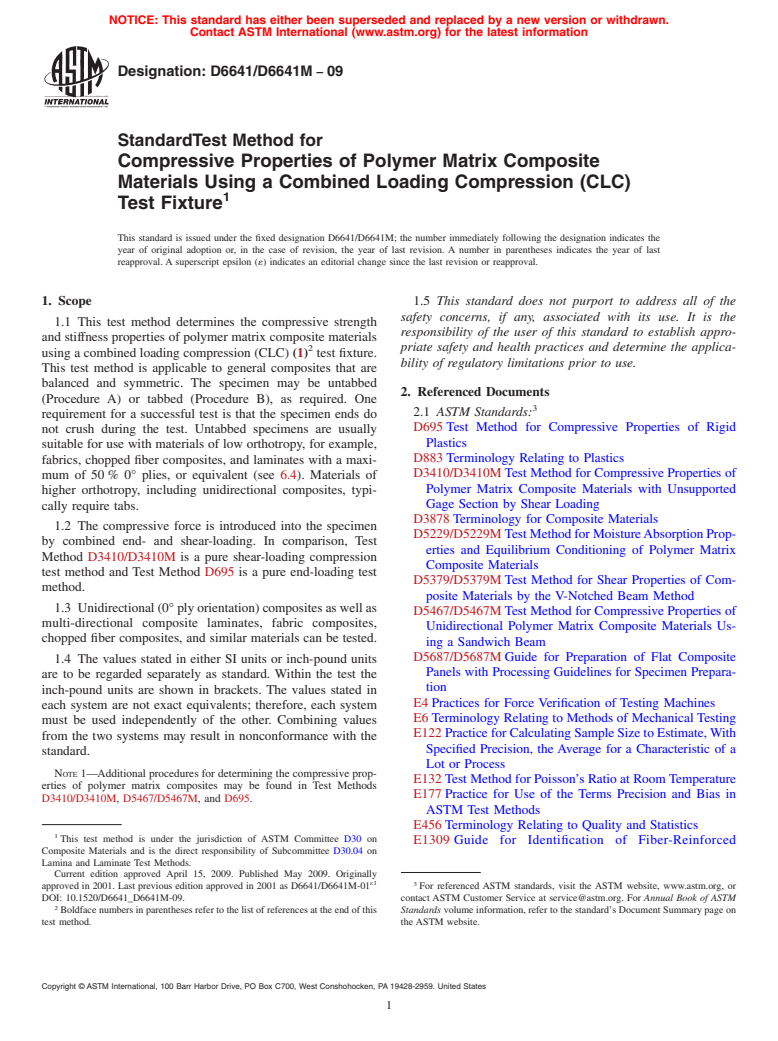
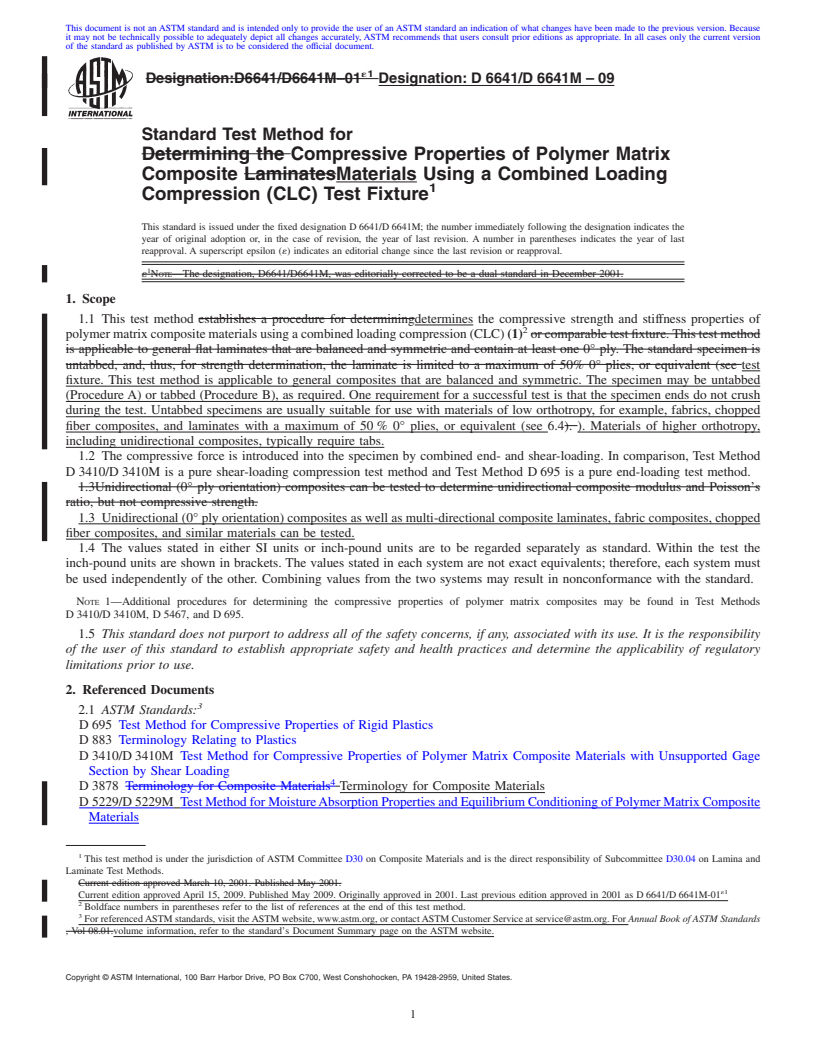
1.1 This test method determines the compressive strength and stiffness properties of polymer matrix composite materials using a combined loading compression (CLC) (1) test fixture. This test method is applicable to general composites that are balanced and symmetric. The specimen may be untabbed (Procedure A) or tabbed (Procedure B), as required. One requirement for a successful test is that the specimen ends do not crush during the test. Untabbed specimens are usually suitable for use with materials of low orthotropy, for example, fabrics, chopped fiber composites, and laminates with a maximum of 50 % 0° plies, or equivalent (see 6.4). Materials of higher orthotropy, including unidirectional composites, typically require tabs.
1.2 The compressive force is introduced into the specimen by combined end- and shear-loading. In comparison, Test Method D 3410/D 3410M is a pure shear-loading compression test method and Test Method D 695 is a pure end-loading test method.
1.3 Unidirectional (0° ply orientation) composites as well as multi-directional composite laminates, fabric composites, chopped fiber composites, and similar materials can be tested.
1.4 The values stated in either SI units or inch-pound units are to be regarded separately as standard. Within the test the inch-pound units are shown in brackets. The values stated in each system are not exact equivalents; therefore, each system must be used independently of the other. Combining values from the two systems may result in nonconformance with the standard.
Note 1—Additional procedures for determining the compressive properties of polymer matrix composites may be found in Test Methods D 3410/D 3410M, D 5467, and D 695.
1.5 This standard does not purport to address all of the safety concerns, if any, associated with its use. It is the responsibility of the user of this standard to establish appropriate safety and health practices and determine the applicability of regulatory limitations prior to use.
General Information
Relations
Buy Standard
Standards Content (Sample)
NOTICE: This standard has either been superseded and replaced by a new version or withdrawn.
Contact ASTM International (www.astm.org) for the latest information
Designation: D6641/D6641M − 09
StandardTest Method for
Compressive Properties of Polymer Matrix Composite
Materials Using a Combined Loading Compression (CLC)
1
Test Fixture
This standard is issued under the fixed designation D6641/D6641M; the number immediately following the designation indicates the
year of original adoption or, in the case of revision, the year of last revision. A number in parentheses indicates the year of last
reapproval. A superscript epsilon (´) indicates an editorial change since the last revision or reapproval.
1. Scope 1.5 This standard does not purport to address all of the
safety concerns, if any, associated with its use. It is the
1.1 This test method determines the compressive strength
responsibility of the user of this standard to establish appro-
and stiffness properties of polymer matrix composite materials
2 priate safety and health practices and determine the applica-
using a combined loading compression (CLC) (1) test fixture.
bility of regulatory limitations prior to use.
This test method is applicable to general composites that are
balanced and symmetric. The specimen may be untabbed
2. Referenced Documents
(Procedure A) or tabbed (Procedure B), as required. One
3
2.1 ASTM Standards:
requirement for a successful test is that the specimen ends do
D695 Test Method for Compressive Properties of Rigid
not crush during the test. Untabbed specimens are usually
Plastics
suitable for use with materials of low orthotropy, for example,
D883 Terminology Relating to Plastics
fabrics, chopped fiber composites, and laminates with a maxi-
D3410/D3410M Test Method for Compressive Properties of
mum of 50 % 0° plies, or equivalent (see 6.4). Materials of
Polymer Matrix Composite Materials with Unsupported
higher orthotropy, including unidirectional composites, typi-
Gage Section by Shear Loading
cally require tabs.
D3878 Terminology for Composite Materials
1.2 The compressive force is introduced into the specimen
D5229/D5229M TestMethodforMoistureAbsorptionProp-
by combined end- and shear-loading. In comparison, Test
erties and Equilibrium Conditioning of Polymer Matrix
Method D3410/D3410M is a pure shear-loading compression
Composite Materials
test method and Test Method D695 is a pure end-loading test
D5379/D5379M Test Method for Shear Properties of Com-
method.
posite Materials by the V-Notched Beam Method
1.3 Unidirectional(0°plyorientation)compositesaswellas
D5467/D5467M Test Method for Compressive Properties of
multi-directional composite laminates, fabric composites,
Unidirectional Polymer Matrix Composite Materials Us-
chopped fiber composites, and similar materials can be tested.
ing a Sandwich Beam
D5687/D5687M Guide for Preparation of Flat Composite
1.4 The values stated in either SI units or inch-pound units
Panels with Processing Guidelines for Specimen Prepara-
are to be regarded separately as standard. Within the test the
tion
inch-pound units are shown in brackets. The values stated in
E4 Practices for Force Verification of Testing Machines
each system are not exact equivalents; therefore, each system
E6 Terminology Relating to Methods of Mechanical Testing
must be used independently of the other. Combining values
E122 Practice for Calculating Sample Size to Estimate,With
from the two systems may result in nonconformance with the
Specified Precision, the Average for a Characteristic of a
standard.
Lot or Process
NOTE 1—Additional procedures for determining the compressive prop-
E132 Test Method for Poisson’s Ratio at Room Temperature
erties of polymer matrix composites may be found in Test Methods
E177 Practice for Use of the Terms Precision and Bias in
D3410/D3410M, D5467/D5467M, and D695.
ASTM Test Methods
E456 Terminology Relating to Quality and Statistics
1
This test method is under the jurisdiction of ASTM Committee D30 on
E1309 Guide for Identification of Fiber-Reinforced
Composite Materials and is the direct responsibility of Subcommittee D30.04 on
Lamina and Laminate Test Methods.
Current edition approved April 15, 2009. Published May 2009. Originally
ε1
3
approved in 2001. Last previous edition approved in 2001 as D6641/D6641M-01 For referenced ASTM standards, visit the ASTM website, www.astm.org, or
DOI: 10.1520/D6641_D6641M-09. contact ASTM Customer Service at service@astm.org. For Annual Book of ASTM
2
Boldface numbers in parentheses refer to the list of references at the end of this Standards volume information, refer to the standard’s Document Summary page on
test method. the ASTM website.
Copyright © ASTM International, 100 Barr Harbor Drive, PO Box C700, West Conshohocken, PA 19428-2959. United States
1
---------------------- Page: 1 ----------------------
D6641/D6641M − 09
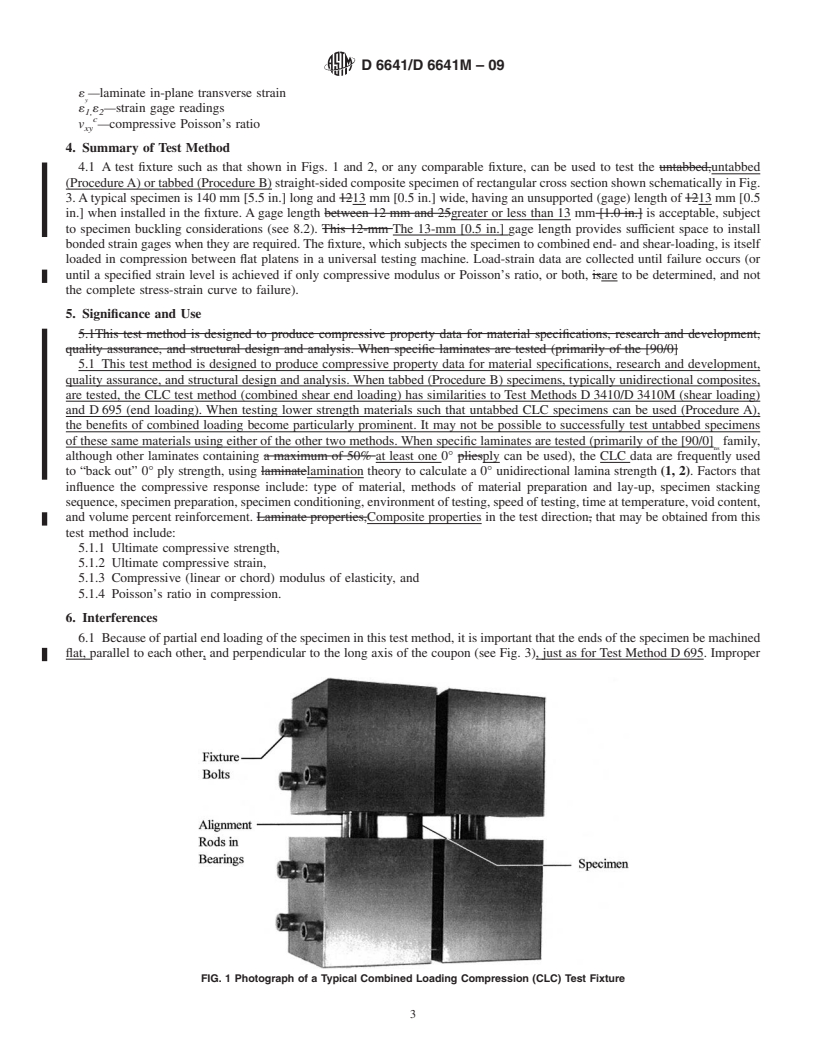
FIG. 1 Photograph of a Typical Combined Loading Compression (CLC) Test Fixture
Polymer-Matrix Composite Materials in Databases
...
This document is not anASTM standard and is intended only to provide the user of anASTM standard an indication of what changes have been made to the previous version. Because
it may not be technically possible to adequately depict all changes accurately, ASTM recommends that users consult prior editions as appropriate. In all cases only the current version
of the standard as published by ASTM is to be considered the official document.
´1
Designation:D6641/D6641M–01 Designation: D 6641/D 6641M – 09
Standard Test Method for
Determining the Compressive Properties of Polymer Matrix
Composite LaminatesMaterials Using a Combined Loading
1
Compression (CLC) Test Fixture
This standard is issued under the fixed designation D 6641/D 6641M; the number immediately following the designation indicates the
year of original adoption or, in the case of revision, the year of last revision. A number in parentheses indicates the year of last
reapproval. A superscript epsilon (´) indicates an editorial change since the last revision or reapproval.
1
´ NOTE—The designation, D6641/D6641M, was editorially corrected to be a dual standard in December 2001.
1. Scope
1.1 This test method establishes a procedure for determiningdetermines the compressive strength and stiffness properties of
2
polymermatrixcompositematerialsusingacombinedloadingcompression(CLC)(1) orcomparabletestfixture.Thistestmethod
is applicable to general flat laminates that are balanced and symmetric and contain at least one 0° ply. The standard specimen is
untabbed, and, thus, for strength determination, the laminate is limited to a maximum of 50% 0° plies, or equivalent (see test
fixture. This test method is applicable to general composites that are balanced and symmetric. The specimen may be untabbed
(Procedure A) or tabbed (Procedure B), as required. One requirement for a successful test is that the specimen ends do not crush
during the test. Untabbed specimens are usually suitable for use with materials of low orthotropy, for example, fabrics, chopped
fiber composites, and laminates with a maximum of 50 % 0° plies, or equivalent (see 6.4). ). Materials of higher orthotropy,
including unidirectional composites, typically require tabs.
1.2 The compressive force is introduced into the specimen by combined end- and shear-loading. In comparison, Test Method
D 3410/D 3410M is a pure shear-loading compression test method and Test Method D 695 is a pure end-loading test method.
1.3Unidirectional (0° ply orientation) composites can be tested to determine unidirectional composite modulus and Poisson’s
ratio, but not compressive strength.
1.3 Unidirectional (0° ply orientation) composites as well as multi-directional composite laminates, fabric composites, chopped
fiber composites, and similar materials can be tested.
1.4 The values stated in either SI units or inch-pound units are to be regarded separately as standard. Within the test the
inch-pound units are shown in brackets. The values stated in each system are not exact equivalents; therefore, each system must
be used independently of the other. Combining values from the two systems may result in nonconformance with the standard.
NOTE 1—Additional procedures for determining the compressive properties of polymer matrix composites may be found in Test Methods
D 3410/D 3410M, D 5467, and D 695.
1.5 This standard does not purport to address all of the safety concerns, if any, associated with its use. It is the responsibility
of the user of this standard to establish appropriate safety and health practices and determine the applicability of regulatory
limitations prior to use.
2. Referenced Documents
3
2.1 ASTM Standards:
D 695 Test Method for Compressive Properties of Rigid Plastics
D 883 Terminology Relating to Plastics
D 3410/D 3410M Test Method for Compressive Properties of Polymer Matrix Composite Materials with Unsupported Gage
Section by Shear Loading
4
D 3878 Terminology for Composite Materials Terminology for Composite Materials
D 5229/D 5229M TestMethodforMoistureAbsorptionPropertiesandEquilibriumConditioningofPolymerMatrixComposite
Materials
1
This test method is under the jurisdiction of ASTM Committee D30 on Composite Materials and is the direct responsibility of Subcommittee D30.04 on Lamina and
Laminate Test Methods.
Current edition approved March 10, 2001. Published May 2001.
´1
Current edition approved April 15, 2009. Published May 2009. Originally approved in 2001. Last previous edition approved in 2001 as D 6641/D 6641M-01
2
Boldface numbers in parentheses refer to the list of references at the end of this test method.
3
For referencedASTM standards, visit theASTM website, www.astm.org, or contactASTM Customer Service at service@astm.org. For Annual Book of ASTM Standards
, Vol 08.01.volume information, refer to the standard’s Document Summary page on the ASTM website.
Copyright © ASTM International, 100 Barr Harbor Drive, PO Box C700, West Conshohocken, PA 19428-2959, United States.
1
------------------
...


Questions, Comments and Discussion
Ask us and Technical Secretary will try to provide an answer. You can facilitate discussion about the standard in here.