ASTM A426-92(1997)
(Specification)Standard Specification for Centrifugally Cast Ferritic Alloy Steel Pipe for High-Temperature Service
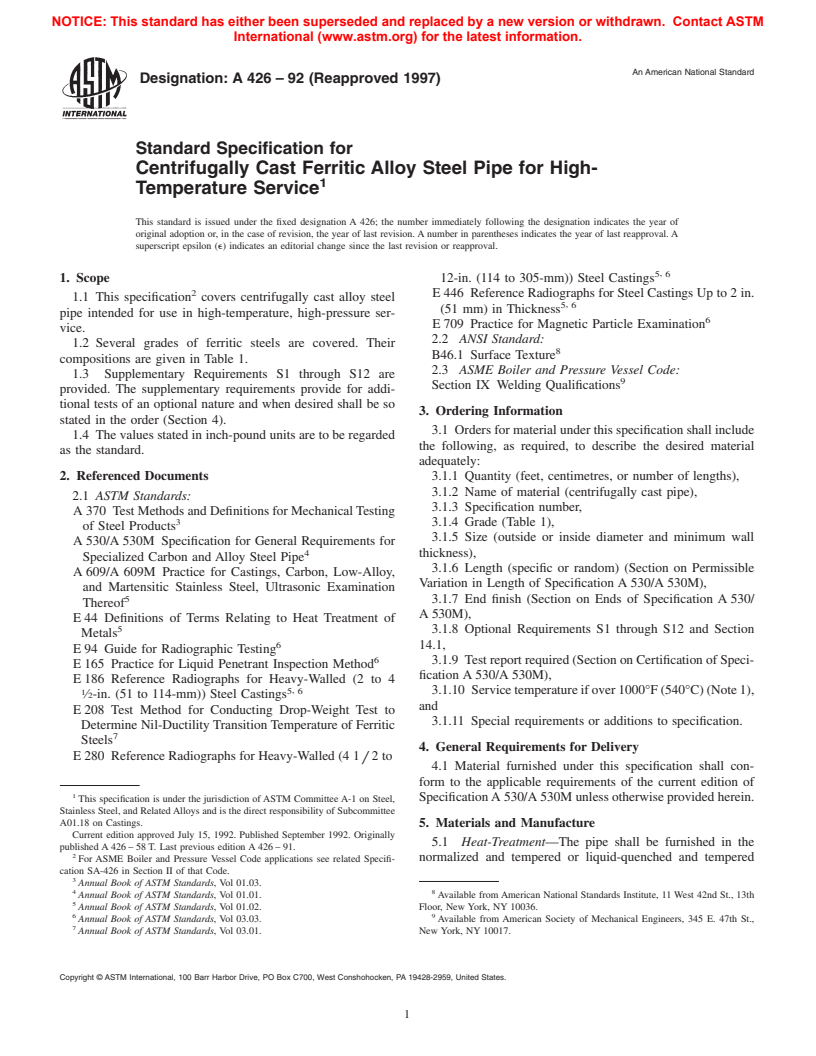
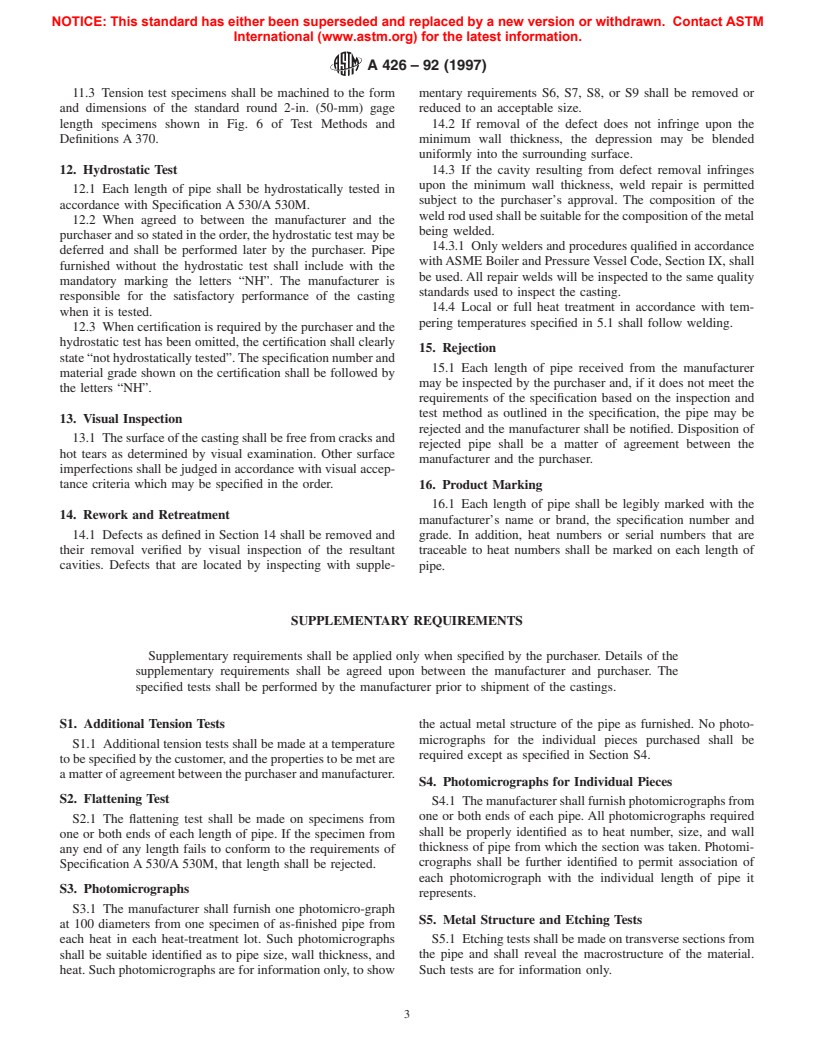
Standard Specification for Centrifugally Cast Ferritic Alloy Steel Pipe for High-Temperature Service
SCOPE
1.1 This specification covers centrifugally cast alloy steel pipe intended for use in high-temperature, high-pressure service.
1.2 Several grades of ferritic steels are covered. Their compositions are given in Table 1.
1.3 Supplementary Requirements S1 through S12 are provided. The supplementary requirements provide for additional tests of an optional nature and when desired shall be so stated in the order (Section 4).
1.4 The values stated in inch-pound units are to be regarded as the standard.
General Information
Relations
Standards Content (Sample)
NOTICE: This standard has either been superseded and replaced by a new version or withdrawn. Contact ASTM
International (www.astm.org) for the latest information.
An American National Standard
Designation: A 426 – 92 (Reapproved 1997)
Standard Specification for
Centrifugally Cast Ferritic Alloy Steel Pipe for High-
Temperature Service
This standard is issued under the fixed designation A 426; the number immediately following the designation indicates the year of
original adoption or, in the case of revision, the year of last revision. A number in parentheses indicates the year of last reapproval. A
superscript epsilon (e) indicates an editorial change since the last revision or reapproval.
5, 6
1. Scope 12-in. (114 to 305-mm)) Steel Castings
E 446 Reference Radiographs for Steel Castings Up to 2 in.
1.1 This specification covers centrifugally cast alloy steel
5, 6
(51 mm) in Thickness
pipe intended for use in high-temperature, high-pressure ser-
E 709 Practice for Magnetic Particle Examination
vice.
2.2 ANSI Standard:
1.2 Several grades of ferritic steels are covered. Their
B46.1 Surface Texture
compositions are given in Table 1.
2.3 ASME Boiler and Pressure Vessel Code:
1.3 Supplementary Requirements S1 through S12 are
Section IX Welding Qualifications
provided. The supplementary requirements provide for addi-
tional tests of an optional nature and when desired shall be so
3. Ordering Information
stated in the order (Section 4).
3.1 Orders for material under this specification shall include
1.4 The values stated in inch-pound units are to be regarded
the following, as required, to describe the desired material
as the standard.
adequately:
2. Referenced Documents 3.1.1 Quantity (feet, centimetres, or number of lengths),
3.1.2 Name of material (centrifugally cast pipe),
2.1 ASTM Standards:
3.1.3 Specification number,
A 370 Test Methods and Definitions for MechanicalTesting
3.1.4 Grade (Table 1),
of Steel Products
3.1.5 Size (outside or inside diameter and minimum wall
A 530/A 530M Specification for General Requirements for
thickness),
Specialized Carbon and Alloy Steel Pipe
3.1.6 Length (specific or random) (Section on Permissible
A 609/A 609M Practice for Castings, Carbon, Low-Alloy,
Variation in Length of Specification A 530/A 530M),
and Martensitic Stainless Steel, Ultrasonic Examination
3.1.7 End finish (Section on Ends of Specification A 530/
Thereof
A 530M),
E 44 Definitions of Terms Relating to Heat Treatment of
5 3.1.8 Optional Requirements S1 through S12 and Section
Metals
14.1,
E 94 Guide for Radiographic Testing
6 3.1.9 Test report required (Section on Certification of Speci-
E 165 Practice for Liquid Penetrant Inspection Method
fication A 530/A 530M),
E 186 Reference Radiographs for Heavy-Walled (2 to 4
,
5 6 3.1.10 Servicetemperatureifover1000°F(540°C)(Note1),
⁄2-in. (51 to 114-mm)) Steel Castings
and
E 208 Test Method for Conducting Drop-Weight Test to
3.1.11 Special requirements or additions to specification.
Determine Nil-Ductility Transition Temperature of Ferritic
Steels
4. General Requirements for Delivery
E 280 Reference Radiographs for Heavy-Walled (4 1 2to
/
4.1 Material furnished under this specification shall con-
form to the applicable requirements of the current edition of
SpecificationA 530/A 530M unless otherwise provided herein.
This specification is under the jurisdiction of ASTM Committee A-1 on Steel,
Stainless Steel, and RelatedAlloys and is the direct responsibility of Subcommittee
A01.18 on Castings.
5. Materials and Manufacture
Current edition approved July 15, 1992. Published September 1992. Originally
5.1 Heat-Treatment—The pipe shall be furnished in the
published A 426 – 58 T. Last previous edition A 426 – 91.
For ASME Boiler and Pressure Vessel Code applications see related Specifi- normalized and tempered or liquid-quenched and tempered
cation SA-426 in Section II of that Code.
Annual Book of ASTM Standards, Vol 01.03.
4 8
Annual Book of ASTM Standards, Vol 01.01. Available from American National Standards Institute, 11 West 42nd St., 13th
Annual Book of ASTM Standards, Vol 01.02. Floor, New York, NY 10036.
6 9
Annual Book of ASTM Standards, Vol 03.03. Available from American Society of Mechanical Engineers, 345 E. 47th St.,
Annual Book of ASTM Standards, Vol 03.01. New York, NY 10017.
Copyright © ASTM International, 100 Barr Harbor Drive, PO Box C700, West Conshohocken, PA 19428-2959, United States.
NOTICE: This standard has either been superseded and replaced by a new version or withdrawn. Contact ASTM
International (www.astm.org) for the latest information.
A 426 – 92 (1997)
TABLE 1 Chemical Requirements
Composition, %
Phos-
Grade Carbon Manganese pho- Sulfur, max Silicon Chromium Molybdenum
rus, max
CP1 0.25 max 0.30–0.80 0.040 0.045 0.10–0.50 . . . 0.44–0.65
CP2 0.10–0.20 0.30–0.61 0.040 0.045 0.10–0.50 0.50–0.81 0.44–0.65
CP5 0.20 max 0.30–0.70 0.040 0.045 0.75 max 4.00–6.50 0.45–0.65
CP5b 0.15 max 0.30–0.60 0.040 0.045 1.00–2.00 4.00–6.00 0.45–0.65
CP9 0.20 max 0.30–0.65 0.040 0.045 0.25–1.00 8.00–10.00 0.90–1.20
CP11 0.05–0.20 0.30–0.80 0.040 0.045 0.60 max 1.00–1.50 0.44–0.65
CP12 0.05–0.15 0.30–0.61 0.040 0.045 0.50 max 0.80–1.25 0.44–0.65
CP15 0.15 max 0.30–0.60 0.040 0.045 0.15–1.65 . . . 0.44–0.65
CP21 0.05–0.15 0.30–0.60 0.040 0.045 0.50 max 2.65–3.35 0.80–1.06
CP22 0.05–0.15 0.30–0.70 0.040 0.045 0.60 max 2.00–2.75 0.90–1.20
CPCA15 0.15 max 1.00 max 0.040 0.040 1.50 max 11.5–14.0 0.50 max
TABLE 2 Tensile Properties and Hardness Requirements
condition (Note 1). The temperature for tempering shall not be
Tensile strength, min, psi (MPa):
less than 1250°F (677°C) except for Grades CP1, CP2, CP11,
Grade CP1 65 000 (450)
CP12, and CP15 for which the temperature for tempering shall
Grades CP11, CP22 70 000 (485)
not be less than 1100°F (595°C).
Grades CP5, CP9, CPCA15 90 000 (620)
All other grades 60 000 (415)
5.1.1 Heat treatment shall be performed after the pipe has
Yield strength, min, psi (MPa):
been allowed to cool below the transformation range. Defini-
Grade CP1 35 000 (240)
tion of heat-treatment terms shall be as given in Definitions
Grades CP11, CP22 40 000 (275)
Grades CP5, CP9 60 000 (415)
E 44.
Grade CPCA15 65 000 (450)
All other grades 30 000 (205)
NOTE 1—It is recommended that the temperature for tempering should
A
Elongation, min, %:
be at least 100°F (56°C) above the intended service temperature. The
Grade CP1 24
purchaser shall advise the manufacturer of the service temperature when
Grades CP11, CP22 20
it is over 1000°F (540°C).
Grades CP5, CP9, CPCA15 18
All other grades 22
5.2 Machining—The pipe shall be machined on the inner
Reduction of area, min, %:
and outer surfaces to a roughness value no greater than 250 µ
Grades CP1, CP2, CP11, CP12, CP15, 35
in. (6.35 µm) arithmetical average deviation (AA) from the CP21, CP22, CP5, CP5b, CP7, CP9
Grade CPCA15 30
mean line unless otherwise specified as in B46.1.
Hardness, max, HB:
Grades CP5, CP5b, CP9, CPCA15 225
6. ChemicalAnalysis
All other grades 201
A
Elongation in 2 in. (50 mm) using a standard round specimen, in either the
6.1 HeatAnalysis—An analysis of each heat shall be made
transverse or longitudinal direction.
by the manufacturer to determine the percentages of elements
specified in Table 1. The analysis shall be made on a test
sample taken preferable during the pouring of the heat. The
9.2 If a specimen is machined improperly or if flaws are
chemical composition thus determined shall conform to the
revealed by machining or during testing, the specimen may be
requirements specified in Table 1.
discarded and another substituted from the same heat.
6.2 ProductAnalysis—Aproduct analysis may be made by
the purchaser.The sample for analysis shall be selected so as to
10. Retests
be representative of the pipe being analyzed. The chemical
compositionthusdeterminedshallconformtotherequirements
10.1 Iftheresultsofthemechanicaltestsforanyheatdonot
of Table 1.
conform to the requirements specified, the castings may be
reheat-treated and retested, but may not be re-austenitized
7. Tensile and Hardness Requirements
more than twice.
7.1 Steel used for the castings shall conform to the tensile
and hardness requirements specified in Table 2.
11. Test Specimens
8. Permissible Variations in Dimensions 11.1 Test coupons from which tension test specimens are
prepared shall be removed from heat-treated casting prolonga-
8.1 Thickness—The wall thickness shall not vary over that
tions.
specified by more than 1 8 in. (3 mm). There shall be no
/
variation under the specified wall thickness.
11.2 When agreed upon between the manufacturer and the
purchaser, test coupons from which test specimens are pre-
9. Number of Tests
pared shall be cast attached to separate blocks from the same
heat as the casting represented. The test blocks shall be heat
9.1 One tension and one hardness test shall be made from
each heat. treated in the same manner as the casting represented.
NOTICE: This standard has either been superseded and replaced by a new version or withdrawn. Contact ASTM
International (www.astm.org) for the latest information.
A 426 – 92 (1997)
11.3 Tension test specimens shall be machined to the form mentary requirements S6, S7, S8, or S9 shall be removed or
and dimensions of the standard round 2-in. (50-mm) gage reduced to an acceptable size.
length specimens shown in Fig. 6 of Test Methods and 14.2 If removal of the defect does not infringe upon the
Definitions A 370. minimum wall thickness, the depression may be blended
uniformly into the surrounding surface.
12. Hydrostatic Test 14.3 If t
...


Questions, Comments and Discussion
Ask us and Technical Secretary will try to provide an answer. You can facilitate discussion about the standard in here.