ASTM B665-08
(Guide)Standard Guide for Metallographic Sample Preparation of Cemented Tungsten Carbides
Standard Guide for Metallographic Sample Preparation of Cemented Tungsten Carbides
SIGNIFICANCE AND USE
This sample preparation procedure may be used to prepare metallographic samples for Test Method B 657 and Practice B 390. It does not include all variations of sample preparation.
SCOPE
1.1 This guide prescribes a method for preparing cemented carbides for metallographic examination.
1.2 This standard does not purport to address all of the safety concerns, if any, associated with its use. It is the responsibility of the user of this standard to establish appropriate safety and health practices and determine the applicability of regulatory limitations prior to use.
General Information
Relations
Buy Standard
Standards Content (Sample)
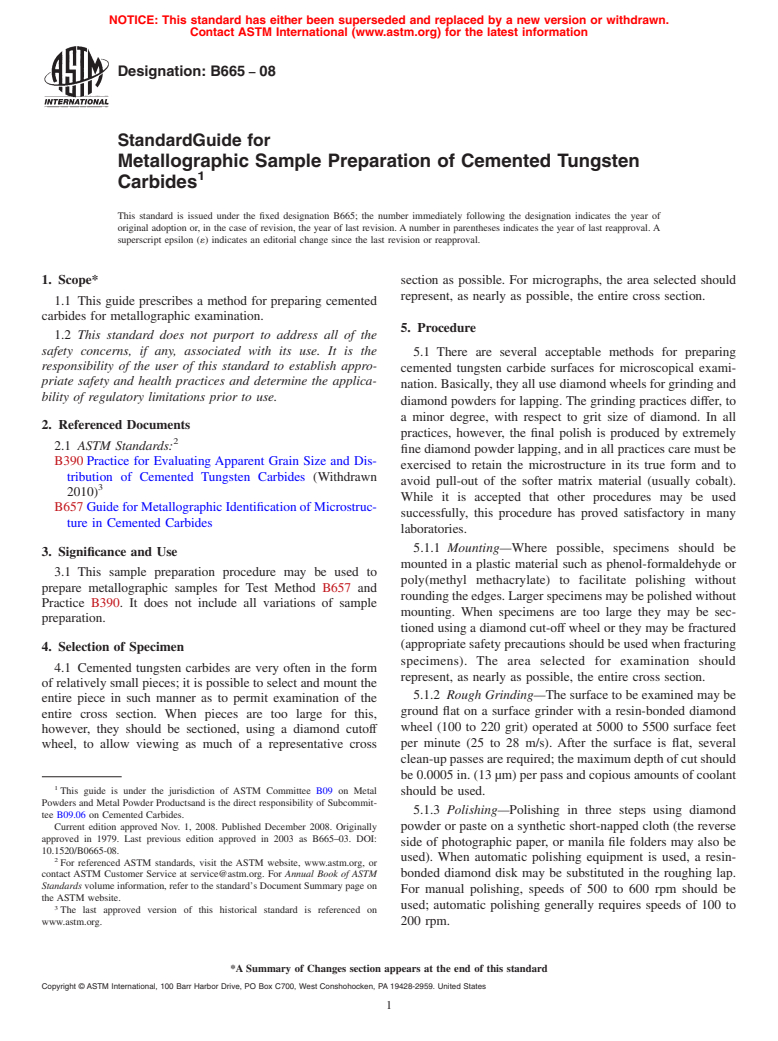
NOTICE: This standard has either been superseded and replaced by a new version or withdrawn.
Contact ASTM International (www.astm.org) for the latest information
Designation: B665 − 08
StandardGuide for
Metallographic Sample Preparation of Cemented Tungsten
1
Carbides
This standard is issued under the fixed designation B665; the number immediately following the designation indicates the year of
original adoption or, in the case of revision, the year of last revision. A number in parentheses indicates the year of last reapproval. A
superscript epsilon (´) indicates an editorial change since the last revision or reapproval.
1. Scope* section as possible. For micrographs, the area selected should
represent, as nearly as possible, the entire cross section.
1.1 This guide prescribes a method for preparing cemented
carbides for metallographic examination.
5. Procedure
1.2 This standard does not purport to address all of the
safety concerns, if any, associated with its use. It is the
5.1 There are several acceptable methods for preparing
responsibility of the user of this standard to establish appro-
cemented tungsten carbide surfaces for microscopical exami-
priate safety and health practices and determine the applica-
nation. Basically, they all use diamond wheels for grinding and
bility of regulatory limitations prior to use.
diamond powders for lapping. The grinding practices differ, to
a minor degree, with respect to grit size of diamond. In all
2. Referenced Documents
practices, however, the final polish is produced by extremely
2
2.1 ASTM Standards:
fine diamond powder lapping, and in all practices care must be
B390 Practice for Evaluating Apparent Grain Size and Dis-
exercised to retain the microstructure in its true form and to
tribution of Cemented Tungsten Carbides (Withdrawn
avoid pull-out of the softer matrix material (usually cobalt).
3
2010)
While it is accepted that other procedures may be used
B657 Guide for Metallographic Identification of Microstruc-
successfully, this procedure has proved satisfactory in many
ture in Cemented Carbides
laboratories.
5.1.1 Mounting—Where possible, specimens should be
3. Significance and Use
mounted in a plastic material such as phenol-formaldehyde or
3.1 This sample preparation procedure may be used to
poly(methyl methacrylate) to facilitate polishing without
prepare metallographic samples for Test Method B657 and
rounding the edges. Larger specimens may be polished without
Practice B390. It does not include all variations of sample
mounting. When specimens are too large they may be sec-
preparation.
tioned using a diamond cut-off wheel or they may be fractured
(appropriate safety precautions should be used when fracturing
4. Selection of Specimen
specimens). The area selected for examination should
4.1 Cemented tungsten carbides are very often in the form
represent, as nearly as possible, the entire cross section.
of relatively small pieces; it is possible to select and mount the
5.1.2 Rough Grinding—The surface to be examined may be
entire piece in such manner as to permit examination of the
ground flat on a surface grinder with a resin-bonded diamond
entire cross section. When pieces are too large for this,
wheel (100 to 220 grit) operated at 5000 to 5500 surface feet
however, they should be sectioned, using a diamond cutoff
wheel, to allow viewing as much of a representative cross per minute (25 to 28 m/s). After the surface is flat, several
clean-up passes are required; the maximum depth of cut should
be 0.0005 in. (13 µm) per pass and copious amounts of coolant
1
This guide is under the jurisdiction of ASTM Committee B09 on Metal
should be used.
Powders and Metal Powder Productsand is the direct responsibility of Subcommit-
5.1.3 Polishing—Polishing in three steps using diamond
tee B09.06 on Cemented Carbides.
Current edition approved Nov. 1, 2008. Published December 2008. Originally powder or paste on a synthetic short-napped cloth (the reverse
approved in 1979. Last previous edition approved in 2003 as B665–03. DOI:
side of photographic paper, or manila file folders may also be
10.1520/B0665-08.
used). When automatic polishing equipment is used, a resin-
2
For referenced ASTM standards, visit the ASTM website, www.astm.org, or
contact ASTM Customer Service at service@astm.org. For Annual Book of ASTM bonded diamond disk may be substituted in the roughing lap.
Standards volume information, refer to the standard’s Document Summary page on
For manual polishing, speeds of 500 to 600 rpm should be
the ASTM website.
3 used; automatic polishing generally requires speeds of 100 to
The last approved version of this historical standard is referenced on
www.astm.org. 200 rpm.
*A Summary of Changes section appears at the end of this standard
Copyright © ASTM International, 100 Barr Harbor Drive, PO Box C700, West Conshohocken, PA 19428-2959. United States
1
---------------------- Page: 1 ----------------------
B665 − 08
5.1.3.1 Roughing Lap—For the roughing lap, use NIS
...
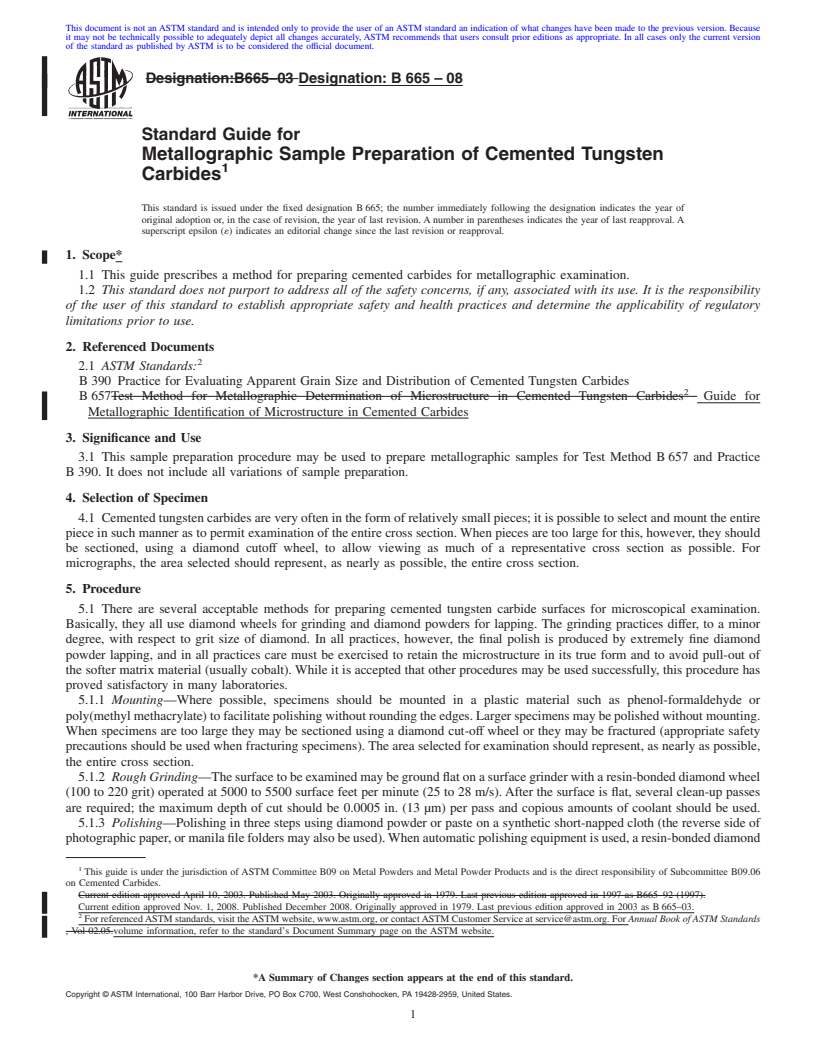
This document is not an ASTM standard and is intended only to provide the user of an ASTM standard an indication of what changes have been made to the previous version. Because
it may not be technically possible to adequately depict all changes accurately, ASTM recommends that users consult prior editions as appropriate. In all cases only the current version
of the standard as published by ASTM is to be considered the official document.
Designation:B665–03 Designation:B665–08
Standard Guide for
Metallographic Sample Preparation of Cemented Tungsten
1
Carbides
This standard is issued under the fixed designation B 665; the number immediately following the designation indicates the year of
original adoption or, in the case of revision, the year of last revision. A number in parentheses indicates the year of last reapproval. A
superscript epsilon (´) indicates an editorial change since the last revision or reapproval.
1. Scope*
1.1 This guide prescribes a method for preparing cemented carbides for metallographic examination.
1.2 This standard does not purport to address all of the safety concerns, if any, associated with its use. It is the responsibility
of the user of this standard to establish appropriate safety and health practices and determine the applicability of regulatory
limitations prior to use.
2. Referenced Documents
2
2.1 ASTM Standards:
B 390 Practice for Evaluating Apparent Grain Size and Distribution of Cemented Tungsten Carbides
2
B 657Test Method for Metallographic Determination of Microstructure in Cemented Tungsten Carbides Guide for
Metallographic Identification of Microstructure in Cemented Carbides
3. Significance and Use
3.1 This sample preparation procedure may be used to prepare metallographic samples for Test Method B 657 and Practice
B 390. It does not include all variations of sample preparation.
4. Selection of Specimen
4.1 Cemented tungsten carbides are very often in the form of relatively small pieces; it is possible to select and mount the entire
piece in such manner as to permit examination of the entire cross section. When pieces are too large for this, however, they should
be sectioned, using a diamond cutoff wheel, to allow viewing as much of a representative cross section as possible. For
micrographs, the area selected should represent, as nearly as possible, the entire cross section.
5. Procedure
5.1 There are several acceptable methods for preparing cemented tungsten carbide surfaces for microscopical examination.
Basically, they all use diamond wheels for grinding and diamond powders for lapping. The grinding practices differ, to a minor
degree, with respect to grit size of diamond. In all practices, however, the final polish is produced by extremely fine diamond
powder lapping, and in all practices care must be exercised to retain the microstructure in its true form and to avoid pull-out of
the softer matrix material (usually cobalt). While it is accepted that other procedures may be used successfully, this procedure has
proved satisfactory in many laboratories.
5.1.1 Mounting—Where possible, specimens should be mounted in a plastic material such as phenol-formaldehyde or
poly(methylmethacrylate)tofacilitatepolishingwithoutroundingtheedges.Largerspecimensmaybepolishedwithoutmounting.
When specimens are too large they may be sectioned using a diamond cut-off wheel or they may be fractured (appropriate safety
precautions should be used when fracturing specimens). The area selected for examination should represent, as nearly as possible,
the entire cross section.
5.1.2 RoughGrinding—Thesurfacetobeexaminedmaybegroundflatonasurfacegrinderwitharesin-bondeddiamondwheel
(100 to 220 grit) operated at 5000 to 5500 surface feet per minute (25 to 28 m/s).After the surface is flat, several clean-up passes
are required; the maximum depth of cut should be 0.0005 in. (13 µm) per pass and copious amounts of coolant should be used.
5.1.3 Polishing—Polishing in three steps using diamond powder or paste on a synthetic short-napped cloth (the reverse side of
photographicpaper,ormanilafilefoldersmayalsobeused).Whenautomaticpolishingequipmentisused,aresin-bondeddiamond
1
This guide is under the jurisdiction of ASTM Committee B09 on Metal Powders and Metal Powder Products and is the direct responsibility of Subcommittee B09.06
on Cemented Carbides.
Current edition approved April 10, 2003. Published May 2003. Originally approved in 1979. Last previous edition approved in 1997 as B665–92 (1997).
Current edition approved Nov. 1, 2008. Published December 2008. Originally approved in 1979. Last previous edition approved in 2003 as B 665–03.
2
For referencedASTM standards, visit theASTM website, www.astm.org, or contactASTM Customer Service at service@astm.org. For Annual Book ofASTM Standards
, Vol 02.05.volume information, refer to the standard’s Document Summary page on the ASTM website.
*A Summary of Changes section appears at the end of this standard.
Copyright © ASTM International, 100 Barr Harbor Dr
...


Questions, Comments and Discussion
Ask us and Technical Secretary will try to provide an answer. You can facilitate discussion about the standard in here.