ASTM B931-23
(Test Method)Standard Test Method for Metallographically Estimating the Observed Case Depth of Ferrous Powder Metallurgy (PM) Parts
Standard Test Method for Metallographically Estimating the Observed Case Depth of Ferrous Powder Metallurgy (PM) Parts
SIGNIFICANCE AND USE
5.1 The engineering function of many PM parts may require an exterior portion of the part to have a hardened layer. Where case hardening produces a distinct transition in the microstructure, metallographic estimation of the observed case depth may be used to check the depth to which the surface has been hardened.
SCOPE
1.1 A metallographic method is described for estimating the observed case depth of ferrous powder metallurgy (PM) parts. This method may be used for all types of hardened cases where there is a discernible difference between the microstructure of the hardened surface and that of the interior of the part.
1.2 With the exception of the values for grit size for which the U.S. standard designation is the industry standard, the values stated in SI units are to be regarded as standard.
1.3 This standard does not purport to address all of the safety concerns, if any, associated with its use. It is the responsibility of the user of this standard to establish appropriate safety, health, and environmental practices and determine the applicability of regulatory limitations prior to use.
1.4 This international standard was developed in accordance with internationally recognized principles on standardization established in the Decision on Principles for the Development of International Standards, Guides and Recommendations issued by the World Trade Organization Technical Barriers to Trade (TBT) Committee.
General Information
Relations
Buy Standard
Standards Content (Sample)
This international standard was developed in accordance with internationally recognized principles on standardization established in the Decision on Principles for the
Development of International Standards, Guides and Recommendations issued by the World Trade Organization Technical Barriers to Trade (TBT) Committee.
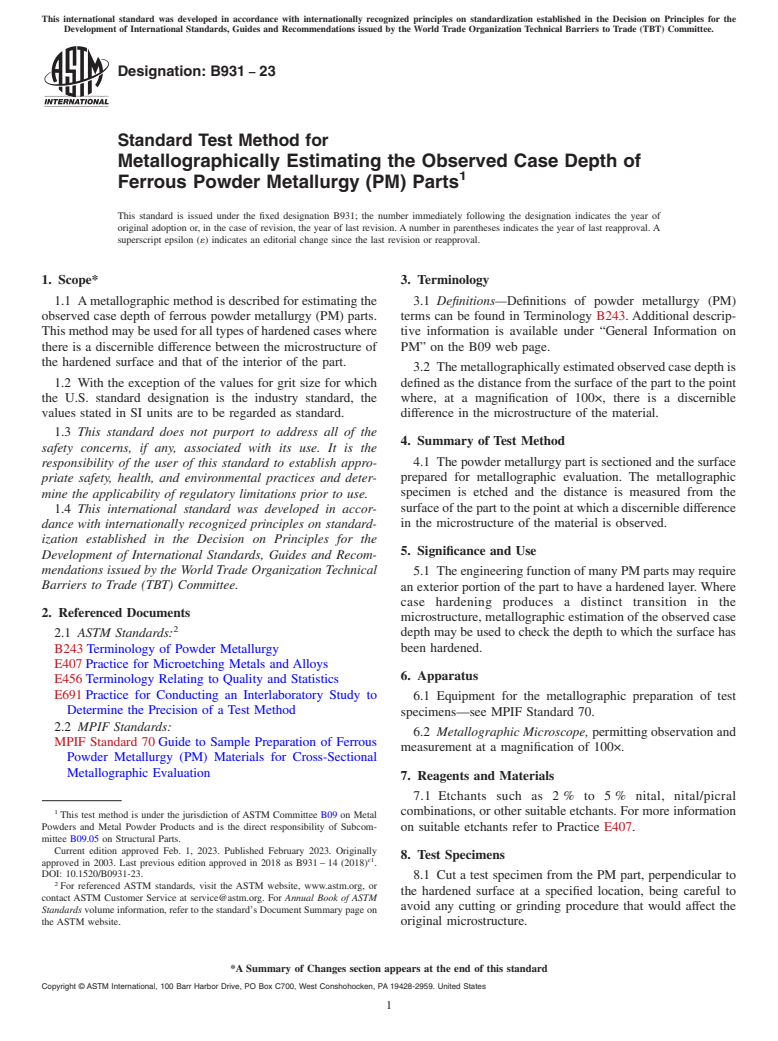
Designation: B931 − 23
Standard Test Method for
Metallographically Estimating the Observed Case Depth of
1
Ferrous Powder Metallurgy (PM) Parts
This standard is issued under the fixed designation B931; the number immediately following the designation indicates the year of
original adoption or, in the case of revision, the year of last revision. A number in parentheses indicates the year of last reapproval. A
superscript epsilon (´) indicates an editorial change since the last revision or reapproval.
1. Scope* 3. Terminology
1.1 A metallographic method is described for estimating the 3.1 Definitions—Definitions of powder metallurgy (PM)
observed case depth of ferrous powder metallurgy (PM) parts. terms can be found in Terminology B243. Additional descrip-
This method may be used for all types of hardened cases where tive information is available under “General Information on
there is a discernible difference between the microstructure of PM” on the B09 web page.
the hardened surface and that of the interior of the part.
3.2 The metallographically estimated observed case depth is
1.2 With the exception of the values for grit size for which defined as the distance from the surface of the part to the point
the U.S. standard designation is the industry standard, the where, at a magnification of 100×, there is a discernible
values stated in SI units are to be regarded as standard. difference in the microstructure of the material.
1.3 This standard does not purport to address all of the
4. Summary of Test Method
safety concerns, if any, associated with its use. It is the
4.1 The powder metallurgy part is sectioned and the surface
responsibility of the user of this standard to establish appro-
prepared for metallographic evaluation. The metallographic
priate safety, health, and environmental practices and deter-
specimen is etched and the distance is measured from the
mine the applicability of regulatory limitations prior to use.
surface of the part to the point at which a discernible difference
1.4 This international standard was developed in accor-
in the microstructure of the material is observed.
dance with internationally recognized principles on standard-
ization established in the Decision on Principles for the
5. Significance and Use
Development of International Standards, Guides and Recom-
mendations issued by the World Trade Organization Technical
5.1 The engineering function of many PM parts may require
Barriers to Trade (TBT) Committee.
an exterior portion of the part to have a hardened layer. Where
case hardening produces a distinct transition in the
2. Referenced Documents
microstructure, metallographic estimation of the observed case
2
depth may be used to check the depth to which the surface has
2.1 ASTM Standards:
been hardened.
B243 Terminology of Powder Metallurgy
E407 Practice for Microetching Metals and Alloys
6. Apparatus
E456 Terminology Relating to Quality and Statistics
E691 Practice for Conducting an Interlaboratory Study to
6.1 Equipment for the metallographic preparation of test
Determine the Precision of a Test Method
specimens—see MPIF Standard 70.
2.2 MPIF Standards:
6.2 Metallographic Microscope, permitting observation and
MPIF Standard 70 Guide to Sample Preparation of Ferrous
measurement at a magnification of 100×.
Powder Metallurgy (PM) Materials for Cross-Sectional
Metallographic Evaluation
7. Reagents and Materials
7.1 Etchants such as 2 % to 5 % nital, nital/picral
1
combinations, or other suitable etchants. For more information
This test method is under the jurisdiction of ASTM Committee B09 on Metal
Powders and Metal Powder Products and is the direct responsibility of Subcom-
on suitable etchants refer to Practice E407.
mittee B09.05 on Structural Parts.
Current edition approved Feb. 1, 2023. Published February 2023. Originally
8. Test Specimens
ɛ1
approved in 2003. Last previous edition approved in 2018 as B931 – 14 (2018) .
DOI: 10.1520/B0931-23.
8.1 Cut a test specimen from the PM part, perpendicular to
2
For referenced ASTM standards, visit the ASTM website, www.astm.org, or
the hardened surface at a specified location, being careful to
contact ASTM Customer Service at service@astm.org. For Annual Book of ASTM
avoid any cutting or grinding procedure that would affect the
Standards volume information, refer to the standard’s Document Summary page on
the ASTM website. original microstructure.
*A Summary of Changes section appears at the end of this standard
Copyright © ASTM International, 100 Barr Harbor Drive, PO Box C700, West Conshohocken, PA 19428-2959. United States
1
---------------------- Page: 1 ----------------------
B931 − 23
8.2 Mounting of the test spe
...
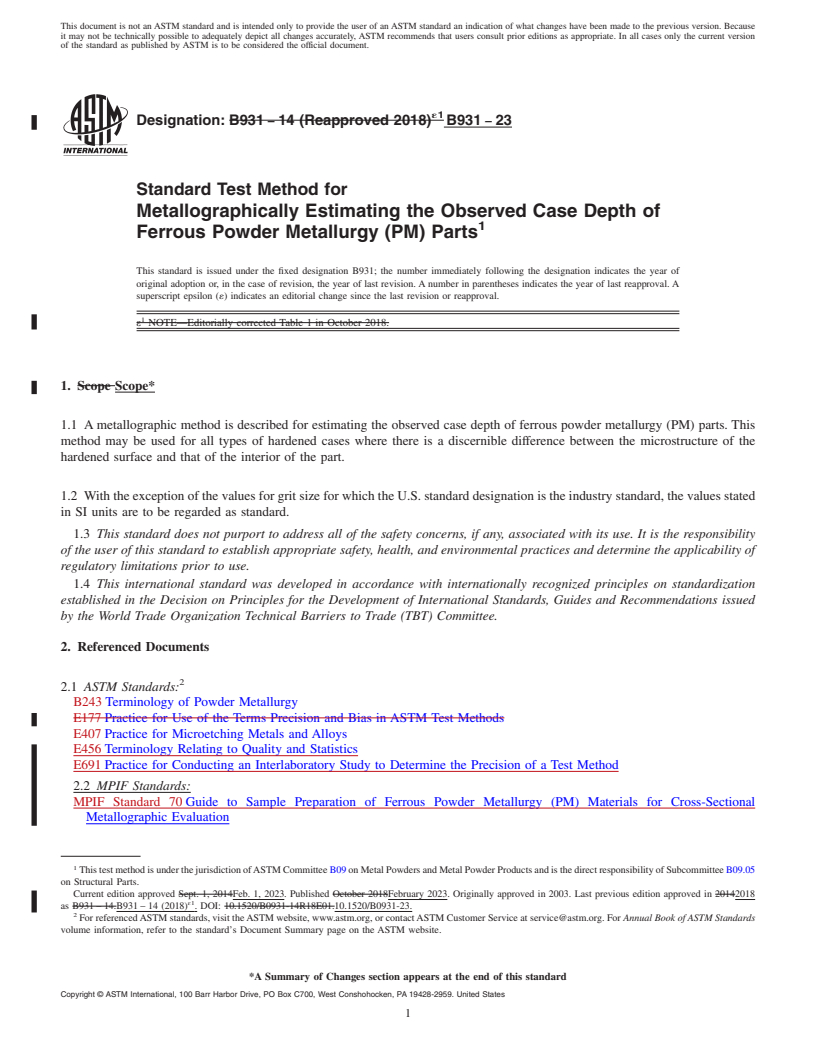
This document is not an ASTM standard and is intended only to provide the user of an ASTM standard an indication of what changes have been made to the previous version. Because
it may not be technically possible to adequately depict all changes accurately, ASTM recommends that users consult prior editions as appropriate. In all cases only the current version
of the standard as published by ASTM is to be considered the official document.
´1
Designation: B931 − 14 (Reapproved 2018) B931 − 23
Standard Test Method for
Metallographically Estimating the Observed Case Depth of
1
Ferrous Powder Metallurgy (PM) Parts
This standard is issued under the fixed designation B931; the number immediately following the designation indicates the year of
original adoption or, in the case of revision, the year of last revision. A number in parentheses indicates the year of last reapproval. A
superscript epsilon (´) indicates an editorial change since the last revision or reapproval.
1
ε NOTE—Editorially corrected Table 1 in October 2018.
1. Scope Scope*
1.1 A metallographic method is described for estimating the observed case depth of ferrous powder metallurgy (PM) parts. This
method may be used for all types of hardened cases where there is a discernible difference between the microstructure of the
hardened surface and that of the interior of the part.
1.2 With the exception of the values for grit size for which the U.S. standard designation is the industry standard, the values stated
in SI units are to be regarded as standard.
1.3 This standard does not purport to address all of the safety concerns, if any, associated with its use. It is the responsibility
of the user of this standard to establish appropriate safety, health, and environmental practices and determine the applicability of
regulatory limitations prior to use.
1.4 This international standard was developed in accordance with internationally recognized principles on standardization
established in the Decision on Principles for the Development of International Standards, Guides and Recommendations issued
by the World Trade Organization Technical Barriers to Trade (TBT) Committee.
2. Referenced Documents
2
2.1 ASTM Standards:
B243 Terminology of Powder Metallurgy
E177 Practice for Use of the Terms Precision and Bias in ASTM Test Methods
E407 Practice for Microetching Metals and Alloys
E456 Terminology Relating to Quality and Statistics
E691 Practice for Conducting an Interlaboratory Study to Determine the Precision of a Test Method
2.2 MPIF Standards:
MPIF Standard 70 Guide to Sample Preparation of Ferrous Powder Metallurgy (PM) Materials for Cross-Sectional
Metallographic Evaluation
1
This test method is under the jurisdiction of ASTM Committee B09 on Metal Powders and Metal Powder Products and is the direct responsibility of Subcommittee B09.05
on Structural Parts.
Current edition approved Sept. 1, 2014Feb. 1, 2023. Published October 2018February 2023. Originally approved in 2003. Last previous edition approved in 20142018
ɛ1
as B931 – 14.B931 – 14 (2018) . DOI: 10.1520/B0931-14R18E01.10.1520/B0931-23.
2
For referenced ASTM standards, visit the ASTM website, www.astm.org, or contact ASTM Customer Service at service@astm.org. For Annual Book of ASTM Standards
volume information, refer to the standard’s Document Summary page on the ASTM website.
*A Summary of Changes section appears at the end of this standard
Copyright © ASTM International, 100 Barr Harbor Drive, PO Box C700, West Conshohocken, PA 19428-2959. United States
1
---------------------- Page: 1 ----------------------
B931 − 23
3. Terminology
3.1 Definitions—Definitions of powder metallurgy (PM) terms can be found in Terminology B243. Additional descriptive
information is available in the Related Material section of Vol 02.05 of the under “General Information on PM” on the B09 web
page.Annual Book of ASTM Standards.
3.2 The metallographically estimated observed case depth is defined as the distance from the surface of the part to the point where,
at a magnification of 100×, there is a discernible difference in the microstucturemicrostructure of the material.
4. Summary of Test Method
4.1 The powder metallurgy part is sectioned and the surface prepared for metallographic evaluation. The metallographic specimen
is etched and the distance is measured from the surface of the part to the point at which a discernible difference in the
microstructure of the material is observed.
5. Significance and Use
5.1 The engineering function of many PM parts may require an exterior portion of the part to have a hardened layer. Where case
hardening produces a distinct transition in the microstructure, metallographic estimation of the observed case depth may be used
to check the depth to which the surface has been hardened.
6. Apparatus
6.1 Equipment for the metallographic preparation of test specimens—see Appendix X1.MPIF Standard 70.
6.2 Metallographic Microscope, permitting observation and measurement at a magnification of 1
...


Questions, Comments and Discussion
Ask us and Technical Secretary will try to provide an answer. You can facilitate discussion about the standard in here.