ASTM B926-09
(Test Method)Standard Method for Pinhole Determination in Aluminum and Aluminum Alloy Plain Foil by Means of a Light Table
Standard Method for Pinhole Determination in Aluminum and Aluminum Alloy Plain Foil by Means of a Light Table
SIGNIFICANCE AND USE
Foil in thickness of about 0.002 in. (0.05 mm) and heavier is virtually free of pinholes. With decrease in thickness, the number of pinholes may increase.
This method is provided to develop and maintain uniformity in the methods of evaluating pinholes in aluminum foil. The pinhole data provides assessments of process capability and quality levels of the foil as well.
SCOPE
1.1 This method covers the identification and counting of pinholes, including roll holes, in plain foil using a light table, and inspector with normal 20/20 or corrected 20/20 vision, and a darkened inspection area.
1.2 The values stated in inch-pound units are to be regarded as standard. The values given in parentheses are mathematical conversions to SI units that are provided for information only and are not considered standard.
1.3 This method may involve hazardous materials, operations, and equipment. This standard does not purport to address all of the safety concerns, if any, associated with its use. It is the responsibility of the user of this standard to establish appropriate safety and health practices and determine the applicability of regulatory limitations prior to use.
General Information
Relations
Buy Standard
Standards Content (Sample)
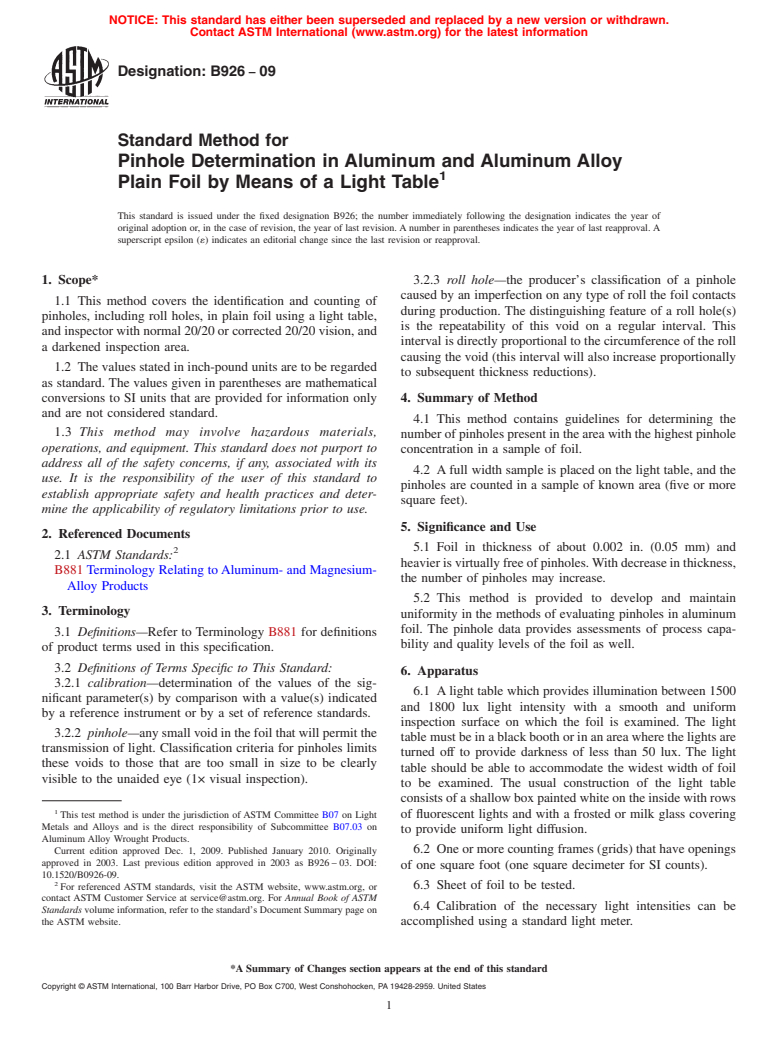
NOTICE: This standard has either been superseded and replaced by a new version or withdrawn.
Contact ASTM International (www.astm.org) for the latest information
Designation: B926 − 09
Standard Method for
Pinhole Determination in Aluminum and Aluminum Alloy
1
Plain Foil by Means of a Light Table
This standard is issued under the fixed designation B926; the number immediately following the designation indicates the year of
original adoption or, in the case of revision, the year of last revision. A number in parentheses indicates the year of last reapproval. A
superscript epsilon (´) indicates an editorial change since the last revision or reapproval.
1. Scope* 3.2.3 roll hole—the producer’s classification of a pinhole
caused by an imperfection on any type of roll the foil contacts
1.1 This method covers the identification and counting of
during production. The distinguishing feature of a roll hole(s)
pinholes, including roll holes, in plain foil using a light table,
is the repeatability of this void on a regular interval. This
andinspectorwithnormal20/20orcorrected20/20vision,and
interval is directly proportional to the circumference of the roll
a darkened inspection area.
causing the void (this interval will also increase proportionally
1.2 The values stated in inch-pound units are to be regarded
to subsequent thickness reductions).
as standard. The values given in parentheses are mathematical
conversions to SI units that are provided for information only
4. Summary of Method
and are not considered standard.
4.1 This method contains guidelines for determining the
1.3 This method may involve hazardous materials,
numberofpinholespresentintheareawiththehighestpinhole
operations, and equipment. This standard does not purport to
concentration in a sample of foil.
address all of the safety concerns, if any, associated with its
4.2 Afull width sample is placed on the light table, and the
use. It is the responsibility of the user of this standard to
pinholes are counted in a sample of known area (five or more
establish appropriate safety and health practices and deter-
square feet).
mine the applicability of regulatory limitations prior to use.
5. Significance and Use
2. Referenced Documents
5.1 Foil in thickness of about 0.002 in. (0.05 mm) and
2
2.1 ASTM Standards:
heavierisvirtuallyfreeofpinholes.Withdecreaseinthickness,
B881 Terminology Relating toAluminum- and Magnesium-
the number of pinholes may increase.
Alloy Products
5.2 This method is provided to develop and maintain
3. Terminology
uniformity in the methods of evaluating pinholes in aluminum
foil. The pinhole data provides assessments of process capa-
3.1 Definitions—Refer to Terminology B881 for definitions
bility and quality levels of the foil as well.
of product terms used in this specification.
3.2 Definitions of Terms Specific to This Standard:
6. Apparatus
3.2.1 calibration—determination of the values of the sig-
6.1 Alight table which provides illumination between 1500
nificant parameter(s) by comparison with a value(s) indicated
and 1800 lux light intensity with a smooth and uniform
by a reference instrument or by a set of reference standards.
inspection surface on which the foil is examined. The light
3.2.2 pinhole—anysmallvoidinthefoilthatwillpermitthe
tablemustbeinablackboothorinanareawherethelightsare
transmission of light. Classification criteria for pinholes limits
turned off to provide darkness of less than 50 lux. The light
these voids to those that are too small in size to be clearly
table should be able to accommodate the widest width of foil
visible to the unaided eye (1× visual inspection).
to be examined. The usual construction of the light table
consistsofashallowboxpaintedwhiteontheinsidewithrows
1
This test method is under the jurisdiction of ASTM Committee B07 on Light of fluorescent lights and with a frosted or milk glass covering
Metals and Alloys and is the direct responsibility of Subcommittee B07.03 on
to provide uniform light diffusion.
Aluminum Alloy Wrought Products.
Current edition approved Dec. 1, 2009. Published January 2010. Originally 6.2 One or more counting frames (grids) that have openings
approved in 2003. Last previous edition approved in 2003 as B926 – 03. DOI:
of one square foot (one square decimeter for SI counts).
10.1520/B0926-09.
2
For referenced ASTM standards, visit the ASTM website, www.astm.org, or 6.3 Sheet of foil to be tested.
contact ASTM Customer Service at service@astm.org. For Annual Book of ASTM
6.4 Calibration of the necessary light intensities can be
Standards volume information, refer to the standard’s Document Summary page on
the ASTM website. accomplished using a standard light meter.
*A Summary of Changes section appears at the end of this standard
Copyright © ASTM International, 100 Barr Harbor Drive, PO Box C700, West Conshohocken, PA 19428-2959. United States
1
---------------------- Page: 1 ----------------------
B926 − 09
7. Procedure 8. Report
8.1 The report shall include the following:
7.1
...
This document is not an ASTM standard and is intended only to provide the user of an ASTM standard an indication of what changes have been made to the previous version. Because
it may not be technically possible to adequately depict all changes accurately, ASTM recommends that users consult prior editions as appropriate. In all cases only the current version
of the standard as published by ASTM is to be considered the official document.
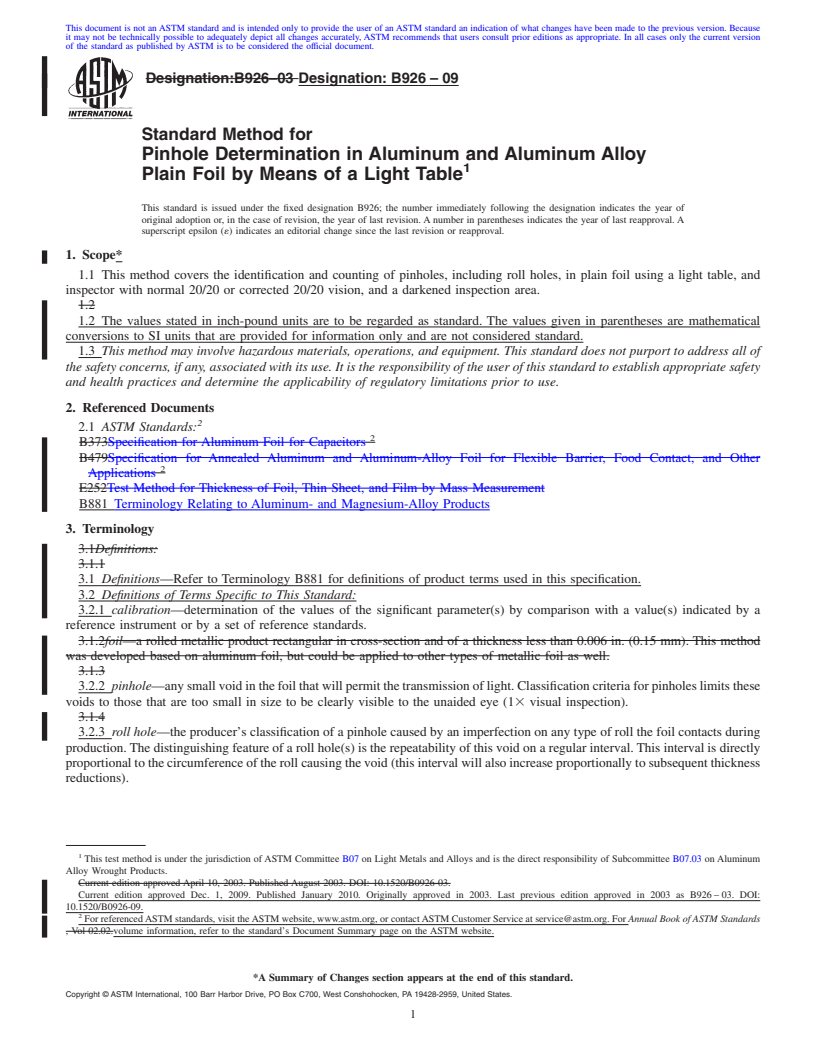
Designation:B926–03 Designation:B926–09
Standard Method for
Pinhole Determination in Aluminum and Aluminum Alloy
1
Plain Foil by Means of a Light Table
This standard is issued under the fixed designation B926; the number immediately following the designation indicates the year of
original adoption or, in the case of revision, the year of last revision. A number in parentheses indicates the year of last reapproval. A
superscript epsilon (´) indicates an editorial change since the last revision or reapproval.
1. Scope*
1.1 This method covers the identification and counting of pinholes, including roll holes, in plain foil using a light table, and
inspector with normal 20/20 or corrected 20/20 vision, and a darkened inspection area.
1.2
1.2 The values stated in inch-pound units are to be regarded as standard. The values given in parentheses are mathematical
conversions to SI units that are provided for information only and are not considered standard.
1.3 This method may involve hazardous materials, operations, and equipment. This standard does not purport to address all of
the safety concerns, if any, associated with its use. It is the responsibility of the user of this standard to establish appropriate safety
and health practices and determine the applicability of regulatory limitations prior to use.
2. Referenced Documents
2
2.1 ASTM Standards:
2
B373Specification for Aluminum Foil for Capacitors
B479Specification for Annealed Aluminum and Aluminum-Alloy Foil for Flexible Barrier, Food Contact, and Other
2
Applications
E252Test Method for Thickness of Foil, Thin Sheet, and Film by Mass Measurement
B881 Terminology Relating to Aluminum- and Magnesium-Alloy Products
3. Terminology
3.1Definitions:
3.1.1
3.1 Definitions—Refer to Terminology B881 for definitions of product terms used in this specification.
3.2 Definitions of Terms Specific to This Standard:
3.2.1 calibration—determination of the values of the significant parameter(s) by comparison with a value(s) indicated by a
reference instrument or by a set of reference standards.
3.1.2foil—a rolled metallic product rectangular in cross-section and of a thickness less than 0.006 in. (0.15 mm). This method
was developed based on aluminum foil, but could be applied to other types of metallic foil as well.
3.1.3
3.2.2 pinhole—anysmallvoidinthefoilthatwillpermitthetransmissionoflight.Classificationcriteriaforpinholeslimitsthese
voids to those that are too small in size to be clearly visible to the unaided eye (13 visual inspection).
3.1.4
3.2.3 roll hole—the producer’s classification of a pinhole caused by an imperfection on any type of roll the foil contacts during
production.The distinguishing feature of a roll hole(s) is the repeatability of this void on a regular interval.This interval is directly
proportionaltothecircumferenceoftherollcausingthevoid(thisintervalwillalsoincreaseproportionallytosubsequentthickness
reductions).
1
This test method is under the jurisdiction of ASTM Committee B07 on Light Metals and Alloys and is the direct responsibility of Subcommittee B07.03 on Aluminum
Alloy Wrought Products.
Current edition approved April 10, 2003. Published August 2003. DOI: 10.1520/B0926-03.
Current edition approved Dec. 1, 2009. Published January 2010. Originally approved in 2003. Last previous edition approved in 2003 as B926 – 03. DOI:
10.1520/B0926-09.
2
For referencedASTM standards, visit theASTM website, www.astm.org, or contactASTM Customer Service at service@astm.org. For Annual Book of ASTM Standards
, Vol 02.02.volume information, refer to the standard’s Document Summary page on the ASTM website.
*A Summary of Changes section appears at the end of this standard.
Copyright © ASTM International, 100 Barr Harbor Drive, PO Box C700, West Conshohocken, PA 19428-2959, United States.
1
---------------------- Page: 1 ----------------------
B926–09
4. Summary of Method
4.1 This method contains guidelines for determining the number of pinholes present in the area with the highest pinhole
concentration in a sample of foil.
4.2 Afull width sample is placed on the light table, and the pinholes are counted in a sample of known area (five or more square
feet).
5. Significance and Use
5.1 Foil in thickness of about 0.002 in. (0.05 mm) and heavier is virtually free of pinholes. With decrease in thickness, the
number of pinholes may increase.
5.2 This method is provided to develop and maintain uniformity in the methods of evaluating pinholes in aluminum foil. The
pinhole data provides assessments of process capability and quality levels of the
...


Questions, Comments and Discussion
Ask us and Technical Secretary will try to provide an answer. You can facilitate discussion about the standard in here.