ASTM E1820-13
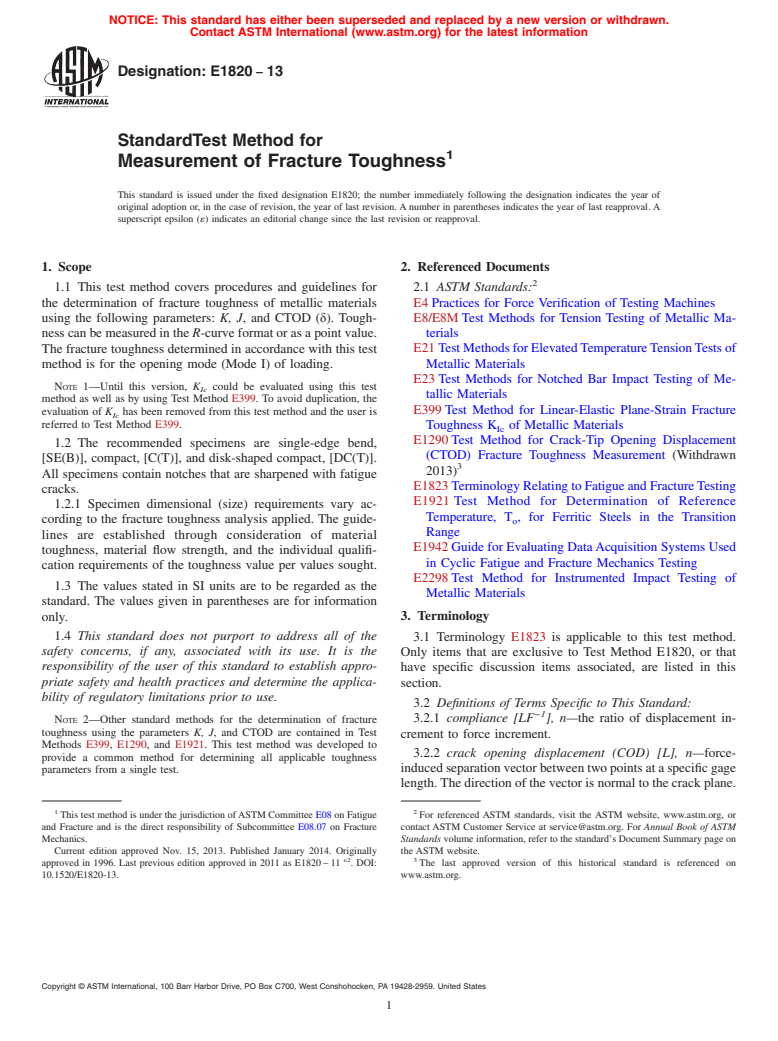
(Test Method)Standard Test Method for Measurement of Fracture Toughness
Standard Test Method for Measurement of Fracture Toughness
SIGNIFICANCE AND USE
5.1 Assuming the presence of a preexisting, sharp, fatigue crack, the material fracture toughness values identified by this test method characterize its resistance to: (1) fracture of a stationary crack, (2) fracture after some stable tearing, (3) stable tearing onset, and (4) sustained stable tearing. This test method is particularly useful when the material response cannot be anticipated before the test. Application of procedures in Test Method E1921 is recommended for testing ferritic steels that undergo cleavage fracture in the ductile-to-brittle transition.
5.1.1 These fracture toughness values may serve as a basis for material comparison, selection, and quality assurance. Fracture toughness can be used to rank materials within a similar yield strength range.
5.1.2 These fracture toughness values may serve as a basis for structural flaw tolerance assessment. Awareness of differences that may exist between laboratory test and field conditions is required to make proper flaw tolerance assessment.
5.2 The following cautionary statements are based on some observations.
5.2.1 Particular care must be exercised in applying to structural flaw tolerance assessment the fracture toughness value associated with fracture after some stable tearing has occurred. This response is characteristic of ferritic steel in the transition regime. This response is especially sensitive to material inhomogeneity and to constraint variations that may be induced by planar geometry, thickness differences, mode of loading, and structural details.
5.2.2 The J-R curve from bend-type specimens recommended by this test method (SE(B), C(T), and DC(T)) has been observed to be conservative with respect to results from tensile loading configurations.
5.2.3 The values of δc, δu, Jc, and J u may be affected by specimen dimensions.
SCOPE
1.1 This test method covers procedures and guidelines for the determination of fracture toughness of metallic materials using the following parameters: K, J, and CTOD (δ). Toughness can be measured in the R-curve format or as a point value. The fracture toughness determined in accordance with this test method is for the opening mode (Mode I) of loading.Note 1—Until this version, KIc could be evaluated using this test method as well as by using Test Method E399. To avoid duplication, the evaluation of KIc has been removed from this test method and the user is referred to Test Method E399.
1.2 The recommended specimens are single-edge bend, [SE(B)], compact, [C(T)], and disk-shaped compact, [DC(T)]. All specimens contain notches that are sharpened with fatigue cracks.
1.2.1 Specimen dimensional (size) requirements vary according to the fracture toughness analysis applied. The guidelines are established through consideration of material toughness, material flow strength, and the individual qualification requirements of the toughness value per values sought.
1.3 The values stated in SI units are to be regarded as the standard. The values given in parentheses are for information only.
1.4 This standard does not purport to address all of the safety concerns, if any, associated with its use. It is the responsibility of the user of this standard to establish appropriate safety and health practices and determine the applicability of regulatory limitations prior to use. Note 2—Other standard methods for the determination of fracture toughness using the parameters K, J, and CTOD are contained in Test Methods E399, E1290, and E1921. This test method was developed to provide a common method for determining all applicable toughness parameters from a single test.
General Information
Relations
Buy Standard
Standards Content (Sample)
NOTICE: This standard has either been superseded and replaced by a new version or withdrawn.
Contact ASTM International (www.astm.org) for the latest information
Designation: E1820 − 13
StandardTest Method for
1
Measurement of Fracture Toughness
This standard is issued under the fixed designation E1820; the number immediately following the designation indicates the year of
original adoption or, in the case of revision, the year of last revision.Anumber in parentheses indicates the year of last reapproval.A
superscript epsilon (´) indicates an editorial change since the last revision or reapproval.
1. Scope 2. Referenced Documents
2
1.1 This test method covers procedures and guidelines for 2.1 ASTM Standards:
the determination of fracture toughness of metallic materials E4Practices for Force Verification of Testing Machines
using the following parameters: K, J, and CTOD (δ). Tough- E8/E8MTest Methods for Tension Testing of Metallic Ma-
nesscanbemeasuredintheR-curveformatorasapointvalue. terials
The fracture toughness determined in accordance with this test E21TestMethodsforElevatedTemperatureTensionTestsof
method is for the opening mode (Mode I) of loading. Metallic Materials
E23Test Methods for Notched Bar Impact Testing of Me-
NOTE 1—Until this version, K could be evaluated using this test
Ic
tallic Materials
method as well as by using Test Method E399. To avoid duplication, the
E399Test Method for Linear-Elastic Plane-Strain Fracture
evaluation of K has been removed from this test method and the user is
Ic
referred to Test Method E399.
Toughness K of Metallic Materials
Ic
E1290Test Method for Crack-Tip Opening Displacement
1.2 The recommended specimens are single-edge bend,
(CTOD) Fracture Toughness Measurement (Withdrawn
[SE(B)], compact, [C(T)], and disk-shaped compact, [DC(T)].
3
2013)
All specimens contain notches that are sharpened with fatigue
E1823TerminologyRelatingtoFatigueandFractureTesting
cracks.
E1921 Test Method for Determination of Reference
1.2.1 Specimen dimensional (size) requirements vary ac-
Temperature, T , for Ferritic Steels in the Transition
cording to the fracture toughness analysis applied. The guide- o
Range
lines are established through consideration of material
E1942Guide for Evaluating DataAcquisition Systems Used
toughness, material flow strength, and the individual qualifi-
in Cyclic Fatigue and Fracture Mechanics Testing
cation requirements of the toughness value per values sought.
E2298Test Method for Instrumented Impact Testing of
1.3 The values stated in SI units are to be regarded as the
Metallic Materials
standard. The values given in parentheses are for information
only. 3. Terminology
1.4 This standard does not purport to address all of the
3.1 Terminology E1823 is applicable to this test method.
safety concerns, if any, associated with its use. It is the
Only items that are exclusive to Test Method E1820, or that
responsibility of the user of this standard to establish appro-
have specific discussion items associated, are listed in this
priate safety and health practices and determine the applica-
section.
bility of regulatory limitations prior to use.
3.2 Definitions of Terms Specific to This Standard:
−1
NOTE 2—Other standard methods for the determination of fracture 3.2.1 compliance [LF ], n—the ratio of displacement in-
toughness using the parameters K, J, and CTOD are contained in Test
crement to force increment.
Methods E399, E1290, and E1921. This test method was developed to
3.2.2 crack opening displacement (COD) [L], n—force-
provide a common method for determining all applicable toughness
inducedseparationvectorbetweentwopointsataspecificgage
parameters from a single test.
length.Thedirectionofthevectorisnormaltothecrackplane.
1 2
This test method is under the jurisdiction ofASTM Committee E08 on Fatigue For referenced ASTM standards, visit the ASTM website, www.astm.org, or
and Fracture and is the direct responsibility of Subcommittee E08.07 on Fracture contact ASTM Customer Service at service@astm.org. For Annual Book of ASTM
Mechanics. Standards volume information, refer to the standard’s Document Summary page on
Current edition approved Nov. 15, 2013. Published January 2014. Originally the ASTM website.
ε2 3
approved in 1996. Last previous edition approved in 2011 as E1820–11 . DOI: The last approved version of this historical standard is referenced on
10.1520/E1820-13.
www.astm.org.
Copyright © ASTM International, 100 Barr Harbor Drive, PO Box C700, West Conshohocken, PA 19428-2959. United States
1
---------------------- Page: 1 ----------------------
E1820 − 13
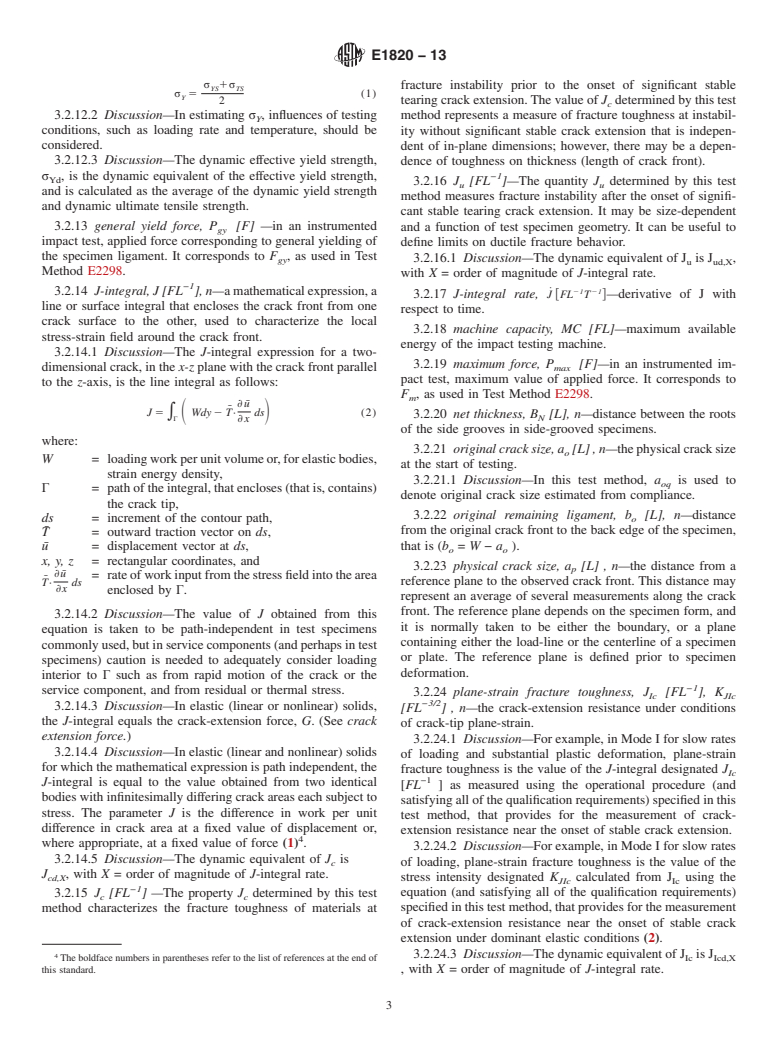
3.2.2.1 Discussion—In this practice, displacement, v, is the 3.2.6.4 Discussion—In CTOD testing, δ [L] is the value of
u
total displacement measured by clip gages or other devices CTOD at the onset of unstable crack extension (see 3.2.39)or
spanning the crack faces. pop-in(see3.2.25)whentheeventisprecededby ∆a >0.2mm
p
(0.008 in.)+0.7δ . The δ corresponds to the force P and the
u u u
3.2.3 crack
...
This document is not an ASTM standard and is intended only to provide the user of an ASTM standard an indication of what changes have been made to the previous version. Because
it may not be technically possible to adequately depict all changes accurately, ASTM recommends that users consult prior editions as appropriate. In all cases only the current version
of the standard as published by ASTM is to be considered the official document.
´2
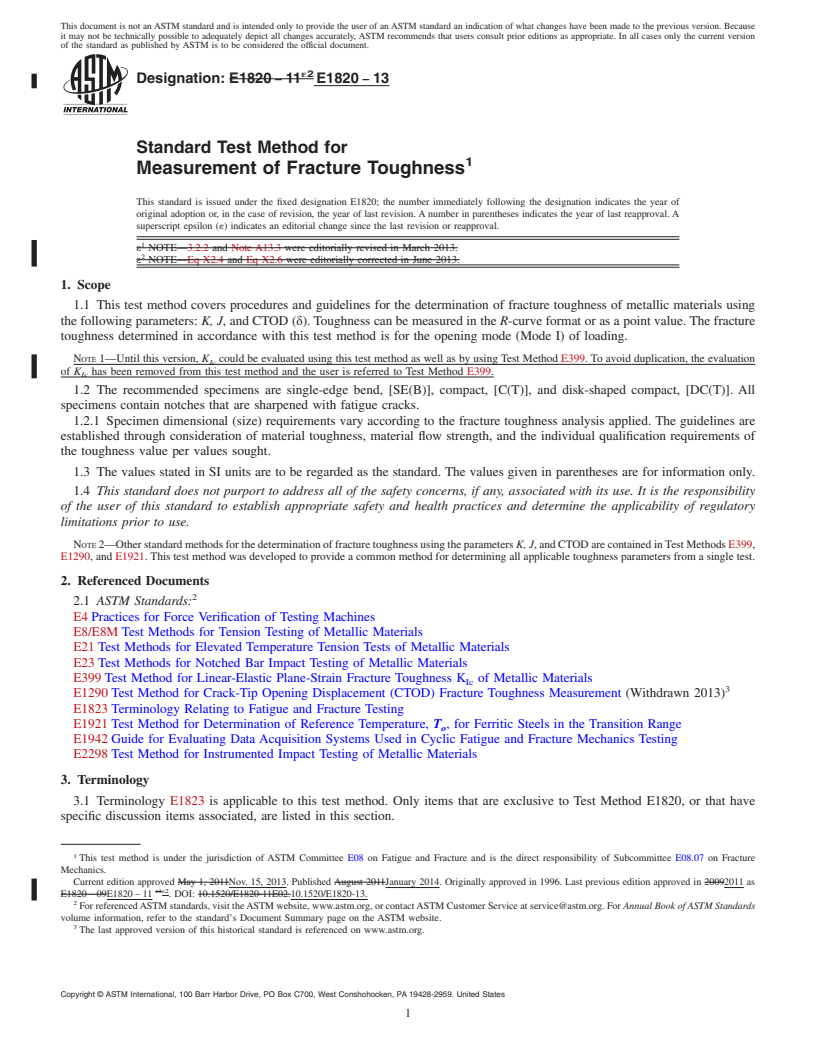
Designation: E1820 − 11 E1820 − 13
Standard Test Method for
1
Measurement of Fracture Toughness
This standard is issued under the fixed designation E1820; the number immediately following the designation indicates the year of
original adoption or, in the case of revision, the year of last revision. A number in parentheses indicates the year of last reapproval. A
superscript epsilon (´) indicates an editorial change since the last revision or reapproval.
1
ε NOTE—3.2.2 and Note A13.3 were editorially revised in March 2013.
2
ε NOTE—Eq X2.4 and Eq X2.6 were editorially corrected in June 2013.
1. Scope
1.1 This test method covers procedures and guidelines for the determination of fracture toughness of metallic materials using
the following parameters: K, J, and CTOD (δ). Toughness can be measured in the R-curve format or as a point value. The fracture
toughness determined in accordance with this test method is for the opening mode (Mode I) of loading.
NOTE 1—Until this version, K could be evaluated using this test method as well as by using Test Method E399. To avoid duplication, the evaluation
Ic
of K has been removed from this test method and the user is referred to Test Method E399.
Ic
1.2 The recommended specimens are single-edge bend, [SE(B)], compact, [C(T)], and disk-shaped compact, [DC(T)]. All
specimens contain notches that are sharpened with fatigue cracks.
1.2.1 Specimen dimensional (size) requirements vary according to the fracture toughness analysis applied. The guidelines are
established through consideration of material toughness, material flow strength, and the individual qualification requirements of
the toughness value per values sought.
1.3 The values stated in SI units are to be regarded as the standard. The values given in parentheses are for information only.
1.4 This standard does not purport to address all of the safety concerns, if any, associated with its use. It is the responsibility
of the user of this standard to establish appropriate safety and health practices and determine the applicability of regulatory
limitations prior to use.
NOTE 2—Other standard methods for the determination of fracture toughness using the parameters K, J, and CTOD are contained in Test Methods E399,
E1290, and E1921. This test method was developed to provide a common method for determining all applicable toughness parameters from a single test.
2. Referenced Documents
2
2.1 ASTM Standards:
E4 Practices for Force Verification of Testing Machines
E8/E8M Test Methods for Tension Testing of Metallic Materials
E21 Test Methods for Elevated Temperature Tension Tests of Metallic Materials
E23 Test Methods for Notched Bar Impact Testing of Metallic Materials
E399 Test Method for Linear-Elastic Plane-Strain Fracture Toughness K of Metallic Materials
Ic
3
E1290 Test Method for Crack-Tip Opening Displacement (CTOD) Fracture Toughness Measurement (Withdrawn 2013)
E1823 Terminology Relating to Fatigue and Fracture Testing
E1921 Test Method for Determination of Reference Temperature, T , for Ferritic Steels in the Transition Range
o
E1942 Guide for Evaluating Data Acquisition Systems Used in Cyclic Fatigue and Fracture Mechanics Testing
E2298 Test Method for Instrumented Impact Testing of Metallic Materials
3. Terminology
3.1 Terminology E1823 is applicable to this test method. Only items that are exclusive to Test Method E1820, or that have
specific discussion items associated, are listed in this section.
1
This test method is under the jurisdiction of ASTM Committee E08 on Fatigue and Fracture and is the direct responsibility of Subcommittee E08.07 on Fracture
Mechanics.
Current edition approved May 1, 2011Nov. 15, 2013. Published August 2011January 2014. Originally approved in 1996. Last previous edition approved in 20092011 as
ε1ε2
E1820 – 09E1820 – 11 . DOI: 10.1520/E1820-11E02.10.1520/E1820-13.
2
For referenced ASTM standards, visit the ASTM website, www.astm.org, or contact ASTM Customer Service at service@astm.org. For Annual Book of ASTM Standards
volume information, refer to the standard’s Document Summary page on the ASTM website.
3
The last approved version of this historical standard is referenced on www.astm.org.
Copyright © ASTM International, 100 Barr Harbor Drive, PO Box C700, West Conshohocken, PA 19428-2959. United States
1
---------------------- Page: 1 ----------------------
E1820 − 13
3.2 Definitions of Terms Specific to This Standard:
−1
3.2.1 compliance [LF ], n—the ratio of displacement increment to force increment.
3.2.2 crack opening displacement (COD) [L], n
...


Questions, Comments and Discussion
Ask us and Technical Secretary will try to provide an answer. You can facilitate discussion about the standard in here.