ASTM B153-11
(Test Method)Standard Test Method for Expansion (Pin Test) of Copper and Copper-Alloy Pipe and Tubing
Standard Test Method for Expansion (Pin Test) of Copper and Copper-Alloy Pipe and Tubing
SIGNIFICANCE AND USE
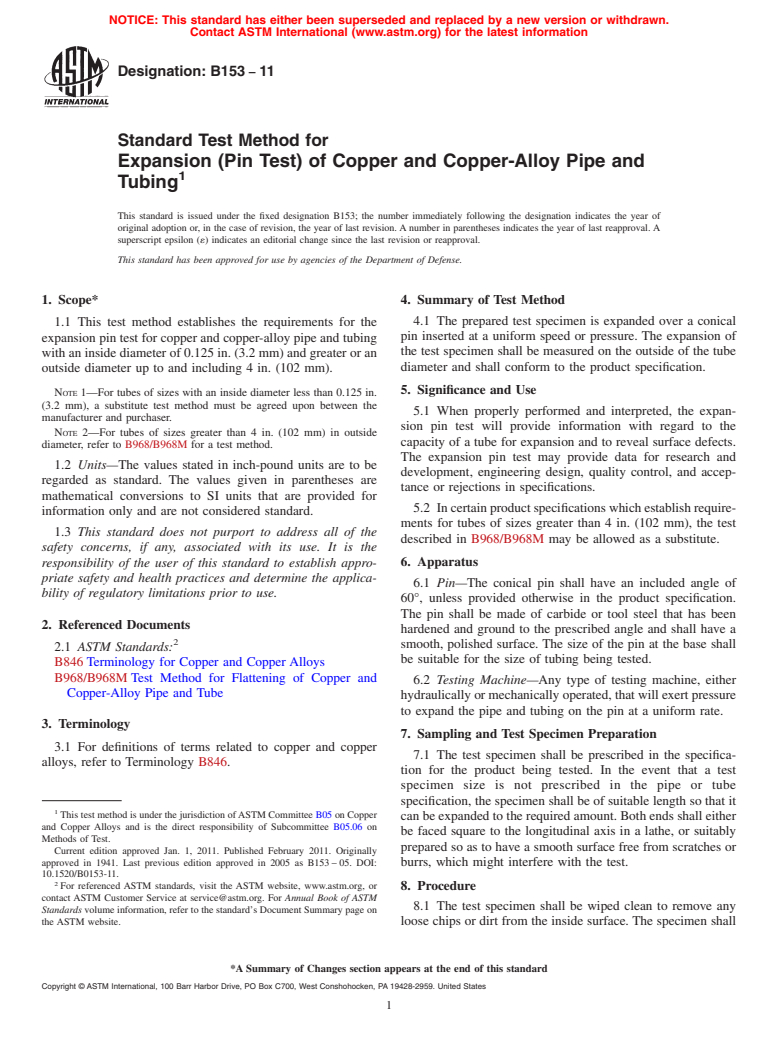
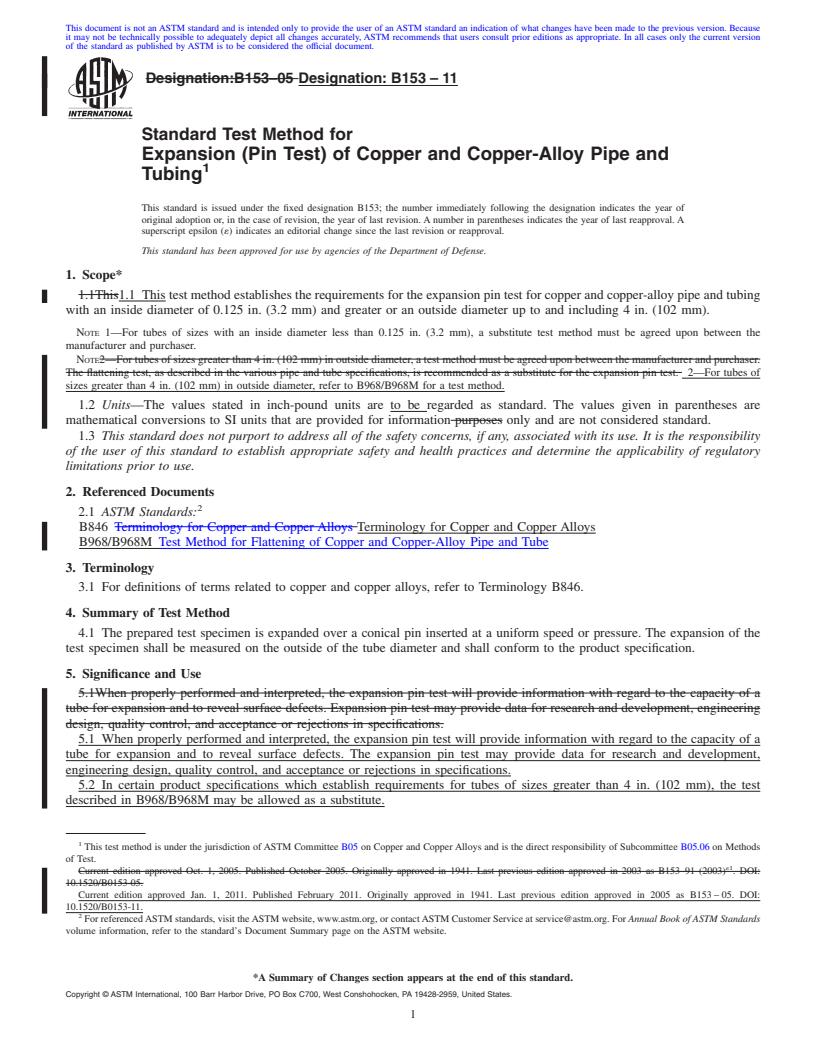
When properly performed and interpreted, the expansion pin test will provide information with regard to the capacity of a tube for expansion and to reveal surface defects. The expansion pin test may provide data for research and development, engineering design, quality control, and acceptance or rejections in specifications.
In certain product specifications which establish requirements for tubes of sizes greater than 4 in. (102 mm), the test described in B968/B968M may be allowed as a substitute.
SCOPE
1.1 This test method establishes the requirements for the expansion pin test for copper and copper-alloy pipe and tubing with an inside diameter of 0.125 in. (3.2 mm) and greater or an outside diameter up to and including 4 in. (102 mm).
Note 1—For tubes of sizes with an inside diameter less than 0.125 in. (3.2 mm), a substitute test method must be agreed upon between the manufacturer and purchaser.
Note 2—For tubes of sizes greater than 4 in. (102 mm) in outside diameter, refer to B968/B968M for a test method.
1.2 Units—The values stated in inch-pound units are to be regarded as standard. The values given in parentheses are mathematical conversions to SI units that are provided for information only and are not considered standard.
1.3 This standard does not purport to address all of the safety concerns, if any, associated with its use. It is the responsibility of the user of this standard to establish appropriate safety and health practices and determine the applicability of regulatory limitations prior to use.
General Information
Relations
Buy Standard
Standards Content (Sample)
NOTICE: This standard has either been superseded and replaced by a new version or withdrawn.
Contact ASTM International (www.astm.org) for the latest information
Designation: B153 − 11
Standard Test Method for
Expansion (Pin Test) of Copper and Copper-Alloy Pipe and
1
Tubing
This standard is issued under the fixed designation B153; the number immediately following the designation indicates the year of
original adoption or, in the case of revision, the year of last revision. A number in parentheses indicates the year of last reapproval. A
superscript epsilon (´) indicates an editorial change since the last revision or reapproval.
This standard has been approved for use by agencies of the Department of Defense.
1. Scope* 4. Summary of Test Method
4.1 The prepared test specimen is expanded over a conical
1.1 This test method establishes the requirements for the
pin inserted at a uniform speed or pressure. The expansion of
expansion pin test for copper and copper-alloy pipe and tubing
the test specimen shall be measured on the outside of the tube
with an inside diameter of 0.125 in. (3.2 mm) and greater or an
diameter and shall conform to the product specification.
outside diameter up to and including 4 in. (102 mm).
5. Significance and Use
NOTE 1—For tubes of sizes with an inside diameter less than 0.125 in.
(3.2 mm), a substitute test method must be agreed upon between the
5.1 When properly performed and interpreted, the expan-
manufacturer and purchaser.
sion pin test will provide information with regard to the
NOTE 2—For tubes of sizes greater than 4 in. (102 mm) in outside
capacity of a tube for expansion and to reveal surface defects.
diameter, refer to B968/B968M for a test method.
The expansion pin test may provide data for research and
1.2 Units—The values stated in inch-pound units are to be
development, engineering design, quality control, and accep-
regarded as standard. The values given in parentheses are
tance or rejections in specifications.
mathematical conversions to SI units that are provided for
5.2 Incertainproductspecificationswhichestablishrequire-
information only and are not considered standard.
ments for tubes of sizes greater than 4 in. (102 mm), the test
1.3 This standard does not purport to address all of the
described in B968/B968M may be allowed as a substitute.
safety concerns, if any, associated with its use. It is the
responsibility of the user of this standard to establish appro- 6. Apparatus
priate safety and health practices and determine the applica-
6.1 Pin—The conical pin shall have an included angle of
bility of regulatory limitations prior to use.
60°, unless provided otherwise in the product specification.
The pin shall be made of carbide or tool steel that has been
2. Referenced Documents
hardened and ground to the prescribed angle and shall have a
2
smooth, polished surface. The size of the pin at the base shall
2.1 ASTM Standards:
be suitable for the size of tubing being tested.
B846 Terminology for Copper and Copper Alloys
B968/B968M Test Method for Flattening of Copper and
6.2 Testing Machine—Any type of testing machine, either
Copper-Alloy Pipe and Tube
hydraulically or mechanically operated, that will exert pressure
to expand the pipe and tubing on the pin at a uniform rate.
3. Terminology
7. Sampling and Test Specimen Preparation
3.1 For definitions of terms related to copper and copper
7.1 The test specimen shall be prescribed in the specifica-
alloys, refer to Terminology B846.
tion for the product being tested. In the event that a test
specimen size is not prescribed in the pipe or tube
specification, the specimen shall be of suitable length so that it
1
This test method is under the jurisdiction ofASTM Committee B05 on Copper
can be expanded to the required amount. Both ends shall either
and Copper Alloys and is the direct responsibility of Subcommittee B05.06 on
be faced square to the longitudinal axis in a lathe, or suitably
Methods of Test.
prepared so as to have a smooth surface free from scratches or
Current edition approved Jan. 1, 2011. Published February 2011. Originally
approved in 1941. Last previous edition approved in 2005 as B153 – 05. DOI:
burrs, which might interfere with the test.
10.1520/B0153-11.
2
For referenced ASTM standards, visit the ASTM website, www.astm.org, or 8. Procedure
contact ASTM Customer Service at service@astm.org. For Annual Book of ASTM
8.1 The test specimen shall be wiped clean to remove any
Standards volume information, refer to the standard’s Document Summary page on
the ASTM website. loose chips or dirt from the inside surface. The specimen shall
*A Summary of Changes section appears at the end of this standard
Copyright © ASTM International, 100 Barr Harbor Drive, PO Box C700, West Conshohocken, PA 19428-2959. United States
1
---------------------- Page: 1 ----------------------
B153 − 11
be well lubricated (Note 3) on the inside surface. The pin (6.1) 10. Report
for use in the test, as prescribed in the specifications fo
...
This document is not an ASTM standard and is intended only to provide the user of an ASTM standard an indication of what changes have been made to the previous version. Because
it may not be technically possible to adequately depict all changes accurately, ASTM recommends that users consult prior editions as appropriate. In all cases only the current version
of the standard as published by ASTM is to be considered the official document.
Designation:B153–05 Designation: B153 – 11
Standard Test Method for
Expansion (Pin Test) of Copper and Copper-Alloy Pipe and
1
Tubing
This standard is issued under the fixed designation B153; the number immediately following the designation indicates the year of
original adoption or, in the case of revision, the year of last revision. A number in parentheses indicates the year of last reapproval. A
superscript epsilon (´) indicates an editorial change since the last revision or reapproval.
This standard has been approved for use by agencies of the Department of Defense.
1. Scope*
1.1This1.1 This test method establishes the requirements for the expansion pin test for copper and copper-alloy pipe and tubing
with an inside diameter of 0.125 in. (3.2 mm) and greater or an outside diameter up to and including 4 in. (102 mm).
NOTE 1—For tubes of sizes with an inside diameter less than 0.125 in. (3.2 mm), a substitute test method must be agreed upon between the
manufacturer and purchaser.
NOTE2—For tubes of sizes greater than 4 in. (102 mm) in outside diameter, a test method must be agreed upon between the manufacturer and purchaser.
The flattening test, as described in the various pipe and tube specifications, is recommended as a substitute for the expansion pin test. 2—For tubes of
sizes greater than 4 in. (102 mm) in outside diameter, refer to B968/B968M for a test method.
1.2 Units—The values stated in inch-pound units are to be regarded as standard. The values given in parentheses are
mathematical conversions to SI units that are provided for information purposes only and are not considered standard.
1.3 This standard does not purport to address all of the safety concerns, if any, associated with its use. It is the responsibility
of the user of this standard to establish appropriate safety and health practices and determine the applicability of regulatory
limitations prior to use.
2. Referenced Documents
2
2.1 ASTM Standards:
B846 Terminology for Copper and Copper Alloys Terminology for Copper and Copper Alloys
B968/B968M Test Method for Flattening of Copper and Copper-Alloy Pipe and Tube
3. Terminology
3.1 For definitions of terms related to copper and copper alloys, refer to Terminology B846.
4. Summary of Test Method
4.1 The prepared test specimen is expanded over a conical pin inserted at a uniform speed or pressure. The expansion of the
test specimen shall be measured on the outside of the tube diameter and shall conform to the product specification.
5. Significance and Use
5.1When properly performed and interpreted, the expansion pin test will provide information with regard to the capacity of a
tube for expansion and to reveal surface defects. Expansion pin test may provide data for research and development, engineering
design, quality control, and acceptance or rejections in specifications.
5.1 When properly performed and interpreted, the expansion pin test will provide information with regard to the capacity of a
tube for expansion and to reveal surface defects. The expansion pin test may provide data for research and development,
engineering design, quality control, and acceptance or rejections in specifications.
5.2 In certain product specifications which establish requirements for tubes of sizes greater than 4 in. (102 mm), the test
described in B968/B968M may be allowed as a substitute.
1
This test method is under the jurisdiction of ASTM Committee B05 on Copper and Copper Alloys and is the direct responsibility of Subcommittee B05.06 on Methods
of Test.
´1
Current edition approved Oct. 1, 2005. Published October 2005. Originally approved in 1941. Last previous edition approved in 2003 as B153–91 (2003) . DOI:
10.1520/B0153-05.
Current edition approved Jan. 1, 2011. Published February 2011. Originally approved in 1941. Last previous edition approved in 2005 as B153 – 05. DOI:
10.1520/B0153-11.
2
For referencedASTM standards, visit theASTM website, www.astm.org, or contactASTM Customer Service at service@astm.org. For Annual Book ofASTM Standards
volume information, refer to the standard’s Document Summary page on the ASTM website.
*A Summary of Changes section appears at the end of this standard.
Copyright © ASTM International, 100 Barr Harbor Drive, PO Box C700, West Conshohocken, PA 19428-2959, United States.
1
---------------------- Page: 1 ----------------------
B153 – 11
6. Apparatus
6.1 Pin—The conical pin shall have an included angle of 60°, unless provided otherwise in the product specification. The pin
shall be made of carbide or tool steel that has been harde
...


Questions, Comments and Discussion
Ask us and Technical Secretary will try to provide an answer. You can facilitate discussion about the standard in here.