ASTM E1582-10
(Practice)Standard Practice for Calibration of Temperature Scale for Thermogravimetry
Standard Practice for Calibration of Temperature Scale for Thermogravimetry
SIGNIFICANCE AND USE
5. Significance and UseTop Bottom
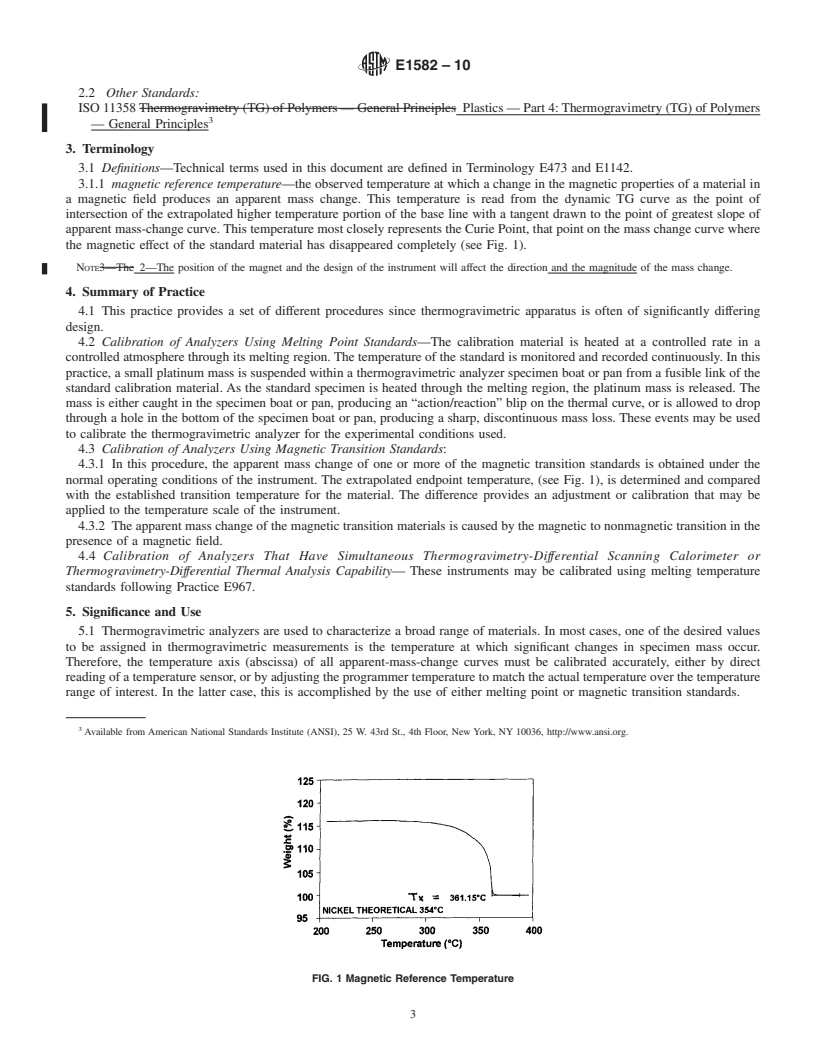
5.1 Thermogravimetric analyzers are used to characterize a broad range of materials. In most cases, one of the desired values to be assigned in thermogravimetric measurements is the temperature at which significant changes in specimen mass occur. Therefore, the temperature axis (abscissa) of all apparent-mass-change curves must be calibrated accurately, either by direct reading of a temperature sensor, or by adjusting the programmer temperature to match the actual temperature over the temperature range of interest. In the latter case, this is accomplished by the use of either melting point or magnetic transition standards.
5.2 This practice permits interlaboratory comparison and intralaboratory correlation of instrumental temperature scale data.
SCOPE
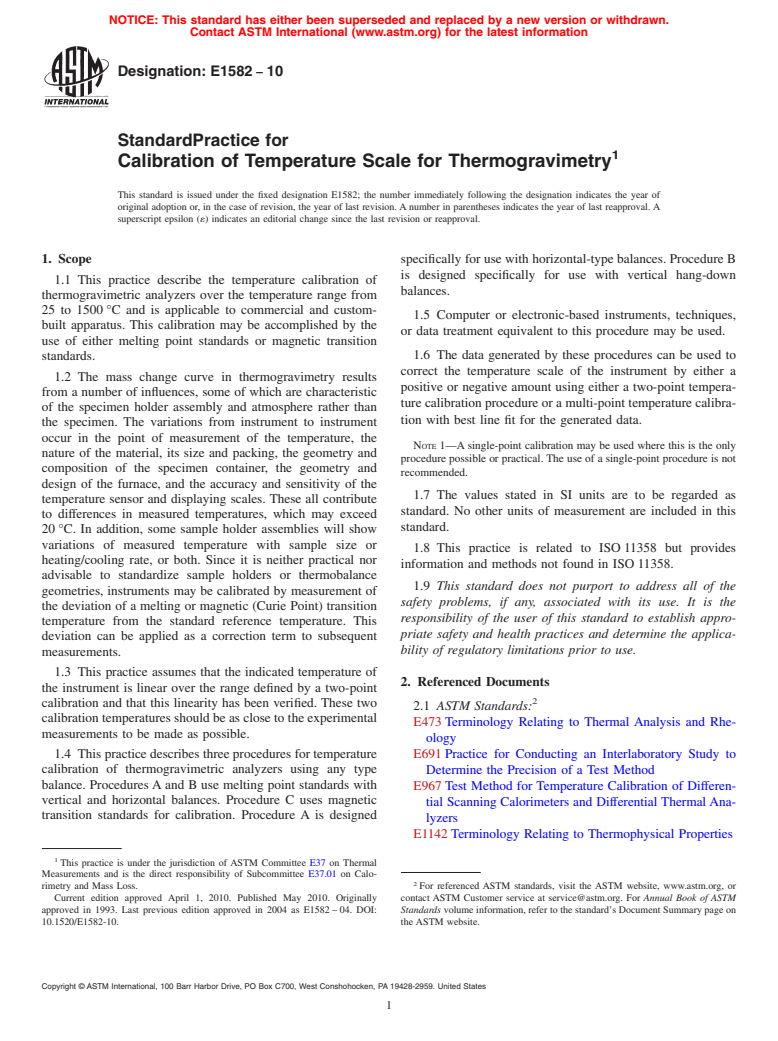
1.1 This practice describe the temperature calibration of thermogravimetric analyzers over the temperature range from 25 to 1500 °C and is applicable to commercial and custom-built apparatus. This calibration may be accomplished by the use of either melting point standards or magnetic transition standards.
1.2 The mass change curve in thermogravimetry results from a number of influences, some of which are characteristic of the specimen holder assembly and atmosphere rather than the specimen. The variations from instrument to instrument occur in the point of measurement of the temperature, the nature of the material, its size and packing, the geometry and composition of the specimen container, the geometry and design of the furnace, and the accuracy and sensitivity of the temperature sensor and displaying scales. These all contribute to differences in measured temperatures, which may exceed 20 °C. In addition, some sample holder assemblies will show variations of measured temperature with sample size or heating/cooling rate, or both. Since it is neither practical nor advisable to standardize sample holders or thermobalance geometries, instruments may be calibrated by measurement of the deviation of a melting or magnetic (Curie Point) transition temperature from the standard reference temperature. This deviation can be applied as a correction term to subsequent measurements.
1.3 This practice assumes that the indicated temperature of the instrument is linear over the range defined by a two-point calibration and that this linearity has been verified. These two calibration temperatures should be as close to the experimental measurements to be made as possible.
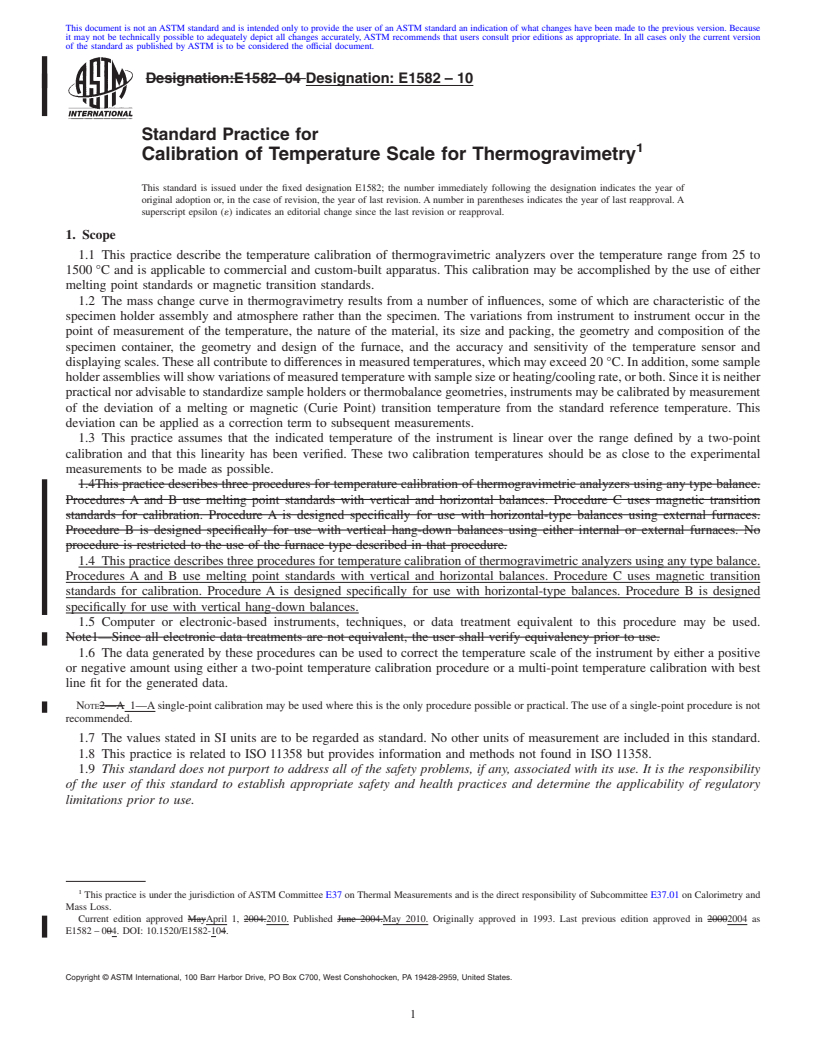
1.4 This practice describes three procedures for temperature calibration of thermogravimetric analyzers using any type balance. Procedures A and B use melting point standards with vertical and horizontal balances. Procedure C uses magnetic transition standards for calibration. Procedure A is designed specifically for use with horizontal-type balances. Procedure B is designed specifically for use with vertical hang-down balances.
1.5 Computer or electronic-based instruments, techniques, or data treatment equivalent to this procedure may be used.
1.6 The data generated by these procedures can be used to correct the temperature scale of the instrument by either a positive or negative amount using either a two-point temperature calibration procedure or a multi-point temperature calibration with best line fit for the generated data. Note 1—A single-point calibration may be used where this is the only procedure possible or practical. The use of a single-point procedure is not recommended.
1.7 The values stated in SI units are to be regarded as standard. No other units of measurement are included in this standard.
1.8 This practice is related to ISO 11358 but provides information and methods not found in ISO 11358.
1.9 This standard does not purport to address all of the safety problems, if any, associated with its use. It is the responsibility of the user of this standard to establish appropriate safety and health practices and dete...
General Information
Relations
Buy Standard
Standards Content (Sample)
NOTICE: This standard has either been superseded and replaced by a new version or withdrawn.
Contact ASTM International (www.astm.org) for the latest information
Designation: E1582 − 10
StandardPractice for
1
Calibration of Temperature Scale for Thermogravimetry
This standard is issued under the fixed designation E1582; the number immediately following the designation indicates the year of
original adoption or, in the case of revision, the year of last revision. A number in parentheses indicates the year of last reapproval. A
superscript epsilon (´) indicates an editorial change since the last revision or reapproval.
1. Scope specifically for use with horizontal-type balances. Procedure B
is designed specifically for use with vertical hang-down
1.1 This practice describe the temperature calibration of
balances.
thermogravimetric analyzers over the temperature range from
25 to 1500 °C and is applicable to commercial and custom-
1.5 Computer or electronic-based instruments, techniques,
built apparatus. This calibration may be accomplished by the
or data treatment equivalent to this procedure may be used.
use of either melting point standards or magnetic transition
1.6 The data generated by these procedures can be used to
standards.
correct the temperature scale of the instrument by either a
1.2 The mass change curve in thermogravimetry results
positive or negative amount using either a two-point tempera-
from a number of influences, some of which are characteristic
ture calibration procedure or a multi-point temperature calibra-
of the specimen holder assembly and atmosphere rather than
tion with best line fit for the generated data.
the specimen. The variations from instrument to instrument
occur in the point of measurement of the temperature, the
NOTE 1—Asingle-point calibration may be used where this is the only
nature of the material, its size and packing, the geometry and
procedure possible or practical. The use of a single-point procedure is not
composition of the specimen container, the geometry and
recommended.
design of the furnace, and the accuracy and sensitivity of the
1.7 The values stated in SI units are to be regarded as
temperature sensor and displaying scales. These all contribute
standard. No other units of measurement are included in this
to differences in measured temperatures, which may exceed
standard.
20 °C. In addition, some sample holder assemblies will show
variations of measured temperature with sample size or
1.8 This practice is related to ISO 11358 but provides
heating/cooling rate, or both. Since it is neither practical nor
information and methods not found in ISO 11358.
advisable to standardize sample holders or thermobalance
1.9 This standard does not purport to address all of the
geometries, instruments may be calibrated by measurement of
safety problems, if any, associated with its use. It is the
the deviation of a melting or magnetic (Curie Point) transition
responsibility of the user of this standard to establish appro-
temperature from the standard reference temperature. This
priate safety and health practices and determine the applica-
deviation can be applied as a correction term to subsequent
bility of regulatory limitations prior to use.
measurements.
1.3 This practice assumes that the indicated temperature of
2. Referenced Documents
the instrument is linear over the range defined by a two-point
2
calibration and that this linearity has been verified. These two
2.1 ASTM Standards:
calibration temperatures should be as close to the experimental
E473 Terminology Relating to Thermal Analysis and Rhe-
measurements to be made as possible.
ology
1.4 This practice describes three procedures for temperature E691 Practice for Conducting an Interlaboratory Study to
calibration of thermogravimetric analyzers using any type
Determine the Precision of a Test Method
balance. Procedures A and B use melting point standards with E967 Test Method for Temperature Calibration of Differen-
vertical and horizontal balances. Procedure C uses magnetic
tial Scanning Calorimeters and Differential Thermal Ana-
transition standards for calibration. Procedure A is designed
lyzers
E1142 Terminology Relating to Thermophysical Properties
1
This practice is under the jurisdiction of ASTM Committee E37 on Thermal
Measurements and is the direct responsibility of Subcommittee E37.01 on Calo-
2
rimetry and Mass Loss. For referenced ASTM standards, visit the ASTM website, www.astm.org, or
Current edition approved April 1, 2010. Published May 2010. Originally contact ASTM Customer service at service@astm.org. For Annual Book of ASTM
approved in 1993. Last previous edition approved in 2004 as E1582 – 04. DOI: Standards volume information, refer to the standard’s Document Summary page on
10.1520/E1582-10. the ASTM website.
Copyright © ASTM International, 100 Barr Harbor Drive, PO Box C700, West Conshohocken, PA 19428-2959. United States
1
---------------------- Page: 1 ----------------------
E1582 − 10
discont
...
This document is not anASTM standard and is intended only to provide the user of anASTM standard an indication of what changes have been made to the previous version. Because
it may not be technically possible to adequately depict all changes accurately, ASTM recommends that users consult prior editions as appropriate. In all cases only the current version
of the standard as published by ASTM is to be considered the official document.
Designation:E1582–04 Designation:E1582–10
Standard Practice for
1
Calibration of Temperature Scale for Thermogravimetry
This standard is issued under the fixed designation E1582; the number immediately following the designation indicates the year of
original adoption or, in the case of revision, the year of last revision. A number in parentheses indicates the year of last reapproval. A
superscript epsilon (´) indicates an editorial change since the last revision or reapproval.
1. Scope
1.1 This practice describe the temperature calibration of thermogravimetric analyzers over the temperature range from 25 to
1500 °C and is applicable to commercial and custom-built apparatus. This calibration may be accomplished by the use of either
melting point standards or magnetic transition standards.
1.2 The mass change curve in thermogravimetry results from a number of influences, some of which are characteristic of the
specimen holder assembly and atmosphere rather than the specimen. The variations from instrument to instrument occur in the
point of measurement of the temperature, the nature of the material, its size and packing, the geometry and composition of the
specimen container, the geometry and design of the furnace, and the accuracy and sensitivity of the temperature sensor and
displayingscales.Theseallcontributetodifferencesinmeasuredtemperatures,whichmayexceed20 °C.Inaddition,somesample
holderassemblieswillshowvariationsofmeasuredtemperaturewithsamplesizeorheating/coolingrate,orboth.Sinceitisneither
practicalnoradvisabletostandardizesampleholdersorthermobalancegeometries,instrumentsmaybecalibratedbymeasurement
of the deviation of a melting or magnetic (Curie Point) transition temperature from the standard reference temperature. This
deviation can be applied as a correction term to subsequent measurements.
1.3 This practice assumes that the indicated temperature of the instrument is linear over the range defined by a two-point
calibration and that this linearity has been verified. These two calibration temperatures should be as close to the experimental
measurements to be made as possible.
1.4This practice describes three procedures for temperature calibration of thermogravimetric analyzers using any type balance.
Procedures A and B use melting point standards with vertical and horizontal balances. Procedure C uses magnetic transition
standards for calibration. Procedure A is designed specifically for use with horizontal-type balances using external furnaces.
Procedure B is designed specifically for use with vertical hang-down balances using either internal or external furnaces. No
procedure is restricted to the use of the furnace type described in that procedure.
1.4 This practice describes three procedures for temperature calibration of thermogravimetric analyzers using any type balance.
Procedures A and B use melting point standards with vertical and horizontal balances. Procedure C uses magnetic transition
standards for calibration. Procedure A is designed specifically for use with horizontal-type balances. Procedure B is designed
specifically for use with vertical hang-down balances.
1.5 Computer or electronic-based instruments, techniques, or data treatment equivalent to this procedure may be used.
Note1—Since all electronic data treatments are not equivalent, the user shall verify equivalency prior to use.
1.6 The data generated by these procedures can be used to correct the temperature scale of the instrument by either a positive
or negative amount using either a two-point temperature calibration procedure or a multi-point temperature calibration with best
line fit for the generated data.
NOTE2—A 1—Asingle-point calibration may be used where this is the only procedure possible or practical. The use of a single-point procedure is not
recommended.
1.7 The values stated in SI units are to be regarded as standard. No other units of measurement are included in this standard.
1.8 This practice is related to ISO 11358 but provides information and methods not found in ISO 11358.
1.9 This standard does not purport to address all of the safety problems, if any, associated with its use. It is the responsibility
of the user of this standard to establish appropriate safety and health practices and determine the applicability of regulatory
limitations prior to use.
1
This practice is under the jurisdiction ofASTM Committee E37 on Thermal Measurements and is the direct responsibility of Subcommittee E37.01 on Calorimetry and
Mass Loss.
Current edition approved MayApril 1, 2004.2010. Published
...


Questions, Comments and Discussion
Ask us and Technical Secretary will try to provide an answer. You can facilitate discussion about the standard in here.