ASTM G10-83(2002)
(Test Method)Standard Test Method for Specific Bendability of Pipeline Coatings
Standard Test Method for Specific Bendability of Pipeline Coatings
SIGNIFICANCE AND USE
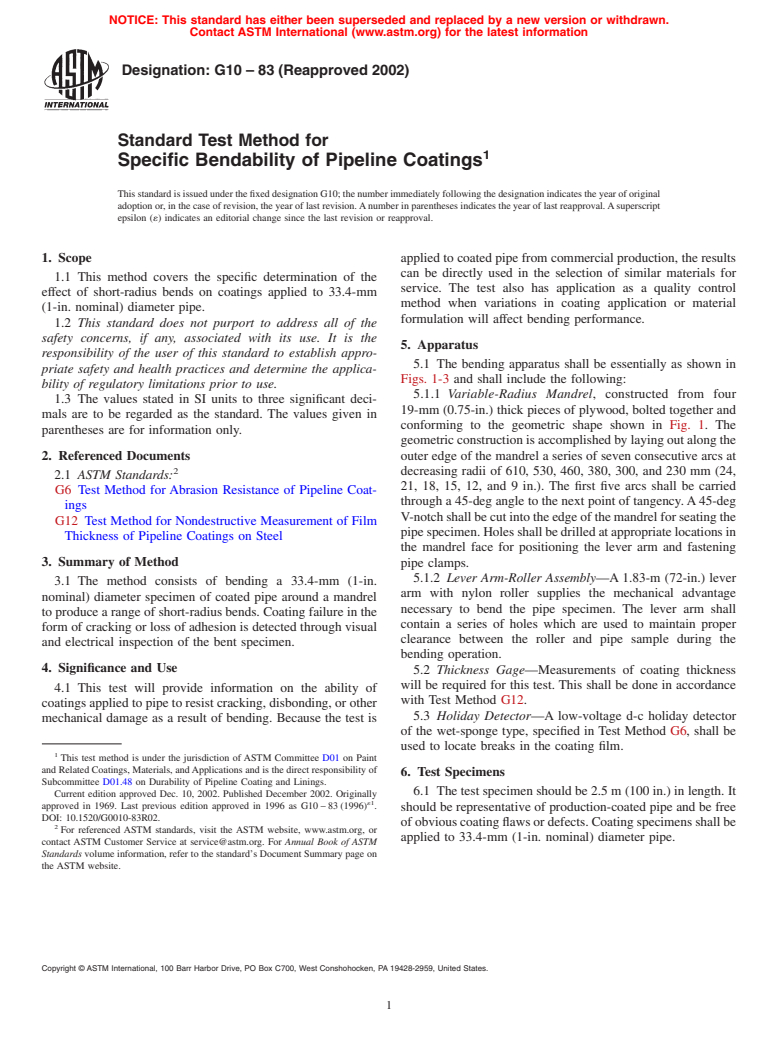
This test will provide information on the ability of coatings applied to pipe to resist cracking, disbonding, or other mechanical damage as a result of bending. Because the test is applied to coated pipe from commercial production, the results can be directly used in the selection of similar materials for service. The test also has application as a quality control method when variations in coating application or material formulation will affect bending performance.
SCOPE
1.1 This method covers the specific determination of the effect of short-radius bends on coatings applied to 33.4-mm (1-in. nominal) diameter pipe.
1.2 This standard does not purport to address all of the safety concerns, if any, associated with its use. It is the responsibility of the user of this standard to establish appropriate safety and health practices and determine the applicability of regulatory limitations prior to use.
1.3 The values stated in SI units to three significant decimals are to be regarded as the standard. The values given in parentheses are for information only.
General Information
Relations
Standards Content (Sample)
NOTICE: This standard has either been superseded and replaced by a new version or withdrawn.
Contact ASTM International (www.astm.org) for the latest information
Designation: G10 – 83 (Reapproved 2002)
Standard Test Method for
Specific Bendability of Pipeline Coatings
This standard is issued under the fixed designation G10; the number immediately following the designation indicates the year of original
adoption or, in the case of revision, the year of last revision.Anumber in parentheses indicates the year of last reapproval.Asuperscript
epsilon (´) indicates an editorial change since the last revision or reapproval.
1. Scope applied to coated pipe from commercial production, the results
can be directly used in the selection of similar materials for
1.1 This method covers the specific determination of the
service. The test also has application as a quality control
effect of short-radius bends on coatings applied to 33.4-mm
method when variations in coating application or material
(1-in. nominal) diameter pipe.
formulation will affect bending performance.
1.2 This standard does not purport to address all of the
safety concerns, if any, associated with its use. It is the
5. Apparatus
responsibility of the user of this standard to establish appro-
5.1 The bending apparatus shall be essentially as shown in
priate safety and health practices and determine the applica-
Figs. 1-3 and shall include the following:
bility of regulatory limitations prior to use.
5.1.1 Variable-Radius Mandrel, constructed from four
1.3 The values stated in SI units to three significant deci-
19-mm (0.75-in.) thick pieces of plywood, bolted together and
mals are to be regarded as the standard. The values given in
conforming to the geometric shape shown in Fig. 1. The
parentheses are for information only.
geometricconstructionisaccomplishedbylayingoutalongthe
2. Referenced Documents outer edge of the mandrel a series of seven consecutive arcs at
decreasing radii of 610, 530, 460, 380, 300, and 230 mm (24,
2.1 ASTM Standards:
21, 18, 15, 12, and 9 in.). The first five arcs shall be carried
G6 Test Method for Abrasion Resistance of Pipeline Coat-
through a 45-deg angle to the next point of tangency.A45-deg
ings
V-notchshallbecutintotheedgeofthemandrelforseatingthe
G12 Test Method for Nondestructive Measurement of Film
pipespecimen.Holesshallbedrilledatappropriatelocationsin
Thickness of Pipeline Coatings on Steel
the mandrel face for positioning the lever arm and fastening
3. Summary of Method pipe clamps.
5.1.2 Lever Arm-Roller Assembly—A 1.83-m (72-in.) lever
3.1 The method consists of bending a 33.4-mm (1-in.
arm with nylon roller supplies the mechanical advantage
nominal) diameter specimen of coated pipe around a mandrel
necessary to bend the pipe specimen. The lever arm shall
to produce a range of short-radius bends. Coating failure in the
contain a series of holes which are used to maintain proper
form of cracking or loss of adhesion is detected through visual
clearance between the roller and pipe sample during the
and electrical inspection of the bent specimen.
bending operation.
4. Significance and Use
5.2 Thickness Gage—Measurements of coating thickness
will be required for this test. This shall be done in accordance
4.1 This test will provide information on the ability of
with Test Method G12.
coatings applied to pipe to resist cracking, disbonding, or other
5.3 Holiday Detector—A low-voltage d-c holiday detector
mechanical damage as a result of bending. Because the test is
of the wet-sponge type, specified in Test Method G6, shall be
used to locate breaks in the coating film.
This test method is under the jurisdiction of ASTM Committee D01 on Paint
and Related Coatings, Materials, andApplications and is the direct responsibility of
6. Test Specimens
Subcommittee D01.48 on Durability of Pipeline Coating and Linings.
6.1 The test specimen should be 2.5 m (100 in.) in length. It
Current edition approved Dec. 10, 2002. Published December 2002. Originally
´1
approved in 1969. Last previous edition approved in 1996 as G10 – 83 (1996) .
should be representative of production-coated pipe and be free
DOI: 10.1520/G0010-83R02.
ofobviouscoatingflawsordefects.Coatingspecimensshallbe
For referenced ASTM standards, visit the ASTM website, www.astm.org, or
applied to 33.4-mm (1-in. nominal) diameter pipe.
contact ASTM Customer Service at service@astm.org. For Annual Book of ASTM
Standards volume information, refer to the standard’s Document Summary page on
the ASTM website.
Copyright ©
...


Questions, Comments and Discussion
Ask us and Technical Secretary will try to provide an answer. You can facilitate discussion about the standard in here.