EN 21524:1991
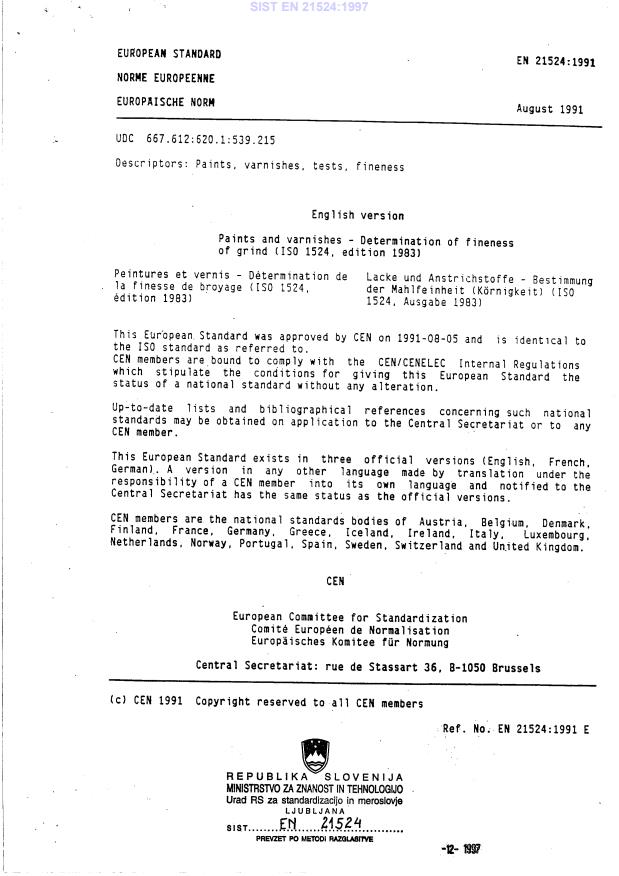
(Main)Paints and varnishes - Determination of fineness of grind (ISO 1524:1983)
Paints and varnishes - Determination of fineness of grind (ISO 1524:1983)
Provides a source of reference for the work which has been carried out in order to evaluate the various test procedures for checking the effectiveness of ultrasonic cleaners. Measures the effectiveness of an ultrasonic cleaner under closely defined conditions so that the performance of different makes and models can be compared. Has the status of a technical report.
Lacke und Anstrichstoffe - Bestimmung der Mahlfeinheit (Körnigkeit) (ISO 1524:1983)
Peintures et vernis - Détermination de la finesse de broyage (ISO 1524:1983)
Sert de source de référence sur les travaux qui ont été exécutés en vue d'évaluer les diverses méthodes d'essai afin de vérifier l'efficacité des appareils de nettoyage aux ultrasons. Mesure l'efficacité, dans des conditions strictement déterminées d'un appareil destiné au nettoyage par ultrasons pour offrir la possibilité de comparer les caractéristiques fonctionnelles d'appareils de marques et modèles différents. Cette publication a le statut d'un rapport.
Barve in laki - Določanje finosti mletja (ISO 1524:1983)
General Information
- Status
- Withdrawn
- Publication Date
- 07-Aug-1991
- Withdrawal Date
- 22-Jan-2002
- Technical Committee
- CEN/TC 139 - Paints and varnishes
- Drafting Committee
- CEN/TC 139 - Paints and varnishes
- Current Stage
- 9960 - Withdrawal effective - Withdrawal
- Start Date
- 23-Jan-2002
- Completion Date
- 23-Jan-2002
Relations
- Effective Date
- 22-Dec-2008
Frequently Asked Questions
EN 21524:1991 is a standard published by the European Committee for Standardization (CEN). Its full title is "Paints and varnishes - Determination of fineness of grind (ISO 1524:1983)". This standard covers: Provides a source of reference for the work which has been carried out in order to evaluate the various test procedures for checking the effectiveness of ultrasonic cleaners. Measures the effectiveness of an ultrasonic cleaner under closely defined conditions so that the performance of different makes and models can be compared. Has the status of a technical report.
Provides a source of reference for the work which has been carried out in order to evaluate the various test procedures for checking the effectiveness of ultrasonic cleaners. Measures the effectiveness of an ultrasonic cleaner under closely defined conditions so that the performance of different makes and models can be compared. Has the status of a technical report.
EN 21524:1991 is classified under the following ICS (International Classification for Standards) categories: 87.040 - Paints and varnishes. The ICS classification helps identify the subject area and facilitates finding related standards.
EN 21524:1991 has the following relationships with other standards: It is inter standard links to EN ISO 1524:2002. Understanding these relationships helps ensure you are using the most current and applicable version of the standard.
EN 21524:1991 is available in PDF format for immediate download after purchase. The document can be added to your cart and obtained through the secure checkout process. Digital delivery ensures instant access to the complete standard document.
Standards Content (Sample)
2003-01.Slovenski inštitut za standardizacijo. Razmnoževanje celote ali delov tega standarda ni dovoljeno.Lacke und Anstrichstoffe - Bestimmung der Mahlfeinheit (Körnigkeit) (ISO 1524:1983)Peintures et vernis - Détermination de la finesse de broyage (ISO 1524:1983)Paints and varnishes - Determination of fineness of grind (ISO 1524:1983)87.040Barve in lakiPaints and varnishesICS:Ta slovenski standard je istoveten z:EN 21524:1991SIST EN 21524:1997en01-december-1997SIST EN 21524:1997SLOVENSKI
STANDARD
International Standard 1524 INTERNATIONAL ORGANIZATION FOR STANDARDIZATION.ME~YHAPO~HAR OPf-AHH3AUHR fl0 CTAHJWTH3ALWl~RGANISATlON INTERNATIONALE DE NORMALISATION Paints and varnishes - Determination of fineness of grind Peintures et vernis - Dhtermination de Ia finesse de broyage Second edition - 1983-05-01 Gi - IJ DC 667.612.2 Ref. No. ISO 1524-1983 (E) Dsscriptors : paints, varnishes, tests, fineness. Price based on 8 pages SIST EN 21524:1997
Foreword ISO (the International Organization for Standardization) is a worldwide federation of national Standards bodies (ISO member bedies). The work of developing International Standards is carried out through ISO technical committees. Every member body interested in a subject for which a technical committee has been authorized has the right to be represented on that committee. International organizations, governmental and non-governmental, in liaison with ISO, also take part in the work. Draft International Standards adopted by the technical committees are circulated to the member bodies for approval before their acceptance as International Standards by the ISO Council. International Standard ISO 1524 was developed by Technical Committee ISO/TC 35, Raints and varnisbes, and was circulated to the member bodies in June 1980. lt has been approved by the member bodies of the following countries: Australia Austria Canada China Czechoslovakia Egypt, Arab Rep. of France Germany, F. R. Hungary India Iraq Ireland Israel Italy Kenya Korea, Rep. of Mexico Netherlands Norway Poland Romania South Africa, Rep. of Sri Lanka Sweden Switzerland United Kingdom USSR No member body expressed disapproval of the document. This second edition cancels and replaces the first edition (i.e. ISO 1524-1973). 0 International Organkation for Standardkation, 1983 Printed in Switzerland SIST EN 21524:1997
INTERNATIONAL STANDARD ISO 15244983 (EI Paints and varnishes - Determination of fineness of grind 0 Introduction This International Standard is one of a series of Standards deal- ing with the sampling and testing of paints, varnishes and related products. 1 Scope This International Standard specifies a method for determining the fineness of grind of paints and related products by the use of a suitable gauge, graduated in micrometres. NOTE - Certain fineness-of-grind gauges that are used in industry are graduated in non-SI units (see annex A). Use of these units is not recommended. 2 Field of application This International Standard is applicable to all types of liquid paints and related products. Of the four gauges referred to in 5.1, the 100 Fm gauge is suitable for general use, but the 50 Pm gauge and especially the 15 and 25 vrn gauges will only provide reliable results in the hands of skilled laboratory person- nel. Particular caution is necessary in interpreting readings of less than 10 Pm. 3 References ISO 1512, Paints and varnishes - Sampfing. ISO 1513, Paints and varnishes - Examination and preparation of samples for testing. 4 Definition fineness of grind: The reading obtained on a Standard gauge under specified conditions of test, indicating the depth of the groove(s) of the gauge at which discrete solid particles in the product are readily discernible. 5 Apparatus 5.1 Gauge, consisting of a block of hardened steel approxi- mately 175 mm long, 65 mm wide and 13 mm thick. NOTE - It is recommended that, at least for use with water-dilutable paints, a block of stainless steel should be used. The top surface of the block shall be both plane and ground smooth and shall contain one or two grooves approximately 140 mm long and 12,5 mm wide parallel to the longer sides of the block. The depth of each groove shall be uniformly tapered along its length from a suitable depth (for example 15, 25, 50 or 100 Pm) at one end to zero depth at the other end and shall be graduated as specified in the table. Diagrams of typical gauges are given in figure 1. The depth of the groove at any Position along its length shall not depart from its nominal value at any Position across the groove by more than 2,5 Pm. A method for checking the groove depth is described in annex B. Table - Graduation of typical gauges and the ranges for which gauges are recommended Maximum depth of groove lnterval of graduations IJm Pm Recommended range Pm 100 10 40 to90 50 5 15 to40 25 2,5 5 to15 15 13 1,5 to 12 1 SIST EN 21524:1997
ISO 1524-1983 (EI The top surface of the block shall be finished by fine grinding or lapping; it shall be flat so that all Points lie between two parallel planes 12 Pm apart and, in addition, at every Position along the surface, the transverse generator shall be straight so that all Points along it lie between two parallel straight lines 1 pm apart. The top and bottom surfaces of the block shall be parallel within 25 Pm. 7.2 Place the gauge (5.11, which shall be thoroughly clean and dry, on a flat, horizontal, non-Slip surface. 7.3 Pour a sufficient amount of Sample into the deep end of the groove so that it overflows the groove slightly. Take care that during pouring the Sample does not trap any air. NOTES 1 Steel gauges of the approximate dimensions stated at-e suitable for the test, but other gauges giving similar results may be used (sec annex AL 7.4 Grasp the scraper (5.2) between the thumbs and fingers of both hands and place it edgewise in contact with the sut-face of the gauge at the extreme deep end of the groove with the length of the scraper parallel to the width of the gauge. While holding the scraper perpendicular to the surface of the gauge and at right angles to the length of the groove, draw it at a uniform rate over the surface of the gauge to a Point beyond the zero depth of the groove in 1 to 2 s. Apply sufficient downward pressure on the scraper to ensure that the groove is filled with the Sample and that any Surplus is removed. 2 The precision of the fineness-of-grind determination depends in part on which gauge is used (sec clause 7). Therefore it is essential to identify the gauge (100, 50, 25, or 15 Fm) when reporting results or specifying requirements. 5.2 Scraper, consisting of a Single- or double-edged steel blade approximately 90 mm long, 40 mm wide and 6 mm thick. The edge(s) on the long side(s) shall be straight and rounded to a radius of approximately 0,25 mm. A drawing of a suitable scraper is shown in figure 2. 7.5 In a time not exceeding 3 s from the completion of the drawdown, view the gauge from the side in such a manner that the line of Vision is at right angles to the long dimension of the groove and at an angle of not more than 30° nor less than 20° to the surface of the gauge while it is in a light that will make the Pattern of the Sample in the groove readily visible. The scraper shall be periodically checked for wear, darnage or warpage by placing the edge of the scraper on the reference plane surface (see B.2.3) and inspecting the contact edge against a strong light. NOTE - If the rheology of the Sample is s
...


Questions, Comments and Discussion
Ask us and Technical Secretary will try to provide an answer. You can facilitate discussion about the standard in here.
Loading comments...