ISO 128-15:2013
(Main)Technical product documentation (TPD) — General principles of presentation — Part 15: Presentation of shipbuilding drawings
Technical product documentation (TPD) — General principles of presentation — Part 15: Presentation of shipbuilding drawings
ISO 128-15:2013 specifies the presentation of shipbuilding drawings for general use on metal hulls.
Documentation technique de produits (TPD) — Principes généraux de représentation — Partie 15: Représentation des dessins de construction navale
General Information
- Status
- Published
- Publication Date
- 24-Jun-2013
- Technical Committee
- ISO/TC 10/SC 6 - Mechanical engineering documentation
- Drafting Committee
- ISO/TC 10/SC 6 - Mechanical engineering documentation
- Current Stage
- 9060 - Close of review
- Completion Date
- 02-Dec-2030
Relations
- Effective Date
- 09-Feb-2026
- Effective Date
- 09-Feb-2026
- Effective Date
- 09-Feb-2026
- Effective Date
- 09-Feb-2026
- Effective Date
- 09-Feb-2026
- Effective Date
- 09-Feb-2026
- Effective Date
- 09-Feb-2026
- Effective Date
- 23-Nov-2013
Overview
ISO 128-15:2013 - "Technical product documentation (TPD) - General principles of presentation - Part 15: Presentation of shipbuilding drawings" - defines how shipbuilding drawings for metal hulls should be presented. It establishes clear rules for layout, views, sections, simplified representation, coding and graphic symbols to ensure consistent, unambiguous ship drawings used in design, construction, inspection and documentation.
Key Topics and Requirements
- Scope: Presentation rules specifically for shipbuilding drawings on metal hulls (orthographic projection required).
- Views and layout: Basic views include side, plan, bow and stern. Drawings place the stern to the left and the bow to the right; view names appear at the top. Guidance for layout of whole-vessel and block-structure drawings is provided.
- Directional and sectional views: Directional views are labeled with identification letters; sectional and partial sectional views show symmetry, breaking/wavy lines and projection directions.
- Frame and section rules: Frame sections, general sections and sub‑sections are identified with symbols, frame numbers and projection directions; magnified sections and sub‑section numbering are specified.
- Partial detailed drawings: Enlarged details are encircled and coded; multiple enlargements are numbered and scales indicated.
- Special drawing methods: Includes moulded line projection, overlapping drawings, unidirectional development for shell plates, double and unsymmetrical representations.
- Simplified representation: Standard symbols for swaged casings, grooved bulkheads, manholes and lightening holes to simplify repetitive features.
- Coding and arrangement: Conventions for stations (e.g., station 0 at after perpendicular), waterlines (e.g., 1000WL), buttock lines, frame numbering (every five frames for full-ship drawings), outer shell plate coding (strakes coded K, S, A, B, C...), stringers and tank/hold codes (with P/C/S suffixes).
- Graphic symbols: Standardized symbols (amidship, centerline CL, waterline WL, frame no. FR, etc.) are listed to ensure consistent interpretation.
Applications and Users
ISO 128-15 is essential for:
- Naval architects and ship designers creating technical drawings
- Shipyards and structural engineers producing fabrication and block drawings
- Class societies, surveyors and inspectors reviewing documentation
- CAD specialists implementing drawing templates and drafting standards
Using ISO 128-15 ensures accurate communication across multidisciplinary shipbuilding teams, reduces drawing errors, and supports consistent CAD output and microcopying.
Related Standards
Normative and related references include:
- ISO 128-25 (Lines on shipbuilding drawings)
- ISO 3098-2 (Lettering)
- ISO 5455 (Scales)
- ISO 5457 (Drawing sheet sizes/layout)
- ISO 6428 (Microcopying)
- Other parts of ISO 128 covering views, sections and line conventions
Keywords: ISO 128-15, shipbuilding drawings, technical product documentation, TPD, metal hulls, ship design, drafting standards, hull sections, coding conventions.
Frequently Asked Questions
ISO 128-15:2013 is a standard published by the International Organization for Standardization (ISO). Its full title is "Technical product documentation (TPD) — General principles of presentation — Part 15: Presentation of shipbuilding drawings". This standard covers: ISO 128-15:2013 specifies the presentation of shipbuilding drawings for general use on metal hulls.
ISO 128-15:2013 specifies the presentation of shipbuilding drawings for general use on metal hulls.
ISO 128-15:2013 is classified under the following ICS (International Classification for Standards) categories: 01.100.20 - Mechanical engineering drawings. The ICS classification helps identify the subject area and facilitates finding related standards.
ISO 128-15:2013 has the following relationships with other standards: It is inter standard links to EN ISO 2553:2013, EN ISO 10628-1:2015, EN 16603-33-01:2019, EN ISO 128-2:2020, EN ISO 6412-1:2018, EN ISO 2553:2019, EN ISO 128-100:2020, ISO 128-1:2020. Understanding these relationships helps ensure you are using the most current and applicable version of the standard.
ISO 128-15:2013 is available in PDF format for immediate download after purchase. The document can be added to your cart and obtained through the secure checkout process. Digital delivery ensures instant access to the complete standard document.
Standards Content (Sample)
INTERNATIONAL ISO
STANDARD 128-15
First edition
2013-07-01
Technical product documentation
(TPD) — General principles of
presentation —
Part 15:
Presentation of shipbuilding drawings
Documentation technique de produits (TPD) — Principes généraux de
représentation —
Partie 15: Représentation des dessins de construction navale
Reference number
©
ISO 2013
© ISO 2013
All rights reserved. Unless otherwise specified, no part of this publication may be reproduced or utilized otherwise in any form
or by any means, electronic or mechanical, including photocopying, or posting on the internet or an intranet, without prior
written permission. Permission can be requested from either ISO at the address below or ISO’s member body in the country of
the requester.
ISO copyright office
Case postale 56 • CH-1211 Geneva 20
Tel. + 41 22 749 01 11
Fax + 41 22 749 09 47
E-mail copyright@iso.org
Web www.iso.org
Published in Switzerland
ii © ISO 2013 – All rights reserved
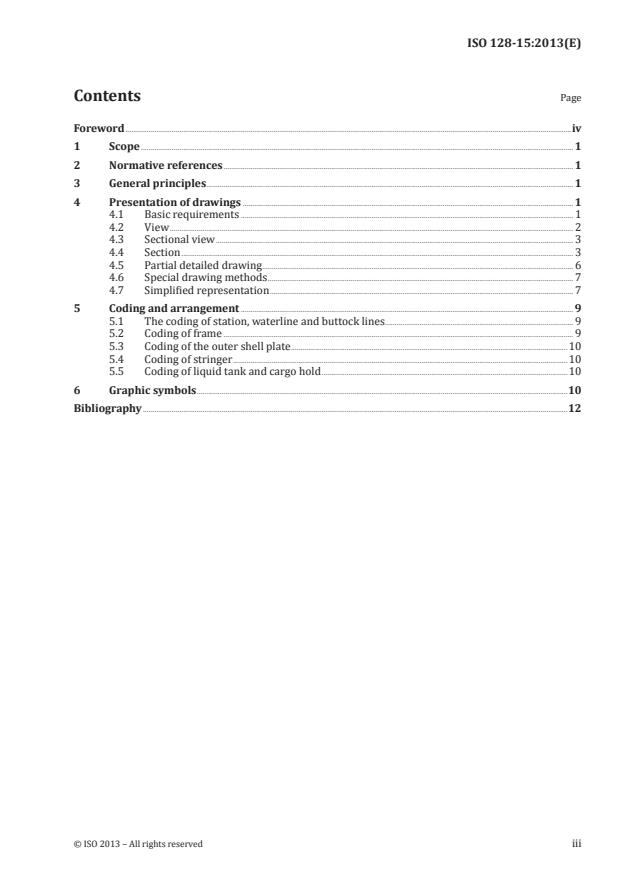
Contents Page
Foreword .iv
1 Scope . 1
2 Normative references . 1
3 General principles . 1
4 Presentation of drawings . 1
4.1 Basic requirements . 1
4.2 View . 2
4.3 Sectional view . 3
4.4 Section . 3
4.5 Partial detailed drawing . . 6
4.6 Special drawing methods . 7
4.7 Simplified representation . 7
5 Coding and arrangement . 9
5.1 The coding of station, waterline and buttock lines . 9
5.2 Coding of frame . 9
5.3 Coding of the outer shell plate .10
5.4 Coding of stringer .10
5.5 Coding of liquid tank and cargo hold .10
6 Graphic symbols .10
Bibliography .12
Foreword
ISO (the International Organization for Standardization) is a worldwide federation of national standards
bodies (ISO member bodies). The work of preparing International Standards is normally carried out
through ISO technical committees. Each member body interested in a subject for which a technical
committee has been established has the right to be represented on that committee. International
organizations, governmental and non-governmental, in liaison with ISO, also take part in the work.
ISO collaborates closely with the International Electrotechnical Commission (IEC) on all matters of
electrotechnical standardization.
The procedures used to develop this document and those intended for its further maintenance are
described in the ISO/IEC Directives, Part 1. In particular the different approval criteria needed for the
different types of ISO documents should be noted. This document was drafted in accordance with the
editorial rules of the ISO/IEC Directives, Part 2. www.iso.org/directives
Attention is drawn to the possibility that some of the elements of this document may be the subject of
patent rights. ISO shall not be held responsible for identifying any or all such patent rights. Details of
any patent rights identified during the development of the document will be in the Introduction and/or
on the ISO list of patent declarations received. www.iso.org/patents
Any trade name used in this document is information given for the convenience of users and does not
constitute an endorsement.
The committee responsible for this document is ISO/TC 10, Technical product documentation,
Subcommittee SC 6, Mechanical engineering documentation.
ISO 128 consists of the following parts, under the general title Technical drawings — General principles
of presentation:
— Part 1: Introduction and index
— Part 15: Presentation of shipbuilding drawings
— Part 20: Basic conventions for lines
— Part 21: Preparation of lines by CAD systems
— Part 22: Basic conventions and applications for leader lines and reference lines
— Part 23: Lines on construction drawings
— Part 24: Lines on mechanical engineering drawings
— Part 25: Lines on shipbuilding drawings
— Part 30: Basic conventions for views
— Part 34: Views on mechanical engineering drawings
— Part 40: Basic conventions for cuts and sections
— Part 44: Sections on mechanical engineering drawings
— Part 50: Basic conventions for representing areas on cuts and sections
— Part 71: Simplified representation for mechanical engineering drawings [Technical Specification]
iv © ISO 2013 – All rights reserved
INTERNATIONAL STANDARD ISO 128-15:2013(E)
Technical product documentation (TPD) — General
principles of presentation —
Part 15:
Presentation of shipbuilding drawings
1 Scope
This part of ISO 128 specifies the presentation of shipbuilding drawings for general use on metal hulls.
2 Normative references
The following documents, in whole or in part, are normatively referenced in this document and are
indispensable for its application. For dated references, only the edition cited applies. For undated
references, the latest edition of the referenced document (including any amendments) applies.
ISO 128-25, Technical drawings — General principles of presentation — Part 25: Lines on shipbuilding drawings
ISO 3098-2, Technical product documentation — Lettering — Part 2: Latin alphabet, numerals and marks
ISO 5455, Technical drawings — Scales
ISO 5457, Technical product documentation — Sizes and layout of drawing sheets
ISO 6428, Technical drawings — Requirements for microcopying
3 General principles
The rules of sizes and layout of drawing sheets given in ISO 5457 apply.
The rules of scales given in ISO 5455 apply.
The basic types of lines, their designations and dimensions as well as general for draughting of line given
in ISO 128-25 apply.
The requirements for microcopying given in ISO 6428 apply.
NOTE All figures in this International Standard are in the first angle projection method. The third angle
projection method could equally well have been used without prejudice to the principles established.
4 Presentation of drawings
4.1 Basic requirements
4.1.1 The drawings shall be made in orthographic projection.
4.1.2 On the drawings, the stern is to the left and the bow is to the right.
4.1.3 The name of view (identification letter) is indicated at the top of the drawing.
4.1.4 The layout of the drawing shall be presented clearly and concisely. For drawings of the entire
vessel, generally, t
...


Questions, Comments and Discussion
Ask us and Technical Secretary will try to provide an answer. You can facilitate discussion about the standard in here.
Loading comments...