ASTM F119-82(1998)
(Test Method)Standard Test Method for Rate of Grease Penetration of Flexible Barrier Materials (Rapid Method)
Standard Test Method for Rate of Grease Penetration of Flexible Barrier Materials (Rapid Method)
SCOPE
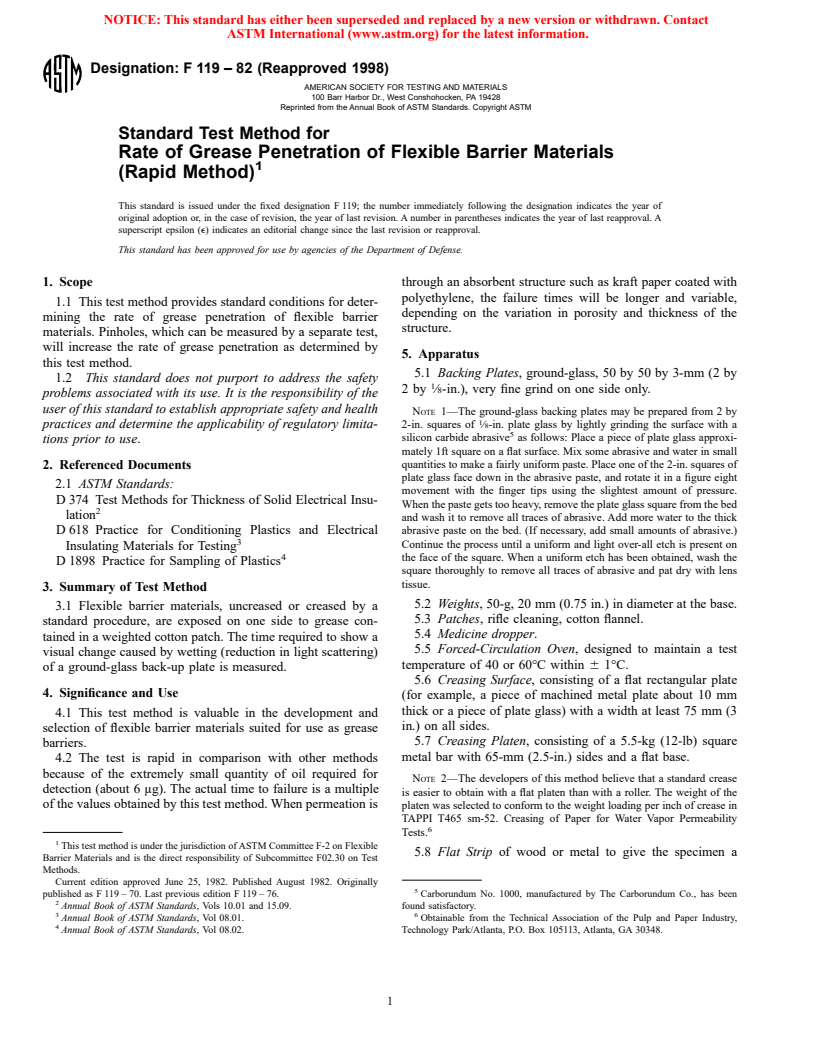
1.1 This test method provides standard conditions for determining the rate of grease penetration of flexible barrier materials. Pinholes, which can be measured by a separate test, will increase the rate of grease penetration as determined by this test method.
1.2 This standard does not purport to address the safety problems associated with its use. It is the responsibility of the user of this standard to establish appropriate safety and health practices and determine the applicability of regulatory limitations prior to use .
General Information
Relations
Standards Content (Sample)
NOTICE: This standard has either been superseded and replaced by a new version or withdrawn. Contact
ASTM International (www.astm.org) for the latest information.
Designation: F 119 – 82 (Reapproved 1998)
AMERICAN SOCIETY FOR TESTING AND MATERIALS
100 Barr Harbor Dr., West Conshohocken, PA 19428
Reprinted from the Annual Book of ASTM Standards. Copyright ASTM
Standard Test Method for
Rate of Grease Penetration of Flexible Barrier Materials
1
(Rapid Method)
This standard is issued under the fixed designation F 119; the number immediately following the designation indicates the year of
original adoption or, in the case of revision, the year of last revision. A number in parentheses indicates the year of last reapproval. A
superscript epsilon (e) indicates an editorial change since the last revision or reapproval.
This standard has been approved for use by agencies of the Department of Defense.
1. Scope through an absorbent structure such as kraft paper coated with
polyethylene, the failure times will be longer and variable,
1.1 This test method provides standard conditions for deter-
depending on the variation in porosity and thickness of the
mining the rate of grease penetration of flexible barrier
structure.
materials. Pinholes, which can be measured by a separate test,
will increase the rate of grease penetration as determined by
5. Apparatus
this test method.
5.1 Backing Plates, ground-glass, 50 by 50 by 3-mm (2 by
1.2 This standard does not purport to address the safety
1
2by ⁄8-in.), very fine grind on one side only.
problems associated with its use. It is the responsibility of the
user of this standard to establish appropriate safety and health
NOTE 1—The ground-glass backing plates may be prepared from 2 by
1
practices and determine the applicability of regulatory limita- 2-in. squares of ⁄8-in. plate glass by lightly grinding the surface with a
5
silicon carbide abrasive as follows: Place a piece of plate glass approxi-
tions prior to use.
mately 1ft square on a flat surface. Mix some abrasive and water in small
quantities to make a fairly uniform paste. Place one of the 2-in. squares of
2. Referenced Documents
plate glass face down in the abrasive paste, and rotate it in a figure eight
2.1 ASTM Standards:
movement with the finger tips using the slightest amount of pressure.
D 374 Test Methods for Thickness of Solid Electrical Insu-
When the paste gets too heavy, remove the plate glass square from the bed
2
lation
and wash it to remove all traces of abrasive. Add more water to the thick
D 618 Practice for Conditioning Plastics and Electrical abrasive paste on the bed. (If necessary, add small amounts of abrasive.)
3
Continue the process until a uniform and light over-all etch is present on
Insulating Materials for Testing
4
the face of the square. When a uniform etch has been obtained, wash the
D 1898 Practice for Sampling of Plastics
square thoroughly to remove all traces of abrasive and pat dry with lens
tissue.
3. Summary of Test Method
5.2 Weights, 50-g, 20 mm (0.75 in.) in diameter at the base.
3.1 Flexible barrier materials, uncreased or creased by a
5.3 Patches, rifle cleaning, cotton flannel.
standard procedure, are exposed on one side to grease con-
5.4 Medicine dropper.
tained in a weighted cotton patch. The time required to show a
5.5 Forced-Circulation Oven, designed to maintain a test
visual change caused by wetting (reduction in light scattering)
temperature of 40 or 60°C within 6 1°C.
of a ground-glass back-up plate is measured.
5.6 Creasing Surface, consisting of a flat rectangular plate
4. Significance and Use
(for example, a piece of machined metal plate about 10 mm
thick or a piece of plate glass) with a width at least 75 mm (3
4.1 This test method is valuable in the development and
in.) on all sides.
selection of flexible barrier materials suited for use as grease
5.7 Creasing Platen, consisting of a 5.5-kg (12-lb) square
barriers.
metal bar with 65-mm (2.5-in.) sides and a flat base.
4.2 The test is rapid in comparison with other methods
because of the extremely small quantity of oil required for
NOTE 2—The developers of this method believe that a standard crease
detection (about 6 μg). The actual time to failure is a multiple
is easier to obtain with a flat platen than with a roller. The weight of the
of the values obtained by this test method. When permeation is platen was selected to conform to the weight loading per inch of crease in
TAPPI T465 sm-52. Creasing of Paper for Water Vapor Permeability
6
Tests.
1
This test method is under the jurisdiction of ASTM Committee F-2 on Flexible
5.8 Flat Strip of wood or metal to give the specimen a
Barrier Materials and is the direct responsibility of Subcommittee F02.30 on Test
Methods.
Current edition approved June 25, 1982. Published August 1982. Originally
5
published as F 119 – 70. Last previous edition F 119 – 76. Carborundum No. 1000, manufactured by The Carborundum Co., has been
2
Annual Book of ASTM Standards, Vols 10.01 and 15.09. found
...


Questions, Comments and Discussion
Ask us and Technical Secretary will try to provide an answer. You can facilitate discussion about the standard in here.