ASTM D2596-20
(Test Method)Standard Test Method for Measurement of Extreme-Pressure Properties of Lubricating Grease (Four-Ball Method)
Standard Test Method for Measurement of Extreme-Pressure Properties of Lubricating Grease (Four-Ball Method)
SIGNIFICANCE AND USE
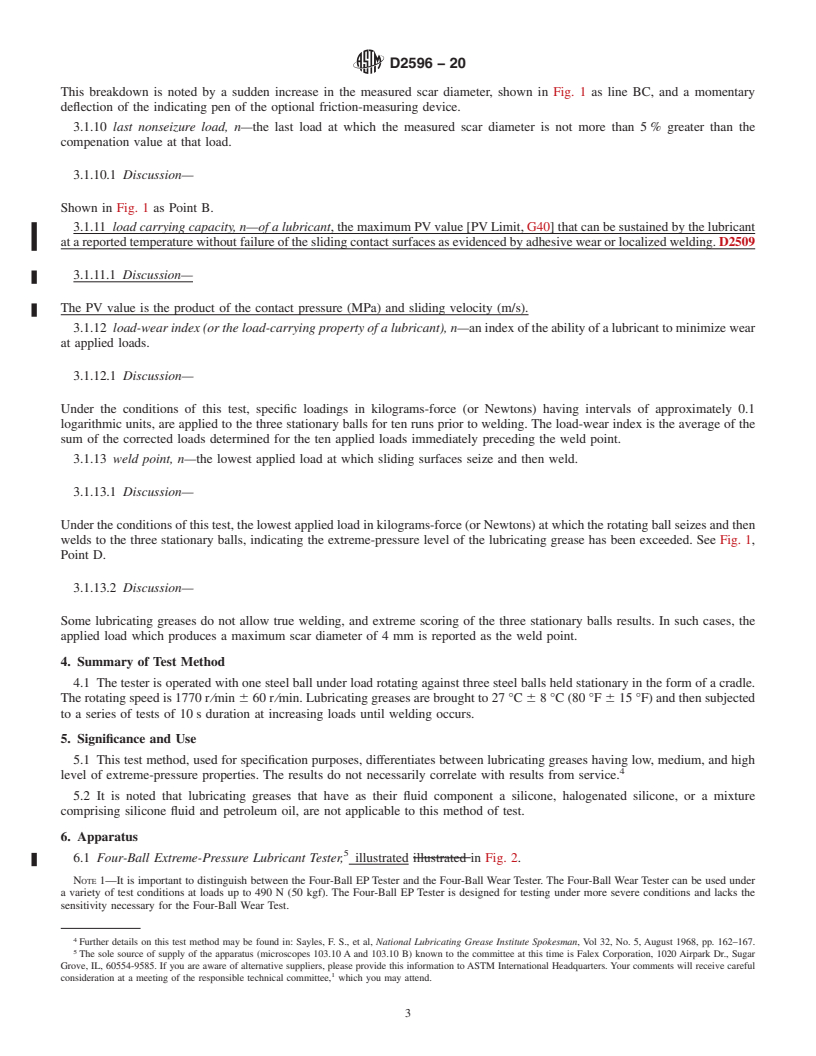
5.1 This test method, used for specification purposes, differentiates between lubricating greases having low, medium, and high level of extreme-pressure properties. The results do not necessarily correlate with results from service.4
5.2 It is noted that lubricating greases that have as their fluid component a silicone, halogenated silicone, or a mixture comprising silicone fluid and petroleum oil, are not applicable to this method of test.
SCOPE
1.1 This test method covers the determination of the load-carrying properties of lubricating greases. Three determinations are made:
1.1.1 Load-Wear Index (formerly called Mean-Hertz Load),
1.1.2 Weld Point, by means of the Four-Ball Extreme-Pressure (EP) Tester, and
1.1.3 Last nonseizure load (LNSL).
1.2 The values stated in SI units are to be regarded as the standard. The values in parentheses are for information only.
1.3 This standard does not purport to address all of the safety concerns, if any, associated with its use. It is the responsibility of the user of this standard to establish appropriate safety, health, and environmental practices and determine the applicability of regulatory limitations prior to use.
1.4 This international standard was developed in accordance with internationally recognized principles on standardization established in the Decision on Principles for the Development of International Standards, Guides and Recommendations issued by the World Trade Organization Technical Barriers to Trade (TBT) Committee.
General Information
Relations
Buy Standard
Standards Content (Sample)
This international standard was developed in accordance with internationally recognized principles on standardization established in the Decision on Principles for the
Development of International Standards, Guides and Recommendations issued by the World Trade Organization Technical Barriers to Trade (TBT) Committee.
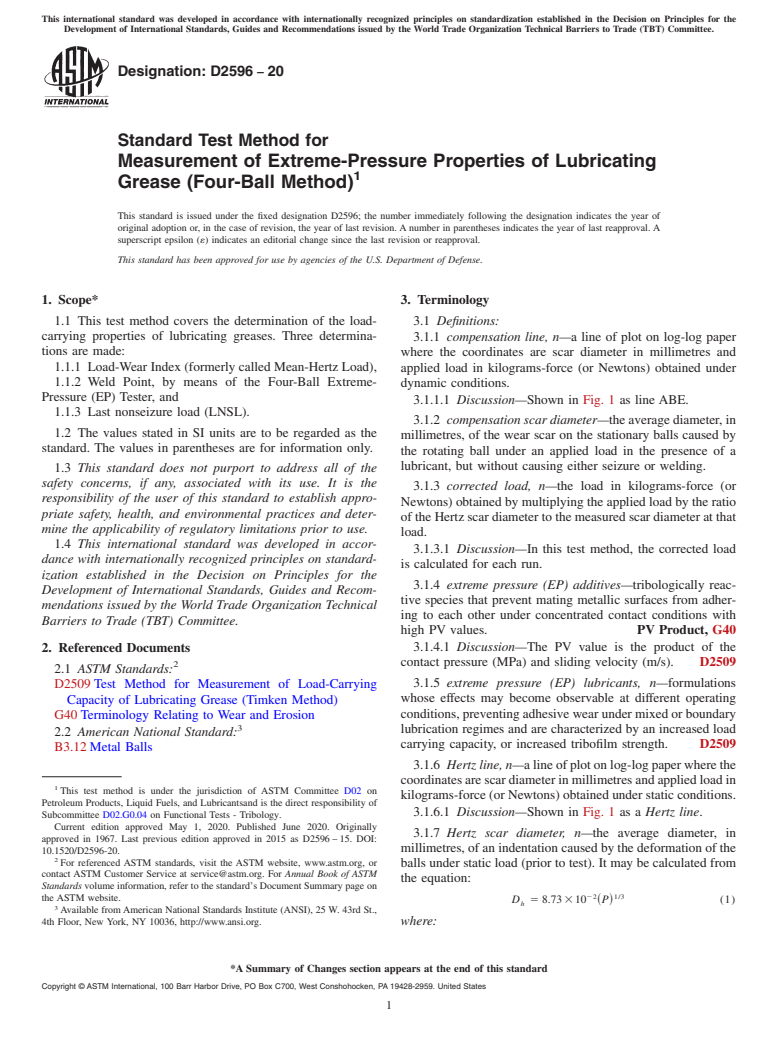
Designation: D2596 − 20
Standard Test Method for
Measurement of Extreme-Pressure Properties of Lubricating
1
Grease (Four-Ball Method)
This standard is issued under the fixed designation D2596; the number immediately following the designation indicates the year of
original adoption or, in the case of revision, the year of last revision. A number in parentheses indicates the year of last reapproval. A
superscript epsilon (´) indicates an editorial change since the last revision or reapproval.
This standard has been approved for use by agencies of the U.S. Department of Defense.
1. Scope* 3. Terminology
1.1 This test method covers the determination of the load- 3.1 Definitions:
carrying properties of lubricating greases. Three determina-
3.1.1 compensation line, n—a line of plot on log-log paper
tions are made:
where the coordinates are scar diameter in millimetres and
1.1.1 Load-Wear Index (formerly called Mean-Hertz Load),
applied load in kilograms-force (or Newtons) obtained under
1.1.2 Weld Point, by means of the Four-Ball Extreme-
dynamic conditions.
Pressure (EP) Tester, and
3.1.1.1 Discussion—Shown in Fig. 1 as line ABE.
1.1.3 Last nonseizure load (LNSL).
3.1.2 compensation scar diameter—the average diameter, in
1.2 The values stated in SI units are to be regarded as the
millimetres, of the wear scar on the stationary balls caused by
standard. The values in parentheses are for information only.
the rotating ball under an applied load in the presence of a
lubricant, but without causing either seizure or welding.
1.3 This standard does not purport to address all of the
safety concerns, if any, associated with its use. It is the
3.1.3 corrected load, n—the load in kilograms-force (or
responsibility of the user of this standard to establish appro-
Newtons) obtained by multiplying the applied load by the ratio
priate safety, health, and environmental practices and deter-
of the Hertz scar diameter to the measured scar diameter at that
mine the applicability of regulatory limitations prior to use.
load.
1.4 This international standard was developed in accor-
3.1.3.1 Discussion—In this test method, the corrected load
dance with internationally recognized principles on standard-
is calculated for each run.
ization established in the Decision on Principles for the
3.1.4 extreme pressure (EP) additives—tribologically reac-
Development of International Standards, Guides and Recom-
tive species that prevent mating metallic surfaces from adher-
mendations issued by the World Trade Organization Technical
ing to each other under concentrated contact conditions with
Barriers to Trade (TBT) Committee.
high PV values. PV Product, G40
3.1.4.1 Discussion—The PV value is the product of the
2. Referenced Documents
contact pressure (MPa) and sliding velocity (m/s). D2509
2
2.1 ASTM Standards:
3.1.5 extreme pressure (EP) lubricants, n—formulations
D2509 Test Method for Measurement of Load-Carrying
whose effects may become observable at different operating
Capacity of Lubricating Grease (Timken Method)
conditions, preventing adhesive wear under mixed or boundary
G40 Terminology Relating to Wear and Erosion
3
lubrication regimes and are characterized by an increased load
2.2 American National Standard:
carrying capacity, or increased tribofilm strength. D2509
B3.12 Metal Balls
3.1.6 Hertz line, n—alineofplotonlog-logpaperwherethe
coordinatesarescardiameterinmillimetresandappliedloadin
1
This test method is under the jurisdiction of ASTM Committee D02 on
kilograms-force (or Newtons) obtained under static conditions.
Petroleum Products, Liquid Fuels, and Lubricantsand is the direct responsibility of
3.1.6.1 Discussion—Shown in Fig. 1 as a Hertz line.
Subcommittee D02.G0.04 on Functional Tests - Tribology.
Current edition approved May 1, 2020. Published June 2020. Originally
3.1.7 Hertz scar diameter, n—the average diameter, in
approved in 1967. Last previous edition approved in 2015 as D2596 – 15. DOI:
millimetres, of an indentation caused by the deformation of the
10.1520/D2596-20.
2
For referenced ASTM standards, visit the ASTM website, www.astm.org, or
balls under static load (prior to test). It may be calculated from
contact ASTM Customer Service at service@astm.org. For Annual Book of ASTM
the equation:
Standards volume information, refer to the standard’s Document Summary page on
22 1/3
the ASTM website.
D 5 8.73 310 P (1)
~ !
h
3
Available from American National Standards Institute (ANSI), 25 W. 43rd St.,
4th Floor, New York, NY 10036, http://www.ansi.org. where:
*A Summary of Changes section appears at the end of this standard
Copyright © ASTM International, 100 Barr Harbor Drive, PO Box C700, West Conshohocken
...
This document is not an ASTM standard and is intended only to provide the user of an ASTM standard an indication of what changes have been made to the previous version. Because
it may not be technically possible to adequately depict all changes accurately, ASTM recommends that users consult prior editions as appropriate. In all cases only the current version
of the standard as published by ASTM is to be considered the official document.
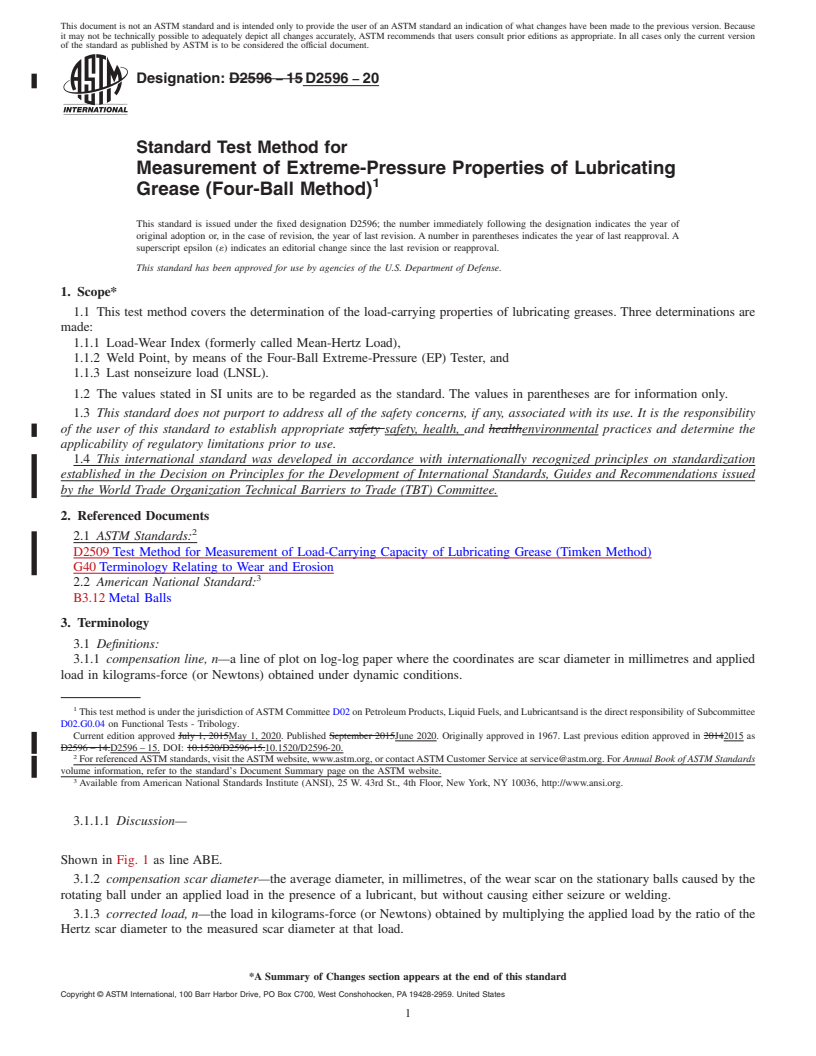
Designation: D2596 − 15 D2596 − 20
Standard Test Method for
Measurement of Extreme-Pressure Properties of Lubricating
1
Grease (Four-Ball Method)
This standard is issued under the fixed designation D2596; the number immediately following the designation indicates the year of
original adoption or, in the case of revision, the year of last revision. A number in parentheses indicates the year of last reapproval. A
superscript epsilon (´) indicates an editorial change since the last revision or reapproval.
This standard has been approved for use by agencies of the U.S. Department of Defense.
1. Scope*
1.1 This test method covers the determination of the load-carrying properties of lubricating greases. Three determinations are
made:
1.1.1 Load-Wear Index (formerly called Mean-Hertz Load),
1.1.2 Weld Point, by means of the Four-Ball Extreme-Pressure (EP) Tester, and
1.1.3 Last nonseizure load (LNSL).
1.2 The values stated in SI units are to be regarded as the standard. The values in parentheses are for information only.
1.3 This standard does not purport to address all of the safety concerns, if any, associated with its use. It is the responsibility
of the user of this standard to establish appropriate safety safety, health, and healthenvironmental practices and determine the
applicability of regulatory limitations prior to use.
1.4 This international standard was developed in accordance with internationally recognized principles on standardization
established in the Decision on Principles for the Development of International Standards, Guides and Recommendations issued
by the World Trade Organization Technical Barriers to Trade (TBT) Committee.
2. Referenced Documents
2
2.1 ASTM Standards:
D2509 Test Method for Measurement of Load-Carrying Capacity of Lubricating Grease (Timken Method)
G40 Terminology Relating to Wear and Erosion
3
2.2 American National Standard:
B3.12 Metal Balls
3. Terminology
3.1 Definitions:
3.1.1 compensation line, n—a line of plot on log-log paper where the coordinates are scar diameter in millimetres and applied
load in kilograms-force (or Newtons) obtained under dynamic conditions.
1
This test method is under the jurisdiction of ASTM Committee D02 on Petroleum Products, Liquid Fuels, and Lubricantsand is the direct responsibility of Subcommittee
D02.G0.04 on Functional Tests - Tribology.
Current edition approved July 1, 2015May 1, 2020. Published September 2015June 2020. Originally approved in 1967. Last previous edition approved in 20142015 as
D2596 – 14.D2596 – 15. DOI: 10.1520/D2596-15.10.1520/D2596-20.
2
For referenced ASTM standards, visit the ASTM website, www.astm.org, or contact ASTM Customer Service at service@astm.org. For Annual Book of ASTM Standards
volume information, refer to the standard’s Document Summary page on the ASTM website.
3
Available from American National Standards Institute (ANSI), 25 W. 43rd St., 4th Floor, New York, NY 10036, http://www.ansi.org.
3.1.1.1 Discussion—
Shown in Fig. 1 as line ABE.
3.1.2 compensation scar diameter—the average diameter, in millimetres, of the wear scar on the stationary balls caused by the
rotating ball under an applied load in the presence of a lubricant, but without causing either seizure or welding.
3.1.3 corrected load, n—the load in kilograms-force (or Newtons) obtained by multiplying the applied load by the ratio of the
Hertz scar diameter to the measured scar diameter at that load.
*A Summary of Changes section appears at the end of this standard
Copyright © ASTM International, 100 Barr Harbor Drive, PO Box C700, West Conshohocken, PA 19428-2959. United States
1
---------------------- Page: 1 ----------------------
D2596 − 20
3.1.3.1 Discussion—
FIG. 1 Schematic Plot of Scar Diameter Versus Applied Load
In this test method, the corrected load is calculated for each run.
3.1.4 extreme pressure (EP) additives—tribologically reactive species that prevent mating metallic surfaces from adhering to
each other under concentrated contact conditions with high PV values. PV Product, G40
3.1.4.1 Discussion—
The PV value is the product of the contact pressure (MPa) and sliding velocity (m/s). D2509
3.1.5 extreme pressure (EP) lubricants, n—formulations whose effects may become observable at different operating conditions,
preventing adhesive wear under mixed or boundary lubrication regimes and are characterized by an increased load carrying
capacity, or increased tribofilm strength. D2509
3.1.6 hertzHertz line, n—a line of plot on log-log paper where the coordinates are scar diameter in millimetres a
...


Questions, Comments and Discussion
Ask us and Technical Secretary will try to provide an answer. You can facilitate discussion about the standard in here.