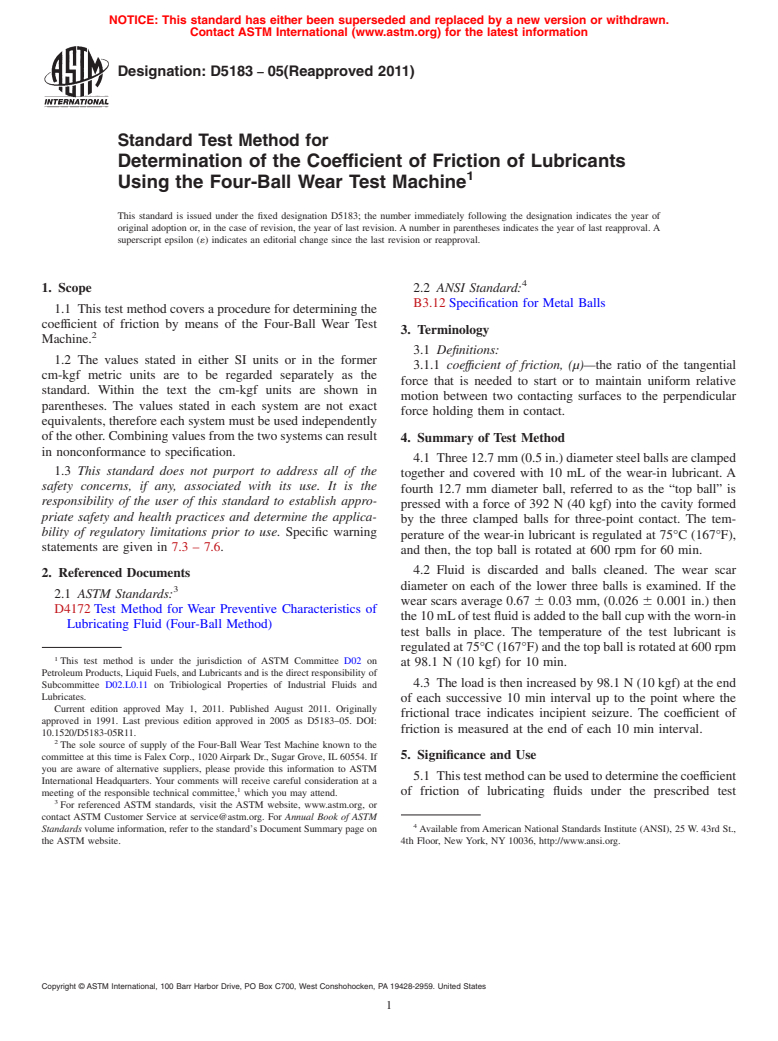
ASTM D5183-05(2011)
(Test Method)Standard Test Method for Determination of the Coefficient of Friction of Lubricants Using the Four-Ball Wear Test Machine
Standard Test Method for Determination of the Coefficient of Friction of Lubricants Using the Four-Ball Wear Test Machine
SIGNIFICANCE AND USE
This test method can be used to determine the coefficient of friction of lubricating fluids under the prescribed test conditions. The user of this test method should determine to his own satisfaction whether results of this test method correlate with field performance or other bench test machines.
SCOPE
1.1 This test method covers a procedure for determining the coefficient of friction by means of the Four-Ball Wear Test Machine.
1.2 The values stated in either SI units or in the former cm-kgf metric units are to be regarded separately as the standard. Within the text the cm-kgf units are shown in parentheses. The values stated in each system are not exact equivalents, therefore each system must be used independently of the other. Combining values from the two systems can result in nonconformance to specification.
1.3 This standard does not purport to address all of the safety concerns, if any, associated with its use. It is the responsibility of the user of this standard to establish appropriate safety and health practices and determine the applicability of regulatory limitations prior to use. Specific warning statements are given in 7.3, 7.4, 7.5, and 7.6.
General Information
Relations
Standards Content (Sample)
NOTICE: This standard has either been superseded and replaced by a new version or withdrawn.
Contact ASTM International (www.astm.org) for the latest information
Designation: D5183 − 05(Reapproved 2011)
Standard Test Method for
Determination of the Coefficient of Friction of Lubricants
Using the Four-Ball Wear Test Machine
This standard is issued under the fixed designation D5183; the number immediately following the designation indicates the year of
original adoption or, in the case of revision, the year of last revision. A number in parentheses indicates the year of last reapproval. A
superscript epsilon (´) indicates an editorial change since the last revision or reapproval.
1. Scope 2.2 ANSI Standard:
B3.12 Specification for Metal Balls
1.1 This test method covers a procedure for determining the
coefficient of friction by means of the Four-Ball Wear Test
3. Terminology
Machine.
3.1 Definitions:
1.2 The values stated in either SI units or in the former
3.1.1 coeffıcient of friction, (µ)—the ratio of the tangential
cm-kgf metric units are to be regarded separately as the
force that is needed to start or to maintain uniform relative
standard. Within the text the cm-kgf units are shown in
motion between two contacting surfaces to the perpendicular
parentheses. The values stated in each system are not exact
force holding them in contact.
equivalents, therefore each system must be used independently
of the other. Combining values from the two systems can result
4. Summary of Test Method
in nonconformance to specification.
4.1 Three12.7mm(0.5in.)diametersteelballsareclamped
1.3 This standard does not purport to address all of the
together and covered with 10 mL of the wear-in lubricant. A
safety concerns, if any, associated with its use. It is the
fourth 12.7 mm diameter ball, referred to as the “top ball” is
responsibility of the user of this standard to establish appro-
pressed with a force of 392 N (40 kgf) into the cavity formed
priate safety and health practices and determine the applica-
by the three clamped balls for three-point contact. The tem-
bility of regulatory limitations prior to use. Specific warning
perature of the wear-in lubricant is regulated at 75°C (167°F),
statements are given in 7.3 – 7.6.
and then, the top ball is rotated at 600 rpm for 60 min.
4.2 Fluid is discarded and balls cleaned. The wear scar
2. Referenced Documents
diameter on each of the lower three balls is examined. If the
2.1 ASTM Standards:
wear scars average 0.67 6 0.03 mm, (0.026 6 0.001 in.) then
D4172 Test Method for Wear Preventive Characteristics of
the 10 mLof test fluid is added to the ball cup with the worn-in
Lubricating Fluid (Four-Ball Method)
test balls in place. The temperature of the test lubricant is
regulated at 75°C (167°F) and the top ball is rotated at 600 rpm
This test method is under the jurisdiction of ASTM Committee D02 on
at 98.1 N (10 kgf) for 10 min.
Petroleum Products, Liquid Fuels, and Lubricants and is the direct responsibility of
4.3 The load is then increased by 98.1 N (10 kgf) at the end
Subcommittee D02.L0.11 on Tribiological Properties of Industrial Fluids and
Lubricates.
of each successive 10 min interval up to the point where the
Current edition approved May 1, 2011. Published August 2011. Originally
frictional trace indicates incipient seizure. The coefficient of
approved in 1991. Last previous edition approved in 2005 as D5183–05. DOI:
friction is measured at the end of each 10 min interval.
10.1520/D5183-05R11.
The sole source of supply of the Four-Ball Wear Test Machine known to the
5. Significance and Use
committee at this time is Falex Corp., 1020 Airpark Dr., Sugar Grove, IL 60554. If
you are aware of alternative suppliers, please provide this information to ASTM
5.1 Thistestmethodcanbeusedtodeterminethecoefficient
International Headquarters. Your comments will receive careful consideration at a
of friction of lubricating fluids under the prescribed test
meeting of the responsible technical committee, which you may attend.
For referenced ASTM standards, visit the ASTM website, www.astm.org, or
contact ASTM Customer Service at service@astm.org. For Annual Book of ASTM
Standards volume information, refer to the standard’s Document Summary page on Available from American National Standards Institute (ANSI), 25 W. 43rd St.,
the ASTM website. 4th Floor, New York, NY 10036, http://www.ansi.org.
Copyright © ASTM International, 100 Barr Harbor Drive, PO Box C700, West Conshohocken, PA 19428-2959. United States
D5183 − 05 (2011)
FIG. 1 Schematic of a Four-Ball Wear Test Machine
conditions.Theuserofthistestmethodshoulddeterminetohis
own satisfaction whether results of this test method correlate
with field performance or other bench test machines.
6. Apparatus
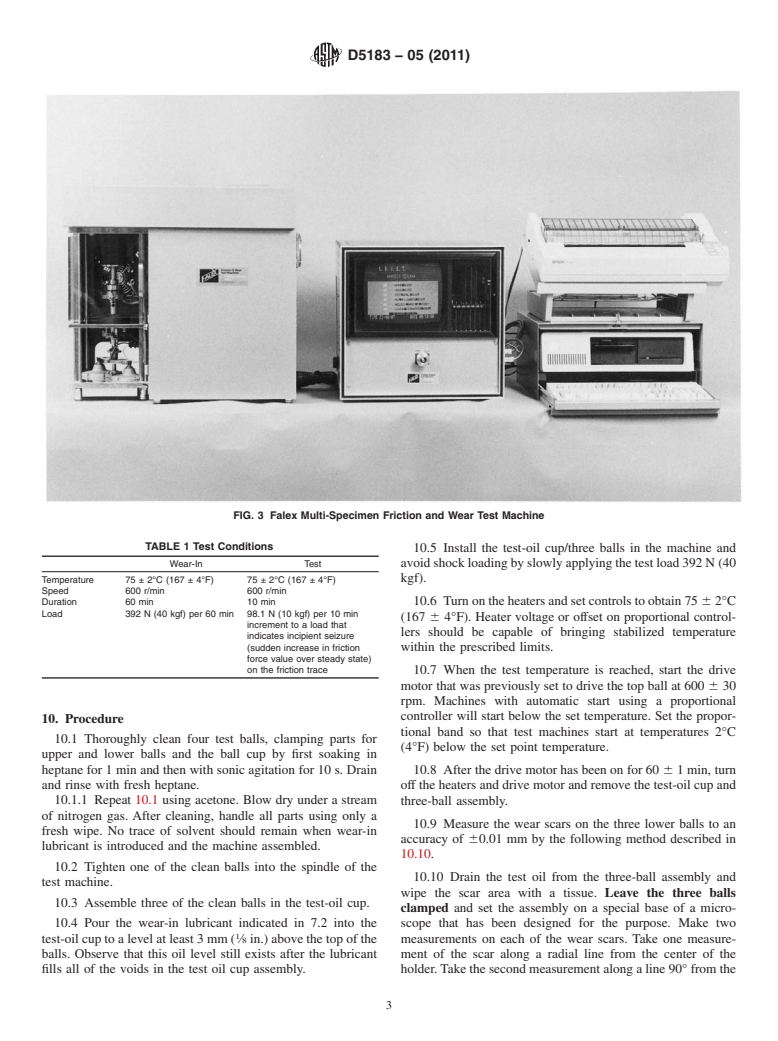
6.1 Four-Ball Test Machine —See Figs. 1-3.
NOTE 1—It is important to distinguish between the Four-Ball E.P. and
theFour-BallWearTestMachine(seeTestMethodD4172).TheFour-Ball
E.P.Test Machine is designed for testing under heavier loads and lacks the
sensitivity necessary for wear tests.
6.2 Microscope, capable of measuring the diameters of the
scars produced on the three balls to an accuracy of 0.01 mm
without removal from the ball test cup.
6.3 Test Balls, chrome alloy steel, made fromAISI Standard
Steel No. E-52100, with diameter of 12.7 mm (0.5 in.) Grade
25 EP (extra polish). Such balls are described in ANSI
SpecificationsB3.12.Theextra-polishfinishisnotdescribedin
FIG. 2 Falex Variable—Speed Four-Ball Wear Test Machine
that specification. The Rockwell C hardness shall be 64 to 66,
a closer limit than is found in the ANSI requirement.
7. Reagents and Materials
7.5 Methyl ethyl ketone—(Warning—Flammable. Health
7.1 Purity of Reagents—Reagent grade chemicals shall be
hazard.)—
used in all tests. Unless otherwise indicated, it is intended that
7.6 Pyridine—(Warning—Flammable. Health hazard.)—
all reagents conform to the specifications of the Committee on
Analytical Reagents of the American Chemical Society where
8. Preparation of Apparatus
such specifications are available. Other grades may be used,
8.1 Set up the drive of the machine to obtain a spindle speed
provided it is first ascertained that the reagent is of sufficiently
of 600 6 30 rpm.
high purity to permit its use without lessening the accuracy of
the determination.
8.2 Set temperature regulator to produce a test-oil tempera-
ture of 75 6 2°C (167 6 4°F).
7.2 Wear-In Lubricant, white oil having a viscosity at 40°C
of 24.3 to 26.1 cSt (100°F of 125/135 SUS). It should be
8.3 Ifanautomatictimerisusedtoterminateatest,itshould
percolated through activated alumina to remove any residual
becheckedfortherequired 61minaccuracyat60minelapsed
impurities.
time, and 610 s at 10 min elapsed time.
7.3 Acetone—(Warning—Flammable. Health hazard.)
8.4 The loading mechanism should be balanced to a zero
reading with all parts and test oil in place. To demonstrate
7.4 n-Heptane—(Warning—Flammable. Health hazard.)
proper precision an addition or subtraction of 2.0 N (0.2 kgf)
should be detectable in imbalance. Determination of accuracy
The Four-Ball Wear Test Machine and the Falex Multi-Specimen Friction and
of loading at 147 and 392 N (15 and 40 kgf) is difficult and
Wear Test Machine, both made by Falex Corp., 1020 Airpark Dr., Sugar Grove, IL
generally limited to careful measurement of lever-arm ratios
60554 have been found satisfactory for this purpose. This company can also furnish
a microscope with a special base to measure the wear scars without removing the and weights or piston diameter and pressure gage calibration.
ballsfromthetest-oilcup.DiscontinuedmodelsoftheFour-BallWearTestMachine
NOTE 2—Because of differences in the construction of the various
made by Precision Scientific Co. and Roxana Machine Works are also satisfactory.
machines on which the four-ball can be made, the manufacturer’s
Reagent Chemicals, American Chemical Society Specifications, American
instructions should be consulted for proper machine set up and operation.
Chemical Society, Washington, DC. For Suggestions on the testing of reagents not
listed by the American Chemical Society, see Annual Standards for Laboratory
Chemicals, BDH Ltd., Poole, Dorset, U.K., and the United States Pharmacopeia
9. Conditioning
and National Formulary, U.S. Pharmacopeial Convention, Inc. (USPC), Rockville,
MD. 9.1 Test Conditions—See Table 1.
D5183 − 05 (2011)
FIG. 3 Falex Multi-Specimen Friction and Wear Test Machine
TABLE 1 Test Conditions
10.5 Install the test-oil cup/three balls in the machine and
Wear-In Test avoidshockloadingbyslowlyapplyingthetestload392N(40
Temperature 75 ± 2°C (167 ± 4°F) 75 ± 2°C (167 ± 4°F) kgf).
Speed 600 r/min 600 r/min
Duration 60 min 10 min 10.6 Turnontheheatersandsetcontrolstoobtain75 62°C
Load 392 N (40 kgf) per 60 min 98.1 N (10 kgf) per 10 min
(167 6 4°F). Heater voltage or offset on proportional control-
increment to
...


Questions, Comments and Discussion
Ask us and Technical Secretary will try to provide an answer. You can facilitate discussion about the standard in here.