ASTM E1867-97
(Test Method)Standard Test Method for Temperature Calibration of Dynamic Mechanical Analyzers
Standard Test Method for Temperature Calibration of Dynamic Mechanical Analyzers
SCOPE
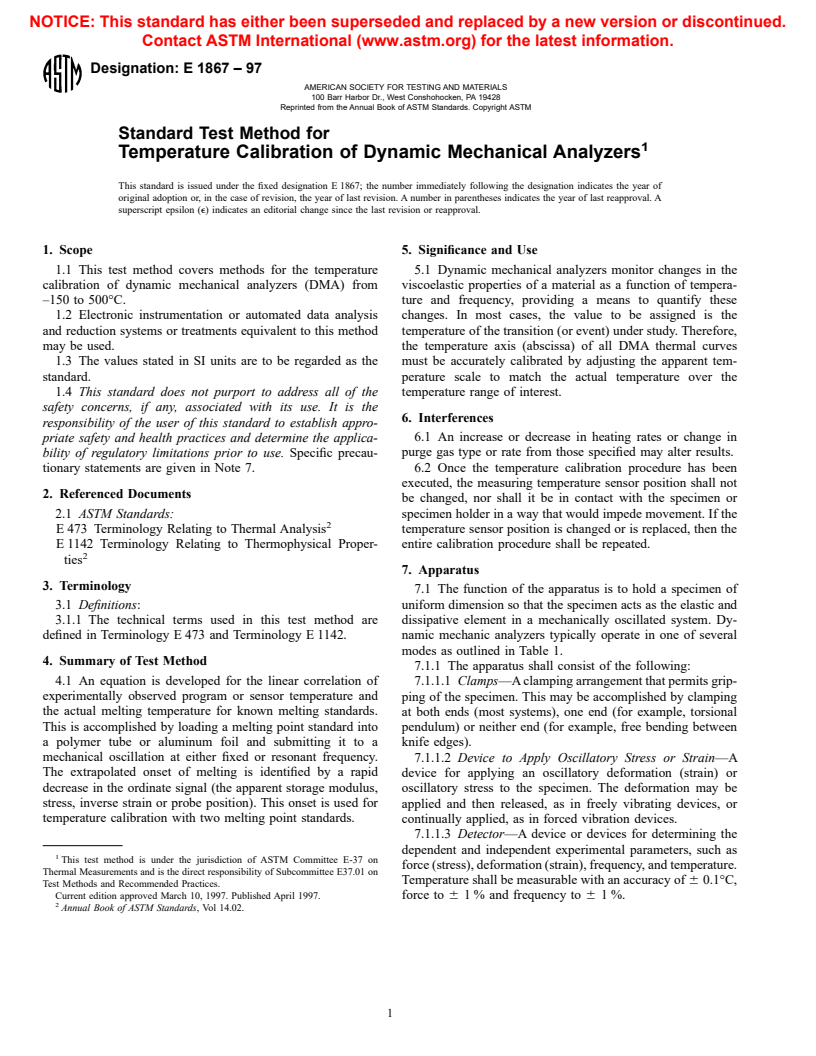
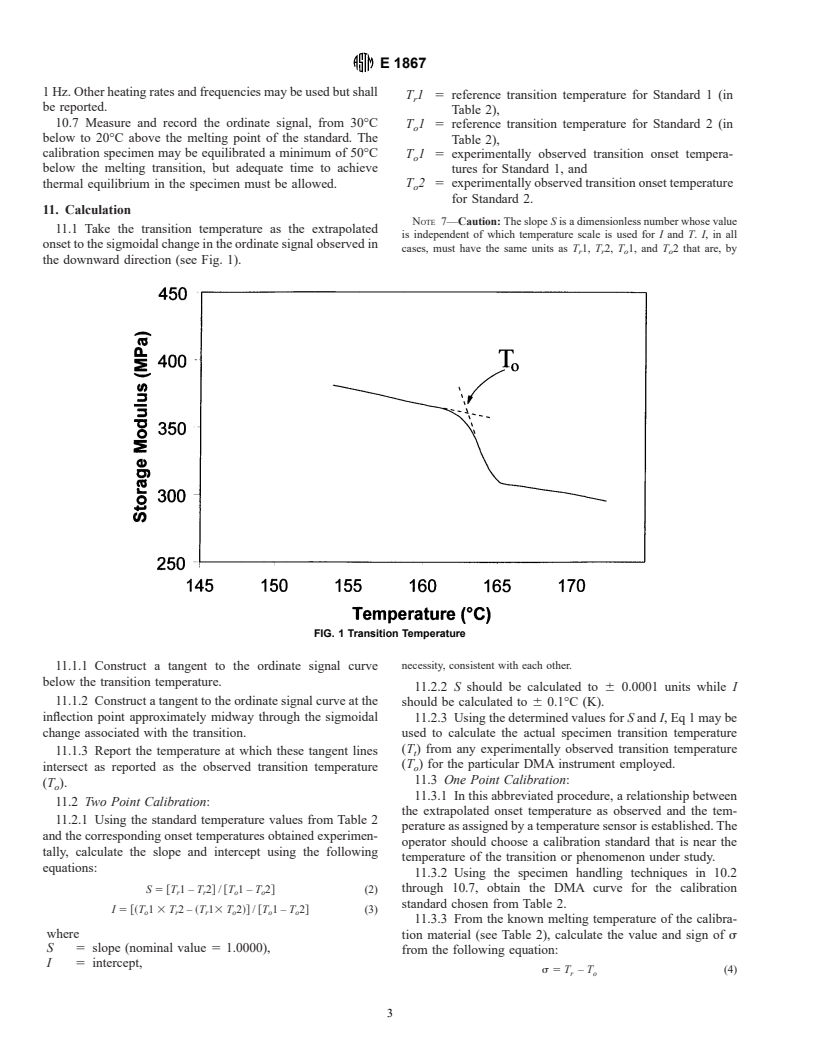
1.1 This test method covers methods for the temperature calibration of dynamic mechanical analyzers (DMA) from -150 to 500°C.
1.2 Electronic instrumentation or automated data analysis and reduction systems or treatments equivalent to this method may be used.
1.3 The values stated in SI units are to be regarded as the standard.
1.4 This standard does not purport to address all of the safety concerns, if any, associated with its use. It is the responsibility of the user of this standard to establish appropriate safety and health practices and determine the applicability of regulatory limitations prior to use. Specific precautionary statements are given in Note 7.
General Information
Relations
Standards Content (Sample)
NOTICE: This standard has either been superseded and replaced by a new version or discontinued.
Contact ASTM International (www.astm.org) for the latest information.
Designation: E 1867 – 97
AMERICAN SOCIETY FOR TESTING AND MATERIALS
100 Barr Harbor Dr., West Conshohocken, PA 19428
Reprinted from the Annual Book of ASTM Standards. Copyright ASTM
Standard Test Method for
Temperature Calibration of Dynamic Mechanical Analyzers
This standard is issued under the fixed designation E 1867; the number immediately following the designation indicates the year of
original adoption or, in the case of revision, the year of last revision. A number in parentheses indicates the year of last reapproval. A
superscript epsilon (e) indicates an editorial change since the last revision or reapproval.
1. Scope 5. Significance and Use
1.1 This test method covers methods for the temperature 5.1 Dynamic mechanical analyzers monitor changes in the
calibration of dynamic mechanical analyzers (DMA) from viscoelastic properties of a material as a function of tempera-
–150 to 500°C. ture and frequency, providing a means to quantify these
1.2 Electronic instrumentation or automated data analysis changes. In most cases, the value to be assigned is the
and reduction systems or treatments equivalent to this method temperature of the transition (or event) under study. Therefore,
may be used. the temperature axis (abscissa) of all DMA thermal curves
1.3 The values stated in SI units are to be regarded as the must be accurately calibrated by adjusting the apparent tem-
standard. perature scale to match the actual temperature over the
1.4 This standard does not purport to address all of the temperature range of interest.
safety concerns, if any, associated with its use. It is the
6. Interferences
responsibility of the user of this standard to establish appro-
6.1 An increase or decrease in heating rates or change in
priate safety and health practices and determine the applica-
bility of regulatory limitations prior to use. Specific precau- purge gas type or rate from those specified may alter results.
6.2 Once the temperature calibration procedure has been
tionary statements are given in Note 7.
executed, the measuring temperature sensor position shall not
2. Referenced Documents
be changed, nor shall it be in contact with the specimen or
2.1 ASTM Standards: specimen holder in a way that would impede movement. If the
E 473 Terminology Relating to Thermal Analysis temperature sensor position is changed or is replaced, then the
E 1142 Terminology Relating to Thermophysical Proper- entire calibration procedure shall be repeated.
ties
7. Apparatus
3. Terminology
7.1 The function of the apparatus is to hold a specimen of
3.1 Definitions: uniform dimension so that the specimen acts as the elastic and
3.1.1 The technical terms used in this test method are dissipative element in a mechanically oscillated system. Dy-
defined in Terminology E 473 and Terminology E 1142. namic mechanic analyzers typically operate in one of several
modes as outlined in Table 1.
4. Summary of Test Method
7.1.1 The apparatus shall consist of the following:
4.1 An equation is developed for the linear correlation of 7.1.1.1 Clamps—A clamping arrangement that permits grip-
experimentally observed program or sensor temperature and
ping of the specimen. This may be accomplished by clamping
the actual melting temperature for known melting standards. at both ends (most systems), one end (for example, torsional
This is accomplished by loading a melting point standard into
pendulum) or neither end (for example, free bending between
a polymer tube or aluminum foil and submitting it to a knife edges).
mechanical oscillation at either fixed or resonant frequency.
7.1.1.2 Device to Apply Oscillatory Stress or Strain—A
The extrapolated onset of melting is identified by a rapid device for applying an oscillatory deformation (strain) or
decrease in the ordinate signal (the apparent storage modulus,
oscillatory stress to the specimen. The deformation may be
stress, inverse strain or probe position). This onset is used for applied and then released, as in freely vibrating devices, or
temperature calibration with two melting point standards.
continually applied, as in forced vibration devices.
7.1.1.3 Detector—A device or devices for determining the
dependent and independent experimental parameters, such as
This test method is under the jurisdiction of ASTM Committee E-37 on
force (stress), deformation (strain), frequency, and temperature.
Thermal Measurements and is the direct responsibility of Subcommittee E37.01 on
Temperature shall be measurable with an accuracy of 6 0.1°C,
Test Methods and Recommended Practices.
Current edition approved March 10, 1997. Published April 1997.
force to 6 1 % and frequency to 6 1%.
Annual Book of ASTM Standards, Vol 14.02.
E 1867
TABLE 1 Dynamic Mechanical Analyzer Modes of Operation TABLE 2 Calibration Materials
A
Mechanical Response Transition Temperature
Mode Material Reference
Tension Flexural Torsion Compression °C K
A
Free/dec . . X . Cyclopentane (solid-solid) -151.16 121.99 2.2.1
A
Forced/res/CA . X X . Cyclopentane (solid-solid) -135.06 138.09 2.2.1
A
Forced/fix/CA XX X X n-Pentane -132.66 140.49 2.2.2
A
Forced/fix/CS X X . X n-Heptane -90.56 182.65 2.2.3
Cyclohexane -87.06 186.09 2.2.4
A
Free 5 free oscillation; dec 5 decaying amplitude; forced 5 forced oscillation;
n-Octane -56.76 216.39 2.2.3
CA 5 constant amplitude; res 5 resonant frequency; fix 5 fixed frequency; CS 5
n-Decane -26.66 246.49 2.2.3
controlled stress.
n-Dodecane -9.65 263.5 2.2.3
Water 0.01 273.16 2.2.5
Cyclohexane 6.54 279.69 2.2.4
7.1.1.4 Temperature Controller and Oven—A device for
Diphenyl ether 26.87 300.02 2.2.6
controlling the specimen temperature, either by heating, cool-
Benzoic acid 122.37 395.62 2.2.6
ing (in steps or ramps), or by maintaining a constant experi-
Indium 156.5985 495.7485 2.2.5
Tin 231.928 505.118 2.2.5
mental environment. The temperature programmer shall be
Lead 327.502 600.652 2.2.6
sufficiently stable to permit measurement of specimen tempera-
B
Zinc 419.527 692.677 2.2.5
ture to 6 0.1°C.
A
The values in this table were determined under special, highly accurate test
7.1.1.5 Output Device—Capable of displaying the storage
conditions that are not attainable or applicable to this test method. The actual
modulus (either linearly or logarithmically) on the Y-axis precision of this test method is given in Section 13.
B
Amalgamates with aluminum. Do not heat above 430°C.
(ordinate) increasing in the upwards direction and temperature
on the X-axis (abscissa) increasing to the right.
extrapolated onset temperature (T ) and actual specimen tem-
o
NOTE 1—Some instruments, suitable for this test, may display only
perature (T ) is a linear one governed by the equation:
t
linear or logarithmic storage modulus while others may display linear
and/or logarithmic storage modulus. Care must be taken to use the same
T 5 ~T 3 S! 1 I (1)
t o
modulus scale when comparing unknown specimens, and in the compari-
where: S and I are the slope and intercept of a straight line,
son of results from one instrument to another.
respectively.
7.2 Where the melting material is to be confined to a tube
10.2 Select two calibration standards near the temperature
7.3 Poly(Ether Ether Ketone) {PEEK} Tubing, 0.5 mm
range of interest. The standards should be as close to the upper
(0.02 in.) inside diameter for low temperature standards, when
and lower temperature limits used for the subsequent test
containment is necessary. Tubing may be crimped with pliers
materials as practical.
or other tool.
NOTE 4—In some sample mounting geometries (for example, parallel
NOTE 2—PEEK tubing is selected because it is inert to most solvents
plate and three point bending and at some temperatures) it is possible to
and has no low temperature transitions in its crystalline form that might
perform these tests directly on the specimen without encapsulation in
interfere in the melting temperature range of liquid standards. It is readily
PEEK tubing or aluminum foil.
available from most laboratory supply houses.
10.2.1 Encapsulation technique for low temperature (liquid)
NOTE 3—PEEK must be in its crystalline form to have no temperature
standards where the melting temperature does not
...


Questions, Comments and Discussion
Ask us and Technical Secretary will try to provide an answer. You can facilitate discussion about the standard in here.