ASTM D542-00(2006)
(Test Method)Standard Test Method for Index of Refraction of Transparent Organic Plastics
Standard Test Method for Index of Refraction of Transparent Organic Plastics
SIGNIFICANCE AND USE
This test method measures a fundamental property of matter which is useful for the control of purity and composition for simple identification purposes, and for optical parts design. This test method is capable of readability to four figures to the right of the decimal point.
SCOPE
1.1 This test method covers a procedure for measuring the index of refraction of transparent organic plastic materials.
1.2 A refractometer method is presented. This procedure will satisfactorily cover the range of refractive indices found for such materials. Refractive index measurements require optically homogeneous specimens of uniform refractive index.Note 1This test method and ISO 489-1983 are technically equivalent.
This standard does not purport to address all of the safety concerns, if any, associated with its use. It is the responsibility of the user of this standard to establish appropriate safety and health practices and determine the applicability of regulatory limitations prior to use.
General Information
Relations
Standards Content (Sample)
NOTICE: This standard has either been superseded and replaced by a new version or withdrawn.
Contact ASTM International (www.astm.org) for the latest information
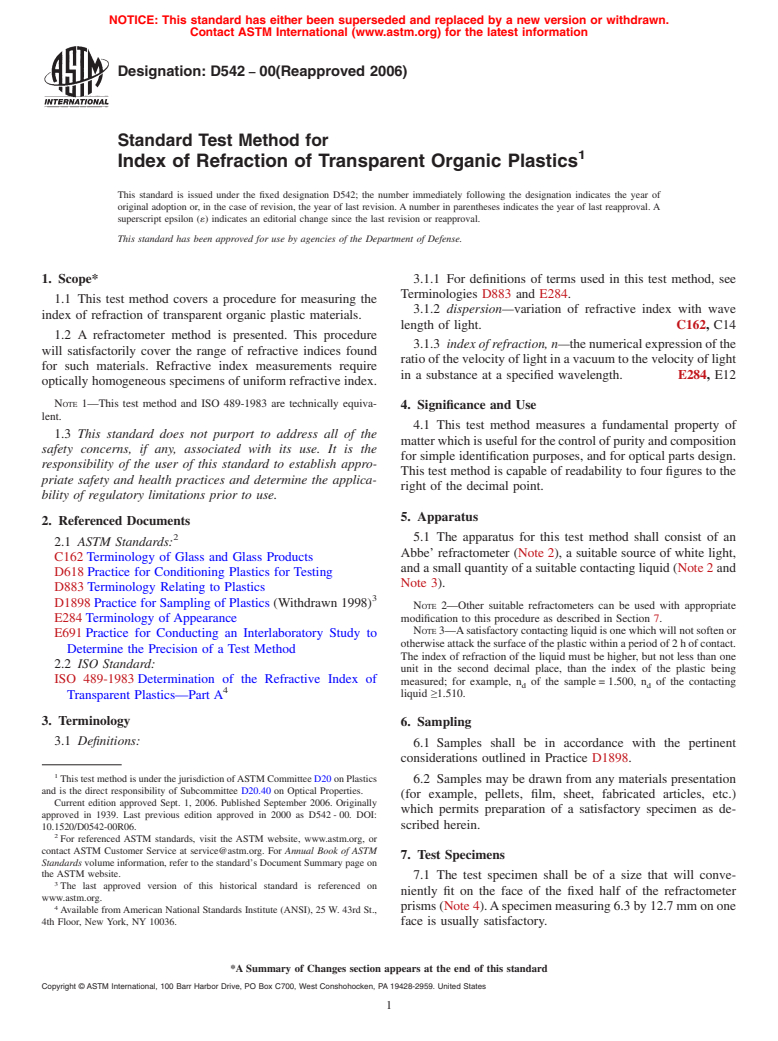
Designation: D542 − 00(Reapproved 2006)
Standard Test Method for
Index of Refraction of Transparent Organic Plastics
This standard is issued under the fixed designation D542; the number immediately following the designation indicates the year of
original adoption or, in the case of revision, the year of last revision. A number in parentheses indicates the year of last reapproval. A
superscript epsilon (´) indicates an editorial change since the last revision or reapproval.
This standard has been approved for use by agencies of the Department of Defense.
1. Scope* 3.1.1 For definitions of terms used in this test method, see
Terminologies D883 and E284.
1.1 This test method covers a procedure for measuring the
3.1.2 dispersion—variation of refractive index with wave
index of refraction of transparent organic plastic materials.
length of light. C162, C14
1.2 A refractometer method is presented. This procedure
3.1.3 index of refraction, n—thenumericalexpressionofthe
will satisfactorily cover the range of refractive indices found
ratio of the velocity of light in a vacuum to the velocity of light
for such materials. Refractive index measurements require
in a substance at a specified wavelength. E284, E12
optically homogeneous specimens of uniform refractive index.
NOTE 1—This test method and ISO 489-1983 are technically equiva-
4. Significance and Use
lent.
4.1 This test method measures a fundamental property of
1.3 This standard does not purport to address all of the
matterwhichisusefulforthecontrolofpurityandcomposition
safety concerns, if any, associated with its use. It is the
for simple identification purposes, and for optical parts design.
responsibility of the user of this standard to establish appro-
This test method is capable of readability to four figures to the
priate safety and health practices and determine the applica-
right of the decimal point.
bility of regulatory limitations prior to use.
5. Apparatus
2. Referenced Documents
5.1 The apparatus for this test method shall consist of an
2.1 ASTM Standards:
Abbe’ refractometer (Note 2), a suitable source of white light,
C162 Terminology of Glass and Glass Products
and a small quantity of a suitable contacting liquid (Note 2 and
D618 Practice for Conditioning Plastics for Testing
Note 3).
D883 Terminology Relating to Plastics
D1898 Practice for Sampling of Plastics (Withdrawn 1998)
NOTE 2—Other suitable refractometers can be used with appropriate
modification to this procedure as described in Section 7.
E284 Terminology of Appearance
NOTE3—Asatisfactorycontactingliquidisonewhichwillnotsoftenor
E691 Practice for Conducting an Interlaboratory Study to
otherwiseattackthesurfaceoftheplasticwithinaperiodof2hofcontact.
Determine the Precision of a Test Method
The index of refraction of the liquid must be higher, but not less than one
2.2 ISO Standard:
unit in the second decimal place, than the index of the plastic being
ISO 489-1983 Determination of the Refractive Index of
measured; for example, n of the sample = 1.500, n of the contacting
d d
liquid ≥1.510.
Transparent Plastics—Part A
3. Terminology
6. Sampling
3.1 Definitions:
6.1 Samples shall be in accordance with the pertinent
considerations outlined in Practice D1898.
This test method is under the jurisdiction ofASTM Committee D20 on Plastics
6.2 Samples may be drawn from any materials presentation
and is the direct responsibility of Subcommittee D20.40 on Optical Properties.
(for example, pellets, film, sheet, fabricated articles, etc.)
Current edition approved Sept. 1, 2006. Published September 2006. Originally
which permits preparation of a satisfactory specimen as de-
approved in 1939. Last previous edition approved in 2000 as D542 - 00. DOI:
10.1520/D0542-00R06. scribed herein.
For referenced ASTM standards, visit the ASTM website, www.astm.org, or
contact ASTM Customer Service at service@astm.org. For Annual Book of ASTM
7. Test Specimens
Standards volume information, refer to the standard’s Document Summary page on
the ASTM website.
7.1 The test specimen shall be of a size that will conve-
The last approved version of this historical standard is referenced on
niently fit on the face of the fixed half of the refractometer
www.astm.org.
prisms(Note4).Aspecimenmeasuring6.3by12.7mmonone
Available fromAmerican National Standards Institute (ANSI), 25 W. 43rd St.,
4th Floor, New York, NY 10036. face is usually satisfactory.
*A Summary of Changes section appears at the end of this standard
Copyright © ASTM International, 100 Barr Harbor Drive, PO Box C700, West Conshohocken, PA 19428-2959. United States
D542 − 00 (2006)
NOTE 4—For maximum accuracy in the refractometer method, the TABLE 1 Precision
surface contacting the prism must be flat. This surface can be judged for A B C D
Material Average S S I I
r R r R
flatness, provided the specimen has been satisfactorily polished, by
Glass Standard No. 1 1.356 0.001 0.002 0.003 0.006
observing the sharpness of the dividing line between the light and dark
PTFE 1.366 0.001 0.002 0.003 0.006
field as viewed in the ocular. A sharply defined straight dividing line
PVCA 1.477 0.002 0.002 0.006 0.006
indicates satisfactory contact between the specimen and prism surfaces.
Glass Standard No. 2 1.490 0.002 0.003 0.006 0.008
PA66 0.537 0.002 0.003 0.006 0.008
7.2 The surface to be used in contact with the prism shall be
Glass Standard No. 3 1.567 0.001 0.002 0.002 0.006
flat and shall have a good polish. A second edge surface
PF 1.614 0.004 0.004 0.011 0.011
perpendicular to the first and on one end of the specimen shall A
S = within-laboratory standard deviation.
r
B
be prepared with a fair polish (Note 5). The polished surfaces S = between-laboratories standard deviation.
R
C
I = 2.83 S .
r r
shall intersect without a beveled or rounded edge.
D
I = 2.83 S .
R R
NOTE 5—It has been found possible to prepare a satisfactorily polished
surfacebyhandpolishingsmallspecimensonanabrasivematerialbacked
by a piece of plate glass. Fine emery paper (for example, No. 000
Behr-Manning polishing paper) followed by a polishing rouge compound
suspended in water on a piece of parchment paper has successfully been 10. Report
used as the abrasive to produce a polished surface.
10.1 Report the following information:
7.3 A minimum of three specimens should be prepared and
10.1.1 The index of refraction to the nearest significant
measured.
figure warranted by the accuracy and duplicability of the
measurement. If the index is specified to more than three
8. Conditioning
significant figures, the wavelength of light for which the
measurement was made shall be specified.
8.1 Conditioning—Condition the test specimens at 23 6
2°Cand50 65 %relativehumidityfornotlessthan40hprior
NOTE 7—In the case of nonisotropic materials, for example, injection-
andcompression-moldedmaterials,theindexobservedwillbetheaverage
to the test in accordance with ProcedureAof Practice D618.In
value for a thin layer of small area at a point of contact near the center of
cases of disagreement, the tolerances should be 61°C and
the refractometer prism. For a complete and accurate determination of the
62 % relative humidity.
variationoftheindexthroughoutthetestspecimen,itisnecessarytomake
the measurement at more than one point on the surface and within the
8.2 Test Conditions—Conduct tests at 23 6 2°C and 50 6
body of the material. This can be done by preparing a contacting surface
5 % relative humidity, unless otherwise directed in a pertinent
both perpendicular and parallel to the molding pressure or flow.After the
specification. In cases of disagreement, the tolerances shall be
test specimen is contacted to the prism it may be translated carefully for
61°C and 62 % relative humidity. If the index of refraction of
short distances along the prism surface in the direction of the light source
the material is found to be highly temperature dependent, then while the variation of index is foll
...


Questions, Comments and Discussion
Ask us and Technical Secretary will try to provide an answer. You can facilitate discussion about the standard in here.