ASTM D542-13
(Test Method)Standard Test Method for Index of Refraction of Transparent Organic Plastics
Standard Test Method for Index of Refraction of Transparent Organic Plastics
SIGNIFICANCE AND USE
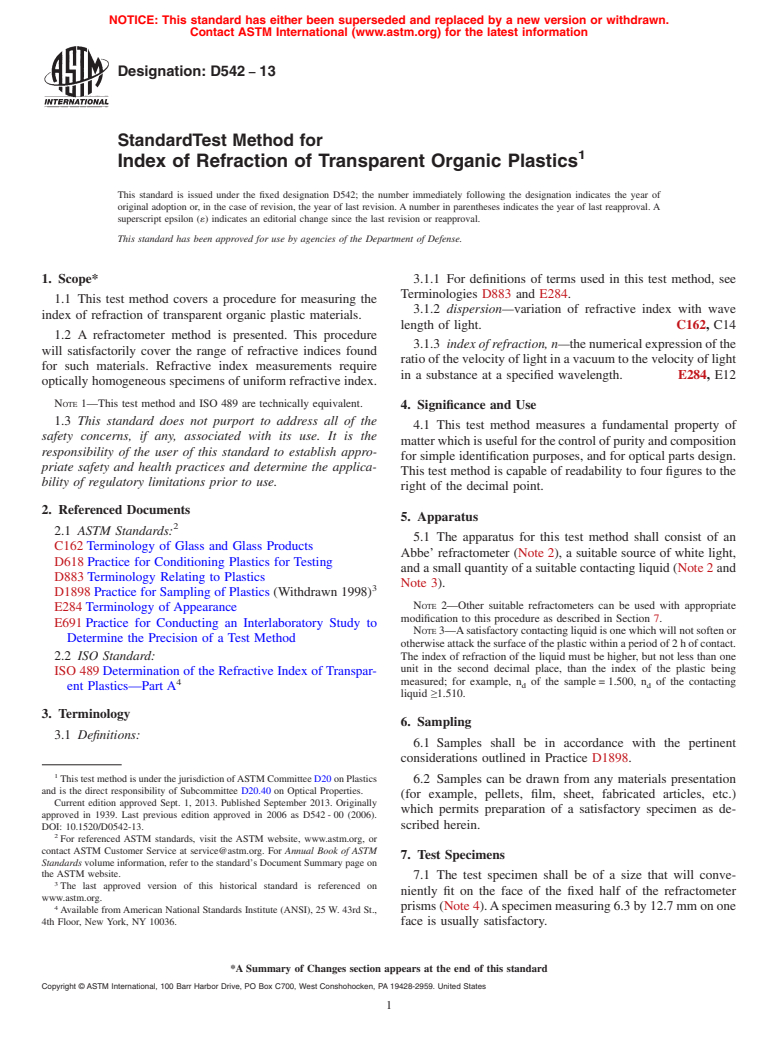
4.1 This test method measures a fundamental property of matter which is useful for the control of purity and composition for simple identification purposes, and for optical parts design. This test method is capable of readability to four figures to the right of the decimal point.
SCOPE
1.1 This test method covers a procedure for measuring the index of refraction of transparent organic plastic materials.
1.2 A refractometer method is presented. This procedure will satisfactorily cover the range of refractive indices found for such materials. Refractive index measurements require optically homogeneous specimens of uniform refractive index.Note 1—This test method and ISO 489 are technically equivalent.
1.3 This standard does not purport to address all of the safety concerns, if any, associated with its use. It is the responsibility of the user of this standard to establish appropriate safety and health practices and determine the applicability of regulatory limitations prior to use.
General Information
Relations
Buy Standard
Standards Content (Sample)
NOTICE: This standard has either been superseded and replaced by a new version or withdrawn.
Contact ASTM International (www.astm.org) for the latest information
Designation: D542 − 13
StandardTest Method for
1
Index of Refraction of Transparent Organic Plastics
This standard is issued under the fixed designation D542; the number immediately following the designation indicates the year of
original adoption or, in the case of revision, the year of last revision. A number in parentheses indicates the year of last reapproval. A
superscript epsilon (´) indicates an editorial change since the last revision or reapproval.
This standard has been approved for use by agencies of the Department of Defense.
1. Scope* 3.1.1 For definitions of terms used in this test method, see
Terminologies D883 and E284.
1.1 This test method covers a procedure for measuring the
3.1.2 dispersion—variation of refractive index with wave
index of refraction of transparent organic plastic materials.
length of light. C162, C14
1.2 A refractometer method is presented. This procedure
3.1.3 index of refraction, n—thenumericalexpressionofthe
will satisfactorily cover the range of refractive indices found
ratio of the velocity of light in a vacuum to the velocity of light
for such materials. Refractive index measurements require
in a substance at a specified wavelength. E284, E12
optically homogeneous specimens of uniform refractive index.
NOTE 1—This test method and ISO 489 are technically equivalent.
4. Significance and Use
1.3 This standard does not purport to address all of the
4.1 This test method measures a fundamental property of
safety concerns, if any, associated with its use. It is the
matterwhichisusefulforthecontrolofpurityandcomposition
responsibility of the user of this standard to establish appro-
for simple identification purposes, and for optical parts design.
priate safety and health practices and determine the applica-
This test method is capable of readability to four figures to the
bility of regulatory limitations prior to use.
right of the decimal point.
2. Referenced Documents
5. Apparatus
2
2.1 ASTM Standards:
5.1 The apparatus for this test method shall consist of an
C162 Terminology of Glass and Glass Products
Abbe’ refractometer (Note 2), a suitable source of white light,
D618 Practice for Conditioning Plastics for Testing
and a small quantity of a suitable contacting liquid (Note 2 and
D883 Terminology Relating to Plastics
Note 3).
3
D1898 Practice for Sampling of Plastics (Withdrawn 1998)
NOTE 2—Other suitable refractometers can be used with appropriate
E284 Terminology of Appearance
modification to this procedure as described in Section 7.
E691 Practice for Conducting an Interlaboratory Study to
NOTE3—Asatisfactorycontactingliquidisonewhichwillnotsoftenor
Determine the Precision of a Test Method
otherwiseattackthesurfaceoftheplasticwithinaperiodof2hofcontact.
2.2 ISO Standard: The index of refraction of the liquid must be higher, but not less than one
unit in the second decimal place, than the index of the plastic being
ISO 489 Determination of the Refractive Index of Transpar-
4
measured; for example, n of the sample = 1.500, n of the contacting
d d
ent Plastics—Part A
liquid ≥1.510.
3. Terminology
6. Sampling
3.1 Definitions:
6.1 Samples shall be in accordance with the pertinent
considerations outlined in Practice D1898.
1
This test method is under the jurisdiction ofASTM Committee D20 on Plastics
6.2 Samples can be drawn from any materials presentation
and is the direct responsibility of Subcommittee D20.40 on Optical Properties.
(for example, pellets, film, sheet, fabricated articles, etc.)
Current edition approved Sept. 1, 2013. Published September 2013. Originally
which permits preparation of a satisfactory specimen as de-
approved in 1939. Last previous edition approved in 2006 as D542 - 00 (2006).
DOI: 10.1520/D0542-13. scribed herein.
2
For referenced ASTM standards, visit the ASTM website, www.astm.org, or
contact ASTM Customer Service at service@astm.org. For Annual Book of ASTM
7. Test Specimens
Standards volume information, refer to the standard’s Document Summary page on
the ASTM website.
7.1 The test specimen shall be of a size that will conve-
3
The last approved version of this historical standard is referenced on
niently fit on the face of the fixed half of the refractometer
www.astm.org.
4
prisms(Note4).Aspecimenmeasuring6.3by12.7mmonone
Available fromAmerican National Standards Institute (ANSI), 25 W. 43rd St.,
4th Floor, New York, NY 10036. face is usually satisfactory.
*A Summary of Changes section appears at the end of this standard
Copyright © ASTM International, 100 Barr Harbor Drive, PO Box C700, West Conshohocken, PA 19428-2959. United States
1
---------------------- Page: 1 ----------------------
D542 − 13
NOTE 4—For maximum accuracy in the refractometer method, the
9.2 In the case of nonisotropic materials, for example,
surface contacting the prism must be flat. This surface is judged for
inje
...
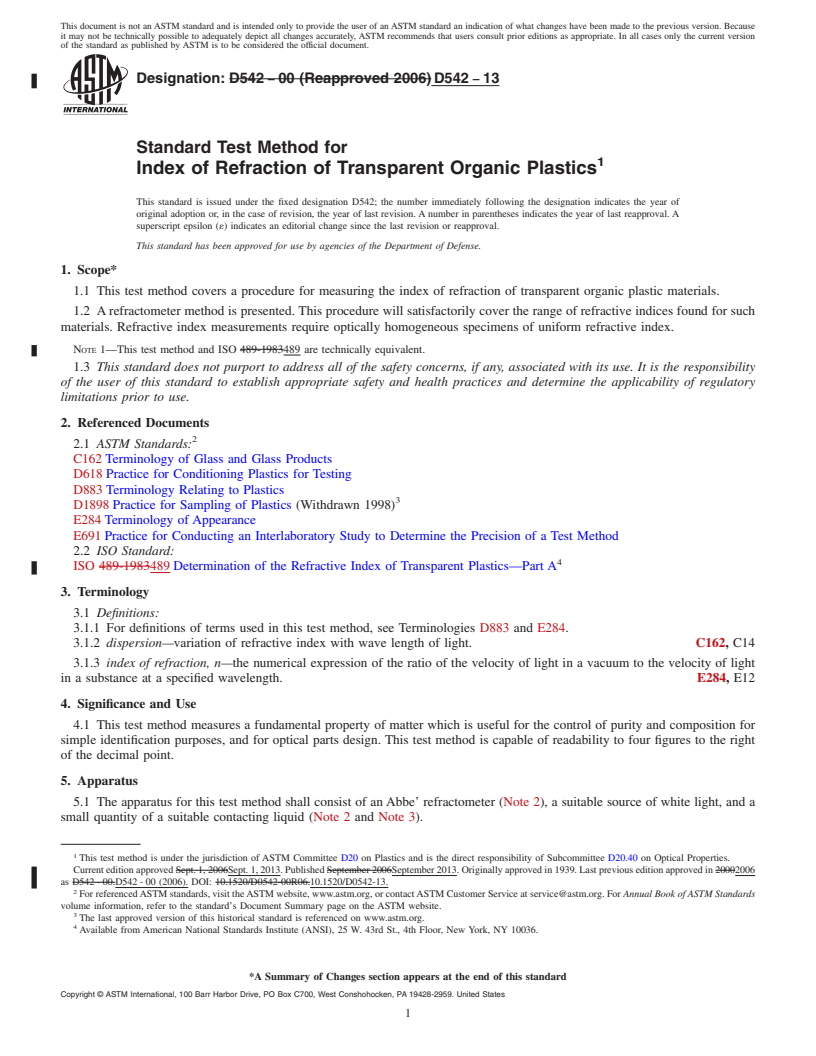
This document is not an ASTM standard and is intended only to provide the user of an ASTM standard an indication of what changes have been made to the previous version. Because
it may not be technically possible to adequately depict all changes accurately, ASTM recommends that users consult prior editions as appropriate. In all cases only the current version
of the standard as published by ASTM is to be considered the official document.
Designation: D542 − 00 (Reapproved 2006) D542 − 13
Standard Test Method for
1
Index of Refraction of Transparent Organic Plastics
This standard is issued under the fixed designation D542; the number immediately following the designation indicates the year of
original adoption or, in the case of revision, the year of last revision. A number in parentheses indicates the year of last reapproval. A
superscript epsilon (´) indicates an editorial change since the last revision or reapproval.
This standard has been approved for use by agencies of the Department of Defense.
1. Scope*
1.1 This test method covers a procedure for measuring the index of refraction of transparent organic plastic materials.
1.2 A refractometer method is presented. This procedure will satisfactorily cover the range of refractive indices found for such
materials. Refractive index measurements require optically homogeneous specimens of uniform refractive index.
NOTE 1—This test method and ISO 489-1983489 are technically equivalent.
1.3 This standard does not purport to address all of the safety concerns, if any, associated with its use. It is the responsibility
of the user of this standard to establish appropriate safety and health practices and determine the applicability of regulatory
limitations prior to use.
2. Referenced Documents
2
2.1 ASTM Standards:
C162 Terminology of Glass and Glass Products
D618 Practice for Conditioning Plastics for Testing
D883 Terminology Relating to Plastics
3
D1898 Practice for Sampling of Plastics (Withdrawn 1998)
E284 Terminology of Appearance
E691 Practice for Conducting an Interlaboratory Study to Determine the Precision of a Test Method
2.2 ISO Standard:
4
ISO 489-1983489 Determination of the Refractive Index of Transparent Plastics—Part A
3. Terminology
3.1 Definitions:
3.1.1 For definitions of terms used in this test method, see Terminologies D883 and E284.
3.1.2 dispersion—variation of refractive index with wave length of light. C162, C14
3.1.3 index of refraction, n—the numerical expression of the ratio of the velocity of light in a vacuum to the velocity of light
in a substance at a specified wavelength. E284, E12
4. Significance and Use
4.1 This test method measures a fundamental property of matter which is useful for the control of purity and composition for
simple identification purposes, and for optical parts design. This test method is capable of readability to four figures to the right
of the decimal point.
5. Apparatus
5.1 The apparatus for this test method shall consist of an Abbe’ refractometer (Note 2), a suitable source of white light, and a
small quantity of a suitable contacting liquid (Note 2 and Note 3).
1
This test method is under the jurisdiction of ASTM Committee D20 on Plastics and is the direct responsibility of Subcommittee D20.40 on Optical Properties.
Current edition approved Sept. 1, 2006Sept. 1, 2013. Published September 2006September 2013. Originally approved in 1939. Last previous edition approved in 20002006
as D542 - 00.D542 - 00 (2006). DOI: 10.1520/D0542-00R06.10.1520/D0542-13.
2
For referenced ASTM standards, visit the ASTM website, www.astm.org, or contact ASTM Customer Service at service@astm.org. For Annual Book of ASTM Standards
volume information, refer to the standard’s Document Summary page on the ASTM website.
3
The last approved version of this historical standard is referenced on www.astm.org.
4
Available from American National Standards Institute (ANSI), 25 W. 43rd St., 4th Floor, New York, NY 10036.
*A Summary of Changes section appears at the end of this standard
Copyright © ASTM International, 100 Barr Harbor Drive, PO Box C700, West Conshohocken, PA 19428-2959. United States
1
---------------------- Page: 1 ----------------------
D542 − 13
NOTE 2—Other suitable refractometers can be used with appropriate modification to this procedure as described in Section 7.
NOTE 3—A satisfactory contacting liquid is one which will not soften or otherwise attack the surface of the plastic within a period of 2 h of contact.
The index of refraction of the liquid must be higher, but not less than one unit in the second decimal place, than the index of the plastic being measured;
for example, n of the sample = 1.500, n of the contacting liquid ≥1.510.
d d
6. Sampling
6.1 Samples shall be in accordance with the pertinent considerations outlined in Practice D1898.
6.2 Samples maycan be drawn from any materials presentation (for example, pellets, film, sheet, fabricated articles, etc.) which
permits preparation of a satisfactory specimen as des
...


Questions, Comments and Discussion
Ask us and Technical Secretary will try to provide an answer. You can facilitate discussion about the standard in here.