ASTM F1211-89(1994)e1
(Specification)Standard Specification for Semiconductor Device Passivation Opening Layouts
Standard Specification for Semiconductor Device Passivation Opening Layouts
SCOPE
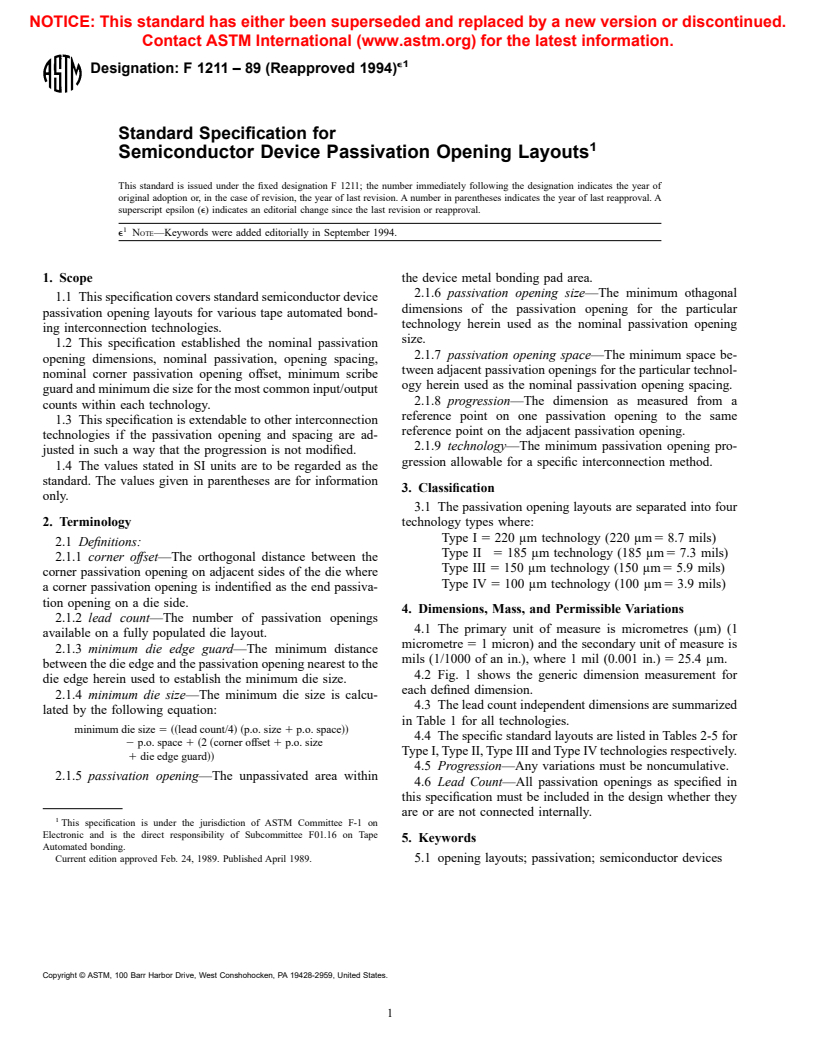
1.1 This specification covers standard semiconductor device passivation opening layouts for various tape automated bonding interconnection technologies.
1.2 This specification establishes the nominal passivation opening dimensions, nominal passivation, opening spacing, nominal corner passivation opening offset, minimum scribe guard and minimum die size for the most common input/ output counts within each technology.
1.3 This specification is extendable to other interconnection technologies if the passivation opening and spacing are adjusted in such a way that the progression is not modified.
1.4 The values stated in SI units are to be regarded as the standard. The values given in parentheses are for information only.
General Information
Relations
Standards Content (Sample)
NOTICE: This standard has either been superseded and replaced by a new version or discontinued.
Contact ASTM International (www.astm.org) for the latest information.
e1
Designation: F 1211 – 89 (Reapproved 1994)
Standard Specification for
Semiconductor Device Passivation Opening Layouts
This standard is issued under the fixed designation F 1211; the number immediately following the designation indicates the year of
original adoption or, in the case of revision, the year of last revision. A number in parentheses indicates the year of last reapproval. A
superscript epsilon (e) indicates an editorial change since the last revision or reapproval.
e NOTE—Keywords were added editorially in September 1994.
1. Scope the device metal bonding pad area.
2.1.6 passivation opening size—The minimum othagonal
1.1 This specification covers standard semiconductor device
dimensions of the passivation opening for the particular
passivation opening layouts for various tape automated bond-
technology herein used as the nominal passivation opening
ing interconnection technologies.
size.
1.2 This specification established the nominal passivation
2.1.7 passivation opening space—The minimum space be-
opening dimensions, nominal passivation, opening spacing,
tween adjacent passivation openings for the particular technol-
nominal corner passivation opening offset, minimum scribe
ogy herein used as the nominal passivation opening spacing.
guard and minimum die size for the most common input/output
2.1.8 progression—The dimension as measured from a
counts within each technology.
reference point on one passivation opening to the same
1.3 This specification is extendable to other interconnection
reference point on the adjacent passivation opening.
technologies if the passivation opening and spacing are ad-
2.1.9 technology—The minimum passivation opening pro-
justed in such a way that the progression is not modified.
gression allowable for a specific interconnection method.
1.4 The values stated in SI units are to be regarded as the
standard. The values given in parentheses are for information
3. Classification
only.
3.1 The passivation opening layouts are separated into four
2. Terminology technology types where:
Type I 5 220 μm technology (220 μm 5 8.7 mils)
2.1 Definitions:
Type II 5 185 μm technology (185 μm 5 7.3 mils)
2.1.1 corner offset—The orthogonal distance between the
Type III 5 150 μm technology (150 μm 5 5.9 mils)
corner passivation opening on adjacent sides of the die where
Type IV 5 100 μm technology (100 μm 5 3.9 mils)
a corner passivation opening is indentified as the end passiva-
tion opening on a die side.
4. Dimensions, Mass, and Permissible Variations
2.1.2 lead count—The number of passivation openings
4.1 The primary unit of measure is micrometres (μm) (1
available on a fully populated die layout.
micrometre 5 1 micron) and the secondary unit of measure is
2.1.3 minimum die edge guard—The minimum distance
mils (1/1000 of an in.), where 1 mil (0.001 in.) 5 25.4 μm.
between the die edge and the passivation opening nearest to the
4.2 Fig. 1 shows the generic dimension measurement for
die edge herein used to establish the minimum die size.
each defined dimension.
2.1.4 minimum die size—The minimum die size is calcu-
4.3 The lead count independent dimensions are summarized
lated by the following equation:
in Table 1 for all technologies.
minimum die size5~~lead count/4!~p.o. size 1 p.o. space!!
4.4 The specific standard layouts are listed in Tables 2-5 for
2 p.o. space1~2 ~corner offset 1 p.o. size
Type I, Type II, Type III and Type IV technologies respectively.
1 die edge guard!!
4.5 Progression—Any variations must be noncumulative.
2.1.5 passivation opening—The unpassivated area within
4.6 Lead Count—All passivation openings as specified in
this specification must be included in the design whether they
are or are not connected internally.
This specification is under the jurisdiction of ASTM Committee F-1 on
Electronic and is the direct responsibility of Subcommittee F01.16 on Tape
5. Keywords
Automated bonding.
Current edition approved Feb. 24, 1989. Published April 1989. 5.1 opening layouts; passivation; semiconductor devices
Copyright © ASTM, 100 Barr Harbor Drive, West Conshohocken, PA 19428-2959, United States.
F 1211
TABLE 3 Specific Dimensions for the Type II (185 μm)
Technology for Each Lead Count
Passivation Passivation Minimum
Corner Minimum
Lead Count Opening Opening Die Edge
Offset, μm Die Size,
n Size, μm Space, μm Guard, μm
(mil) μm (mil)
(mil) (mil) (mil)
28 80 (3.14) 105 (4.13) 188 (7.40) 125 (4.92) 2.0 (78)
32 80 (3.14) 105 (4.13) 188 (7.40) 125 (4.92) 2.2 (86)
40 80 (3.14) 105 (4.13) 188 (7.40) 125 (4.92) 2.6 (100)
44 80 (3.14) 105 (4.13) 188 (7.40) 125 (4.92) 2.8 (107)
68 80 (3.14) 105 (4.13) 188 (7.40) 125 (4.92) 3.9 (151)
84 80 (3.14) 105 (4.13) 188 (7.40) 125 (4.92) 4.6 (180)
100 80 (3.14) 105 (4.13) 188 (7.40) 125 (4.92) 5.4 (209)
132 80 (3.14) 105 (4.13) 188 (7.40) 125 (4.92) 6.8 (268)
144 80 (3.14) 105 (4.13) 188 (7.40) 125 (4.92) 7.4 (290)
164 80 (3.14) 105 (4.13) 188 (7.40) 125 (4.92) 8.3 (326)
180 80 (3.14) 105 (4.13) 188 (7.40) 125 (4.92) 9.1 (355)
196 80 (3.14) 105 (4.13) 188 (7.40) 125 (4.92) 9.7 (384)
FIG. 1 Generic Dimension Measurement
220 80 (3.14) 105 (4.13) 188 (7.40) 125 (4.92) 10.9 (428)
244 80 (3.14) 105
...


Questions, Comments and Discussion
Ask us and Technical Secretary will try to provide an answer. You can facilitate discussion about the standard in here.