ASTM E23-24
(Test Method)Standard Test Methods for Notched Bar Impact Testing of Metallic Materials
Standard Test Methods for Notched Bar Impact Testing of Metallic Materials
SIGNIFICANCE AND USE
5.1 These test methods of impact testing relate specifically to the behavior of metal when subjected to a single application of a force resulting in multi-axial stresses associated with a notch, coupled with high rates of loading and in some cases with high or low temperatures. For some materials and temperatures the results of impact tests on notched specimens, when correlated with service experience, have been found to predict the likelihood of brittle fracture accurately. Further information on significance appears in Appendix X1.
SCOPE
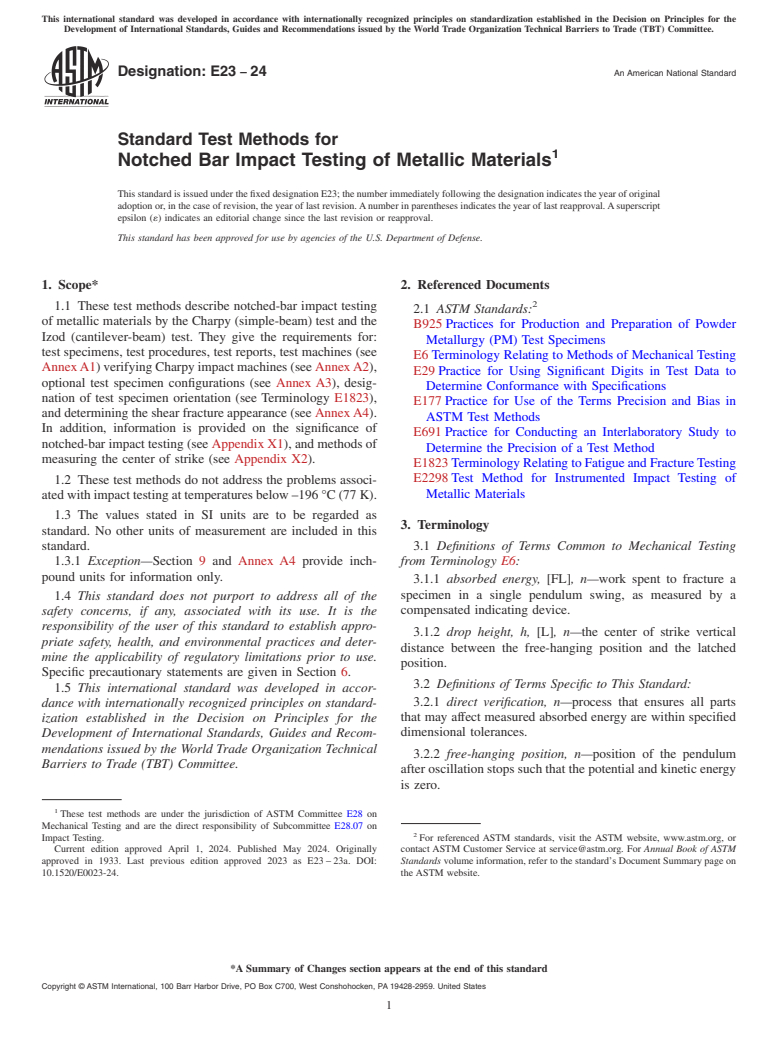
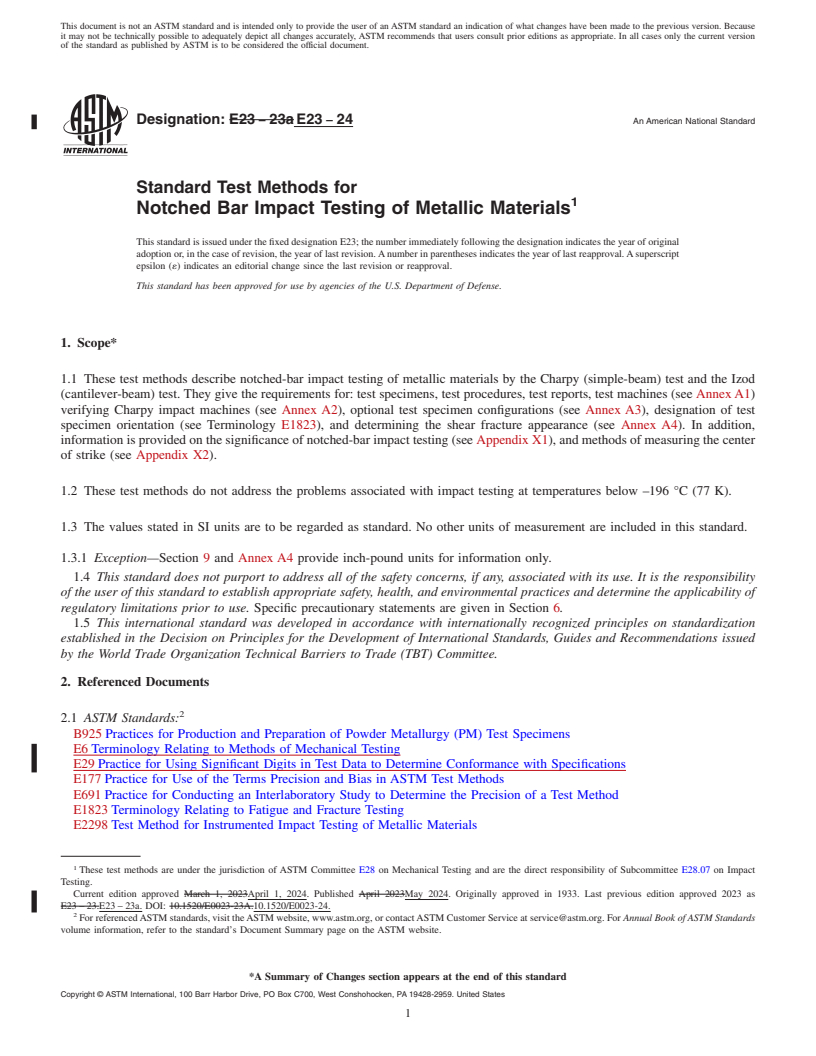
1.1 These test methods describe notched-bar impact testing of metallic materials by the Charpy (simple-beam) test and the Izod (cantilever-beam) test. They give the requirements for: test specimens, test procedures, test reports, test machines (see Annex A1) verifying Charpy impact machines (see Annex A2), optional test specimen configurations (see Annex A3), designation of test specimen orientation (see Terminology E1823), and determining the shear fracture appearance (see Annex A4). In addition, information is provided on the significance of notched-bar impact testing (see Appendix X1), and methods of measuring the center of strike (see Appendix X2).
1.2 These test methods do not address the problems associated with impact testing at temperatures below –196 °C (77 K).
1.3 The values stated in SI units are to be regarded as standard. No other units of measurement are included in this standard.
1.3.1 Exception—Section 9 and Annex A4 provide inch-pound units for information only.
1.4 This standard does not purport to address all of the safety concerns, if any, associated with its use. It is the responsibility of the user of this standard to establish appropriate safety, health, and environmental practices and determine the applicability of regulatory limitations prior to use. Specific precautionary statements are given in Section 6.
1.5 This international standard was developed in accordance with internationally recognized principles on standardization established in the Decision on Principles for the Development of International Standards, Guides and Recommendations issued by the World Trade Organization Technical Barriers to Trade (TBT) Committee.
General Information
Relations
Buy Standard
Standards Content (Sample)
This international standard was developed in accordance with internationally recognized principles on standardization established in the Decision on Principles for the
Development of International Standards, Guides and Recommendations issued by the World Trade Organization Technical Barriers to Trade (TBT) Committee.
Designation: E23 − 24 An American National Standard
Standard Test Methods for
1
Notched Bar Impact Testing of Metallic Materials
This standard is issued under the fixed designation E23; the number immediately following the designation indicates the year of original
adoption or, in the case of revision, the year of last revision. A number in parentheses indicates the year of last reapproval. A superscript
epsilon (´) indicates an editorial change since the last revision or reapproval.
This standard has been approved for use by agencies of the U.S. Department of Defense.
1. Scope* 2. Referenced Documents
2
1.1 These test methods describe notched-bar impact testing
2.1 ASTM Standards:
of metallic materials by the Charpy (simple-beam) test and the
B925 Practices for Production and Preparation of Powder
Izod (cantilever-beam) test. They give the requirements for:
Metallurgy (PM) Test Specimens
test specimens, test procedures, test reports, test machines (see
E6 Terminology Relating to Methods of Mechanical Testing
Annex A1) verifying Charpy impact machines (see Annex A2),
E29 Practice for Using Significant Digits in Test Data to
optional test specimen configurations (see Annex A3), desig-
Determine Conformance with Specifications
nation of test specimen orientation (see Terminology E1823),
E177 Practice for Use of the Terms Precision and Bias in
and determining the shear fracture appearance (see Annex A4).
ASTM Test Methods
In addition, information is provided on the significance of
E691 Practice for Conducting an Interlaboratory Study to
notched-bar impact testing (see Appendix X1), and methods of
Determine the Precision of a Test Method
measuring the center of strike (see Appendix X2).
E1823 Terminology Relating to Fatigue and Fracture Testing
E2298 Test Method for Instrumented Impact Testing of
1.2 These test methods do not address the problems associ-
Metallic Materials
ated with impact testing at temperatures below –196 °C (77 K).
1.3 The values stated in SI units are to be regarded as
3. Terminology
standard. No other units of measurement are included in this
3.1 Definitions of Terms Common to Mechanical Testing
standard.
1.3.1 Exception—Section 9 and Annex A4 provide inch- from Terminology E6:
pound units for information only.
3.1.1 absorbed energy, [FL], n—work spent to fracture a
specimen in a single pendulum swing, as measured by a
1.4 This standard does not purport to address all of the
safety concerns, if any, associated with its use. It is the compensated indicating device.
responsibility of the user of this standard to establish appro-
3.1.2 drop height, h, [L], n—the center of strike vertical
priate safety, health, and environmental practices and deter-
distance between the free-hanging position and the latched
mine the applicability of regulatory limitations prior to use.
position.
Specific precautionary statements are given in Section 6.
3.2 Definitions of Terms Specific to This Standard:
1.5 This international standard was developed in accor-
3.2.1 direct verification, n—process that ensures all parts
dance with internationally recognized principles on standard-
that may affect measured absorbed energy are within specified
ization established in the Decision on Principles for the
dimensional tolerances.
Development of International Standards, Guides and Recom-
mendations issued by the World Trade Organization Technical
3.2.2 free-hanging position, n—position of the pendulum
Barriers to Trade (TBT) Committee.
after oscillation stops such that the potential and kinetic energy
is zero.
1
These test methods are under the jurisdiction of ASTM Committee E28 on
Mechanical Testing and are the direct responsibility of Subcommittee E28.07 on
2
Impact Testing. For referenced ASTM standards, visit the ASTM website, www.astm.org, or
Current edition approved April 1, 2024. Published May 2024. Originally contact ASTM Customer Service at service@astm.org. For Annual Book of ASTM
approved in 1933. Last previous edition approved 2023 as E23 – 23a. DOI: Standards volume information, refer to the standard’s Document Summary page on
10.1520/E0023-24. the ASTM website.
*A Summary of Changes section appears at the end of this standard
Copyright © ASTM International, 100 Barr Harbor Drive, PO Box C700, West Conshohocken, PA 19428-2959. United States
1
---------------------- Page: 1 ----------------------
E23 − 24
3.2.3 free swing, n—uninterrupted (without a test specimen) 7.2.2 Procedures for indirect verification of Charpy
pendulum swing from the latched position as recorded by the machines, using verification specimens, are given in A2.4.
indicating device (see A2.3.8.1). Charpy impact machines require direct a
...
This document is not an ASTM standard and is intended only to provide the user of an ASTM standard an indication of what changes have been made to the previous version. Because
it may not be technically possible to adequately depict all changes accurately, ASTM recommends that users consult prior editions as appropriate. In all cases only the current version
of the standard as published by ASTM is to be considered the official document.
Designation: E23 − 23a E23 − 24 An American National Standard
Standard Test Methods for
1
Notched Bar Impact Testing of Metallic Materials
This standard is issued under the fixed designation E23; the number immediately following the designation indicates the year of original
adoption or, in the case of revision, the year of last revision. A number in parentheses indicates the year of last reapproval. A superscript
epsilon (´) indicates an editorial change since the last revision or reapproval.
This standard has been approved for use by agencies of the U.S. Department of Defense.
1. Scope*
1.1 These test methods describe notched-bar impact testing of metallic materials by the Charpy (simple-beam) test and the Izod
(cantilever-beam) test. They give the requirements for: test specimens, test procedures, test reports, test machines (see Annex A1)
verifying Charpy impact machines (see Annex A2), optional test specimen configurations (see Annex A3), designation of test
specimen orientation (see Terminology E1823), and determining the shear fracture appearance (see Annex A4). In addition,
information is provided on the significance of notched-bar impact testing (see Appendix X1), and methods of measuring the center
of strike (see Appendix X2).
1.2 These test methods do not address the problems associated with impact testing at temperatures below –196 °C (77 K).
1.3 The values stated in SI units are to be regarded as standard. No other units of measurement are included in this standard.
1.3.1 Exception—Section 9 and Annex A4 provide inch-pound units for information only.
1.4 This standard does not purport to address all of the safety concerns, if any, associated with its use. It is the responsibility
of the user of this standard to establish appropriate safety, health, and environmental practices and determine the applicability of
regulatory limitations prior to use. Specific precautionary statements are given in Section 6.
1.5 This international standard was developed in accordance with internationally recognized principles on standardization
established in the Decision on Principles for the Development of International Standards, Guides and Recommendations issued
by the World Trade Organization Technical Barriers to Trade (TBT) Committee.
2. Referenced Documents
2
2.1 ASTM Standards:
B925 Practices for Production and Preparation of Powder Metallurgy (PM) Test Specimens
E6 Terminology Relating to Methods of Mechanical Testing
E29 Practice for Using Significant Digits in Test Data to Determine Conformance with Specifications
E177 Practice for Use of the Terms Precision and Bias in ASTM Test Methods
E691 Practice for Conducting an Interlaboratory Study to Determine the Precision of a Test Method
E1823 Terminology Relating to Fatigue and Fracture Testing
E2298 Test Method for Instrumented Impact Testing of Metallic Materials
1
These test methods are under the jurisdiction of ASTM Committee E28 on Mechanical Testing and are the direct responsibility of Subcommittee E28.07 on Impact
Testing.
Current edition approved March 1, 2023April 1, 2024. Published April 2023May 2024. Originally approved in 1933. Last previous edition approved 2023 as
E23 – 23.E23 – 23a. DOI: 10.1520/E0023-23A.10.1520/E0023-24.
2
For referenced ASTM standards, visit the ASTM website, www.astm.org, or contact ASTM Customer Service at service@astm.org. For Annual Book of ASTM Standards
volume information, refer to the standard’s Document Summary page on the ASTM website.
*A Summary of Changes section appears at the end of this standard
Copyright © ASTM International, 100 Barr Harbor Drive, PO Box C700, West Conshohocken, PA 19428-2959. United States
1
---------------------- Page: 1 ----------------------
E23 − 24
3. Terminology
3.1 Definitions of Terms Common to Mechanical Testing:Testing from Terminology E6:
3.1.1 absorbed energy, [FL],n—work spent to fracture a specimen in a single pendulum swing, as measured by a compensated
indicating device.
3.1.2 drop height, h, [L],n—the center of strike vertical distance between the free-hanging position and the latched position.
3.2 Definitions of Terms Specific to This Standard:
3.2.1 absorbed energy, [FL],n—work spent to fracture a specimen in a single pendulum swing, as measured by a compensated
indicating device.
3.2.1 direct verification, n—process that ensures all parts that may affect measured absorbed energy are within specified
dimensional tolerances.
3.2.2 free-hanging position, n—position of the pendulum after oscillation stops such that the potential and kinetic energy
...


Questions, Comments and Discussion
Ask us and Technical Secretary will try to provide an answer. You can facilitate discussion about the standard in here.